

Damaged tiles should be fixed right away. In this guide, find out all of the different factors that affect your tile repair cost.
Don’t let one cracked tile ruin your home’s appearance

Cracked tiles happen when heavy objects drop on them, or when your subfloor settles and shifts over time, causing stress on the tile surface.
Expect to pay $400 to $6,500 for professional tile installation, with removal costs adding $2 to $7 per square foot if you replace damaged tiles.
You can repair hairline cracks using two-part epoxy that fills the crack, cures in 15 minutes, and creates a smooth surface when sanded flush.
Hiring a local tile repair professional provides reliable support for replacing damaged tiles and matching grout colors to keep your floors looking seamless.
If your beloved entryway floor or walk-in shower has a damaged tile, you may be wondering how to fix cracked tile, and whether it’s a DIY-able project. Tiles can sometimes crack when the subfloor settles, but the culprit is usually force from a heavy object. The good news is that you can often repair cracked tile yourself using epoxy—and if that’s not an option, you can remove and replace the cracked tile. Here’s how to fix cracked tile and get your floors looking beautiful again.
There are a few things that cause tile to crack. A major factor is trauma—be it by the blunt force of a falling object or the habitual use of heavy items like stand-alone freezers or washing machines. Other reasons include an old concrete substrate, which cracks as it ages and can subsequently crack your tile. Your floor joints, particularly improperly spaced joints or tiling over control joints, could cause cracks, too.
There are two main methods of cracked tile repair: use epoxy to fill hairline cracks or replace the damaged tile altogether. The same techniques are used for tile chip repair, so you can repair cracks and chips simultaneously. Remember that epoxy will still show cosmetic damage unless you paint over it, but painting isn’t a perfect solution.
Epoxy is the choice adhesive of flooring professionals, and it’s also accessible to DIYers. It is a good option for minor and moderate cracks and doesn’t require extensive tools or DIY skills.
You don’t want to seal dust and grime into your tile, so clean it before applying epoxy. Clean using a paper towel soaked with rubbing alcohol or soap and water. Use a soft-bristled brush to scrub away grime. Make sure the tile is dry before proceeding.
For this repair, you should use a two-part clear epoxy that combines resin and hardener. This will act as an adhesive paste and hold the broken tile together. You can purchase a two-part clear epoxy kit at any hardware store.
Put on gloves and a face mask, open a window, and then mix the epoxy on a sheet of cardboard—you can use an old box you have lying around. Make sure it’s thoroughly mixed so the chemicals form an adhesive.
Using a toothpick or popsicle stick, apply the mixed epoxy to your cracked tile. Create a thin, even coat—filling the crack and extending the layer at least a half centimeter on either side. Do not get epoxy on the grout.
The epoxy should cure within 10 or 15 minutes. Tap the epoxy using a gloved hand to ensure it is fully cured. It should be firm and dry—not sticky.
Use sandpaper to gently sand the epoxy down so it is flush with the tile. This also helps create a rougher surface for the paint to adhere. You can skip this step if you don’t plan to paint your tile. Sanding a glossy tile can scratch it and make cosmetic damage more noticeable.
Carefully paint the crack using an oil-based paint that matches the color of your tile. For a glossy look, automotive paint is a great option. Keep in mind this won’t eliminate cosmetic damage, but it can mask it better than just leaving the clear epoxy alone. If you don’t mind the look of the crack, you can just skip this step.
If your tile is severely cracked or missing pieces entirely, it should be replaced. Replacing the tile is a more involved process than applying epoxy, but doesn’t require a flooring professional in most cases.
In some cases, finding a matching replacement tile may be easy, especially if your tile is still in stock near you. Take a piece of the cracked tile with you to the tile store to help find a match. If you simply can’t find a good match, consider a similar tile in a different color and replace other tiles to create a new pattern on your floor instead.
First, use a grout saw to remove the existing grout encasing the damaged tile. This step will help protect adjacent tiles from cracking during the process. Once the tile is loose, use a hammer and chisel or putty knife to remove the broken tile altogether. You might want to break the tile from the middle to loosen it for easy removal.
Vacuum up any debris leftover from removing the broken tile and scrape away any excess adhesive. Then, use a sponge to wipe the floor clean.

Mix your thin-set mortar per the label instructions. Apply a generous amount of this adhesive to the now-clean area using the flat side of your notched trowel. Then, create grooves in the thin-set mortar using the notched side of the trowel. This step allows the tile to attach.

Place the tile directly where you’d like it, keeping it flat and parallel to the floor as you lower it. When the edges are lined up how you want them, firmly and evenly press the tile into place.
You have time to get it right, as the thin-set takes a bit to set fully. But, once you have it in place, don’t continue to move it, as it could turn out uneven.
Leave the tile and grout to dry per the instructions on the thin-set. Usually, it takes 24 hours to fully cure unless you have a quick-dry thin-set mortar.
Stir your grout per the instructions on the label. Using your grout float, work the grout into the seam around the new tile diagonally. By moving diagonally, you can avoid pulling grout out of the seam as you work.

Use a damp sponge to wipe away any excess grout on the tile. If you have time, wait a few minutes before doing this step to ensure the grout is somewhat set in the seam so you don’t pull it out with the sponge.

Let the grout cure overnight, blocking off the area from pets, kids, or any other individuals in your home that might mistakenly step on the tile.
For most homeowners, repairing a cracked tile is significantly less expensive than replacing tiles. For example, the cost to fix broken bathroom tiles for most homeowners is around $150—but it can cost up to $2,000 if you need to replace all the tiles in your shower.
That said, repairs are really only an option for small cracks or chips. Epoxy will show cosmetic damage, so it’s not a long-term solution as tiles wear down. You might be okay with a single visible crack in a corner, but it’s less appealing when cracks cover the entire floor.
Tile installation typically costs between $400 to $6,500 per project for a professional job. Generally, you’re looking at $5 to $45 per square foot, though installation can cost more for intricate patterns or small mosaic tiles. If you’re replacing tile, expect to spend another $2 to $7 per square foot to remove the old tile before the installation begins.
Repairing cracked tile is a relatively straightforward DIY if you’re using epoxy—even beginners can try it. The worst that can happen is you’ll lose out on the cost of materials and need to bring in a pro to replace the tile, which you need to replace anyway. Epoxy is just a temporary solution, and it will probably crack again. Nonetheless, these tips can help make sure everything goes smoothly:
Mixing epoxy can be an unappealing prospect, especially if the room isn't well-ventilated. It smells terrible and you may not need all of the mixed product.
If you don't want to go to the trouble of buying and mixing epoxy because you only see a few hairline cracks, nail polish works surprisingly well on tile. Find the best color match possible and paint over the crack with it.
Buying individual epoxy tubes and other flooring supplies gets expensive, not to mention time-consuming trying to find each item online or at the hardware store. Tile repair kits are designed for small jobs like one or two cracked tiles rather than entire rooms. The kits come with everything you need and often cost less than buying the supplies individually.
Use painter’s tape, cardboard, or a plastic sheet protector to protect grout lines if you're applying epoxy near them. This ensures a neat appearance with less mess to clean after it dries.
If you're replacing a cracked tile entirely, the old grout also needs to be replaced. New grout won't adhere to the old grout and will cause the new tile to loosen easily. Use a chisel to remove old grout after extracting the cracked tile, especially in areas that are harder to reach.
If the local climate and humidity frequently cause your tiles to tent or crack, silicone grout could be a major game-changer. Silicone-based grout is incredibly flexible and adaptable to different temperatures. It expands and contracts as tiles heat and cool throughout extreme temperature shifts, preventing many flooring problems before they can arise.
Replacing a single tile is a fairly approachable DIY project, as long as you’re patient. Sometimes, the hardest part is finding a matching tile and grout to give your flooring a seamless finish. You may need to deep clean the surrounding grout to match the fresh grout since floor tile grout is prone to stains and discoloration.
That said, even if installed incorrectly, you might just be giving yourself more work later. To avoid a headache and ensure a flawless finish, hire a tile repair contractor near you instead. You’ll likely pay an hourly rate for repair, usually between $60 to $120 per hour.
Terrible experience. Walls/trim/floors/cabinets/doors all have drip marks, overspray, etc. Tiling at the fireplace had to be redone by another vendor due to incorrect and shoddy install by Profect. Contractor had his children in our house while he was on site without prior authorization or...
 Profect painting & exteriors
It was wonderful working with Yordy and his team. They were very professional and are experts in what they do. They have completed the work on time, with better quality and with in fairly reasonable price. We just started with backsplash work , but liking his work, we went on to provide...
We were having 2”x 2” tile installed . There was a small installation error and the new additional replacement tile was from a different lot and the colors didn’t match. Joe assured us that he would rectify everything , which he did without hesitation. We decided to go with the 18” x 36” tile...
 CarifaTile
For several months I was looking for somebody to tile a wall in my master bath and move lighting fixtures, and could not find anybody who was responsive. I contacted Rowe through Home Advisor and within days they came by to assess the job and provide an estimate. The cost was very...
It went very well! The end product was amazing and we keep getting a lot of compliments from friends! M&E were very professional and they made sure we were happy with the product before leaving. They met with us in our home and at the tile shop to make sure we were okay with our tile and...
 M&E Remodeling
Involved an extensive bathroom remodel, including removing tub & installing walk in shower, new drywall, custome tile work to ceiling, plumbing, etc. Overall, job was done on time and on budget. Nick & his team were very professional and had high attention to detail. Quality was great. Highly...
 Stamos Flooring and Remodeling LLC
Very pleased with the service and level of professionalism. Courteous and very unobtrusive in performing service. Unlike several other companies, Bradford Xteriors was willing to perform work on a three story home with a clay tile roof. <br />
 Bradford Xteriors
This company did a very good job on the brick wall and it looks just amazing. The staff was always professional and was practically OCD on how the bricks were stacked and how they were laid. Although it took longer than expected, I am willing to sacrifice time over perfection anyday. The...
 My Handy Mate LLC Improvement & Remodeling
He did the tile work and he was good at it. He used other subcontractors for the rest of the work (like putting in the cabinetry) and they were okay but not great. He was a great guy! He was easy to work with and had a good eye for the detail of his work. There were a couple of things that I...
 Brian Miller Custom Remodeling
I was very impressed with Miller Cantrell! I live in an old home in which the sewage line that runs from my home to the sewage system is a line of clay tile. These eventually collapse and need to be replaced - an expensive problem and sure to happen at the worst time. I told them that my...
From average costs to expert advice, get all the answers you need to get your job done.
Damaged tiles should be fixed right away. In this guide, find out all of the different factors that affect your tile repair cost.
Tile and grout cleaning brings your tiled rooms back to life. In this guide, find out the details of how much it costs to hire tile and grout cleaners.
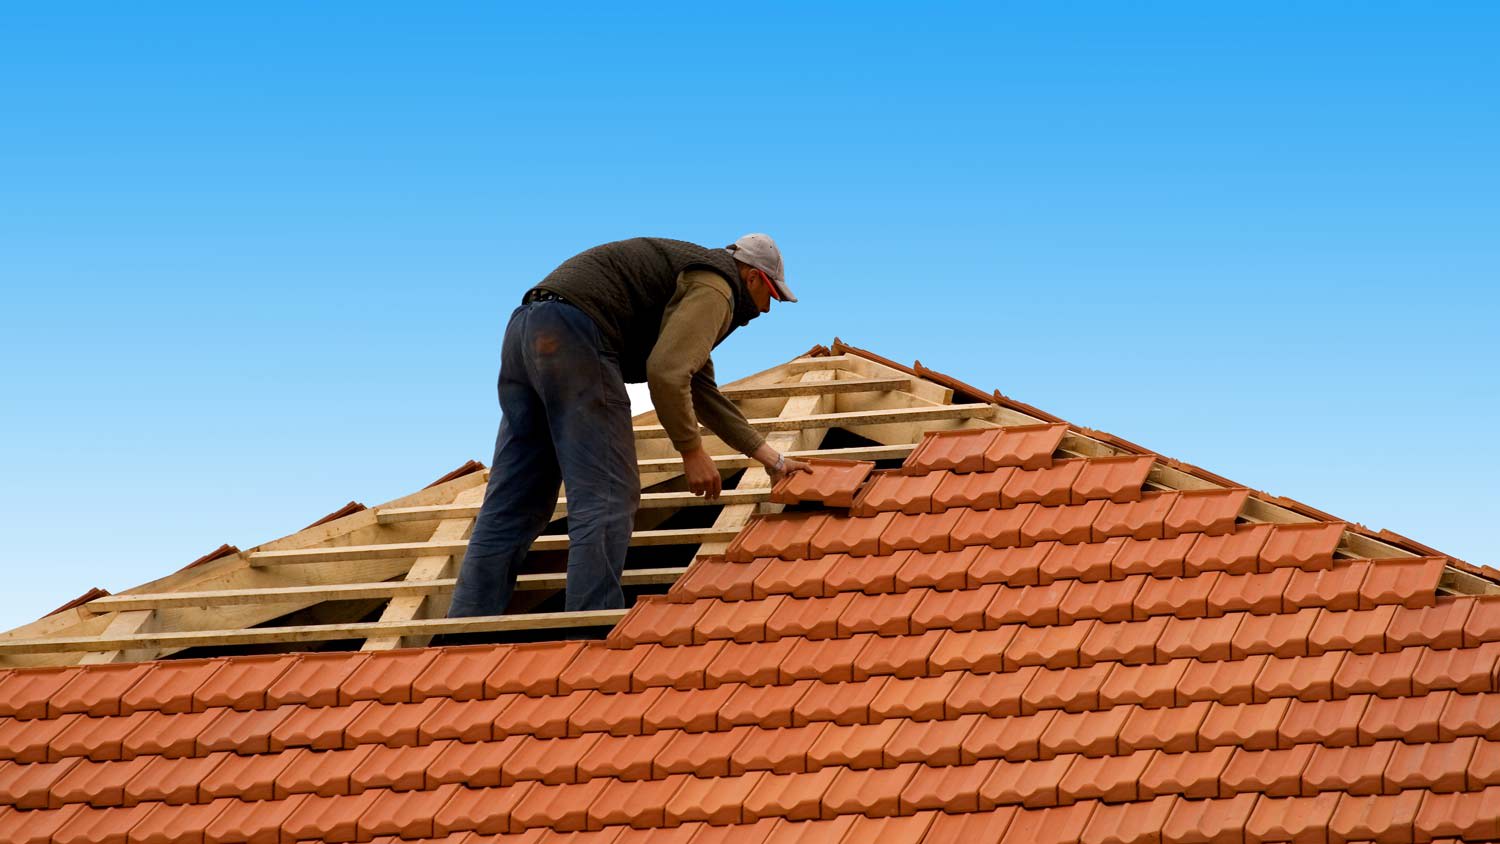
Find out the average tile roof repair cost, key price factors, and ways to save. Get expert tips to plan your tile roof repair project with confidence.
What causes tile to crack? We discuss seven reasons why your tile floors are cracking, including falling objects and installation problems, and how to stop it.
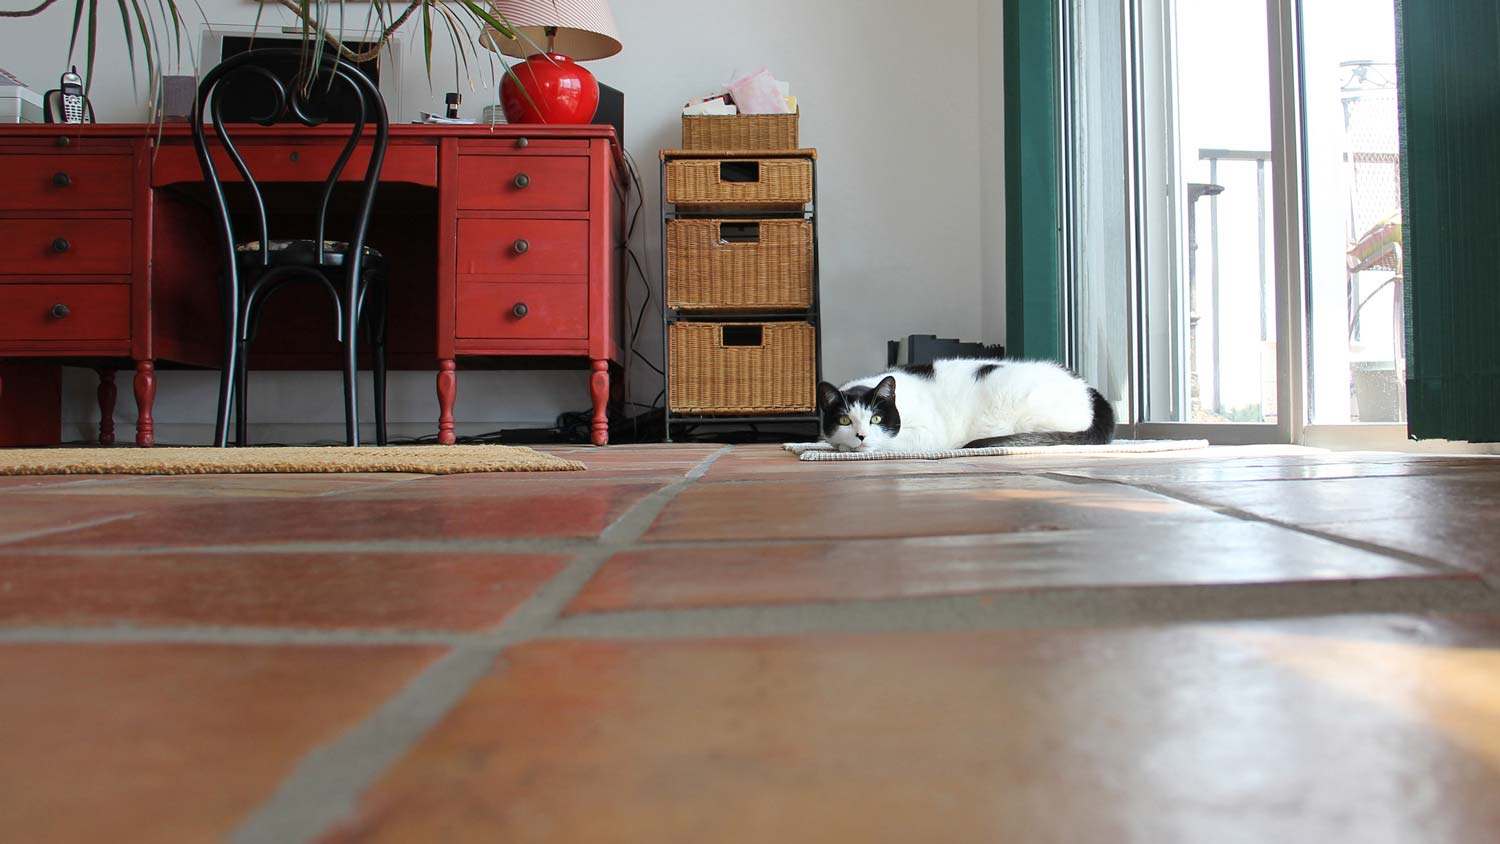
A loose floor tile can be a nuisance or a hazard, but fixing floor tiles may not be as hard as you think. Our DIY guide will show you how to fix loose floor tiles.
Whether your floor has a small crack or some serious damage, this guide will help you know when you can make repairs or if you need a full tile floor replacement.