

Strong floor joists are the key to a structurally safe home. The cost of floor joist repair will often come down to what is causing the problem.
Where DIY meets detective work

A stud finder for locating ceiling joists works by detecting changes in density, helping you mark precise joist locations before installing fixtures or hanging heavy objects.
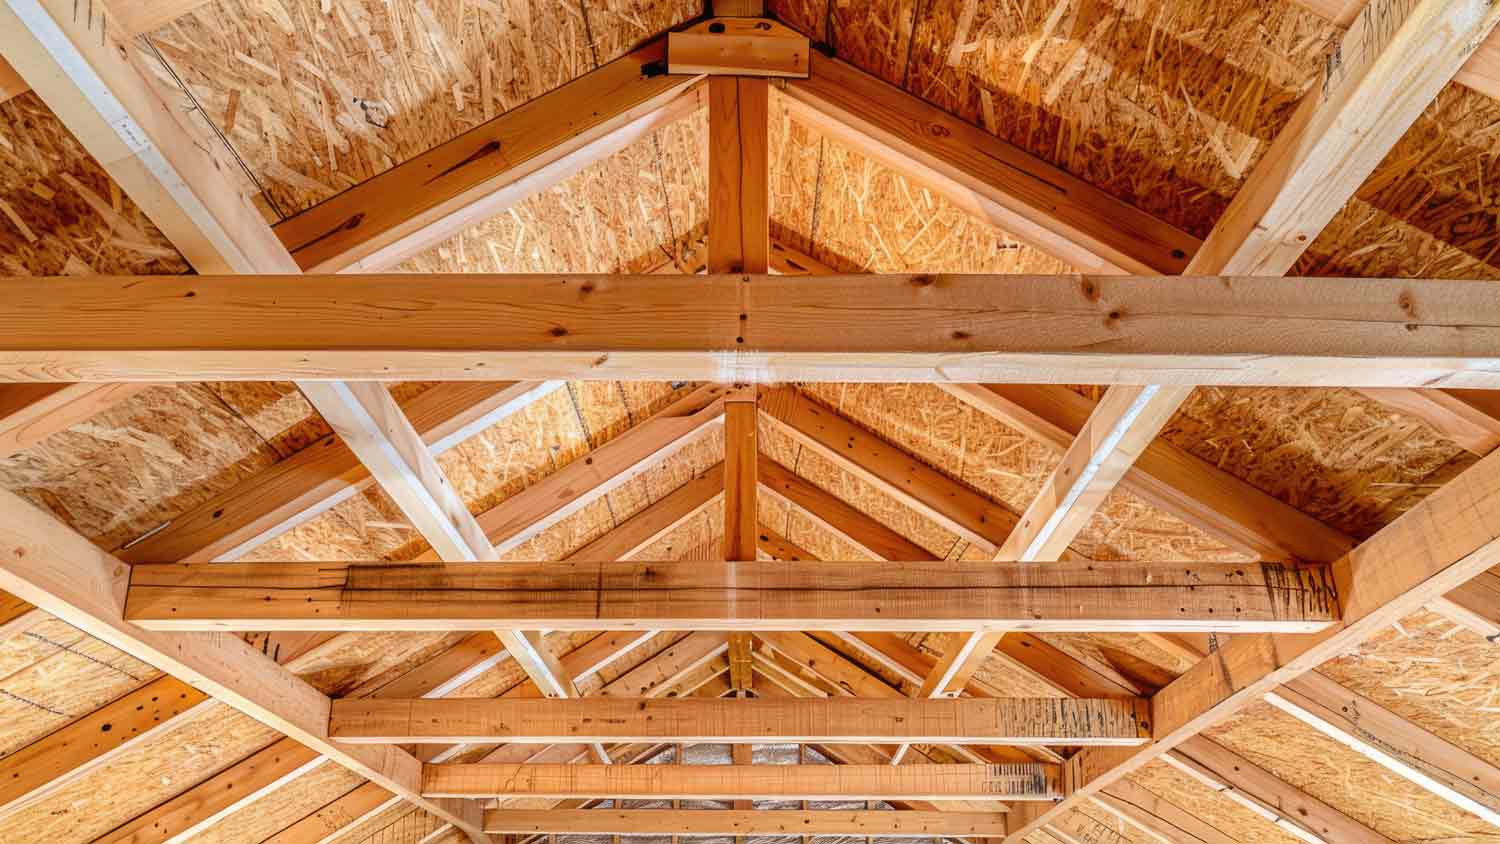
Ceiling joists run perpendicular to floor joists in the room above, so checking your attic or the floor above helps you determine joist direction before scanning.
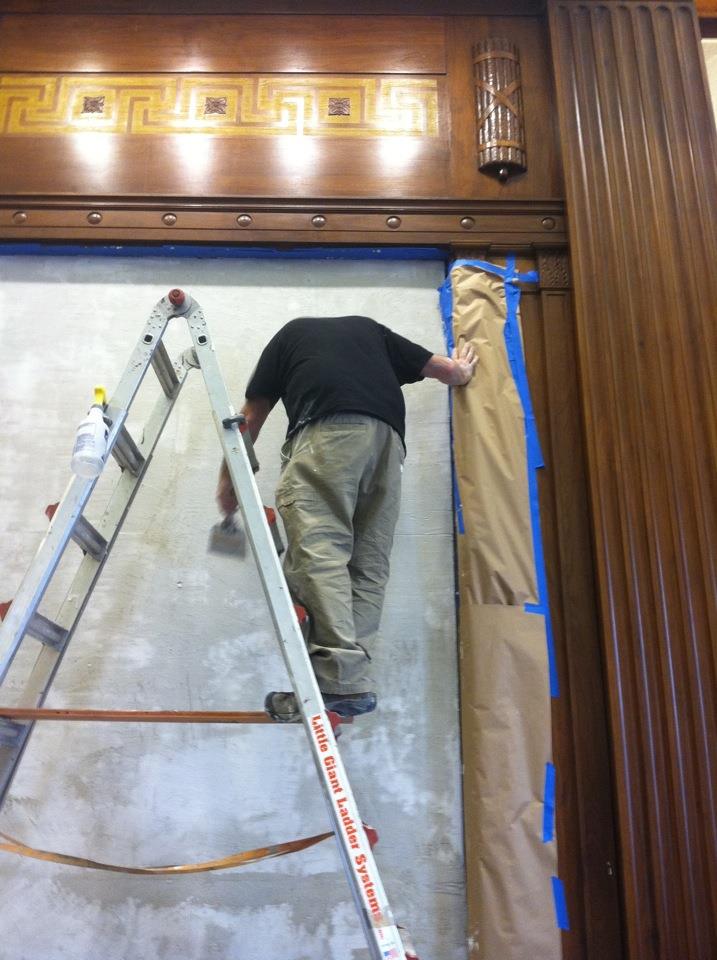
You can locate ceiling joists by tapping the ceiling and listening for solid sounds, then confirming the location with test nails to find the joist edges.
Hiring a local ceiling company provides reliable support for joist location and fixture installation, keeping you off the ladder and ensuring secure, accurate mounting work.
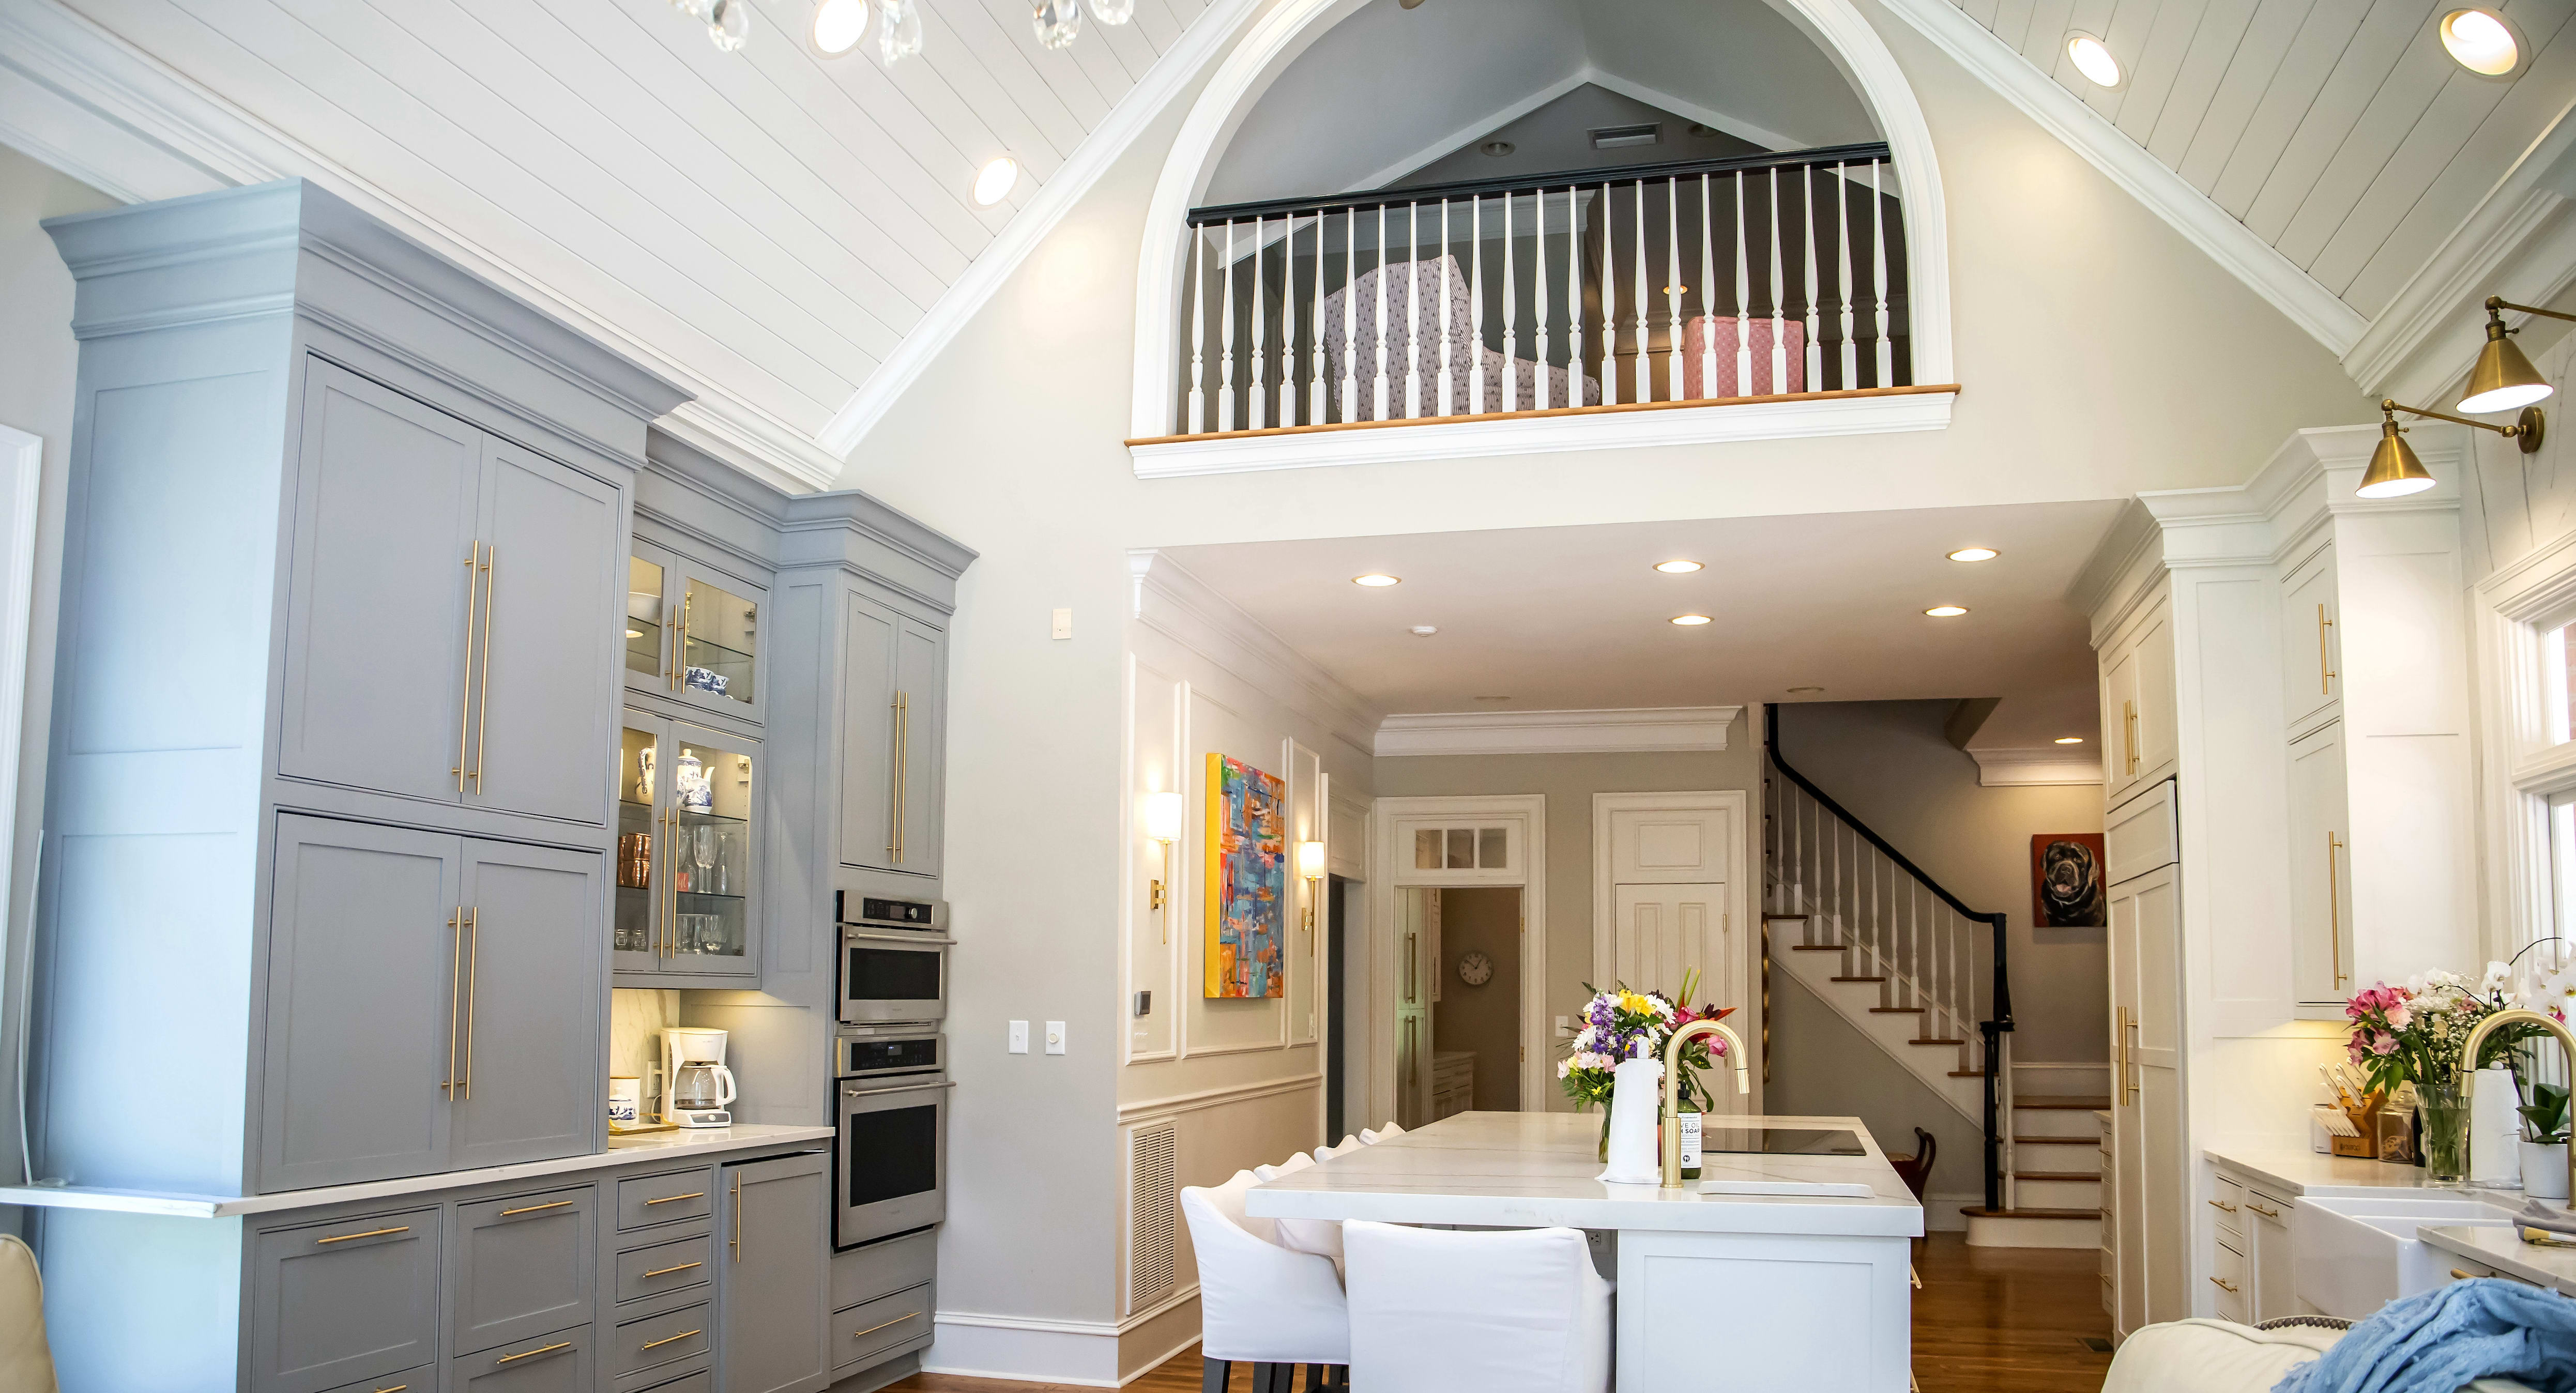
As a homeowner, knowing how to find ceiling joists lets you install new fixtures or hang a heavy object like a sculpture. Ceiling joists are essential structural elements that support the weight of the ceiling and anything that's attached to it. By finding these joists, you can ensure your installations are secure and stable while avoiding potential damage to your home.

Ceiling joists are horizontal structural elements that transfer the roof load to the vertical support system of a building. In short, they prevent the roof from caving in on itself. They’re installed after wall framing and are secured to the top of one wall and span to the opposite wall, evenly distributing weight.
If your ceiling has previously held a light fixture or ceiling fan, it was likely attached to a joist. Look for evidence of mounting hardware or electrical boxes to pinpoint joist locations easily.

Choose a method for locating joists based on your home's structure and the tools you have on hand. Accurately locating ceiling joists can take time, so approach this project with patience.
There are many stud finders, from pocket-sized magnetic models to models with indicator lights and modes for different building materials. Models that detect density offer the most accurate results for locating joists, but any stud finder can be helpful.
Clear the area by removing furniture or other obstacles blocking your ceiling access. Ensure you have adequate lighting to locate ceiling joists accurately. If using a ladder, ensure it's stable and securely positioned. Remember to follow all safety guidelines for ladder use to prevent accidents.
Ceiling joists run perpendicular to the direction of floor joists in the room above. If you have access to the attic or floor space above the ceiling, take note of the direction in which the floor joists are oriented.

Ensure you have a stud finder suitable for detecting wooden studs behind the ceiling surface. Some stud finders have specific modes or settings for this purpose. Turn on the stud finder and hold it against the ceiling surface. Follow any calibration instructions provided by the manufacturer to ensure accurate results.
Position the stud finder flat against the ceiling, ensuring it is parallel to the floor below. Hold it steady and level as you move it across the ceiling.
Slowly move the stud finder along the ceiling surface in a straight line, starting from one side of the room and working your way across. Keep the stud finder pressed firmly against the ceiling as you scan.
As you scan, the stud finder emits a signal or indicator when it detects a change in density that may indicate a ceiling joist. Pay attention to these signals and note the locations.
If you use a device with audio signals, the tone may intensify as you near a joist. Some stud finders feature visual indicators, like LED lights or digital displays, to signal the presence of a stud. These indicators may light up or change color when the stud finder detects a change in density corresponding to a ceiling joist.
Once you've identified the locations of the ceiling joists, make minor marks on the ceiling surface with a pencil or marker. This will help you track their location for future reference.
Scanning the ceiling multiple times from different angles and positions ensures accuracy. If the stud finder indicates the presence of multiple joists in close proximity, you may need to adjust your positioning or scanning technique to differentiate between them. Confirming the location of your ceiling joists before you begin your project helps to avoid costly ceiling repairs.
This simple method requires a good ear and paying close attention, but you only need a pencil, hammer, and nails.
Tap gently on the ceiling using your knuckles or carefully with a hammer. Listen for changes in sound. Places with no joist will create an echo or hollow sound. When you tap over a joist, the sound should be more solid.
When you’ve found the joist, lightly mark it with a pencil.
Drive test nails to identify the exact location of the joist. The nails will be more difficult to drive into the joist. Once you’ve reached the edge, the nails should easily break through the drywall.
Patch any leftover holes with putty or drywall compound. Alternatively, call a ceiling repair pro in your area to make it look like new.
In this method, once you’ve located one joist, you measure and mark to locate all of the other joists.
Locate one joist using one of the other methods, like tapping or using a stud finder.
Find the edge of this joist and measure ¾ inch toward the center of the joist. Mark this center point.
Measure 16 inches, the standard distance between joists, from the center mark, which should put you at the center of the next joist.
Test the location of the second joist by creating a test hole with a hammer and nail. If it’s not there, try measuring 24 inches from the previous joist, as sometimes this distance is used between joists.
Once you’ve identified the next joist, continue to measure precisely from center to center, checking that you’ve found it before proceeding.
Plaster ceilings are found in older homes and can be particularly challenging because stud finders and tapping don’t work. Additionally, older homes may or may not have even joist spacing.
Climb into the attic and measure and write down the distance from a side wall to the closest joist. Measure from the first joist to the second and third, writing down the measurements for each.
Starting at the same side wall, measure from the wall to the first joist location and mark it with a pencil.
To test the accuracy of the first joist location, make a test hole with a hammer and long nail or a drill with a ⅛-inch drill bit.
Repeat the joist measuring, transfer, and testing process until you’ve located all the necessary joists. This method involves some trial and error, but it will help you find the joists even if they’re unevenly spaced.
Whether you find ceiling joists or hire a local ceiling pro depends on your DIY expertise and comfort level. The project is relatively straightforward if you have home maintenance experience and are comfortable using a ladder. Finding ceiling joists yourself can save money and offer a valuable learning experience.
However, hiring a professional is advisable if you’re concerned about accuracy or safety. Professionals have the expertise, tools, and safety protocols to ensure accurate joist location. If you’re having work done on your ceiling or installing new electrical for light fixtures, the pro you hire will find the joists for you.
Positive experience. As previously stated, the replacement/repair could not be completed (no fault of the plumbing tech) b/c misinformation was rec?d by property management maintenance. Thanks to the plumbing tech for your efforts. Appreciate you!
 The Waterworks
Carpet repair done well. Scheduling was easy. Showed up on time.
I would recommend this company to anyone! He showed up on time, was friendly, completed a very difficult repair on our dryer vent cover, was responsive, and pricing was extremely fair and competitive. I would have him back to do any of our repairs or cleanings without hesitation!
Everything from initial contact to completion was absolutely top notch. We contacted the business during off hours to leave a message, and the owner still reached out to feel out the issue within minutes. We were scheduled and repaired within 48 hours. I cannot say enough about the...
 Supreme brick & chimney
Ace Fireplace Services came to the rescue for my chimney repair. They were quick to pinpoint the issue and worked their magic to fix it. My chimney is now in excellent shape, and I'm a satisfied customer.
 Ace Fireplace Services
Great experience all together. Dog friendly, courteous, great results and honest with recommendations. Will certainly be using Cardinal in the future for any carpet repairs
Description says they handle window repair including rotten hardwood - they called me back right away but didnâ t leave a voicemail. I followed up 3 days later and they said they donâ t do that kind of work.
Very good experience. He even moved things around in my bedroom to get to the wall. I would highly recommend him for plaster. I plan to have him come back.
 Peter J Grady
Great guys. Spend a lot of time repairing and prepping our walls before doing the new paint. Home looks great now.
They did an excellent job with the repair, took care of all communication with the insurance company and had car rental service also with a very reliable, quality care
 Three C Body Shop
From average costs to expert advice, get all the answers you need to get your job done.
Strong floor joists are the key to a structurally safe home. The cost of floor joist repair will often come down to what is causing the problem.

A ceiling repair averages about $1,000, but multiple factors affect this number. Learn more about creating an accurate ceiling repair cost estimate with our tips.

Wondering how much weight ceiling joists can hold and how to hang things from them safely? Learn about joists, how to find them, and hanging tips.
The right ceiling joist spacing will help support your ceiling and prevent sagging, but there are a number of factors to consider. This guide can help.
DIY a shiplap ceiling by cutting the boards to size and installing them perpendicular to the joists with a nail gun. Get exact instructions here.

This calculator will help you estimate how many floor joists you’ll need to keep your flooring level and secure from the start.