How to Cut Outlet Holes in Drywall in 8 Steps
This is one time it’s ok to put a hole in your drywall


- Drywall saw
- T-square
- Straightedge
- Hammer
- Tape measure
- Sheet of drywall
- Drywall screws
- Painter’s tape
- Pencil
- Marker
If all you have to do is hang drywall, the process goes pretty fast, even for beginners. Of course, installing drywall involves much more than just hanging it. You must tape and mud it, and cover screw holes. You also need to know how to cut outlet holes in drywall, so you have electricity in the room—obviously pretty important. If you have the skills to hang drywall, you almost certainly have the skills to cut the holes, too, but it does require following specific steps.

Prepping to Cut Outlet Holes in Drywall
Although you can try to cut the hole for the outlet box before hanging the drywall, this requires incredibly precise measurements. Consequently, many people will choose to cut the outlet box hole after hanging the sheet of drywall, which is the technique we’ll discuss, as it gives you slightly more margin for error.
To use this technique, it’s important to know exactly where each outlet box is hanging. If at all possible, hang each box in the room with the bottom edges of the boxes the same distance above the floor, such as 16 inches or 24 inches above the floor.
Then, if you have an unfinished floor, use a marker to draw lines on the floor that indicate the width of each outlet box. If the floor is finished, use painter’s tape to protect the floor and then draw lines with the marker on the tape.
By using these measurements, you’ll have a pretty accurate idea of where the outlet box sits behind the hanging sheet of drywall.
Before starting, make sure all the loose wiring is tucked deeply inside of the outlet box, reducing the chance of puncturing it with the drywall saw. The electrician should have done this for you, but it never hurts to double check. The wiring should not be live, either, just in case you puncture it.
Hang a Fresh Sheet of Drywall
Place a sheet of drywall over the outlet boxes that are already mounted.
Because the front edge of the outlet box should be almost flush with the front edge of the drywall after you cut the outlet hole in the drywall, only put a few screws in this sheet of drywall.
As you start attaching it, the drywall will bulge near the outlet box. Keep the screws away from this bulge for now, or you could crack or warp the sheet of drywall from the pressure of the outlet box striking it before you cut the hole. Use just enough screws closer to the top to hold the sheet in place while you cut.
Draw the Outline for the Outlet Box
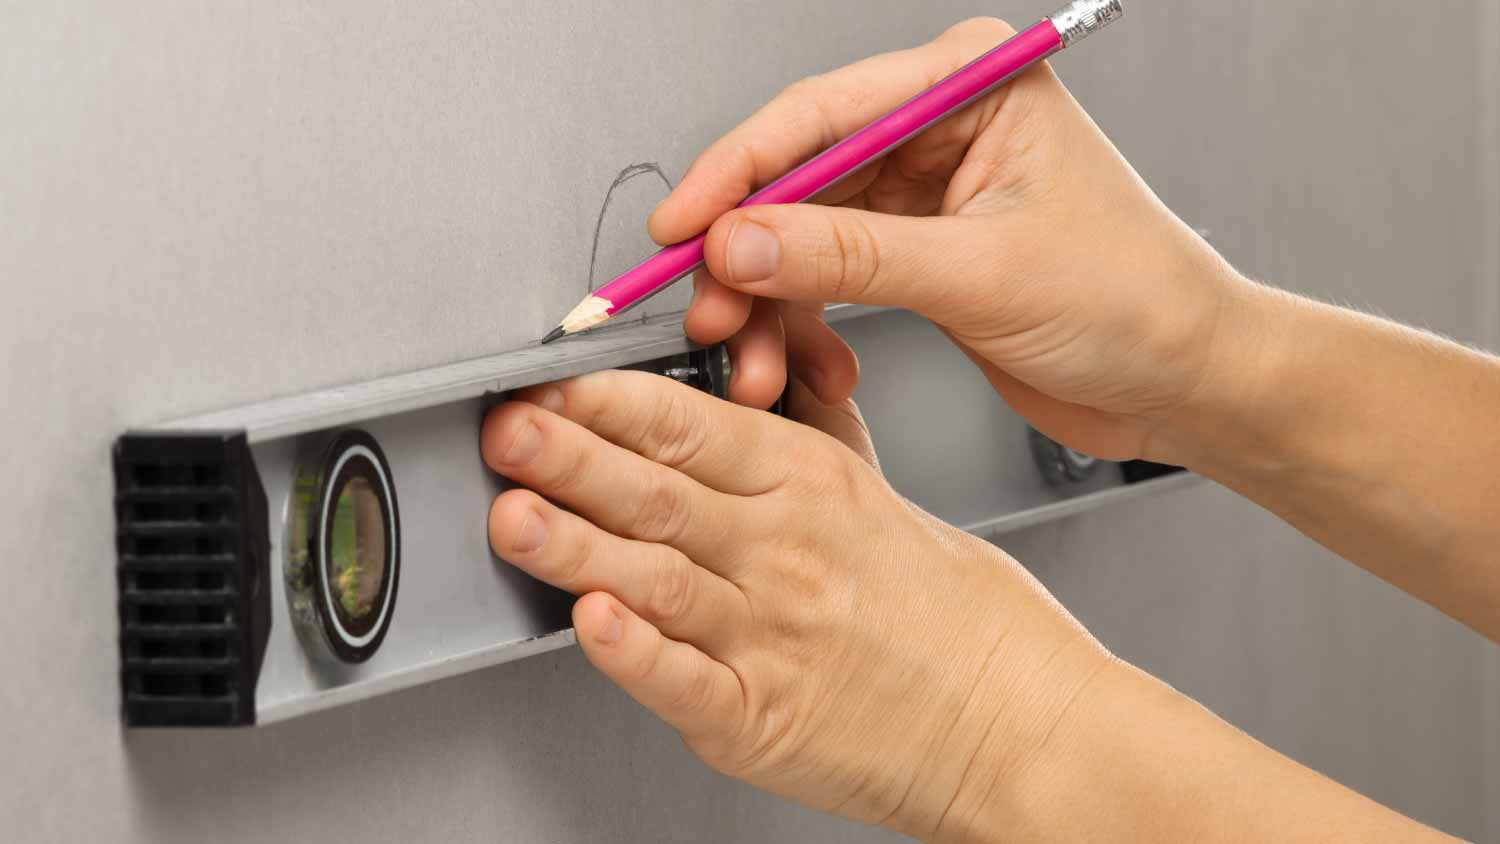 Photo: rodimovpavel / Adobe Stock
Use the marks you made on the floor and the known height of the box to draw an outline for the box on the drywall. Use a pencil to draw this line, so it’s easy to cover with paint later.
Use a T-square or a straight edge to make the lines as straight as possible.
Start Cutting the Hole for the Outlet Box
Use your drywall saw to puncture the drywall in the middle of the outline you drew.
Push the pointed tip of the saw with controlled force so you don’t go too far past the drywall and hit the wires in the back of the outlet box. The best technique is to push the tip of the blade into the drywall firmly. Then gently tap the end of the handle with your palm or a hammer until it just goes through the sheet.
Use controlled strokes to saw downward until you strike the interior edge of the outlet box. This edge should closely match the outline you drew on the drywall, giving you confidence that the outline is accurate.
If your drawn outline does not match where your test cut indicates the outlet box is, make another cut upward or to the side. You can test all four sides of the box this way, if necessary. Adjust your outline drawing accordingly.
Remember, your test cuts are telling you where the interior edges of the outlet box are. You need to cut around the exterior edges of the box, so your final cuts will be a fraction of an inch wider than where the test cuts strike the interior of the box.
Cut Three Sides of the Hole for the Box
 Photo: photovs / iStock / Getty Images Plus / Getty Images
You’re now ready to start cutting around the edge of the box. Most electrical codes require that the gap between the outer edge of the outlet box and the hole in the edge of the drywall is one-eighth of an inch or less.
Since you learned that your outline for the box is accurate in the previous step, you can start cutting. Puncture the drywall again along the outer edge of the outlet box. Start cutting with the saw around the outer edge of the box.
Keep the hole for the box close to the edges of the actual box to ensure that the outlet cover will be large enough to cover the edges of the hole. If you make the hole too large, your outlet cover may not fit and you may have to start over.
Cut the bottom, right, and top edges for the hole. Go very slowly with the drywall saw blade as you approach the corners, so you don’t break the drywall.
Cutting the drywall will create some dust and particles. Use a drop cloth in the area you are cutting to reduce the time required for cleanup
Cut the Fourth Side of the Hole for the Outlet Box
 Photo: BanksPhotos / iStock / Getty Images Plus / Getty Images
With three lines cut, you can, carefully, cut the fourth line on the left. Use the utility knife to score the paper layer on the drywall first. Use the straight edge and follow the pencil line you drew to ensure a straight cut.
Then use the utility knife to go a little deeper. Use the knife to make a few shallow cuts. Going slow is important to avoid any breakage in the corners.
After making a clear score line, you can continue using the utility knife, or you can switch to the drywall saw. Eventually, you will fully penetrate the thickness of the drywall. You can then remove the chunk that you cut out of the sheet of drywall.
Some people will also tap the cut piece near the score line with a hammer, breaking it off toward the back. Since you won’t ever see the back of the sheet of drywall, this break line doesn’t have to be perfect. Once it’s broken loose, use the utility knife to cut the paper on the back to free the piece.
Clean-Up the Edges of the Hole
If the hole is large enough, the outlet box should slide through with some gentle pressure from you. Inside the hole, the front edge of the outlet box should be nearly flush with the front of the drywall.
Do not force the drywall by pushing too hard, just in case the plastic edge on the box is catching on any part of the hole in the drywall. If it’s catching, carefully use the utility knife, drywall saw, or rasp to carve out a little more of the drywall and to free the box.
Remember, the edges of the hole do not have to be smooth, because the outlet cover will hide the edges. They simply must be very close to the edge of the box without catching on it.
Add More Drywall Screws
With the box safely through the hole, you now can add more drywall screws to secure the sheet of drywall to the wall studs. When placing screws near the hole you cut for the outlet box, insert these screws slowly.
If your outlet box is catching even slightly on the edge of the drywall at the same time you try to place the drywall onto the studs with the screws, you likely will crack and break the drywall near the box. As long as the box has the proper one-eighth inch gap between its outer edge and the drywall, adding the screws shouldn’t damage the drywall.
Wire the Outlet and Add the Cover
 Photo: photovs / iStock / Getty Images Plus / Getty Images
You are now ready to connect the outlet to the wiring inside the box, or you can call a local electrician to finish the connection. Once the outlet is in place and you’ve painted the drywall, you can secure the outlet cover, hiding the outlet hole you cut in the drywall.
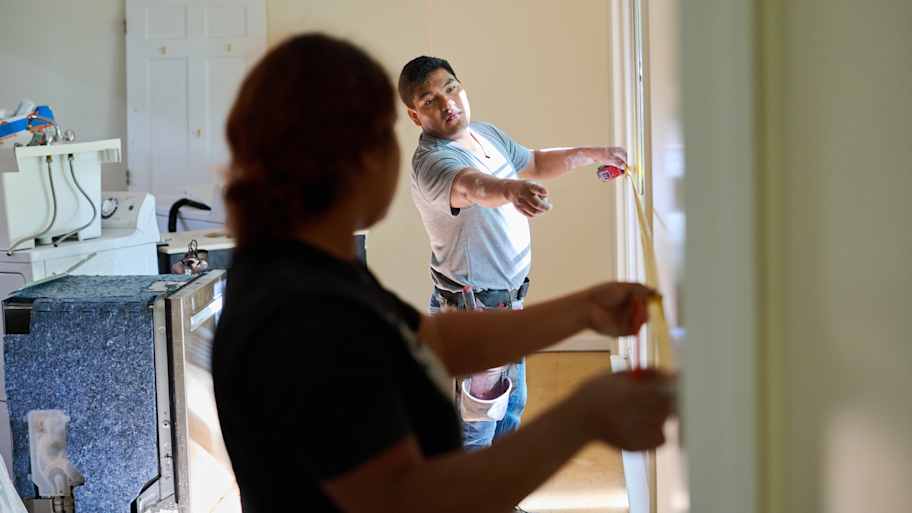
DIY vs. Hiring a Pro
Consequently, because of everything involved, hiring a local drywall installer may be the better option for you. The average cost to hire a pro is about $2,000, but the actual cost depends on the size of the job and the length of time required. Generally, this cost includes the process of cutting outlet holes in the drywall and any other required holes. It also should include mudding and taping.
The overall drywall installation cost for the majority of projects can range from $1,000 to $6,000, so you’ll save quite a bit of money doing the work yourself
To give yourself a better idea of the cost and of whether you want to do the work on your own, ask a few drywall contractors to give you a cost estimate.
Crystalline silica is a toxic dust that's often generated during drywall installation, which can cause respiratory issues if exposed over time. A professional drywall installation company has the right tools to protect your home and ensure safe air quality after your project is completed.

Frequently Asked Questions
The process to cut a circle in drywall for recessed lighting follows a process similar to the process for cutting outlet holes in drywall. The easiest option for making a perfect circle is to use a circle cutter tool. It makes a smooth circle in the drywall quickly, meaning you’ll have less cleanup work to do later. You just have to know the center point of the recessed light before adjusting the circle cutter tool’s length to create the diameter of the circle cut you need.
A utility knife is sharp enough to score the drywall and it may work in a pinch for outlet box holes. However, one of the best tools for drywall when you need to make exact cuts for an outlet box quickly is a drywall saw. This handheld tool has a longer blade than a utility knife, so it penetrates the thickness of the drywall easily. The design of its handle and the teeth in its blade make it easier to control while cutting quicker than you can with a utility knife.
Depending on the place where the cutting error occurred, you may be able to fix it. Learning how to patch a hole in drywall is challenging, but if you can tape and mud drywall, you can do it. Having said that, patching is time consuming. Early in the installation process, you may find that it’s easier and far less time consuming to just start over with a new sheet of drywall, cutting a new hole in the right spot. You may be able to use part of the incorrectly cut piece elsewhere, so it’s not completely wasted.


Get our Angi-powered app


