
Weather stripping can boost your home’s energy efficiency and reduce energy bills. Use this guide on the cost of weather stripping to budget for an upgrade.
A few simple cuts and you’ve got this DIY on-lock


If you’re putting in a new door, you’ll need to install the hardware. This involves making a few careful cuts in the side of the door frame to create space for the door plate (aka the strike plate). The hole you need to cut is called a mortise and requires a simple woodworking technique. Use this step-by-step guide to learn how to cut out the door plate in a door frame.
Complex, high-risk projects demand more than typical DIY projects. They require time, specialized tools, and trained expertise to make sure the job is done safely and correctly. We made it easy for you to find a local pro—with our skilled network, you'll get the job done without the stress of doing it yourself or significant safety risks.
Before you can cut out a hole for the strike plate in your door frame (specifically in the door jamb), you’ll need to install your door, door handle, and door latch. The hole has to accommodate the latch when the door is closed, so make sure you cut it in the right place.
Though doors come in standard sizes, your door knob (and the latch behind it) can be anywhere from 34 to 48 inches high. If you’d rather leave these details to a pro, a door installer can get your door swinging.
Most types of door latches come with a matching strike plate—if not, purchase one that matches. Bring your latch to the store to see what will fit, then grab your chisel, and start your installation. Follow these steps to cut out the mortise for your door’s strike plate.
There are several ways to mark the hole for the latch on your door frame. First, close the door until the protruding latch hits the door frame, and use a pencil to outline the shape of the latch against the frame.
Cover the end of the latch in an even layer of blue toothpaste, then close the door. Make sure the latch extends and hits the frame, locking the door if you need to. This effectively stamps the toothpaste into the frame at the exact location you need to cut. Open your door, and take note of the toothpaste mark.
Next, you’re going to trace a stencil for your cuts. Take your strike plate and position it over the marking for the latch hole. The marking should be in the center of the plate. Hold the plate in place, then use your pencil to trace the outline of the plate onto the door frame. Make sure you also trace around the inside of the plate. This is the guide you’ll use to drill the latch hole.

The latch hole has to be the correct depth, or your door won’t completely lock. To get this figure, lock the latch with the door open (so it’s sticking out of the door). Use a tape measure to measure the depth of the latch (from the edge of the door to the tip of the latch). This will be the depth of the latch hole. Alternatively, you can use a tool to measure the depth of the latch hole in the door frame.
Set your drill to the depth you measured in the previous step. Next, find the center of the guide you traced for your strike plate. Use your 7/8-inch drill bit to drill two overlapping holes into the door frame, one centered above the midpoint and one centered below the midpoint of the guide.
Once drilled, the latch hole should fill most of the space within the inner guideline, but you may need to clean up your cut. Use your smaller chisel to square off the edges of the hole so they match the guidelines.

Before you cut the hole for the door plate (the door plate mortise), make sure the latch works properly. Close your door and lock it. The latch should completely lock. If it’s difficult to lock or gets stuck, use a chisel to fine-tune the hole until the latch fits.
Use the sharp edge of your larger chisel to score the outline of the mortise along the outer edge of your strike plate stencil. Then, carefully chisel away the wood inside the stencil to the same thickness as your door plate.
It’s important to use the right chisel technique when cutting a mortise. Dig the chisel into the door frame horizontally to create a ridge that’s the correct thickness. From there, wedge your chisel into the ridge and dig out the excess wood. Repeat the process every 1/3 to 1/4 inch until you’ve dug out the entire mortise at the correct depth.

The strike plate should fit right into the mortise. To install it, put the strike plate in place and use a pencil to mark the location of the screw holes. Remove the plate and drill pilot holes over the marks using your 3/32-inch drill bit. Install the plate by screwing it into the door frame.
For most homeowners, professional door installation costs $500 to $2,000. Installing the strike plate is just a small piece of the installation process, and you won’t really save money on this job unless you DIY the entire door installation.
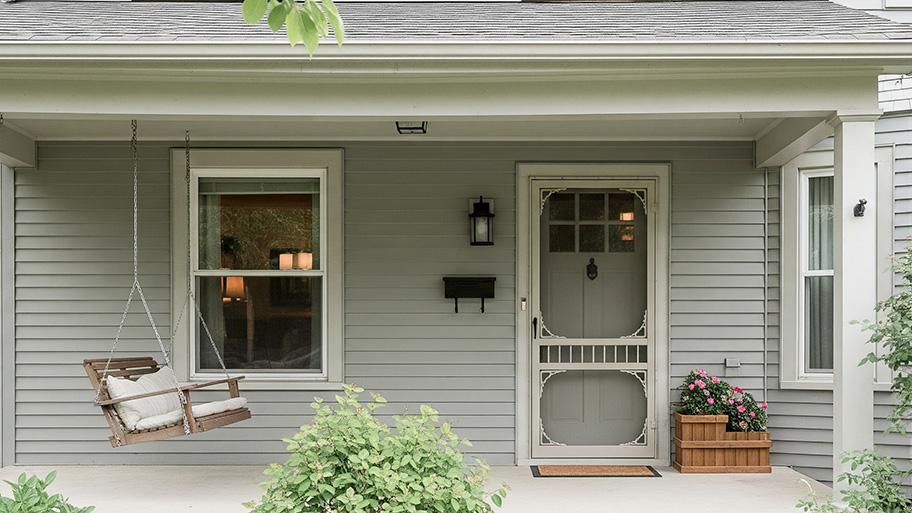
The good news is that installing an interior door is pretty straightforward—especially if you’re handy. The door and hardware will run you around $100 to $600, and you’ll save on labor costs. For more complicated situations like installing exterior, French, sliding, or custom doors, your best bet is to call a local door installation contractor.
From average costs to expert advice, get all the answers you need to get your job done.
Weather stripping can boost your home’s energy efficiency and reduce energy bills. Use this guide on the cost of weather stripping to budget for an upgrade.
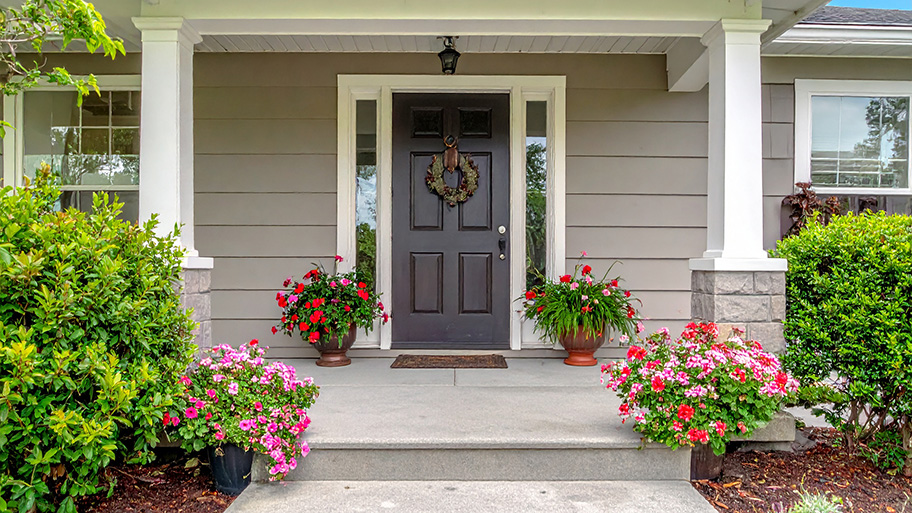
Welcome home! How much does exterior door installation cost when it's time to add a new entryway to your front or back porch? Let's take a look.
Are there holes in your screen and a squeak in your hinges? We break down how much screen door repair costs from small fixes to total replacement.

Dreaming up new home construction or an addition? Perusing through all the types of doors is a crucial step in the design process.

A door sill and a threshold each serve a purpose, but both are necessary for the performance of exterior doors. This guide covers door sills versus thresholds.

Get expert insights on sliding glass door repair cost, including average prices, key cost factors, and tips to save money on your next repair project.