

•
Find out how much carpenters charge, including average rates, cost factors, and tips to help you budget for your next carpentry project.
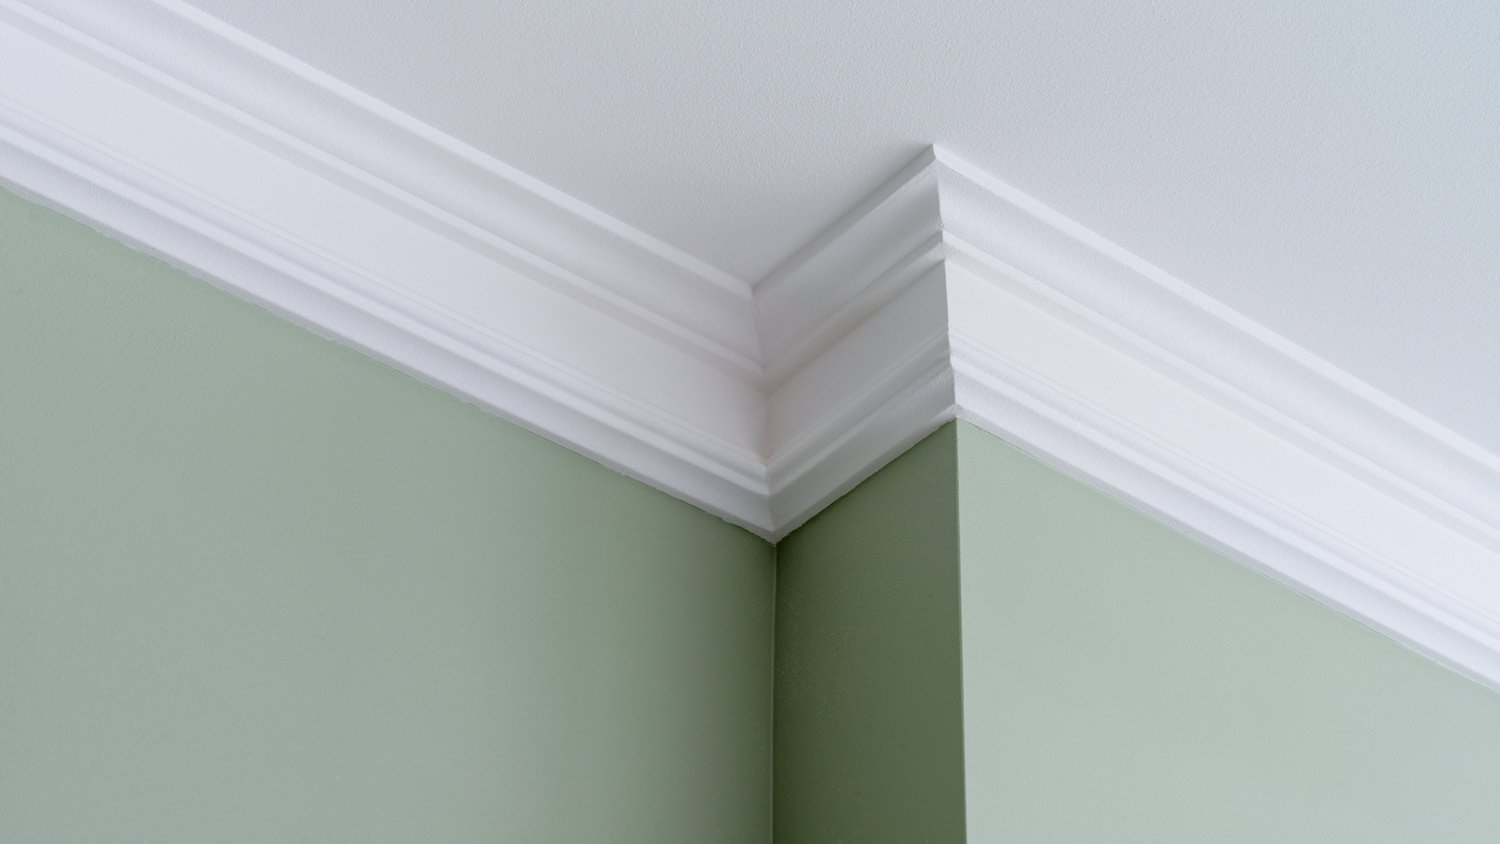
A careful cut will eliminate unsightly gaps in the inner corners of your molding


Is there a gap in your crown molding at the room's corners? As it turns out, many corners aren’t plumb—meaning they aren’t 90 degrees, especially in older homes—and your molding can shift as temperatures change. Coping involves cutting the end of a piece of molding at a slight angle and creating tight-fitting joints to eliminate gaps. This guide will show you how to cope crown molding in five simple steps.
Before coping, cut your crown molding to the proper size to fit on your wall. You’ll use a square cut, meaning the profile of the molding forms a 90-degree angle with the length of the molding. You’ll fine-tune this during the coping process. However, if you’d rather hire a pro to take care of this project, a crown molding installer can create tight-fitting joints and perfect corners.
Coping your crown molding can hide imperfections in the inner corners—whether your wall’s joints are uneven because your house is 100 years old or a contractor rushed their drywall installation. You have to make precise cuts, or your crown molding won’t lay flush. Follow these steps to cope your crown molding.
Before you can cope the edge of your crown molding, you’ll need to make a 45-degree miter cut. Set your miter saw to 45 degrees in the direction the molding needs to run.
Place your molding on the saw upside down. In other words, the side that touches the ceiling should rest on the base of the saw. The side that touches the wall should rest against the fence of the saw. Once your molding is positioned correctly, make your cut.
Once you’ve made a 45-degree cut, use your pencil to darken the edge of the molding’s profile. This creates a more visible outline to use as a guide for your coping saw.

For this step, you’ll use a woodworking technique called back cutting. Angle your coping saw away from the face of the crown molding, then cut along the darkened edge. Carefully follow the curves of your molding, using the pencil mark as your guide as you cut away wood from the backside of the molding.
Remember: You can always cut more wood away, but you can’t put it back once you’ve cut too much.
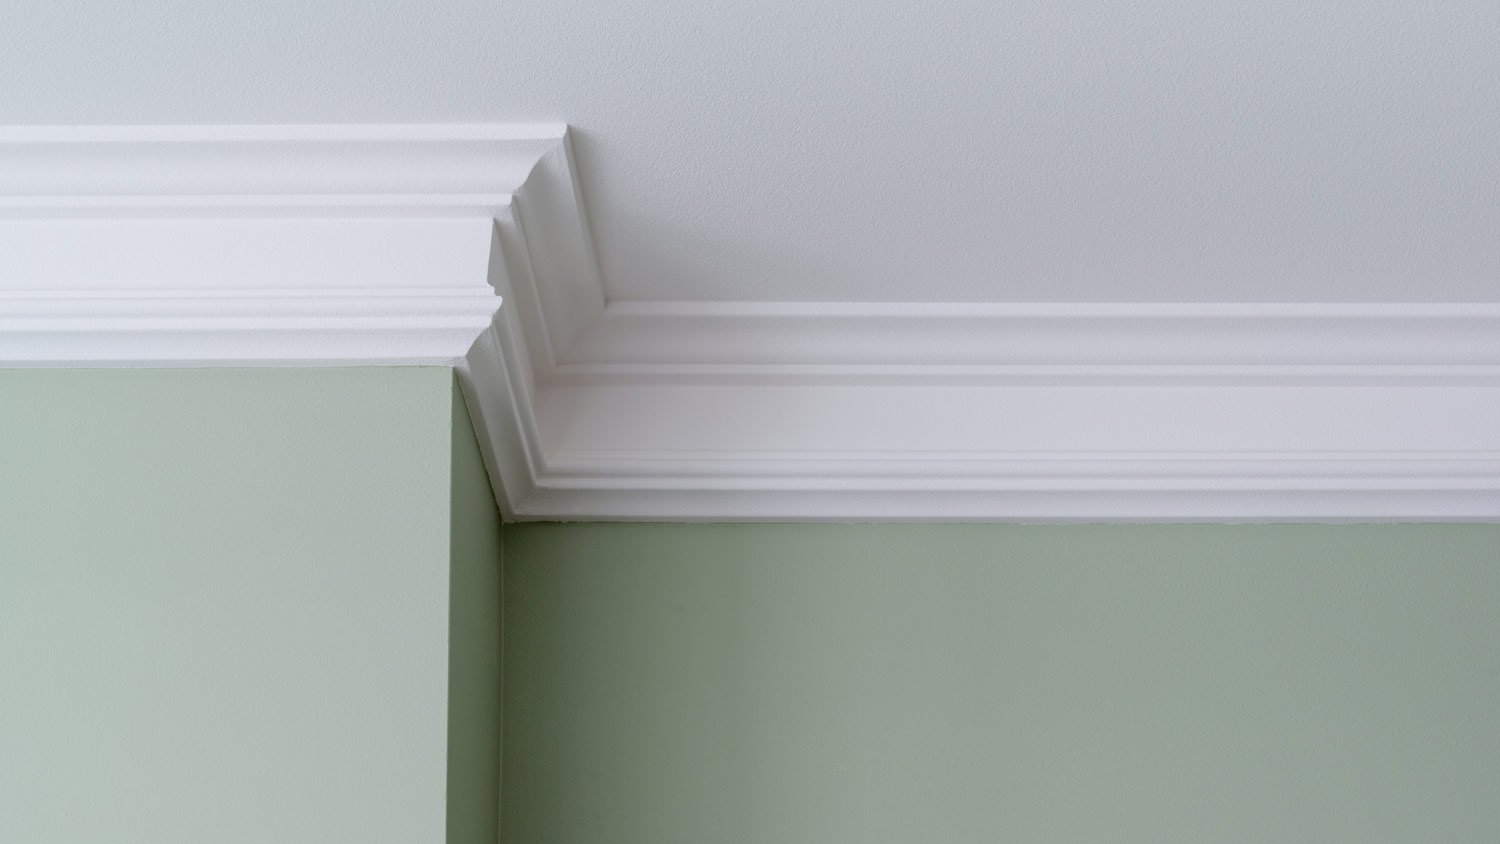
Once you make your cuts, check to see if the newly coped edge fits against the adjacent molding and forms a tight joint. You can check it with a scrap piece of molding as long as it has a square edge. Make adjustments if needed.

Finish the job by sanding the rough edges using 100-grit sandpaper. If any minor imperfections prevent the molding from fitting tightly in the joint, you can sand them away. When installing your crown molding, install the molding with the square edge first, and then install the molding with the coped edge on top of it.
Coping crown molding isn’t a difficult DIY for handy homeowners who have woodworking experience. If you plan to cut and install crown molding on your own, you can save anywhere from $400 to $700 on labor costs.
That said, coping crown molding requires precise cuts. If you angle your wood incorrectly, it won’t sit flush against the neighboring molding, and your corner will gap. Buying a new piece of molding and starting over could be the only fix.
A crown molding installer near you can save you from pricey or time-consuming DIY mistakes. Coping is a standard part of molding installation and only takes a pro a few minutes.
From average costs to expert advice, get all the answers you need to get your job done.
Find out how much carpenters charge, including average rates, cost factors, and tips to help you budget for your next carpentry project.

Discover the cost to install a stair railing, including average prices, key cost factors, and tips to save on your project.

The cost to install wainscoting depends on labor, materials, and square footage. This guide will help you budget for your next project.
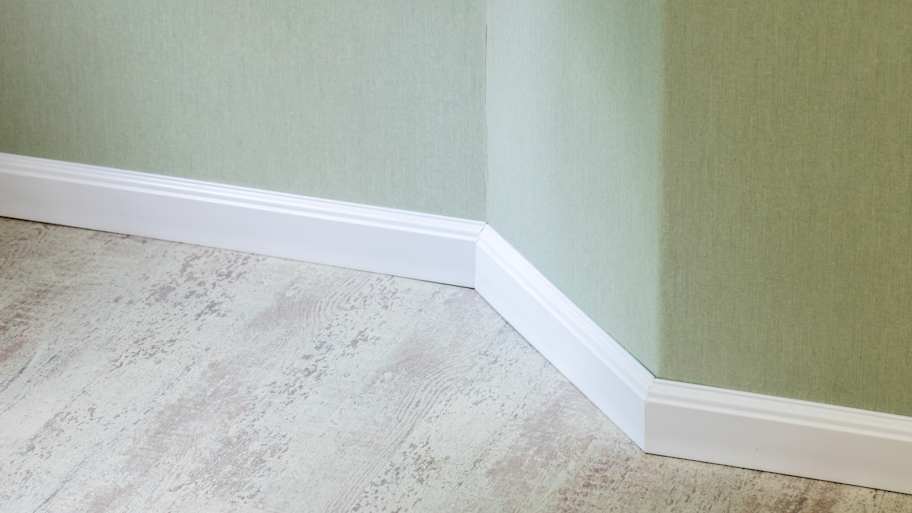
Learn how to close gaps between your floor and baseboard with caulk, molding, or strips. Discover the best methods for different gap sizes in this DIY guide.
Installing foam crown molding is a cost-effective way to elevate your home. Costs can be kept low by matching molding to existing wall colors and doing some DIY work.

Crown molding sizes aren’t standardized. In fact, the right size for your space depends on the ceiling height, room size, and your home’s style.