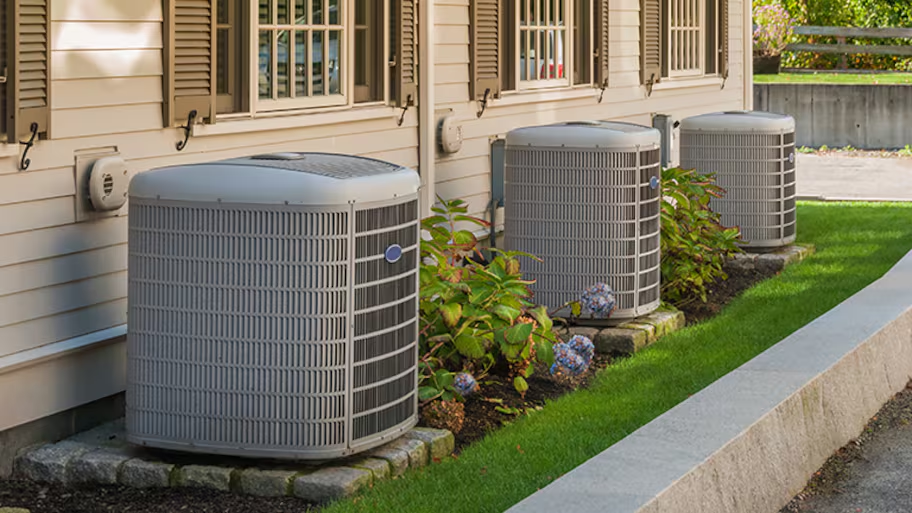
HVAC replacement costs depend on a lot of factors, like unit type, size, and labor. See what you can expect to pay for HVAC replacement here.
This project is doable with the right tools


HVAC systems can sometimes feel like a maze of confusing parts. Don’t worry if you don’t know how to connect flex ducts to rigid ducts—doing so is easier than it sounds. In this straightforward guide, we'll show you the practical, no-nonsense way to make this connection.
To get ready for this project, you will start by unrolling the flex duct on a flat surface. You can use a utility knife to trim any excess length if necessary. Take your time here and be careful not to damage the inner lining of the duct while cutting. Once you have the correct length, gently stretch out the flex duct to its full extension—doing so helps in achieving a smoother airflow within the duct.
The best part about this project is you can just dive right in. The first main step is to attach the duct connector to the flex duct. Don’t rush this step—a snug fit is essential for a seamless connection. Carefully slide the duct connector onto the end of the flex duct. It should fit snugly, creating a firm bond. If, by any chance, the connector is slightly larger than the flex duct, don’t panic. You can use trusty duct tape to secure it temporarily. Wrapping it around the junction point ensures that the connection holds up well during the subsequent steps.
Moving on to the rigid duct, precision is your best friend here. Start by double-checking the measurements to ensure it’s cut precisely to the appropriate length for your HVAC system. Rigid ducts, typically crafted from galvanized steel or aluminum, boast durability and rust resistance. Given their sturdy build, they form the backbone of your ductwork. Avoid gaps and misalignments during installation by being meticulous with your measurements. This attention to detail ensures seamless integration with the flex duct and a trouble-free airflow system.

With both the flex duct and the rigid duct prepared, it's time to bring them together. Carefully insert the end of the flex duct, complete with the attached connector, into the awaiting rigid duct. Push the flex duct in as far as it can go, ensuring an exceptionally tight fit.
If you find that the fit is slightly looser than you’d prefer, worry not. You can opt for foil-backed tape, which, when wound around the connection multiple times, guarantees a secure and airtight joint. Alternatively, metal clamps offer a robust solution. Place them over the connection point and tighten them using a screwdriver or drill. This additional step ensures that your connection remains steadfast under the demands of your HVAC system.
Sealing the connection will help you prevent any pesky air leakages. Whether you opt for the reliability of duct tape or the robust grip of metal clamps, the key is in the details. If you choose the tape route, wrap it meticulously around the connection point, ensuring it's not just tight but also secure. Multiple layers might be necessary to create an airtight seal. On the other hand, if you prefer the sturdiness of metal clamps, position them over the connection, ready to be tightened. Use a screwdriver or drill to secure them firmly in place. This meticulous approach guarantees that your duct connection is a fortress against any air seepage.
Once you seal the connection, it’s time for a careful inspection to test for air leakage. Run your fingers along the connection, checking for any gaps or loose fittings. These are the usual suspects when it comes to air leakages.
Next, with your HVAC system briefly running, perform a tactile inspection. Feel around the connection points to ensure there are no drafts, indicating a successful connection. If everything appears secure and airtight, you successfully connected a flex duct to a rigid duct, enhancing the efficiency of your HVAC system.
If your setup requires multiple connections, fear not. The process remains the same for each one, but take your time with each connection, applying the same meticulous approach to ensure that they are all secure and airtight. Consistency in your technique ensures a uniform and efficient airflow throughout your ductwork system.

While optional, adding insulation around the connected ducts can significantly enhance the efficiency of your HVAC system. Especially if your ductwork resides in unconditioned spaces such as attics or crawlspaces, insulation acts as a buffer, maintaining the temperature of the air as it travels through the ductwork. This additional layer prevents heat loss during winters and keeps the cool air in during summers. It’s a simple yet effective way to maximize the efficiency of your HVAC system, ensuring your home remains comfortable all year round.
Once your flex ducts are seamlessly connected to the rigid ducts, your job isn’t completely over. Regular maintenance and cleaning is the key to ensuring the longevity and efficiency of your HVAC system. Maintenance needs can vary based on the type of ductwork.
Periodically inspect the connections, even if there are no noticeable issues. Over time, wear and tear can occur naturally. Look out for tears in the flex duct or any signs of rust on the rigid duct. Prompt repairs are your best defense against potential major issues in the future. By staying vigilant and addressing minor concerns as they arise, you not only ensure the uninterrupted operation of your HVAC system but also extend its lifespan significantly. If you prefer to outsource this task, make sure you budget for air duct cleaning costs.
Hiring a professional duct installer near you to connect flex ducts to rigid ducts can provide convenience and expertise, ensuring the job is done efficiently and correctly. Professionals typically charge between $200 to $500 for labor, depending on the complexity of the project and local labor rates. When factoring in materials, the total cost could range from $400 to $800.
On the other hand, opting for a DIY approach can significantly reduce costs. Materials for the project, including flex ducts, rigid ducts, connectors, clamps, and tape, may cost between $100 to $300, depending on the quality and quantity of the items purchased. With DIY, homeowners only need to invest in materials and tools, saving a substantial amount of money. While it requires time, patience, and careful attention to detail, a DIY approach empowers homeowners to complete the task for a total cost ranging from $100 to $300.
From average costs to expert advice, get all the answers you need to get your job done.

HVAC replacement costs depend on a lot of factors, like unit type, size, and labor. See what you can expect to pay for HVAC replacement here.

Find out the average humidifier repair cost, what impacts pricing, and how to save. Get expert tips to budget for your humidifier repair.

Discover the primary whole-house air filtration system cost factors when installing one in your home to help remove airborne contaminants and allergens.

A problem with your heat pump can lead to a house that’s too cold or too hot. Learn the most common heat pump problems—including any weird noises—and their solutions.

If you need to repair a gas boiler or radiator heating system, you should first talk to a pro. Here are the top radiator repair questions you should ask.

Learn how to add Freon to your AC unit with our step-by-step guide, and keep your home cool with a properly functioning AC unit.