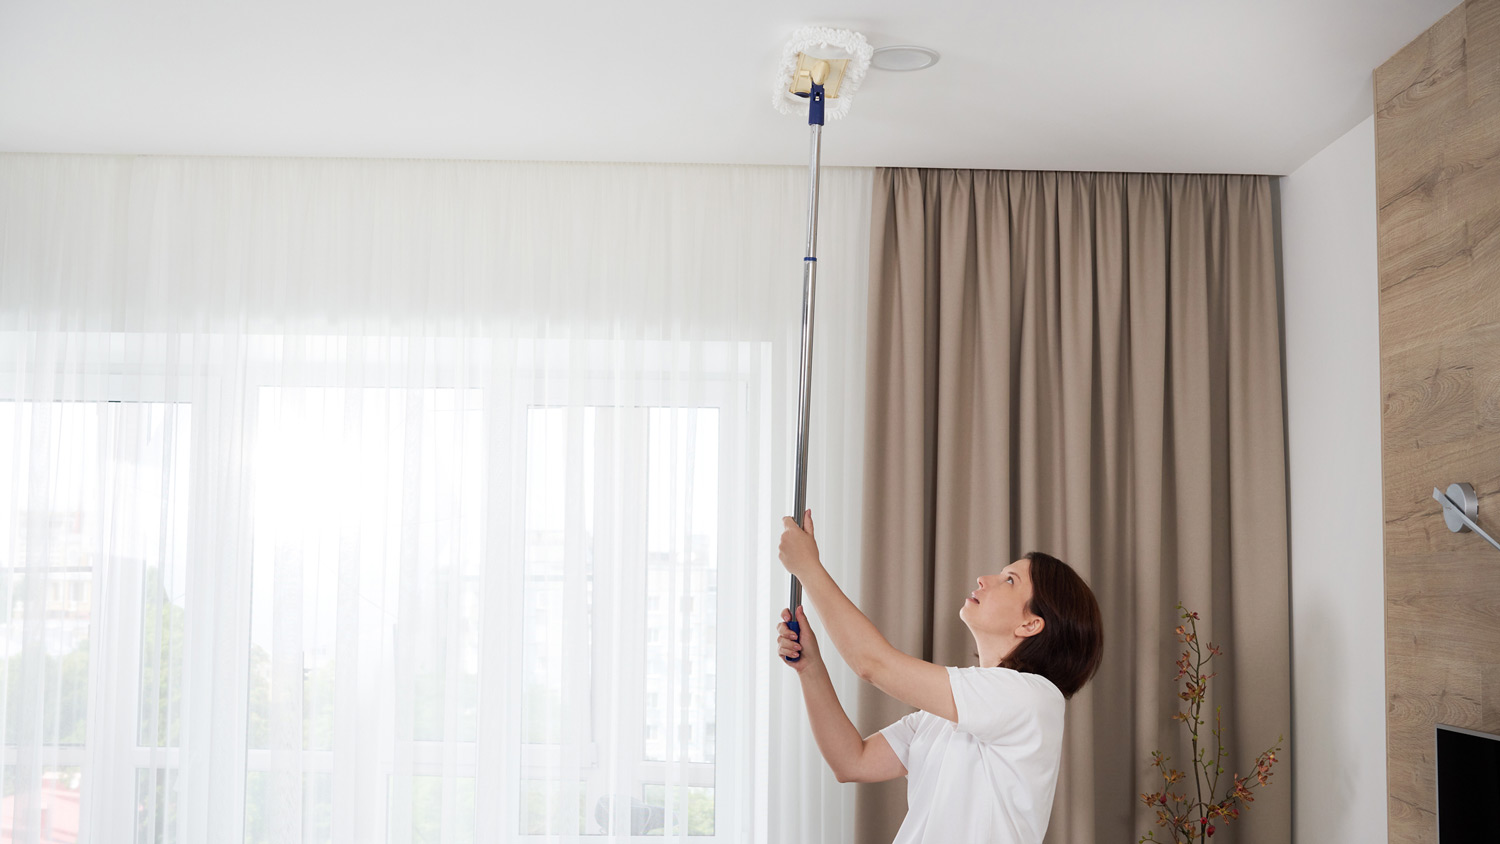
Discover the average acoustic ceiling cleaning cost, what affects pricing, and how to save. Get expert tips to budget for your acoustic ceiling cleaning project.
If you can’t remember the last time you cleaned your keyboard, this is your sign to do it


It can be agitating to type up an email, only to have the E key stick, leaving your professional note riddled with typos. We spend a lot of time with our keyboards, so they tend to accumulate the crumbs from our lunches and snacks, grease or the natural oils of our fingertips, and dust.
This buildup of grime can be a little ick, not to mention it can also keep your keyboard from working they way it is supposed to. If it’s in need of some TLC, here’s how to clean a keyboard inside and out.

From the croutons on your lunchtime salad to the oat pieces that fall off your afternoon granola bar, a lot of crumbs can make their way into your keyboard each day. Not only that, but dust and debris can also get into the many crevices of a keyboard, leading the keys to stick and causing this device to not work as it should. Without regular cleanings, you may need to replace your keyboard sooner.
Cleaning a keyboard is inexpensive, especially if you keep up with regular cleanings. Whether you buy a keyboard cleaning kit with brushes and gels or use supplies you have around the house like tape or cotton swabs, cleaning a keyboard costs less than $25.
Even when the top of the keyboard looks clean, under the keys can be filled with crumbs and dust, making typing more difficult. Your keyboard should be wiped off once a week and deep cleaned once a month or when you notice any of the following:
Visible dirt, dust, crumbs, fur, or other particles on the keys
Keys that stick, skip, or stop working
Fingerprints on the keys or keyboard
Oil, grease, or liquid stains on the keyboard

Before you start cleaning, make sure to turn off the keyboard and unplug it. For laptops, make sure the device is powered down and unplugged from the charger.
Whether you have a standalone keyboard or a laptop, simply turn the object upside down. Don’t shake it around, which can damage the hardware. Instead, flip it over and gently tap it, which will dislodge some of the crumbs and dirt. This method is ideal if you hear something rattling or as the first step to a deeper clean.
Our keyboards can collect a lot of dust, especially as our skin sheds cells or the cat decides to make your computer its bed for an afternoon nap. Use a damp microfiber cloth to wipe away dust, fur, and other debris on the keyboard, then follow up with a dry microfiber cloth. To banish germs, follow up with a disinfecting wipe.
A brush for your hair, a brush for your teeth, and a brush for … your keyboard? You can buy keyboard brushes, which have bristles that reach deep between the keys to dislodge the buildup. These brushes typically come in a kit with other keyboard cleaning tools for about $5 to $10.
If you want to spend less, you can also use a new toothbrush reserved for keyboard cleaning or a bottle brush to gently scrub between the keys.
For about $20 to $40, you can buy a vacuum designed specifically to suck up dirt from keyboards. These tiny vacuums plug into the USB of your computer (meaning you will want to turn the laptop back on if you plan to clean with this method) for power. Simply run the vacuum along the keys to remove any loose dirt.
Keyboard cleaning gel, sometimes called slime, is a putty substance that you can press gently over the keys, working in small sections at a time. Dust and dirt particles stick to the gel, which costs about $5 to $10 per tub.
Alternatively, you can just grab a piece of tape off your desk. Fold the tape in half so both sides are sticky, then slide it between keys to collect dirt. This may not work as well or as quickly as cleaning gel, but it will work in a pinch with some patience.
To clean the top of the keyboard and between keys, you can use a cotton swab to collect dust. With a dry cotton swab or a cotton swab dipped in rubbing alcohol, run the swab over and between keys. Use a fresh swab as the cotton end gets dirty.
To reach deep between the keys, compressed air is an ideal solution. This product comes with a long, narrow nozzle that shoots air between and under the keys to clean them. Position the spray toward the keyboard at less than a 40-degree angle, and follow the package instructions closely to prevent damaging the keyboard.

If you want your keyboard to stay clean and in working order, you’ll want to give it a little extra attention day to day.
When lunchtime rolls around or it’s time for an afternoon snack, step away from the computer. Take an actual break at a table, not your desk, or outside. Not only will this give your eyes a break, but it also means the crumbles from your protein bar won’t fall into the gaps between the keys.
Mark the end of the work week with a tidy desk and spotless keyboard. Before logging off for the weekend, use a damp microfiber cloth to wipe down the keyboard and other parts of the computer. This will help pick up dust particles, preventing them from building up between and underneath the keys.
If you want to keep those oily fingerprints at bay, you can use a disinfecting wipe once per week to clean the keyboard. This will help beat grease and grime and clean up any bacteria transferred from your hands to the keyboard.
Each week, make a note to wipe down and disinfect the keyboard. Then, plan to give it a deeper cleaning about once per month using whichever methods you prefer or a combination of vacuuming, spraying with a can of air, turning it upside down, and cleaning with cotton swabs.
There are a few different ways to clean under the keys of a keyboard. To start, you can simply turn the keyboard upside down, and crumbs and other debris may come loose. Then, you can use a piece of tape, a keyboard slime product, or a cotton swab to reach the gunk between and under the keyboard keys. For keyboards with extra-small gaps between keys, consider a can of air spray to blow grime out of the keyboard.
Check your computer or keyboard manual before trying to remove keyboard keys. While some keyboards have keys that will pop off, most modern computers—especially laptops—are not designed for the keyboard keys to come loose.
From average costs to expert advice, get all the answers you need to get your job done.

Discover the average acoustic ceiling cleaning cost, what affects pricing, and how to save. Get expert tips to budget for your acoustic ceiling cleaning project.

Discover the average kitchen hood cleaning cost, what impacts pricing, and how to budget for this essential maintenance. Get tips to save and keep your kitchen safe.

Tile and grout cleaning brings your tiled rooms back to life. In this guide, find out the details of how much it costs to hire tile and grout cleaners.

Construction can leave your home a mess. Use our post-construction cleaning checklist so you can enjoy your updated home free of dust and debris.

Learn how to make your home safe for little ones with this comprehensive childproofing checklist.

A professional organizer can help you declutter your home effectively and keep it that way. Explore the numerous benefits of hiring a professional organizer.