
Discover deep freezer costs, including installation, maintenance, and repair expenses. Learn what impacts pricing and how to save on your next deep freezer.
Now's the time to toss those freezer-burned Brussels sprouts

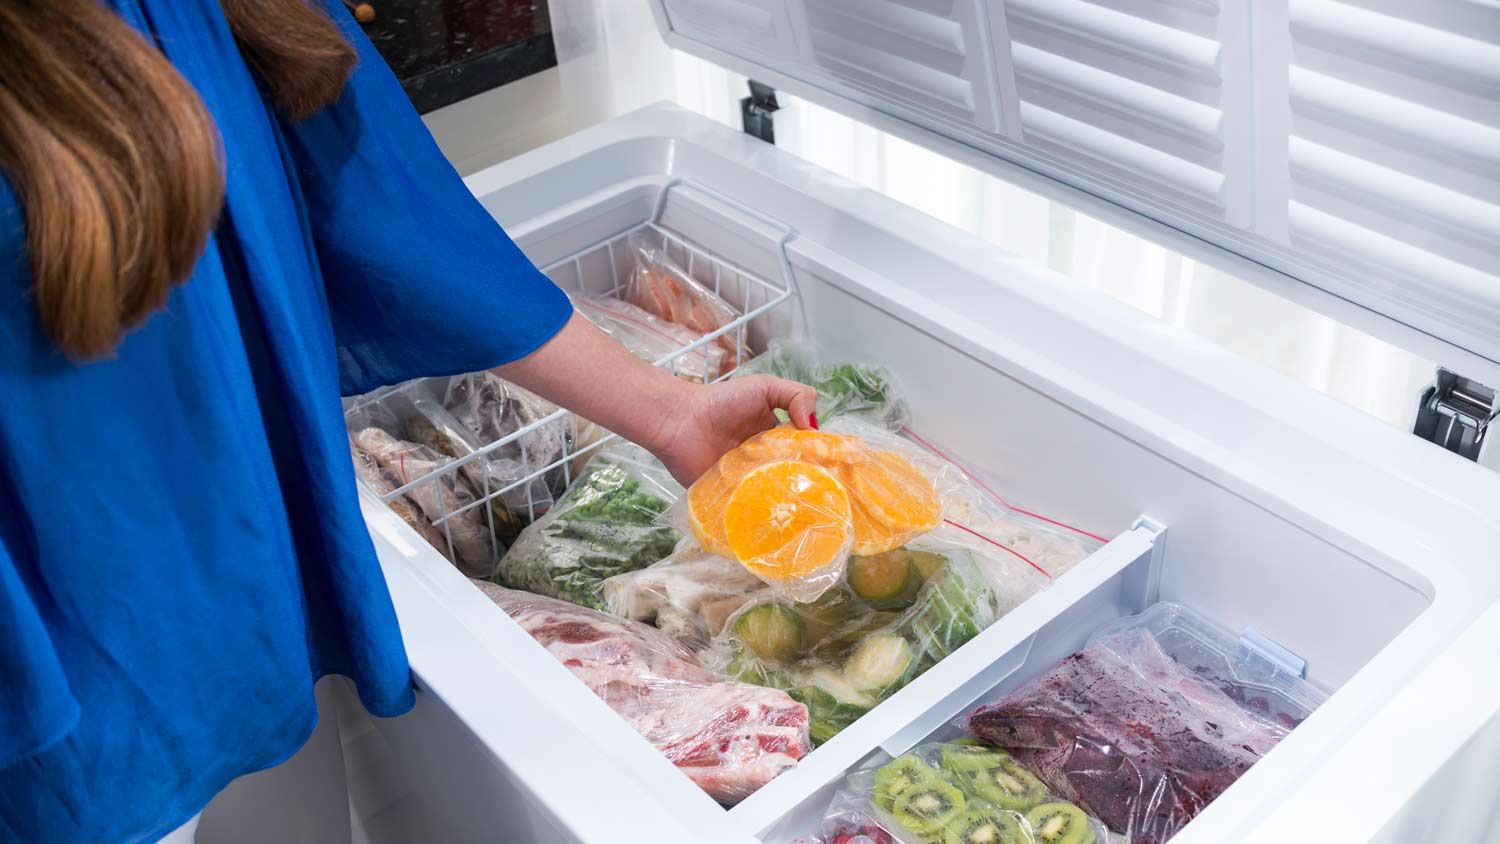
If you can’t remember the last time you deep cleaned your freezer, now is your chance to check this task off your home maintenance to-do list. After removing all of the ice cream, frozen vegetables, and ice packs from the freezer, use this step-by-step guide to make it look new again. Follow these steps to learn how to clean your freezer and keep it looking fresh.
Before you start tossing out food and scrubbing away frozen gunk on the freezer shelves, you’ll want to prep the freezer correctly. Certain freezers may need to defrost thoroughly and frequently before you start cleaning and sanitizing.
There are general techniques for cleaning all freezers but look at the manufacturer's instructions before starting for model-specific tips. The manual will also recommend how often to deep clean your freezer, but it’s usually twice per year.
If you have a stand-alone freezer or older model, you’ll need to take extra steps, like letting the freezer thaw out for a few days. However, most people with modern freezers can get to work shortly after unplugging or turning off the freezer.
All food has a shelf life, and it's not as long as you may think. The U.S. Food and Drug Administration (FDA) has a handy refrigerator and freezer chart to help you know when to purge:
Raw ground hamburger and stew meat: 3–4 months
Cooked poultry leftovers: 4–6 months
Cooked meat leftovers: 2–3 months
Hot dogs and lunch meats (in freezer wrap): 1–2 months
Frozen casseroles: 3–4 months
Find out if your freezer has a separate on/off switch from the refrigerator. If it doesn't, you’ll need to unplug the appliance. Don’t worry, though. If you leave your refrigerator shut the whole time you clean, the food will stay fresh. According to the FDA, you have four hours before you should worry. Next, dust off your cooler, fill it with ice, and add your frozen foods. The cleaning process should take about an hour or two, depending on the size and condition of your freezer, so the temporary cooler will work well to keep your foods fresh without power.

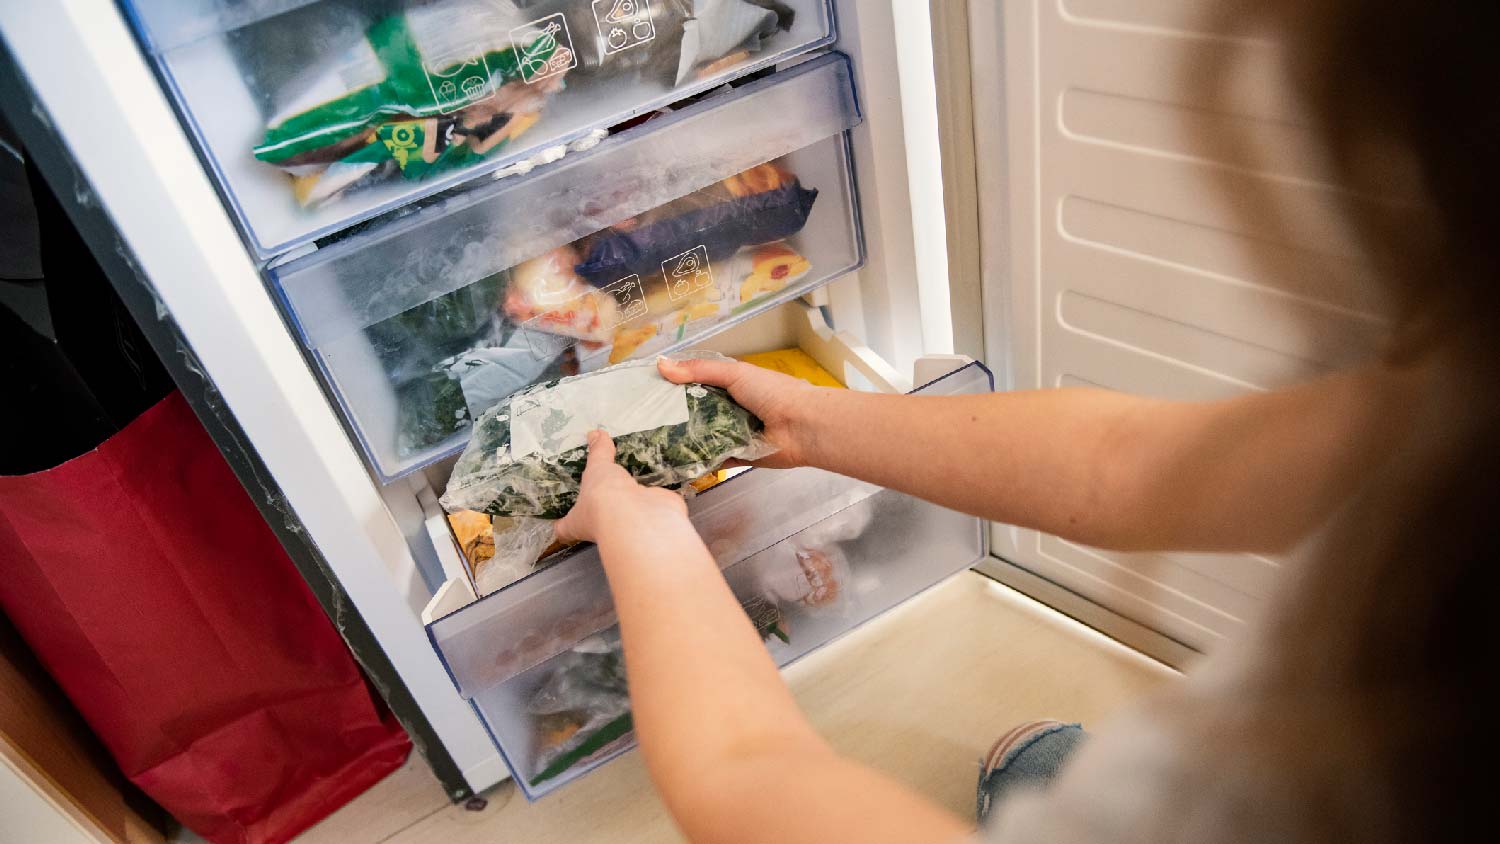
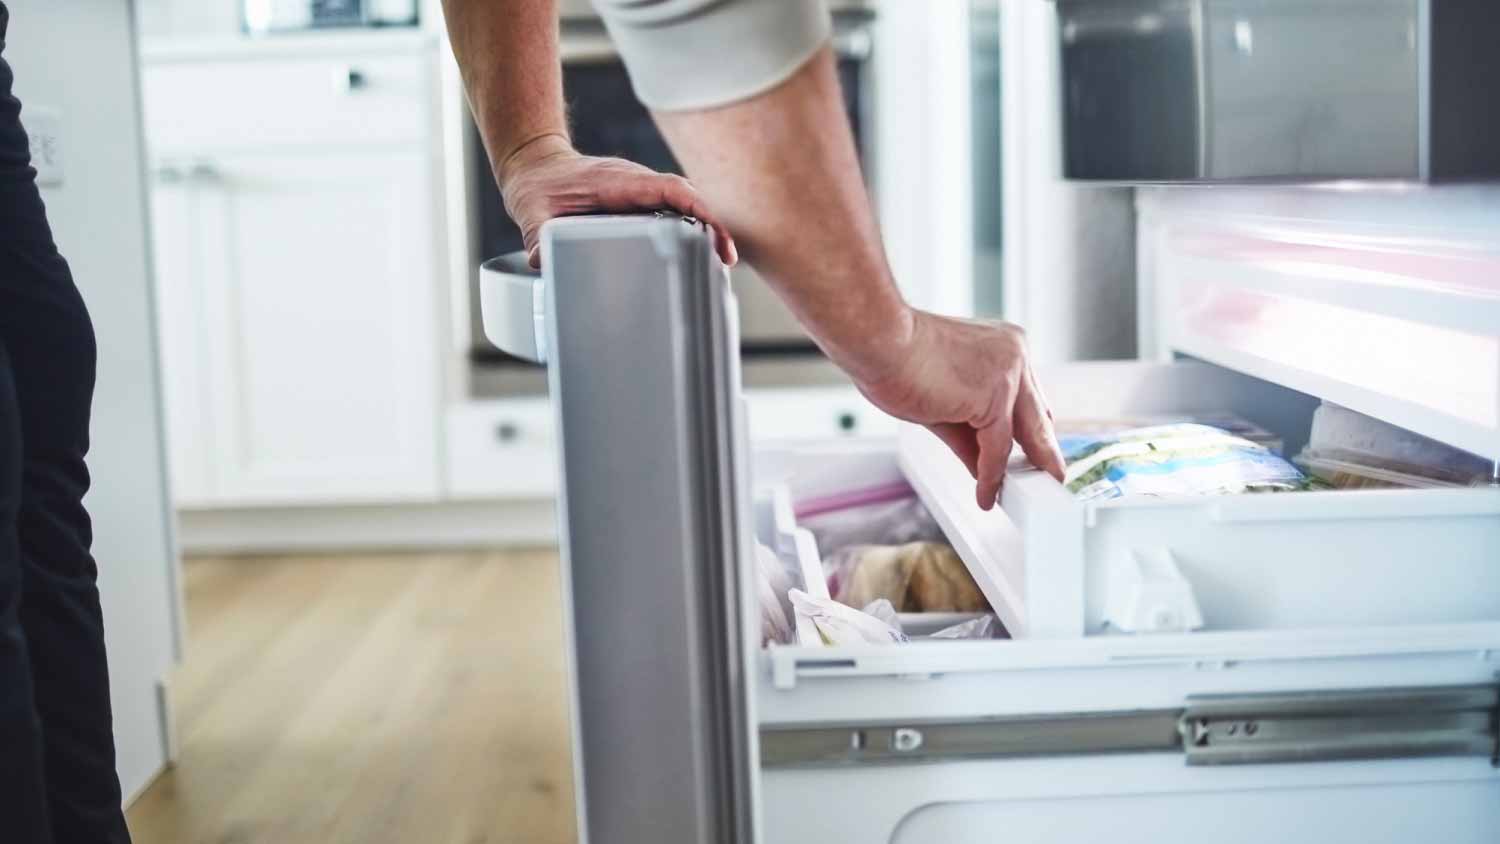
Your freezer probably has shelving, bins, and racks that need cleaning. First, remove every removable item and let them warm up to room temperature, especially if they’re glass. A quick temperature change (freezing to hot water) can crack plastic and glass, so allow them to sit for about 20 minutes.
When cleaning items that are in contact with food, avoid cleaning products with fragrances and chemicals. So, when cleaning your freezer parts, keep it simple with hot water, mild dishwashing soap, and a new sponge. Or you can make homemade cleaning supplies if you need a shot of extra cleaning power for tough spills. Fill a spray bottle with equal parts of vinegar and water and spray the accessories. Then, rinse away the cleaning product under a running faucet. Let everything air-dry or wipe them down with a clean microfiber cloth.

Wash the freezer’s interior with the same cleaning solution, including the walls, top, bottom, and cracks and crevices. If you have stubborn spills, saturate the spots with the vinegar spray, let them soak for a few minutes, and then use a toothbrush to scrub away the grime. Revisit the spot as many times as needed. Make sure to also clean your ice maker, which may require removing it and emptying the ice. Finally, rinse everything with a wet, soap-free towel. Use a microfiber cloth to dry the freezer or let it air-dry.
If your freezer needs extra TLC after washing it with soap and water, mix a solution of 1 tablespoon of liquid chlorine bleach in 1 gallon of water and sanitize the whole freezer, including the accessories. Let the solution sit for about 15 minutes to dry.
Lingering freezer odors can be challenging to eliminate and take a few days to dissipate, so make long-term plans for your freezer and refrigerator items as needed. After washing and sanitizing, leave the door open for up to two days to let the odor escape. If you still can’t get rid of the evidence of past fish dinners, fill a container with clean baking soda, activated charcoal, or cat litter to soak up the odor. Turn the freezer on with the container inside for two to four days for the best results.
Before reloading your freezer, you’ll want it to resume the perfect temperature (check your manual, but it’s usually about 0 degrees Fahrenheit). Check your cooler to see how your frozen foods are doing since the freezer can take an hour or more to get back to its chilly state.
After the accessories and interior are dry, the odor is banished, and you’ve reinstalled the parts, it's time to reload your food. You can maximize your space with shelving and bin organization similar to these fridge organization tips.
If you want to go the extra mile and extend your freezer’s lifespan, clean your refrigerator coils and wipe down the exterior, especially the top of the fridge. If you have a stainless steel appliance, use a product specially formulated to clean that type of finish.
Cleaning and sanitizing your freezer isn’t the most glamorous job, but it’s typically a manageable DIY project that doesn’t require many supplies. However, you can also opt to hire a home cleaning pro near you to clean your kitchen appliances and other parts of your house that are tricky to clean. The average cost for home cleaning is between $30 to $%0 per hour, depending on the frequency and general needs. Deep cleaning appliances typically falls on the higher end of the range, but keep in mind they’ll also usually run through an entire kitchen cleaning checklist.
Between visits, you can maintain your freezer by wiping up small leaks and spills and disposing of expired food.
I had FabClean 614 clean my apartment, and she did an outstanding job. She was so professional and efficient. My apartment looks absolutely spotless every surface, every corner, all cleaned to perfection. Definitely highly recommend FabClean 614 if you're looking for top-notch cleaning...
Best cleaning I've had at my property
Fantastic group, very communicative, and they really did a great job cleaning my condo. Will be hiring them for recurring cleaning!
100% satisfied with the work done by Supreme Brick & Chimney. Josh responded to my Angi request very quickly and squeezed our house into his schedule only a couple business days out. The chimney cleaning process was extremely clean with ZERO dirt going anywhere besides in Josh's vacuum. Very...
 Supreme brick & chimney
On time, clean and finished fast. Windows seem sturdy and the finish is good. Caulking was done with no smudges. Would recommend.
Great job...edging and pre clean up went well with a great job with seal coat. Friendly, efficient and professional.
 All Star Paving and Sealing
Mary Cleaning Service is fantastic! The entire team is professional and pay a great deal of attention to detail. They do such a thorough job of cleaning my house. I would definitely recommend!
It was just fine. They did a good job. They cleaned what needed to be cleaned.
 Dezired Cleaners LLC
They cleaned my very dirty basement. They were prompts, quick, thorough and their price was fair.
Excellent! We were very satisfied with the service provided and the entire experience from start to finish. Very friendly and professional staff. I was able to instantly get in contact with them for a quote and the response time and overall communication remained quick and easy throughout the...
 Prime Cleaning Service
From average costs to expert advice, get all the answers you need to get your job done.
Discover deep freezer costs, including installation, maintenance, and repair expenses. Learn what impacts pricing and how to save on your next deep freezer.

Maintaining your refrigerator is one secret to avoiding costly repairs. Follow these 10 easy tips to keep your fridge and freezer cool, clean, and odor-free.

Follow these simple maintenance tips to avoid refrigerator repairs, and steer clear of costly service calls and the expense of replacing your refrigerator.
Each part of your freezer plays a role in keeping your food cold and safe. Learn the parts of a freezer, when to repair them, and when to call a pro.
Your freezer might leak for several reasons, including problems with the temperature, coils, and water line. This simple guide will help you troubleshoot a freezer leak.

To properly care for your refrigerator and keep it running as long as possible, you need a regular refrigerator maintenance and cleaning schedule. We offer tips to help you tackle refrigerator upkeep.