

A dryer vent cleaning cost averages about $140 when done by a professional. Read our tips to understand the key cost factors involved in dryer vent cleaning.
Keep your laundry from going up in smoke with regular dryer vent clean-outs


What's one of the best ways to prevent a fire in your home? Knowing how to clean your dryer vent. Every time you dry a load of laundry, lint, which is made up of hair, dust, and fabric fibers, falls off your garments. The little fibers are similar to kindling and can catch fire if left to buildup in the vents. To keep that from happening, follow this step-by-step guide to cleaning your dryer vents (using a dryer vent cleaning kit) in less than one hour.
Knowing when your dryer needs cleaning is just as important as knowing what a dryer vent is in the first place. The odds are it needs attention if it hasn’t been cleaned in about a year. Also look for signs like long drying times or garments with a musty smell, a unit that is hot to the touch after a cycle and produces a burning smell, or clothes that are way too hot.
Finally, check the dryer vent hood outside your home. If it’s packed with lint, you’ll know the issue needs addressing. From there, you can decide whether to do this task yourself or hire a dryer vent cleaning pro near you.
A blocked or dirty dryer vent can pose a fire hazard to your home. When lint accumulates in the vent, the heat from your dryer could cause the lint to combust, triggering a spark that can start a fire. That’s why having your dryer vent professionally cleaned every year is so important.


Next, it’s time to disconnect and clean the dryer duct. Start by unplugging the power cord to the dryer and turning off the gas supply valve if you have a gas dryer.
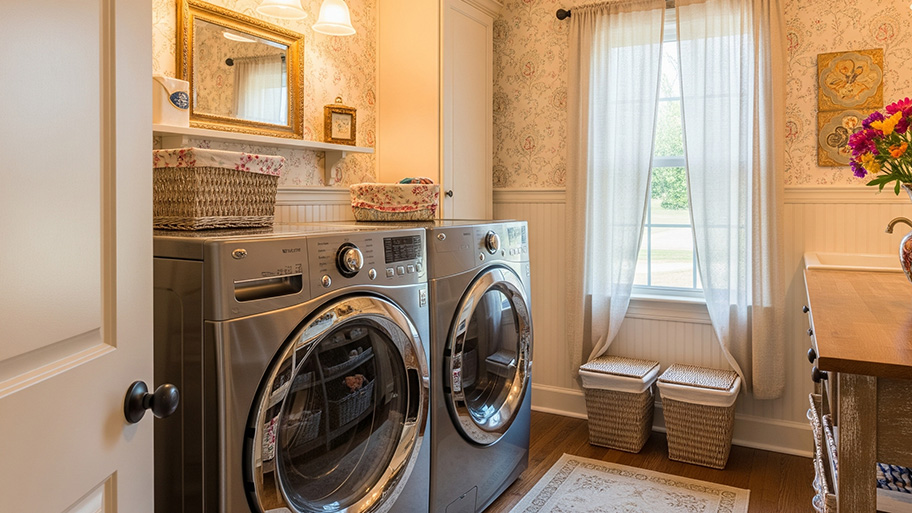
Gently shimmy the dryer away from the wall so you can reach the duct without damaging it. Look for the band clamp that connects the flexible dryer duct to the duct that’s built into the house. Use a screwdriver to loosen the band clamp and disconnect the ducts.
Inspect the flexible duct (attached to the dryer) for severe dents, cracks, or holes, and replace it if necessary. Damage to this part of the duct can increase fire risk while also decreasing the drying power of your unit. Slight kinks in the duct can be gently molded back into place using your hands.

Next, look inside this piece of flexible duct. You will probably notice a visible build-up of lint around the interior walls, especially if it’s been a while since your ducts have been cleaned. Working one side at a time, place the vacuum hose attachment into the vent, pushing as far in as possible to remove any blockages.
If you’re not able to reach the center, use the flexible rods that are in most dryer vent cleaning kits to get to these spots. One rod on its own will reach up to 12 feet into your dryer vent, but you can connect two together with electrical tape to get in even further. Before inserting, attach a rotating bristle brush (also found in the kit) to one end of the rod, and a drill to the opposite end. Place inside the vent until you reach the desired point, then activate the drill to turn the brush, pulling it toward you as you work to remove lint all along the vent hose.

A dryer vent cleaning kit lets you reach deep into the ductwork, often up to about 12 feet. The kit should have a brush on one end that rotates when activated. The opposite end of the vent cleaner connects to a standard power drill.
Follow the kit's instructions to set up the dryer vent cleaner. Most kits contain several rods that connect together, forming one long rod. You may want to secure the rods together with electrical tape to ensure a good hold before sliding the cleaning attachment into the duct.
Attach the drill adapter to the end of the rod. Make your way over to the duct opening in the wall and partially push the brush end of the rod into the duct. Set your drill to rotate clockwise, as a counterclockwise rotation will cause the vent cleaner rods to detach.
Once the vent cleaner is fully inserted into the vent, slowly press on the drill trigger. Use a medium speed on the drill, not too fast and not too slow.
Gently glide the brush through the vent. You'll see lint and other dryer debris start to come out of the vent opening. After you've cleared out the vent, vacuum up any debris that has spilled out.
If you don’t have a power drill or feel comfortable tackling this process on your own, consider hiring a professional for routine cleaning.

Before reattaching all the ductwork and finishing the job, it’s a good idea to clean out the exterior dryer exhaust port to remove any lint that may have accumulated there.
To do this, find the dryer exhaust port on the exterior of your home. This may be located on the roof in some cases.
Remove the port cover using a drill or screwdriver. Take a warm damp cloth to the cover to wash away caked-on lint. Put the cover back on and screw it back into place.
Finally, go back to your dryer unit and reattach the flexible duct and the wall duct with the band clamp.
Once everything is secure, plug the electricity and gas ports back in and give your dryer a test run to make sure everything works properly. Adjust as needed and gently maneuver the dryer back into place.
Cleaning your dryer vent on your own can save you a bit of money, but is it worth the effort? It depends on the length of your dryer ducts, their location, and how comfortable you are using a power drill. If you have the tools and you know what you’re doing, you’ll spend as little as $20 to $30 for a dryer kit compared to the $100 to $180 a pro will charge in dryer vent cleaning costs.
However, there are a few factors that will clue you into whether it’s better to DIY or go pro, like the length of your dryer ductwork. Most dryer vent cleaning kits extend about 12 feet. If your ductwork is longer than that, you'll need a professional to reach all the way in. The same is true if there are a lot of bends or curves in your ducts, or if the exterior opening of your dryer vent is near the roof and a ladder is needed to access it. Whenever safety is a doubt or lack of knowledge a limitation, don’t hesitate to hire a pro instead.
Finally, you may want to call in a pro to save yourself a bit of frustration. Cleaning a dryer vent can be pretty straightforward, but it also involves removing the ducts, using a drill, and then watching as lots of dusty lint comes out of the vent. You may prefer kicking back and relaxing while someone else does the dirty work. Find out who cleans dryer vents and let them take care of it for you.
Amy Freeman contributed to this piece.
From average costs to expert advice, get all the answers you need to get your job done.
A dryer vent cleaning cost averages about $140 when done by a professional. Read our tips to understand the key cost factors involved in dryer vent cleaning.

If you need to move your dryer, or you’re buying a home without proper ductwork, you’ll want to make sure the right pro installs your dryer vent. Read on to find out who installs dryer vents to get the job done quickly and easily.

You might not think much of lint, but it’s actually a major fire hazard. Running your own dryer and dryer vent inspection can help you spot dangerous buildup.

Don’t let a dirty dryer vent cause problems in your home. Not sure how often to clean a dryer vent? Keep reading to learn best practices.

Knowing what questions to ask a dryer cleaning pro can help prepare you for the job. Check out these dryer vent questions before cleaning your dryer vents.
To make sure your dryer is doing its job as efficiently as possible, it may be time for a new dryer vent. Keep reading to learn about dryer venting options.