

•
Find out the average thermostat installation cost, key price factors, and tips to save. Get transparent, expert-backed guidance for your project.
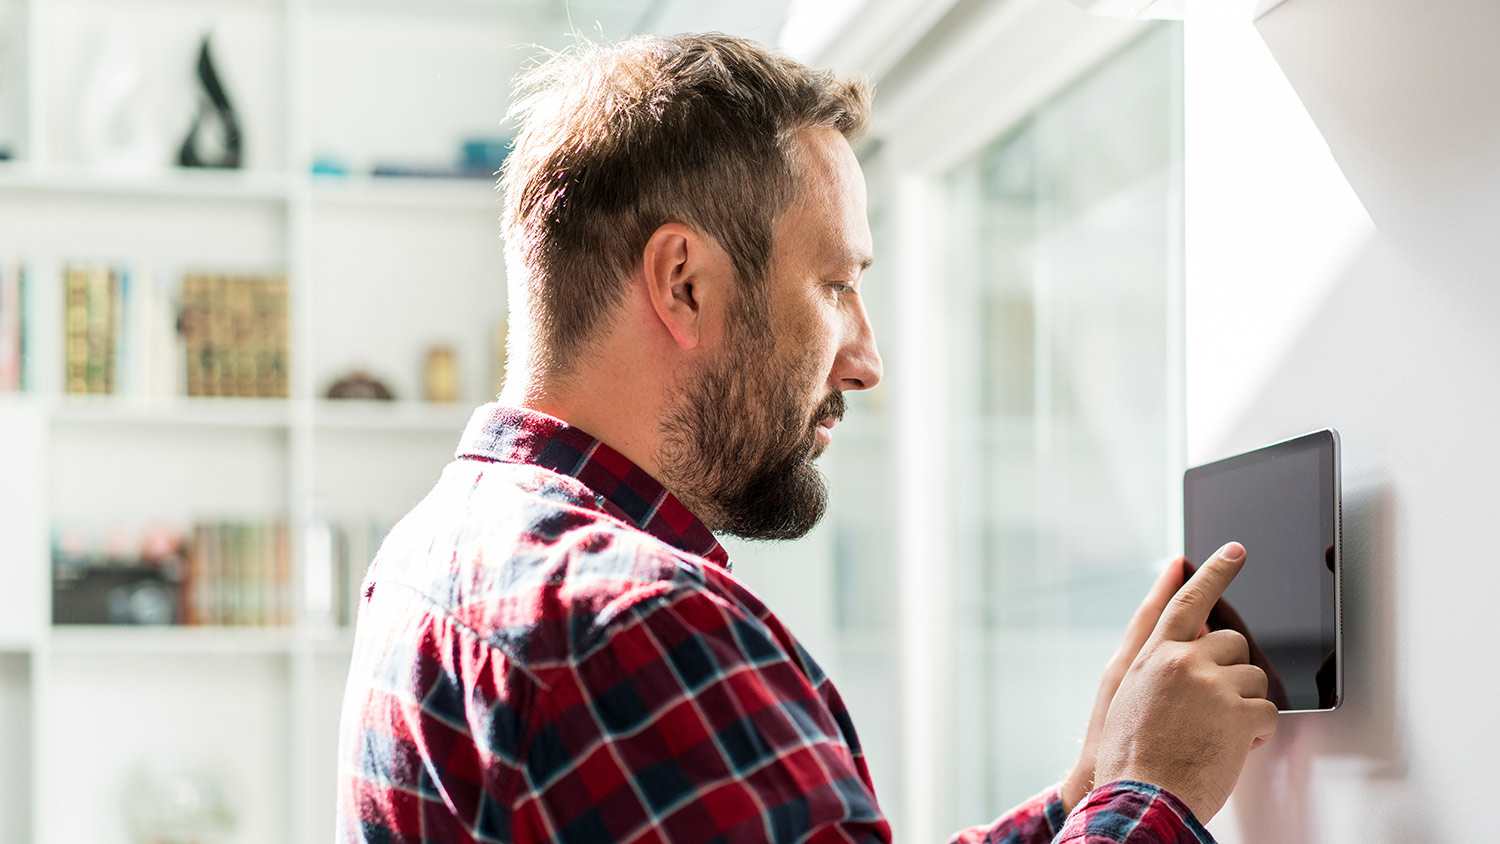
Stay in control of your home's temperature by updating the thermostat
 - Derek Rose.png?impolicy=thumbnail)
The temperature of your home has a huge impact on everyday life. If you're constantly adjusting or arguing with your thermostat, it could be a sign that it's time to replace it. While we don't recommend the DIYing most electrical projects, you can learn how to replace a thermostat on your own by paying close attention to safety and care.
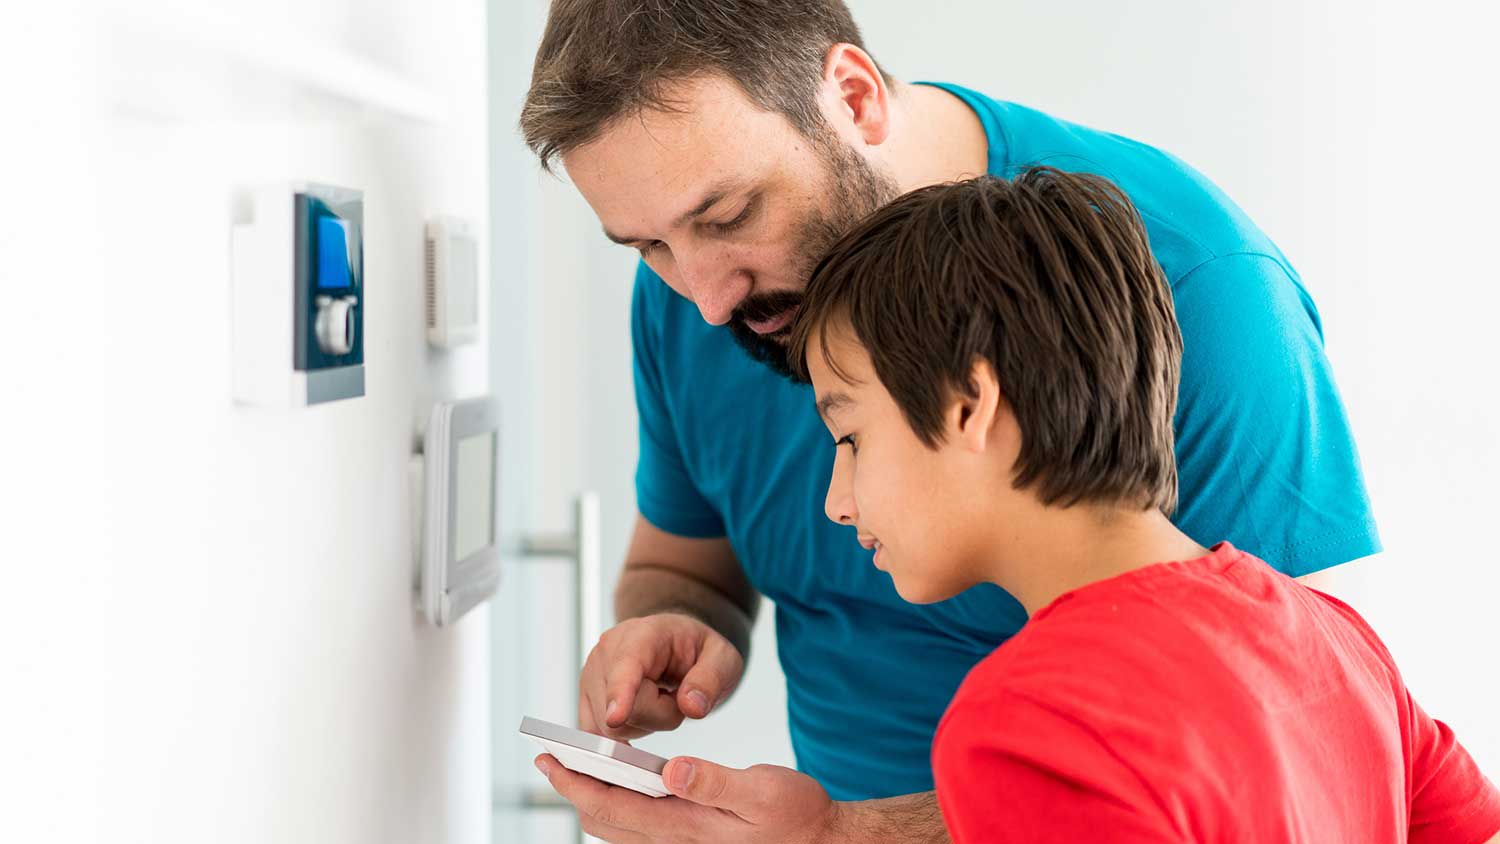
The most important first step in replacing a thermostat is buying a compatible model. Most thermostats list their voltage and wiring details on the back of their faceplates. Local compatibility information in the instruction manual of your new thermostat and speak with a local HVAC company when in doubt.
Depending on the age of your system, home, and even current thermostat hookup, you'll likely have a 24-volt or 240-volt hookup—quite the big difference. Attempting to attach incorrect voltage to your HVAC system is dangerous, and can damage your system.
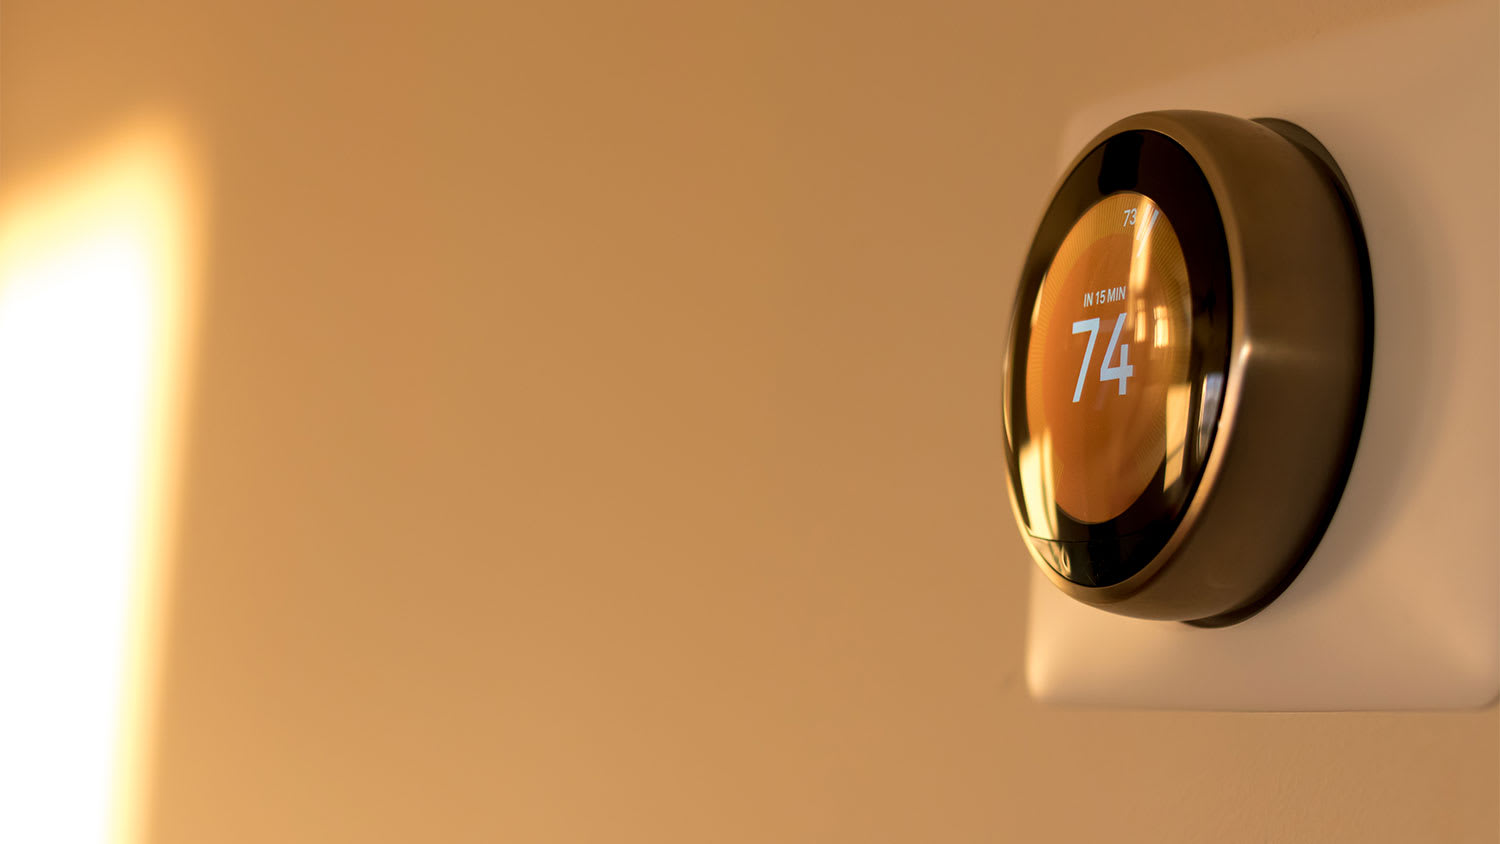
Additionally, upgrading to a smart thermostat from a manual or simple programmable one could require the addition of a C-wire. If you already have a C-wire in your old thermostat—more on this below—proceed as usual. If you need to add a C-wire or find it in the wall, call a professional.
Thermostats share many similarities, but with so many models on the market, it's very important to read the manual. Before breaking out the tools and getting started, sit down and read the manual from front to back. Much like baking a cake, you don't want to get halfway through the project and realize you need a specific tool or more time than expected.
Always begin by cutting the power to your HVAC system and thermostat. Many thermostats have backup battery power, so it may not lose its settings if you're simply checking out the current system before heading to the hardware store.
Look for the power at the main service panel (the HVAC circuit breaker should be clearly labeled). If you are at all in doubt about how to fully cut power to your HVAC system and thermostat, speak with an electrician or local thermostat installer for guidance.

With the power shut down, remove the faceplate from the front of your thermostat control panel. In most models, simply pinch the sides of the faceplate and pull it towards you. Use this moment to double-check the voltage information again on the back of the faceplate to compare it to your new model.
At this point, you should be able to see the wires connected to the current thermostat. Do not remove them quite yet.
If you’re upgrading an older model thermostat, it’s possible you only have two wires currently. But you’ll need five wires—including the C-wire or Common wire—for a smart thermostat. At this point in the project, it might be wise to stop and call in the pros to ensure you have the equipment to meet capacity. They may choose to install a C-wire, a power extender kit, or a 24-volt adapter.
If you see five wires behind the faceplate, this indicates you already have the C-wire, but always check the existing labels to make sure.
In any case, take a picture of the wires and how they relate to the current system. Some wires follow a color-coordination system, but others do not, so you’ll need to take extra precautions to label your wires. Use small pieces of masking tape to mark your wires with a letter to note how it corresponds to the current hookup.
Disconnect the wires from the current thermostat by either unscrewing them with a small screw bit or pressing the corresponding button to release the wire. The setup will depend on the age and type of system.
Safety note: Make sure that the wires do not fall back into the wall when you disconnect them from the thermostat. You can temporarily attach them to a pencil with masking tape or tape them to the wall as you move on to the next step.
Unscrew the base plate and delicately pry it away from your wall. String the wires through the opening of the old baseplate and, yet again, make sure they don't slip into the wall. Retape them if necessary.

Take this moment to determine if you need to fix any areas behind your old thermostat. If your new plate doesn't cover the old area, you may need to add a bit of paint or spackle to make it look smooth.
It's also important to make sure your thermostat is level. Even though new thermostats don’t depend on mercury, it will look best to have a level display. Some models include a built-in level for easy installation, but you can also use a small separate one.
Mark the screw holes with a pencil to stay on track.
String your bundle of wires through the new baseplate and drill the screws into the holes at your pencil marks. If you're working with drywall, attach the base of the drywall screws first and then secure it with a screwdriver.
Attaching new wires to your thermostat will significantly vary by the model. Many new systems make it quite easy for DIY homeowners by including small buttons. Simply press the button to open the connection and place the coordinating wire underneath it. In other cases, you may need to attach the wires to small screw terminals.
We'll say it one more time for the road: if you are not sure how your old wires should correspond to your new system based on the manual, pause and call a professional.
Depending on the instructions in your manual, at this point, you should be able to add new batteries to your thermostat if required. Not all systems include batteries, but some include them as an extra power source.
Snap or screw on the new faceplate according to your new system's instructions. Double-check that everything is attached to the wall properly and in the right alignment.
Flip back on the power and go through the steps in your manual for programming and starting up your system.
There are a couple of common reasons to replace a thermostat, one of which is that it’s outdated and you’re looking to upgrade. Thermostats last 10 years on average but can have plenty of issues before then that might also make you want to get a new one.
Not sure if you’re dealing with signs of a bad thermostat or something else? Here are a few likely signals that your thermostat is to blame for your HVAC woes.
Higher energy bills: If higher-than-normal utility bills have hit you, but you don’t think you’re using more power, it could indicate that your thermostat is on the fritz. It may be relaying incorrect information, causing the HVAC system to run unnecessarily, and spiking your energy bill.
Incorrect temperature readings: As mentioned above, a faulty thermostat can misread the house's temperature. The thermostat might say it’s 68 degrees inside, yet you’re sweating and feel like it’s 75-plus. Use an indoor thermometer to double-check the temperature if you’re unsure.
Frequent temperature changes: Irregular fluctuations from hot to cold indicate that your thermostat is misreading the temperature or changing settings.
Doesn’t respond to adjustments: It doesn’t mean you clicked the wrong button if your thermostat fails to make the temperature adjustments you tried to select. It’s likely a power issue, even something as simple as dead batteries, but it could also spell a larger problem.
HVAC turns on and off: Keep an eye on your thermostat if the HVAC system turns on and off for no discernible reason. It could be a wiring issue, dead batteries, or an old and failing thermostat.
The cost of a thermostat ranges from $15 to $300, depending on whether you buy a non-programmable, programmable, or smart thermostat.
We've included plenty of caveats in this guide, but what does it actually cost to hire a professional to install a thermostat? If you include the price of the new thermostat, labor, and extra work needed for compatibility issues, you'll pay an average of between $100 and $500.
Electricians typically charge $65 to $100 per hour, and most electricians can install a thermostat in under two hours. However, changing a new thermostat incorrectly can blow a fuse, damage the wiring in your wall, or even affect your HVAC. So while the step-by-step process is quite simple, always call in the pros if you're unfamiliar with basic electrical work.
Ginny Bartolone contributed to this article.
I normally do not leave reviews, but my experience with Worthington Air was extremely frustrating and disappointing. About 30 days ago, I had a consultation done for an HVAC replacement and was quoted approximately $15,079. Based on that quote, I applied for financing through their company...
Great company! Price was competitive, technician showed up on time and completed the job (exterior electric Radon fan replacement) quickly. Would hire them again.
Raven and crew does absolutely fantastic job. They are very professional if any concerns were to occur with any of her work she always took responsibility and finished out with a great job. I have worked with her business for a year and have always been satisfied. Very trusted business and...
I would recommend this company to anyone! He showed up on time, was friendly, completed a very difficult repair on our dryer vent cover, was responsive, and pricing was extremely fair and competitive. I would have him back to do any of our repairs or cleanings without hesitation!
Ace Fireplace Services' chimney sweep service is truly exceptional. They used advanced technology to ensure a thorough cleaning process, and my chimney has never looked better. I highly recommend their services.
 Ace Fireplace Services
The technician was very professional and friendly. He answered all my questions and was very thorough. He left the fireplace area very clean . He inspected from the roof and advised me as to other work that might need to be done. There was no pressure there. I was very satisfied with the...
 Supreme brick & chimney
Excellent experience with hiring Tether House to Mount our 77’ Samsung TV in our bedroom. Fast, friendly, and knowledgeable. Highly recommend.
On time, clean and finished fast. Windows seem sturdy and the finish is good. Caulking was done with no smudges. Would recommend.
Great job...edging and pre clean up went well with a great job with seal coat. Friendly, efficient and professional.
 All Star Paving and Sealing
Good workers and they do a good job.
From average costs to expert advice, get all the answers you need to get your job done.
Find out the average thermostat installation cost, key price factors, and tips to save. Get transparent, expert-backed guidance for your project.
Not sure which kind of thermostat is best for your home? Here’s an overview of three types of thermostats so that you can choose the right one for you.

Summer sun or winter snow, a thermostat keeps your home comfortable year-round. But how does a thermostat work? Read this guide to learn more.
Reading a thermostat may seem easy, but it’s essential to maintaining the temperature of your home. Learn more about each thermostat setting.
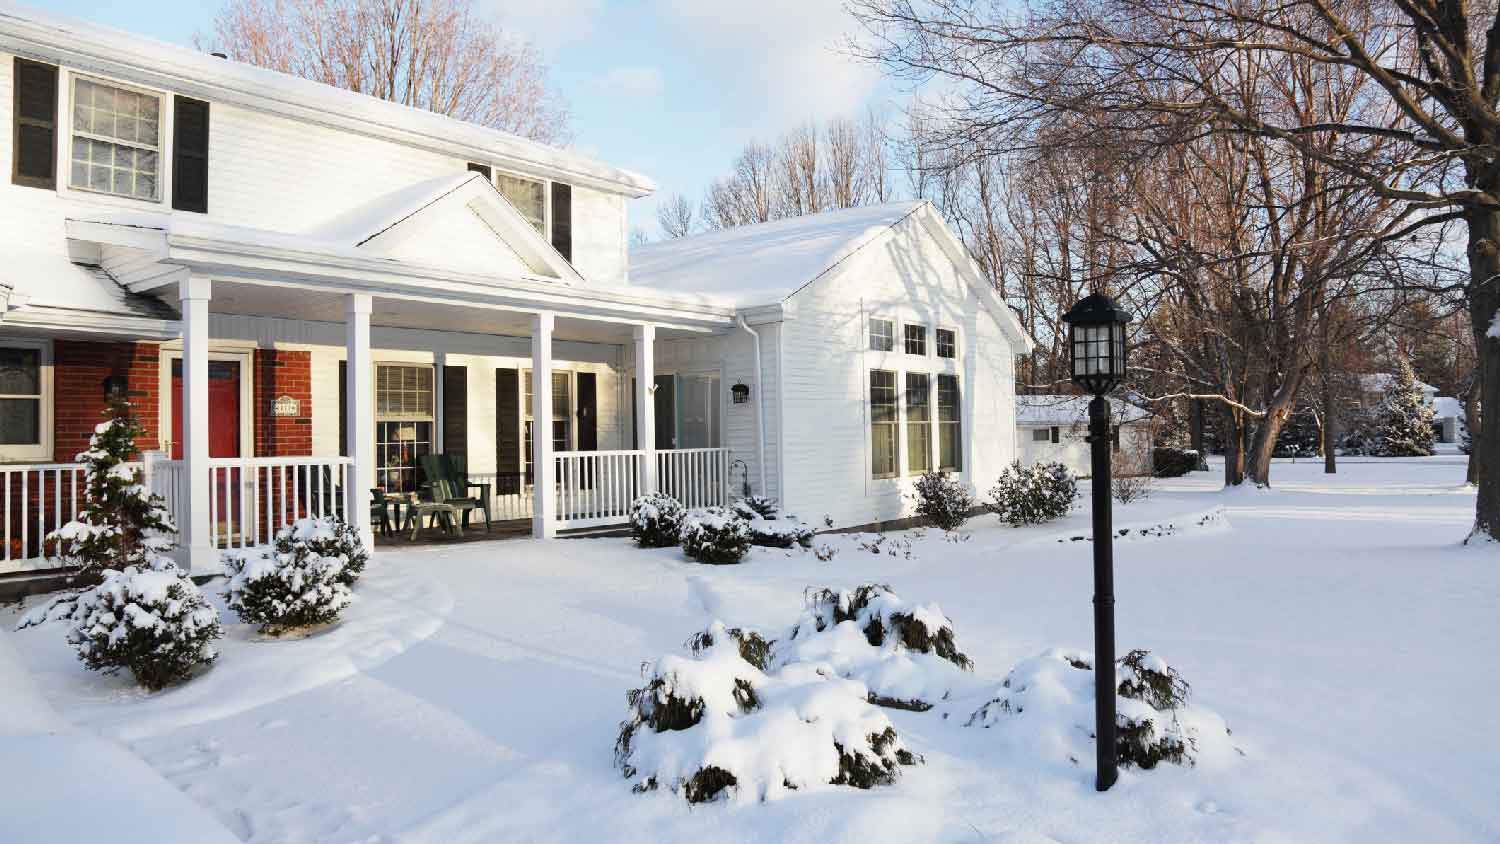
Save on your heating costs while you’re away from home by learning the best temperature to set your thermostat when on vacation in the winter.
Learn how to hire qualified professionals for thermostat replacement. Find the right electrician or HVAC technician with our expert hiring guide.