
•
Discover the cost to install recessed lighting. Discover how price factors, labor, and other considerations can help you save on your lighting project.
How many homeowners does it take to change a recessed light bulb?

Replacing recessed lighting becomes necessary when your bulbs flicker or fail to turn on, and waiting 10 minutes after shutting off power prevents burns.
Turn off the breaker before removing the housing by twisting it down and disconnecting the old bulb cord from your ceiling socket.
Match your new bulb's wattage to the old one or choose a slightly lower option to prevent exceeding your fixture's maximum capacity.
Hiring a local light fixture installation professional provides reliable help with electrical repairs and ensures your recessed lighting works properly after bulb replacement.
From flickering lights to a total blackout, broken light bulbs can cast a shadow on your space. Fortunately, changing a recessed light bulb is a straightforward DIY task. We’ll walk you through the steps to change recessed light bulbs with a cover and housing as well as swapping out simple screw-in bulbs so you can sort out any recessed light bulb repair on your own.
No matter what type of recessed light you’re working with, follow these steps before you start changing the light bulb.
When you’re replacing a recessed light bulb, it’s best to get the same type and wattage as the old one. In some cases, you may be able to swap out different types of light bulbs—for example, changing incandescent bulbs to energy-efficient LEDs; however, it’s important to never exceed the maximum wattage for your light fixture.
If you’re not sure what type of light bulb or wattage to use, wait until you’ve removed the old bulb, then check the base of the bulb for the type and wattage.
Whenever you’re working around electricity, it’s essential to turn off the power before you get started. Head to your breaker box, locate the switch for your recessed light fixture, and turn it off.
Once you’ve turned off the power, wait at least 10 minutes to ensure the light bulb is cool before you remove it.
Changing a recessed light bulb is fairly simple and safe, but some basic safety gear can make it more comfortable. You may want to pick up a pair of gloves, goggles, and a dust mask to prevent any debris from bothering you while you work.

Recessed lighting in living rooms and other decorated spaces often includes a cover and trim to make it more stylish. If you’re changing a light bulb inside a recessed light that has a cover and trim, follow these steps to safely remove it and replace the bulb.
Position your ladder so you can easily reach the light fixture, then use your fingers to gently loosen the housing from the ceiling. You should be able to wiggle it so it comes down a few inches.
If your light fixture includes a painted trim, you can run a utility knife around the outside to loosen the housing. This is where the dust mask and goggles come in handy to protect against your eyes, nose, and mouth from loose paint flakes.
Rotate your recessed light while applying gentle downward pressure to remove it from the ceiling. Some recessed lights may also have prongs to hold them in place—you can squeeze these to release the housing.
Make sure the light bulb is secure while you’re removing the housing, so you don’t have to deal with broken glass if it falls out.
Once you’ve removed the housing, you’ll be able to access the cord in the ceiling. Disconnect the old light bulb cord from the socket, then unscrew the bulb from the housing. Take note of how the cord connects to the socket, so you can follow this process in reverse with the new bulb.
If your area has an electronics recycling program or center, dispose of your old light bulb there.
Screw your new light bulb into the housing, then connect the cord to the ceiling socket. Tuck the extra cord inside the ceiling, so it’s out of the way.
Now that you’ve installed the new bulb, replace the light’s housing. If it twists into the ceiling, turn while applying gentle upward pressure. If the housing has prongs, squeeze them while you push the housing in, then release so they snap into place.
Once the housing is back in place, you’re ready to flip your breaker switch back on and light up the room!

If your recessed light doesn’t have any housing, changing the bulb is similar to most other light fixtures. Here are the basic steps:
Depending on the type of light bulb in your recessed fixture, the light will either be round or sit flush with the can. Round bulbs are generally easy to unscrew—hold gently but firmly and twist counter-clockwise. A pair of gloves can help you get a better grip.
If the lamp sits flush, press your fingertips firmly against the surface while you twist. You can also use a suction cup to create a handle or even some strong tape in a pinch. Turn counter-clockwise, and keep your grip tight so it doesn’t fall.
Replace the old bulb with one that matches the wattage or one that’s slightly lower. Light bulbs are becoming more efficient, so you can usually find a good fit that draws less energy and saves you money.
Turn the new bulb clockwise to tighten it into the socket. Once you’re done, flip the power back on and enjoy your new light.
In most cases, changing a recessed light bulb is a quick and easy DIY project. If you have a screw-in bulb, it should only take a few minutes. Even when you need to remove the housing, it’s still manageable to tackle this task on your own.
You may want to bring in a professional light bulb changing service near you if you have high ceilings that are hard to reach or if you want to make other changes, like installing a new recessed light. If you’ve changed the bulb in your recessed light and you still find that it’s flickering or not working properly, it’s also a good idea to call in a local light fixture company near you to tackle any electrical repairs.
Custom Paint Jobs LLC gave our office a fresh new look. Clients love it!
Best painters in the Greater Columbus, Ohio area. Quality of work second to none and customer service is head above shoulders than everyone else. I cant wait to work on another project with Silvio and Team!
The Mosby team went above and beyond for my project. They not only installed my light fixture; they also worked through an old, wonky, and as it turns out incorrect wiring issue from the work of prior contractors. Professional, thorough, conscientious, and kind. Five star experience. Thank you!
We had a 20+ year old landscape lighting system that needed replacement. Midwest Lightscapes worked with us to design a much improved lighting system, lighting the exterior of the house and the back yard. Installation of the 45 light system took one and one-half days, and went very smoothly....
 Midwest Lightscapes
Jeff was a consummate professional. Responsive, courteous, and focused on meeting our needs. I had a small project of installing and replacing two ceiling light fixtures. He responded to my Home Advisory inquiry within 24 hours and in a span of two weeks our light fixtures were installed. ...
For several months I was looking for somebody to tile a wall in my master bath and move lighting fixtures, and could not find anybody who was responsive. I contacted Rowe through Home Advisor and within days they came by to assess the job and provide an estimate. The cost was very...
A team of 2 spent 5 hours, cleaning top to bottom (removed all light fixture and cleaned.... impressive!!!)
 Luzia's Cleaning
It went very well. I was able to select the color blocks I wanted and where they would be placed in the window. All of the employees were very pleasant and patient. The guys who installed the window arrived promptly, did their job, and there was nothing for me to clean up. The window looks...
 Innovate Home Org - Columbus Glass Block
The initial quoted price from a walk-through seemed high, but we discussed that the quote represented worst case scenario (re-wiring to two floors) and we were excited about the opportunity to have the work done in a timely manner with closing for fire safety reasons, etc. When the job was...
Charlie recommended a separate fan with new lighting to clear steam from the room better. Several weeks ago I contacted Charlie via email to ask about pricing and scheduling, after one follow up he did reply with cost and said it would be about two weeks before he could do the work. I replied...
 Settle Muter Electric
From average costs to expert advice, get all the answers you need to get your job done.
Discover the cost to install recessed lighting. Discover how price factors, labor, and other considerations can help you save on your lighting project.
Installing recessed lighting can be a difficult task, so it’s important to hire the right professional to do the job.
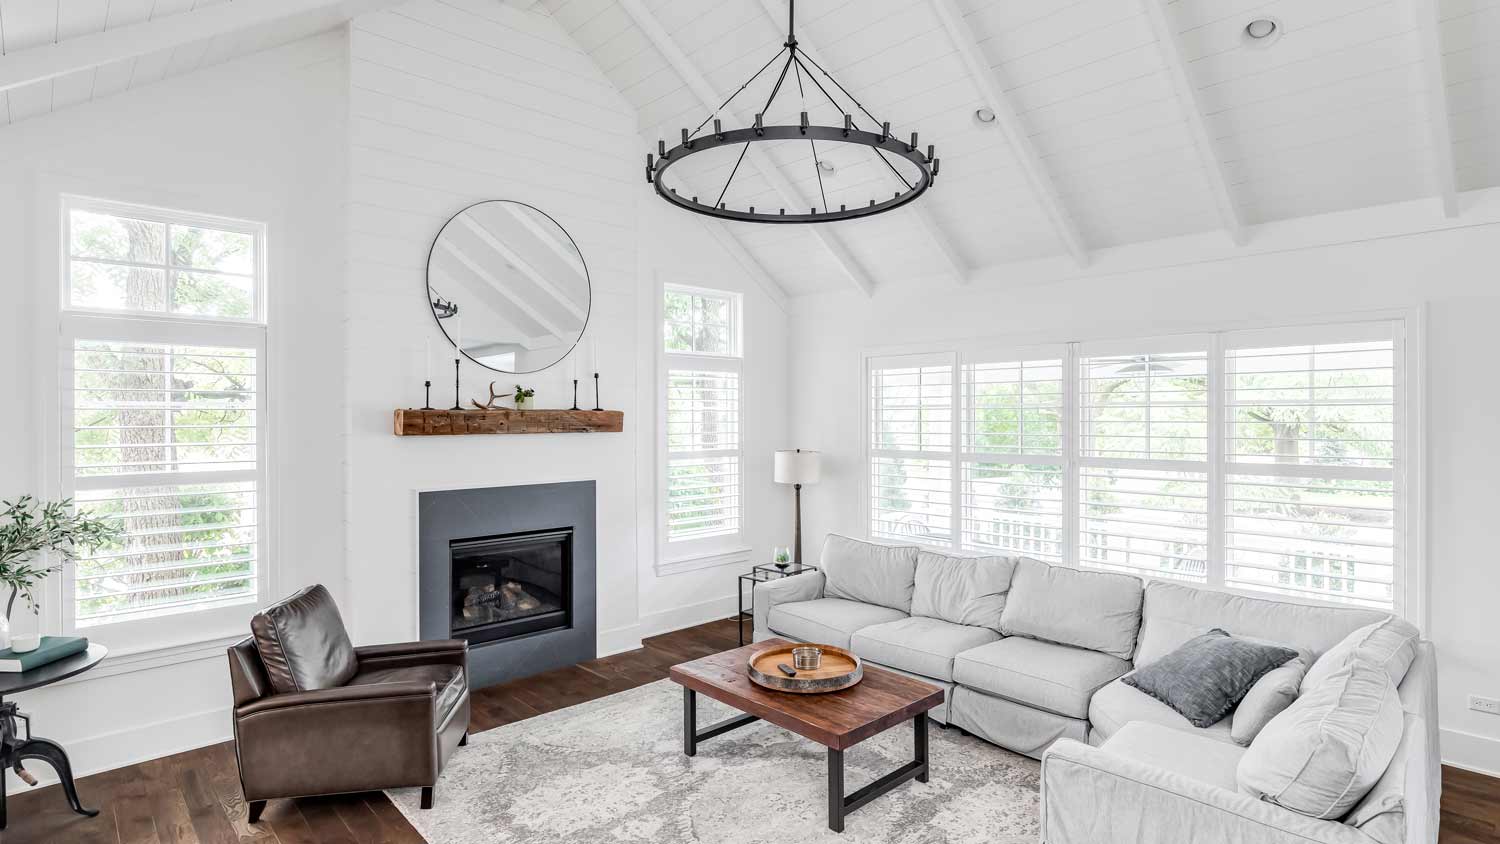
A chandelier is an impactful addition to your decor and lighting. Can you change recessed lighting to a chandelier? Learn how with a few straightforward steps.

Whether it’s a screw fitting, fluorescent tube, or LED lamp, here’s how to change every kind of light bulb—including those that are broken or stuck in the socket.

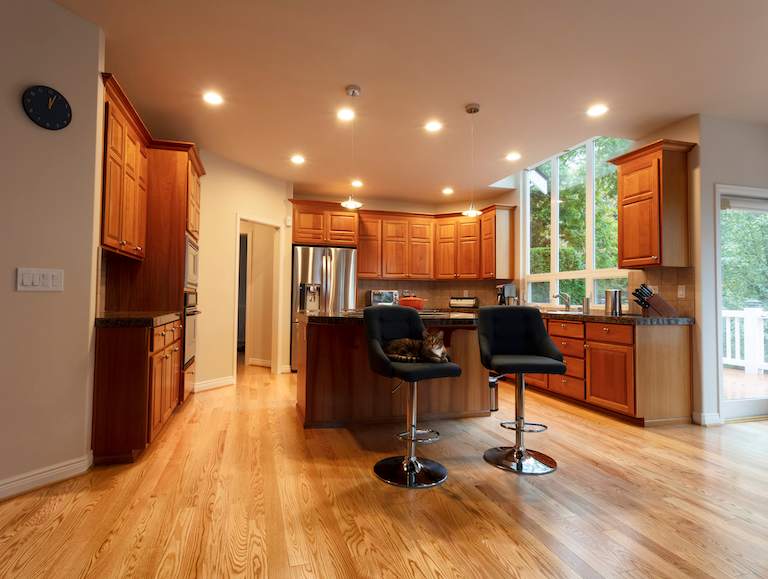
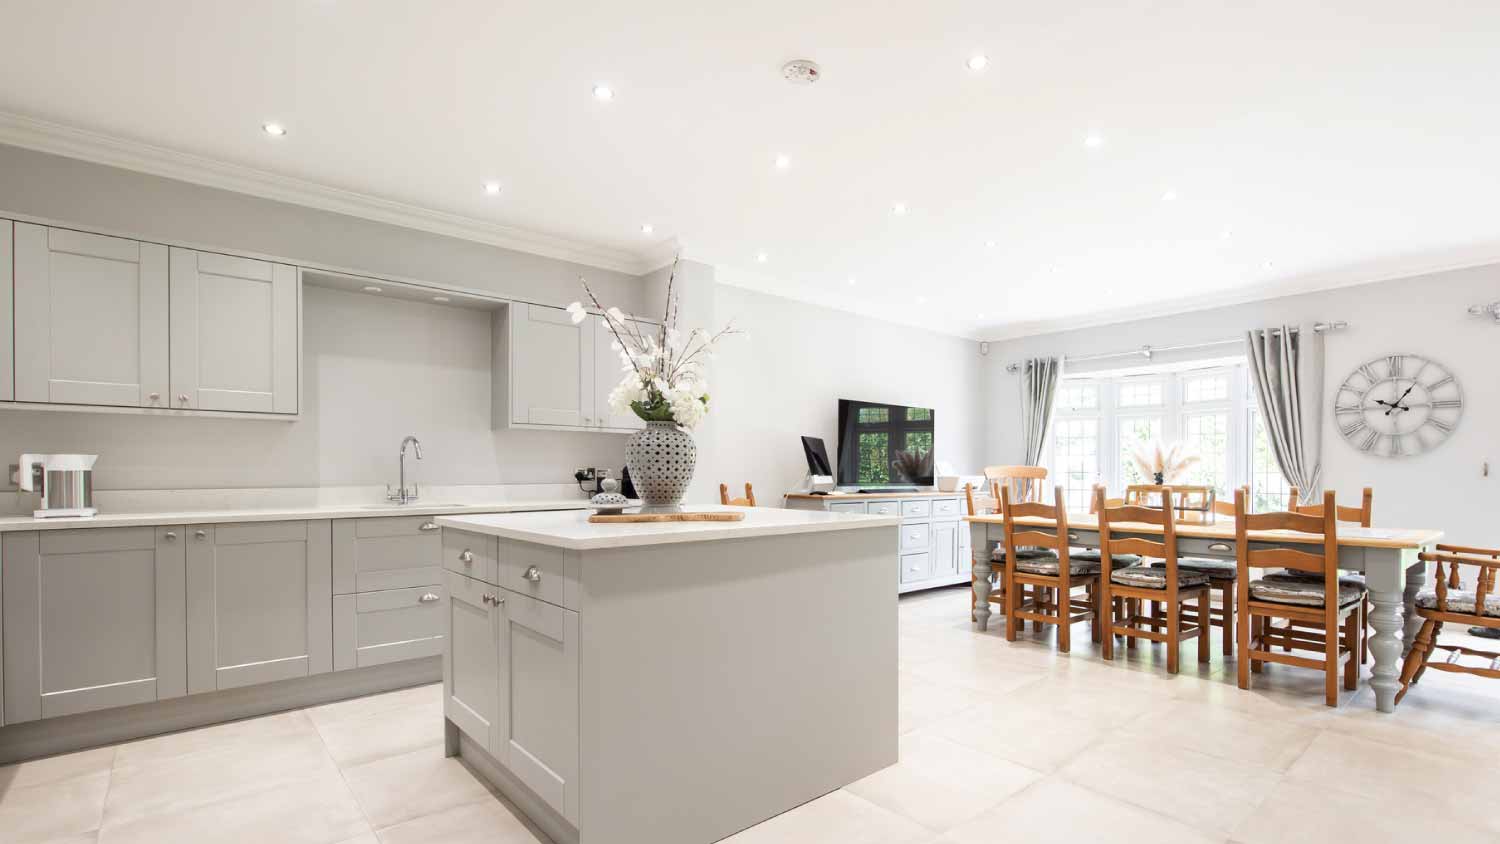
Recessed lights add subtle ambiance or general lighting to any space. In this guide, we’ll share pro tips on where to place recessed lights in the kitchen.

Do you want to brighten up a dim room? Learn how to install recessed lighting in any room with this easy-to-follow DIY guide.