

Soundproof windows cost between $300 and $1,500, but the exact price will depend on the method and materials used. Explore this guide to learn more.
Kick the noise to the curb with a DIY window plug

A DIY window plug uses layered materials like medium-density fiberboard, mass-loaded vinyl, and acoustic foam to block noise from entering through your window frame.
Expect to pay $315 for materials to build your own window plug, while professional soundproofing costs $300 to $1,500 per window plus installation fees.
You achieve the best results by measuring your window precisely for height, width, and depth, ensuring an airtight fit that prevents sound from leaking around the edges.
Hiring a local soundproofing professional takes the guesswork out of advanced soundproofing solutions and ensures proper installation for windows that need more than a basic plug.
Noise pollution can creep into your home no matter where you live. Whether it’s in the form of your neighbor’s talkative dog or a congested street, don’t let these everyday annoyances steal your peace. But, before you think about investing in soundproof windows, try a DIY approach. In a few short steps, you can leave the noise on the street by assembling a window plug.
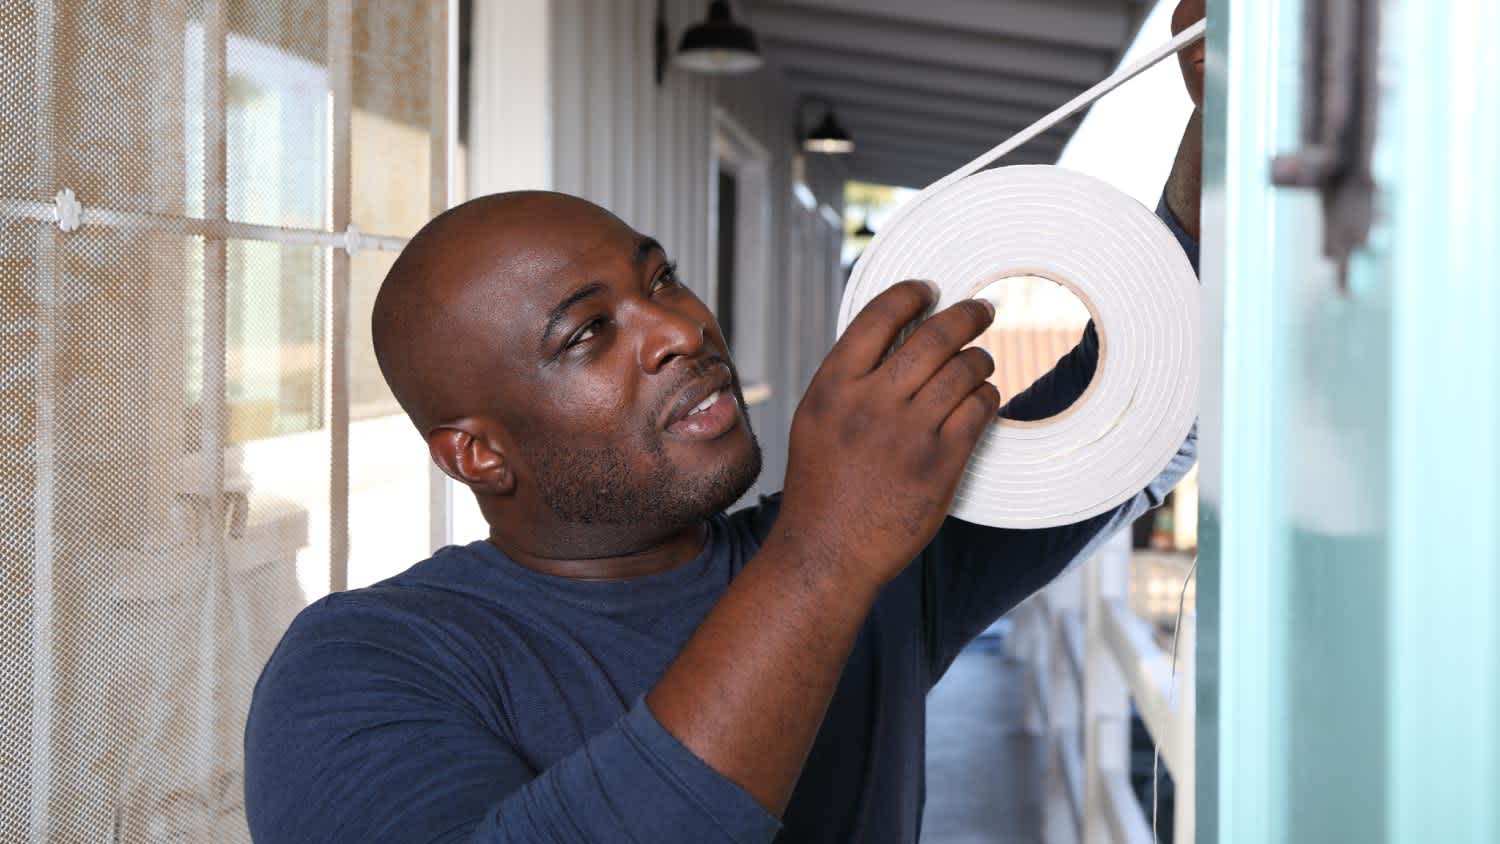
Before you build a DIY window plug, prep the area. Inspect your weatherstripping to ensure that it is intact; replace the weatherstripping where needed. Also, add an acoustical caulk where the window frame meets the wall. Taking these extra steps can give your window plug a helpful boost in keeping noise out of your space.
When soundproofing windows with a DIY plug, consider the plug’s main material: the board. For the project, you can use plywood or medium-density fiberboard (MDF), and the cost is about the same for both. But MDF is an engineered wood product, making it easier to work with thanks to a smooth surface and a lack of knots and grain. Also, its heavier density helps it more efficiently block soundwaves.

For the best results, soundproof window plugs need an air-tight fit. So gathering accurate measurements for your window is one of the most critical steps in this DIY window plug project.
Use a tape measure to measure the window’s height, width, and depth. The height and width should be exact measurements.
For the depth, measure from the windowpane to the edge of the windowsill. Leave up to two inches between the windowsill and the plug. This will give soundwaves space to ricochet, canceling themselves out and preventing low-frequency noise.
Keep in mind: Not all window openings are perfectly square. To avoid any surprises, check the window’s height on both sides and width at the top and bottom.

Next, grab your MDF board and draw the window’s height and width measurements onto it using a pencil. A square tool can help you draw straight lines and 90-degree angles.
Once traced, cut the board with a handsaw or table saw. Once you’ve cut the board, insert it into the window space to check it out—the fit should be tight.
Use your square tool to draw the window’s width and height measurements onto the mass-loaded vinyl (MLV) using a pencil. Then, cut the MLV along the drawn lines using a handsaw or table saw.
Next, grab your acoustic foam and mark the window measurements on the surface. Add one inch to the width and height measurements to ensure a soundproof fit. The foam’s flexible, malleable material will create a tight seal by filling the window well.
Since the foam’s consistency is much different than the board and MLV, you’ll need a utility knife to cut it. A saw could damage the material.

Lay the cut MDF board flat on the floor or a large table. Gently squirt the glue onto the board and carefully spread it into a thin layer across the board. (A silicone brush or your finger is best.)
Carefully lay the MLV on top of the glue. Working from the middle to the edges, firmly press the material into the board to push out any air bubbles. Add another layer of glue, this time to the MLV. Lay the acoustic foam onto the board. Firmly smooth out any creases or air bubbles.
Fold the sides of the foam around the board’s edges; seal it with more glue, or use a staple gun for extra security. Lay the board flat for three to four hours to allow the glue sets.

For an aesthetic touch, consider adding fabric to your DIY window plug. Before cutting your fabric, add two to three inches to the window’s measurements. This will ensure that it wraps around the board, MLV, and acoustic foam. For best results, use a staple gun to secure the fabric.
Add handles to your DIY window so you can remove the plug with ease. The handle location isn’t important—whatever feels comfortable to you is best.
For the easiest lift, place the handles at the same height, a couple of inches away from the edge. Use the level and tape measure to ensure the placement is just right. If needed, use a pencil to make light marks on the board, signaling where the handles should go. Use a drill and screws to secure the handles onto the window plug.
Once completed, lift the plug by its handles to the window’s opening. Push the plug into the wall and step back. If the measurements are correct, you should experience a tight seal.
In the long run, assembling a soundproof window plug yourself will save you money. But, if you decide to leave your noisy nuisance to a professional and opt for advanced soundproofing, the cost to soundproof one window ranges from $300 to $1,500. For installation, homeowners can expect to spend between $100 and $800 per window. The price will also depend on the type of window.
We have used Window Warriors many times with no issues. They arrived on time and were very professional . We have pets and Window Warrior team treated them very well, well trusted team.
I am highly satisfied with the window replacement service I received; the professionals from Savvy Exteriors were punctual and did an amazing job that exceeded my expectations.
I hired windows depot USA of central to install new windows in house in Oshawa. Ilya was very professional from the start, not only did he offered a great price, he also made sure the installation was on time. I am very satisfied with final outcome. The windows look great and the overall...
The team is awesome!! I can generally pick up and clean throughout the week, but they CLEAN! Windows, stair rails, microwave. All the things I can’t ever seem to get to regularly. The house looks and smells great after they leave.
Description says they handle window repair including rotten hardwood - they called me back right away but didnâ t leave a voicemail. I followed up 3 days later and they said they donâ t do that kind of work.
We had a gutter blockage that was causing water to sheet down the side of the house and ultimately it started to come in at a window (need mortar people next). Called around 7:30am, and he responded by 8am. He was able to come out the same morning and do a look over and clean out. He also...
From average costs to expert advice, get all the answers you need to get your job done.
Soundproof windows cost between $300 and $1,500, but the exact price will depend on the method and materials used. Explore this guide to learn more.
Whether you’re trying to keep noise in or out, soundproofing materials are the way to go. Use this guide to see how much it costs to soundproof a room.
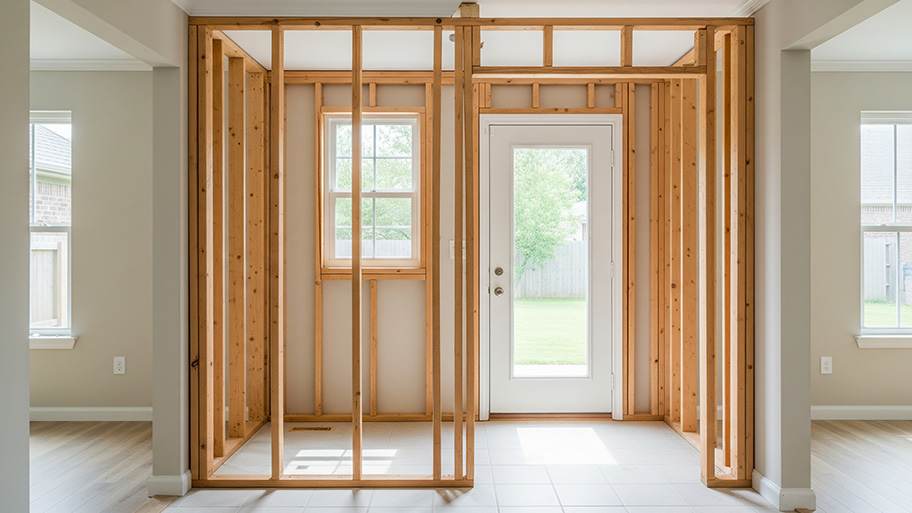
Sometimes, all your home needs is a new wall to make a room or provide an updated function to an existing space. Learn how much it costs to install a new wall.

Want a quieter home? Learn how to soundproof windows with seven practical methods that block noise and boost comfort—light sleeper and city dweller approved.

Even new, high-quality windows can allow noise pollution to enter your home if not correctly installed. Here’s what you need to know about why your new windows are letting in more noise and what you can do to fix the problem.
Learn how to quickly soundproof your interior doors and keep unwanted noise out with a little weatherstripping and time.