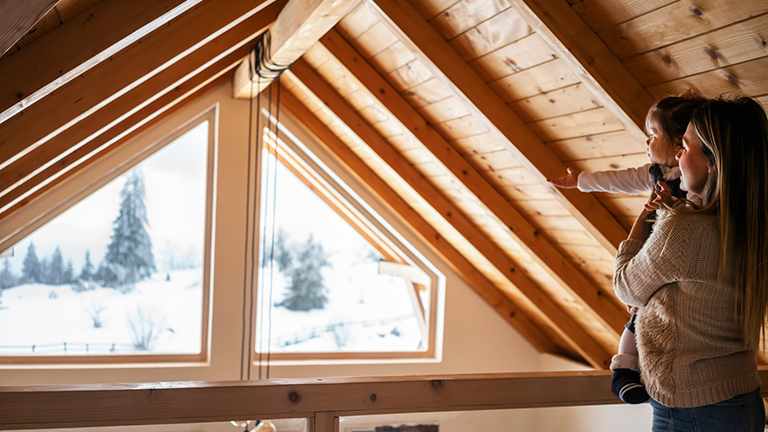
Roof trusses are the literal backbone of your roofing system, and replacing one can get costly. Use this roof truss cost guide to set your budget properly.
You’ll want to roll up your sleeves for this DIY

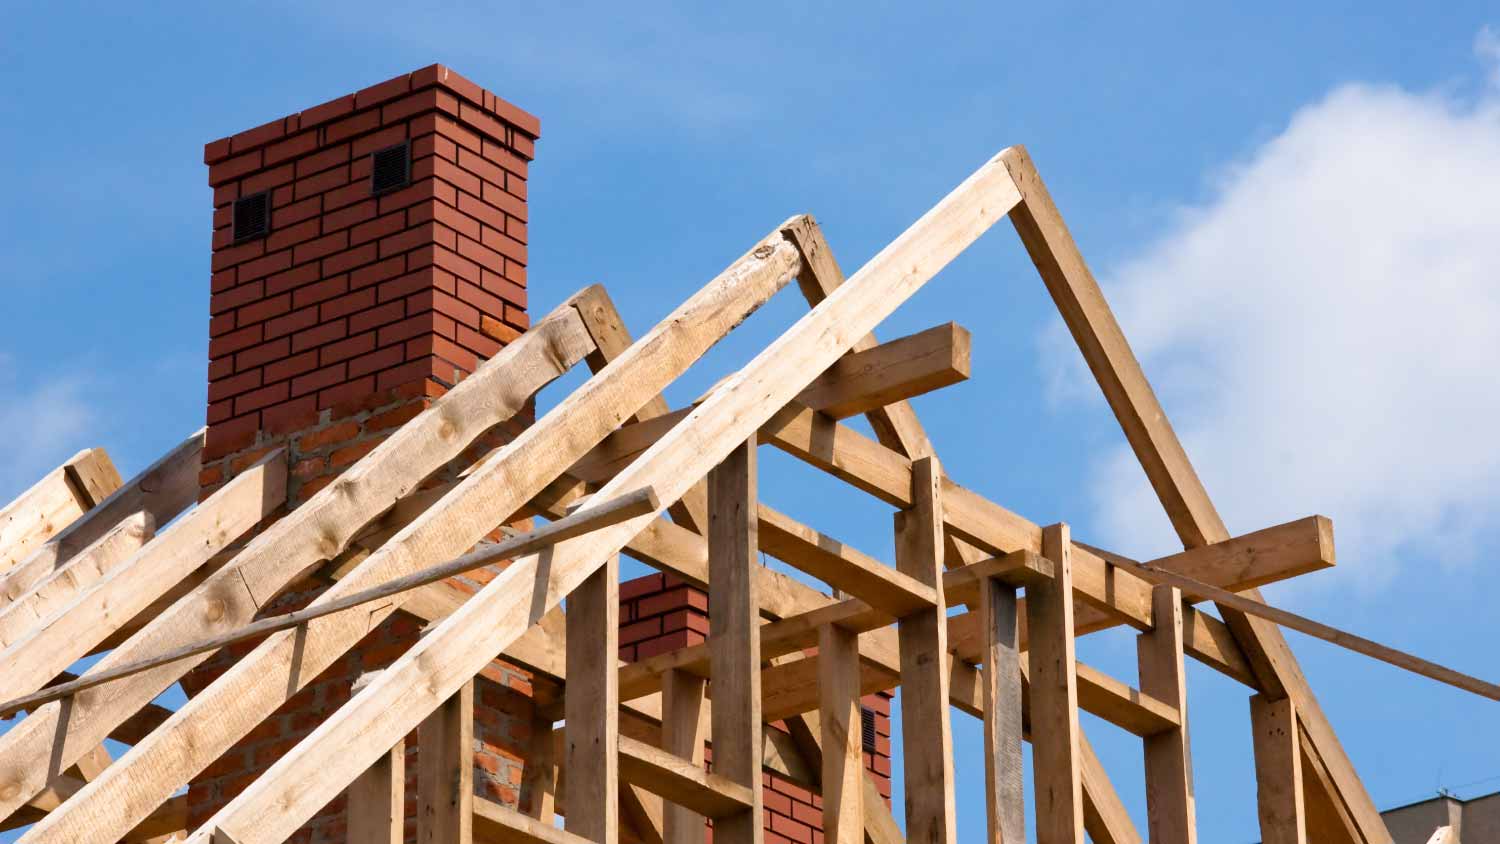
Roof trusses are sturdy, versatile, and cost-effective structures that provide a supportive framework for your roof. Wood roof trusses combine all the parts of the roof system with inexpensive, lightweight frames that are easy to build and install. You don’t even need years of training to create your own—but having carpentry experience is helpful. Read on to learn how to build roof trusses for a strong and sturdy roof.
Roof trusses are often confused with roof rafters. Although not wrong, there’s more to the story. Roof rafters are simply the angled boards that support and provide a place to install the roof decking and other roofing materials.
Traditionally, installing rafters was just part of the overall framing of a roof. Other parts of typical roof framing are the ceiling joists, ridge boards, and collar ties, to name a few.
A set of trusses combine all of those framing parts into single units that provide the same functions as a hand-framed roof in a way that makes their construction and installation a snap, which saves both time and money, and a strong roof. Building and installing roof trusses is faster and less expensive than hand framing a roof because trusses use less lumber than traditional roof construction.
Before building trusses, you’ll need to create your roof truss plans and obtain a building permit for your project. The permitting department of your municipality must approve your truss design to move forward. They may even require you to hire a local structural engineer to evaluate your plans, whether you’re making trusses or hand-framing your roof.
Create your truss configurations by simply drawing your plans, or use truss-design software and let your computer do the work before printing your plans and measurements. Optionally, hiring an architect in your area to design your roof is never a bad idea.

You can build wooden roof trusses using the following steps.
Roof trusses span the entire distance between the exterior walls of your project. They’re big. Clear a space on your property that’s large enough to lay out one truss at a time, store complete trusses, and allow you room to work.
Following your approved truss design, cut the rafters, bottom chord, and support pieces for one of your trusses. Measure the angles on your drawing and transfer them to your 2x4s, 2x6s, or 2x8s when cutting.
In your large, clear area, lay out the first truss and make any cutting adjustments if necessary. When everything fits together perfectly, take note of each piece’s exact measurements by writing them down or tracing them on the next set of boards.
Reassemble the truss. Glue each joint and secure it with screws as you put it together. Fasten galvanized mending plates at each junction with exterior grade screws and set the complete truss aside with a helper if necessary to get ready for the next one.
Using your measurements or tracings from the first truss, cut all the pieces for the remaining trusses identical to the first one. Lay each truss out and assemble them one at a time, like the first.
Installing your set of trusses requires strict adherence to your local building code. The basics include standing each truss up on two opposing walls, fastening it to the top plate, and then repeating the sequence until all of the trusses are standing and secure.
The building code in your area may only require you to toenail or screw the truss to the structure, while other localities demand that you incorporate hurricane ties into the installation.
However you fasten your trusses, you’ll likely need to hire the assistance of a crane and operator or a couple of friends to help you install them safely.
Roof trusses provide several advantages over hand framing your roof. Here are a few tips to make the experience even better.
Unlike fine woodworking projects, the more helpers on-site when installing roof trusses, the better.
Your trusses will likely never get wet. However, use exterior-grade hardware for roof trusses to ensure that the metal won’t corrode if your roof suffers a leak in the future.
If you’re installing trusses on a shed or small single-story building, you may be able to skip the crane and operator and use 2x4 lumber to build a temporary lifting tool to tip each truss onto its end and easily slide it into place. Attach a short board to a long one in the shape of a giant lowercase letter Y. Turn the truss upwards by placing the tool's junction in the truss's apex and lifting.
To avoid confusion and delays during installation, measure and mark the position of each truss’s connection points on the top plates before standing them up.
To speed installation, instead of carrying and installing one truss at a time, place all of them upside down and resting on the top plates within the structure. Then flip one up at a time, secure it, and move on to the next.
If you’re supplying the labor, you can dramatically reduce the cost of the trusses for your project. Expect to pay between $1.50 and $4.50 per square foot on average for materials. That's the cost of the trusses only, though, and it doesn't include any additional roof replacement costs or labor.
Although building trusses is an intermediate-level DIY project, installing them can be tricky, especially on irregular roofs or second stories.
If you’re uncomfortable installing roof trusses or the safety factor is just too risky, a local roofer can help. Labor typically costs between $25 and $75 per hour to install factory-built trusses. Depending on their complexity, pre-made trusses cost $60 to $500 per piece.
Mitchell and the crew were top tier i am so happy with my new roof
 Home Genius Exteriors
D1 Roofing delivers outstanding service from beginning to end, backed by a strong warranty and expert teams. I highly recommend them for their excellence in meeting and surpassing expectations with unmatched communication. Choosing D1 Roofing was flawless decision
 Division 1 Roofing LLC
This place took $25,000 for a flat roof job with a five-year warranty and never returned to fix the leaks that were caused by their work. These people are not professionals and should not be doing this type of work. They incorrectly changed the pitch of the roof, and caused more damage than...
The technician was very professional and friendly. He answered all my questions and was very thorough. He left the fireplace area very clean . He inspected from the roof and advised me as to other work that might need to be done. There was no pressure there. I was very satisfied with the...
 Supreme brick & chimney
I am really impressed with their timeliness and turnaround. Mitchell came out, and we decided to move forward with their pricing. Our roof was on within a week, and we could not be happier with their team! Amazing company, great prices and honest, dependable craftsmanship. I highly recommend...
 Window Depot USA of Central Ohio
Manuel Calvillo is the best option in the area for roofing and you won't be disappointed.
They damaged multiple items on my property, including a marble slab used as a table top, tried to hide it, and refused to pay or replace. Arrived day one without a ladder to access roof & delayed a day. Left a mess in back yard; didn't wear face masks; no show by owner to property to see damages
 Grants Tree Service
I've hired Gary/Cherokee Roofing for two different homes, work quality, responsiveness, and completion have been great both times. And the prices quoted were very competitive. I would definitely hire again.
Lyle did a great job removing asbestos shingles from our front porch roof. They worked together with our roofer to make sure that the new roof was able to be installed on the same day that Lyle removed the asbestos shingles.
 Lyle Environmental
Bradley Builders did a good job replacing the roof on our front porch. They color-matched the existing shingles on the rest of the house and installed a metal ridge roll since we live in a historical neighborhood. They did the job while we were out of town. When we got back, everything was...
 Bradley Builders, Inc.
From average costs to expert advice, get all the answers you need to get your job done.
Roof trusses are the literal backbone of your roofing system, and replacing one can get costly. Use this roof truss cost guide to set your budget properly.
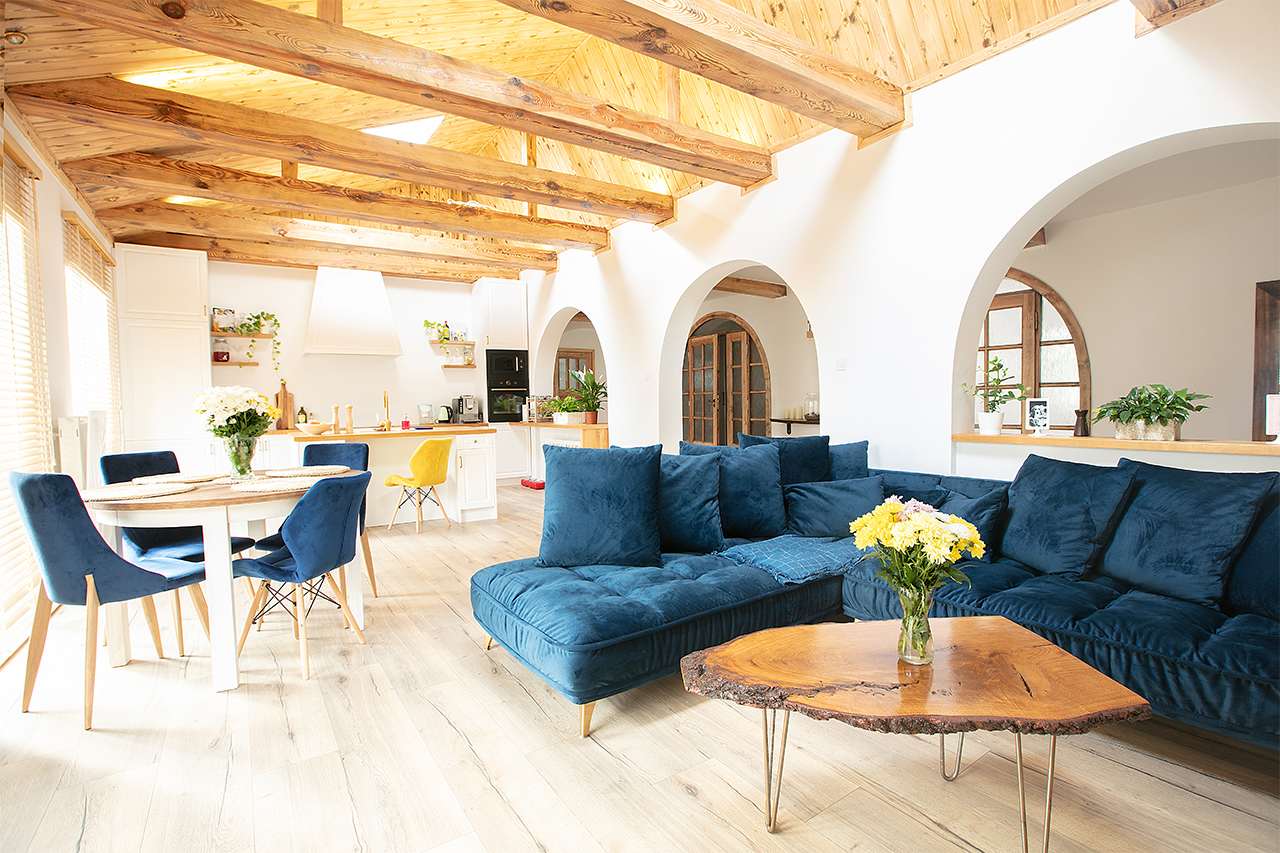
Raising the roof in your home can add character and intrigue, as well as living space. Use this guide to learn the cost to raise a roof, as there are expenses you may not have considered.
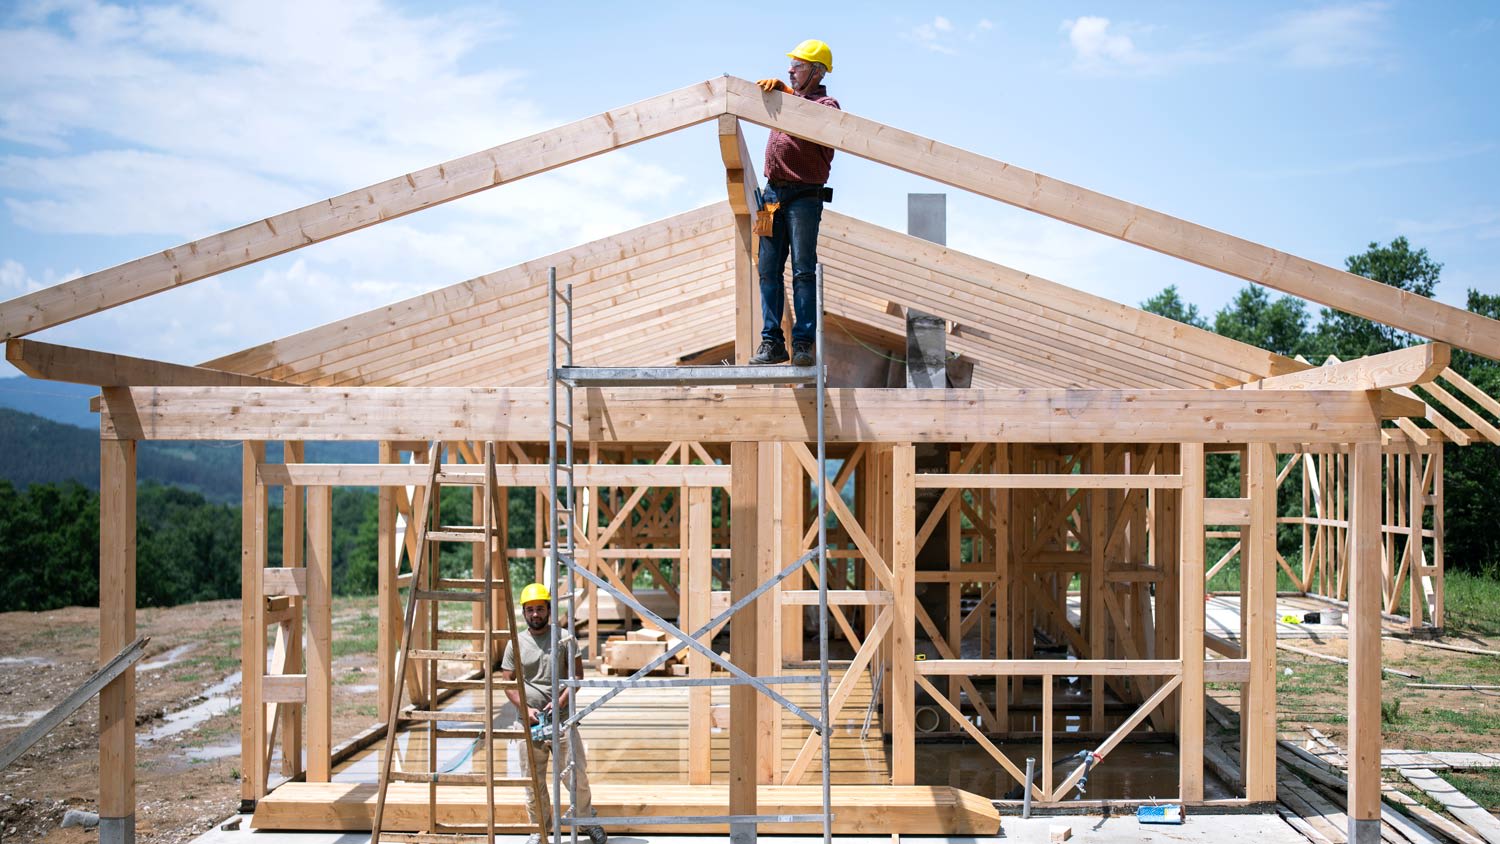
Discover common roof framing cost factors, including the differences between rafter and truss designs, to estimate the cost of your new roof.
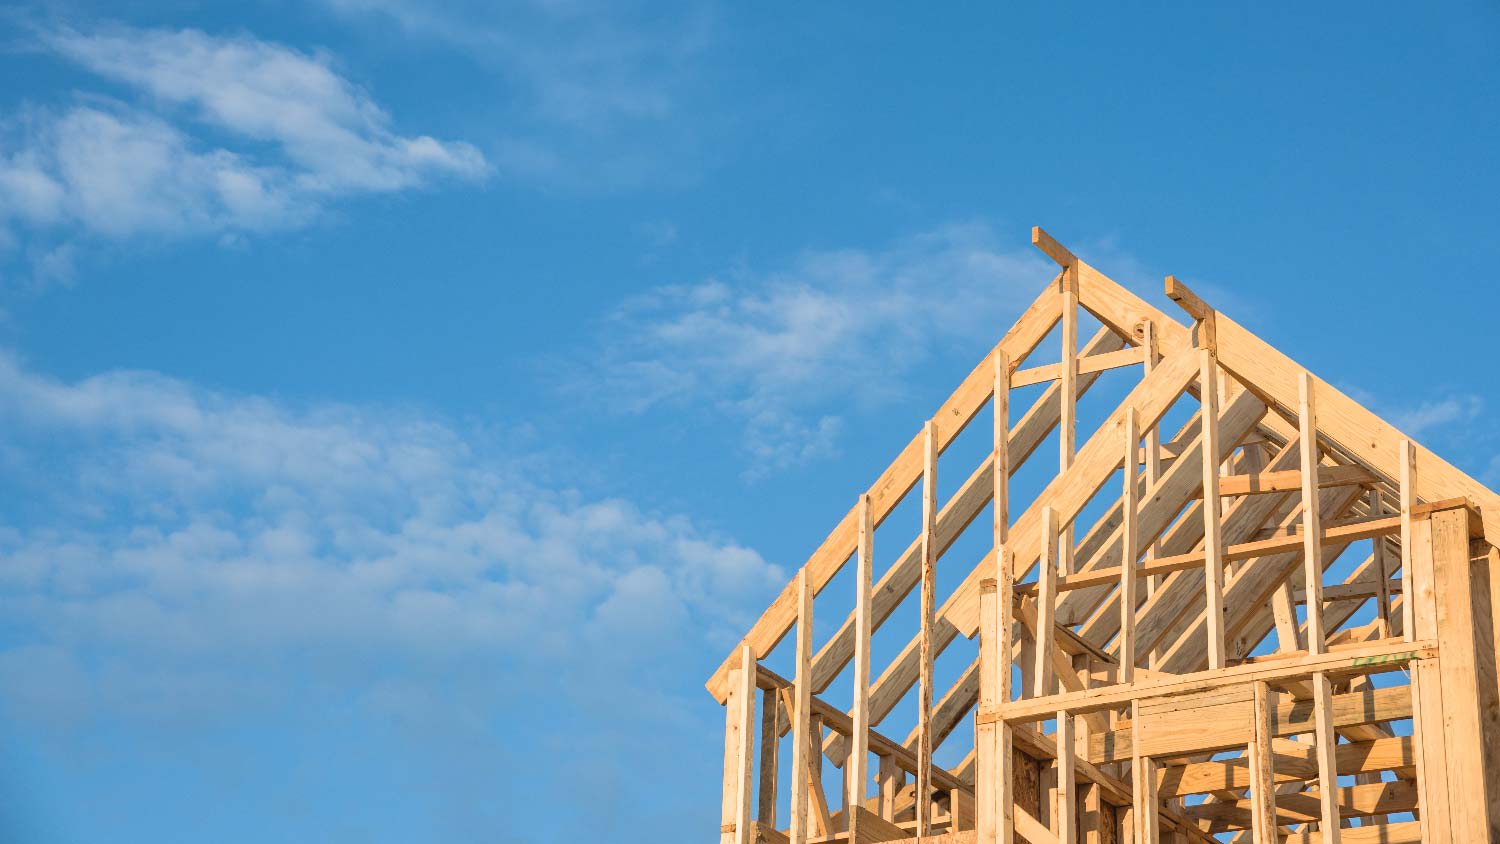
Understanding the available types of roof trusses helps you create the desired shape and support for your roof. Learn more about the different options.
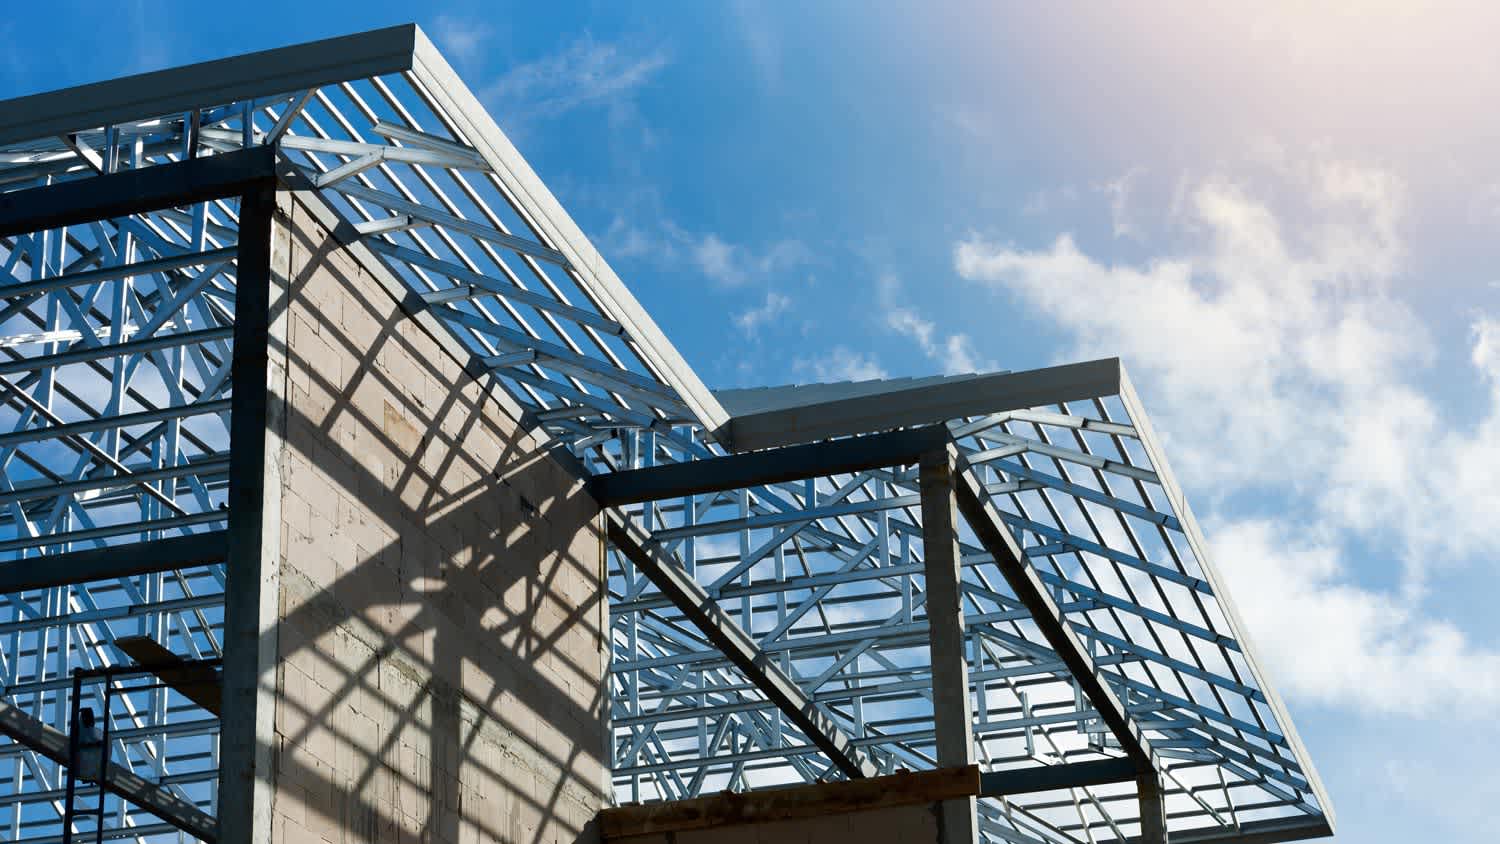
Metal trusses give buildings like sheds and barns structure. While not a project for an average DIYer, here’s how to build metal trusses if you have roofing experience.
Learn about the pros, cons, and major differences between roof rafters and trusses, including strength, cost, ease of installation and more.