Find out the cost to replace an outdoor spigot. Get a detailed breakdown of prices, labor, and tips to save on your next outdoor faucet replacement.
Build-your-own-pizza night is about to get even tastier


There’s nothing quite like a searing hot pizza fresh from the oven, oozing cheese, and piled high with toppings. If you’re tired of ordering delivery or eating out to get your pizza fix, it’s time to build your own outdoor pizza oven.
Creating an outdoor pizza oven is a great upgrade to your outdoor entertainment space, and there are several ways to build one yourself. First, get to know your options and how they work: this kind of feature is made to withstand extremely high temperatures, can be built from masonry, clay, or metal, and is powered with wood, pellets, charcoal, natural gas, or propane.
The following guide will show you exactly how to build an outdoor pizza oven step by step no matter which combination of fuel and building material you choose.
While there are many different styles of pizza ovens, one made from bricks is the easiest to DIY. The following steps break down everything you need to know about building a set-up like this yourself, including what you need to do before getting started and what materials you’ll need. First familiarize yourself with the most basic configuration. Keep in mind that working with bricks can be labor-intensive and difficult, so it may be easier to hire a local masonry contractor near you.
If you’re ready to start building a DIY outdoor pizza oven, you’ll need to prepare the location first. You should choose a location several feet away from combustible structures such as the house, garage, or shed and call 811 to mark utility lines before digging in the yard. You’ll also want to make sure to pick a sturdy spot that won’t succumb to the extra weight from neither the foundation you’ll need to build nor the pizza oven itself.

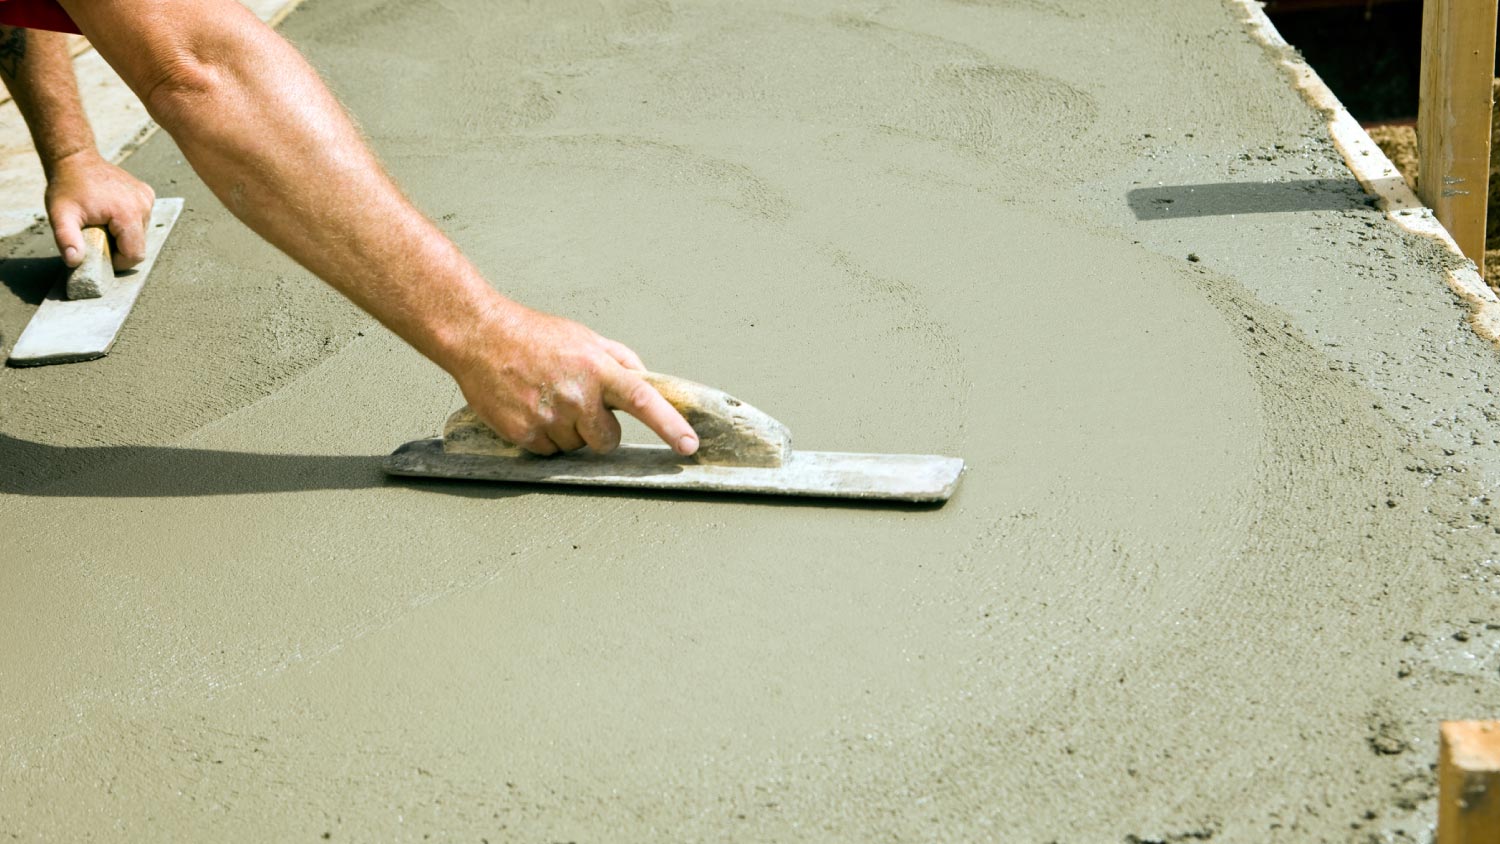
An outdoor oven usually requires a solid base. Exceptions include if you already have a sturdy, level patio or you’re simply building a small base for a store-bought pizza oven appliance. A solid base begins with a concrete slab.
Remove 6 to 8 inches of topsoil from a slightly larger area than the footprint of your base.
Compact a few inches of gravel to create a solid and level surface.
Add a 1-inch layer of sand.
Build a concrete form using lumber to match the shape and size of your slab.
Add wire mesh rebar to the base and pour the slab 3 1/2 inches to 5 inches thick.
Allow the slab to cure for one week before adding your pizza oven.
Your outdoor pizza oven base can be simple or complex, but it needs to be level and able to hold the weight of your oven.
Pour a foundation slab.
Choose from brick, concrete, thick lumber, or landscape blocks.
Lay the first layer of material on the slab and cut pieces to fit the perimeter.
Affix the material to the slab using mortar or landscape adhesive.
Ensure the first course is level.
Continue to add material courses, adhering each one to the previous level. Stagger the seams for structural strength.
Build the base up to a comfortable height for the bottom of the oven to rest.
Finish the base with a slab stone or poured concrete countertop-like surface.
Before you start building the oven, draw up an example of what you want it to look like so you have something to reference during the process. The height of the dome will determine what kind of pizza you’re able to make—for example, shorter, flatter domes are suitable for crafting Neapolitan-style pizzas, while taller, vaulted domes will ensure better New York-style pizzas. And you’ll also need to include an opening at the top of the dome sized to fit the flue, and make sure the front opening is large enough to comfortably slide in a pie without bumping the edges.
There’s not one hard-and-fast rule for pizza oven dimensions, so poke around some of the most common options to find what best suits your space and cooking needs. Using an already available blueprint will also ensure that your pizza oven doesn’t cave in later on because of improper calculations.
Place a layer of fire brick or solid clay brick in the size and shape of the floor of your oven.
Cut edge bricks to fit to finish the pattern.
Use high-heat mortar to affix the brick floor to the base’s top.
Build an arching form with plywood and lumber, foam, or an oven form kit from a retailer. Be sure to build the form, so it’s removable once the oven shape is complete.
Lay rows of clay brick to form the arch, affix them with mortar, and stagger the joints.
Leave a hole at the top sized to fit the flue.
The process of building the chimney and flue doesn’t differ much from the previous steps except for one key difference: the chimney needs to be at least 60 percent of the total oven height to allow enough air to enter while also maintaining heat levels within.
Coat the bottom end of the flue with mortar.
Place flue into the designated hole at the top of the arch.
Let dry until firm.
Lay bricks with mortar around the flue to build the chimney. Do so in a pattern that matches what you already have in place.
Check that it’s level throughout construction.
Cap the gap between the flue and bricks with mortar and let dry completely.
Once the oven as a whole is completely dry (after up to five days or possibly more depending on the weather), you’re free to remove the dome support.
Use a drill to remove any screws that might be in place in the dome support.
Disassemble the support piece by piece, starting with the braces and finishing with the arch form itself.
Your oven is just about done! Just a couple more and you’ll be ready to start cooking.
Allow the mortar to cure fully for four weeks before attempting use.
Remove debris from the oven floor and gently wash the interior with a sponge, warm water, and dish soap.
Get cooking!
Ready to become a home pizza chef? There are several types of outdoor pizza ovens to consider, and you can choose a material that compliments your existing outdoor kitchen or creates a new backyard focal point.

Outdoor pizza oven kits are available in several varieties. Typically, the kits come in a few pieces you can assemble on top of the base.
Lay out the fire bricks and oven base on your base’s slab stone.
Adhere the pieces to the top of the base with high-heat mortar.
Following the kit’s instructions, assemble the rest of the oven kit on the base.

Concrete pizza ovens are a great alternative to brick pizza ovens and provide the same delicious results. Keep in mind that the average cost of concrete is $130 per cubic yard.
Create and affix a fire brick or clay brick floor to the base’s top.
Use plywood and lumber to build a concrete arched-oven form.
Add a concrete form release agent to the forms.
Fill the forms with concrete.
Add a chimney using brick and mortar or another form and concrete.
Add a brick or other masonry cladding to dress the oven if you wish.
Allow the concrete to cure for one week.
Remove the forms and continue letting the concrete cure for three more weeks before use.
Clay pizza ovens have a rustic, old-school look that will pair well with all sorts of covered outdoor kitchen ideas. However, this material doesn’t take as long to cure, so you can start making pizzas sooner.
Build a fire brick or clay brick oven floor on your base top.
Pile and shape wet sand on the oven floor as a form to match the oven's interior space.
Keep the sand wet while adding and shaping clay around the mound.
Allow the clay to set slightly and make a cutout for the oven’s entrance.
Create an arch of clay or brick and mortar to create an entryway and a chimney.
Apply a second layer of clay over the entire oven.
Allow the clay to cure for one week. Remove the sand pile form and start making pizza.
When budgeting for your outdoor pizza project, you’ll need to account for the cost of the base and the oven. You can create your base out of any material as long as it can support the oven’s weight and is exceptionally sturdy. You could spend as low as $50 for fasteners or mortar or up to $500 for the materials needed for a deluxe homemade build.
The cost to build an outdoor pizza oven ranges from $2,000 to $8,000, depending on whether you hire a professional brick mason or construct it yourself. If you DIY this project, you can expect to save on labor costs, but you’ll still pay between $800 and $2,000 for materials.
Concrete and clay ovens typically cost less to build than brick pizza ovens. Expect costs to average between $300 and $700 to build a DIY clay or cement pizza oven on top of your base.
Follow these handy maintenance tips to keep your outdoor pizza oven in tip-top shape.
Keep it moisture-free by covering it when you’re not using it.
Scoop out the ashes using an ash rake and a fireplace shovel.
Vacuum and remove leftover ashes after they cool following each use.
Avoid using soap when cleaning the outdoor pizza oven.
Use an oven brush with copper or brass bristles to scrape off caked-on food debris.
Building a DIY outdoor pizza oven is a gratifying experience, especially after you take your first bite of every homemade pizza. Choosing to do it yourself can greatly cut down on outdoor kitchen costs. However, this DIY project requires specialized tools, experience, and plenty of labor hours, so you should carefully consider your options before starting the task. Plus, hiring a professional bricklayer or masonry contractor ensures that the pizza oven will be functional and safe.
The average cost of hiring a local mason pro to build your outdoor pizza oven is $40 to $75 per hour. Some masons also charge a minimum fee of $200 to $400 to cover materials and preparation work. On the other hand, the cost of building an outdoor pizza oven yourself typically ranges from $800 to $2,000 for materials.
Deane Biermeier contributed to this piece.
From average costs to expert advice, get all the answers you need to get your job done.

Find out the cost to replace an outdoor spigot. Get a detailed breakdown of prices, labor, and tips to save on your next outdoor faucet replacement.

Discover the cost to build an outdoor pizza oven, including average prices, key cost factors, and tips to help you budget your backyard pizza oven project.

Discover the cost to build an outdoor kitchen, including average prices, cost factors, and tips to help you plan your project and maximize your investment.

An outdoor kitchen can add significant value to your home. Learn about standard outdoor kitchen dimensions and how to choose the right size.

Learn how to install an outdoor sink and make your outdoors even more of an extension of your indoors–follow these step-by-step instructions to DIY.

If you dream of dining and cooking al fresco, find out how to DIY an outdoor kitchen to reduce the typically high costs of a home addition like this.