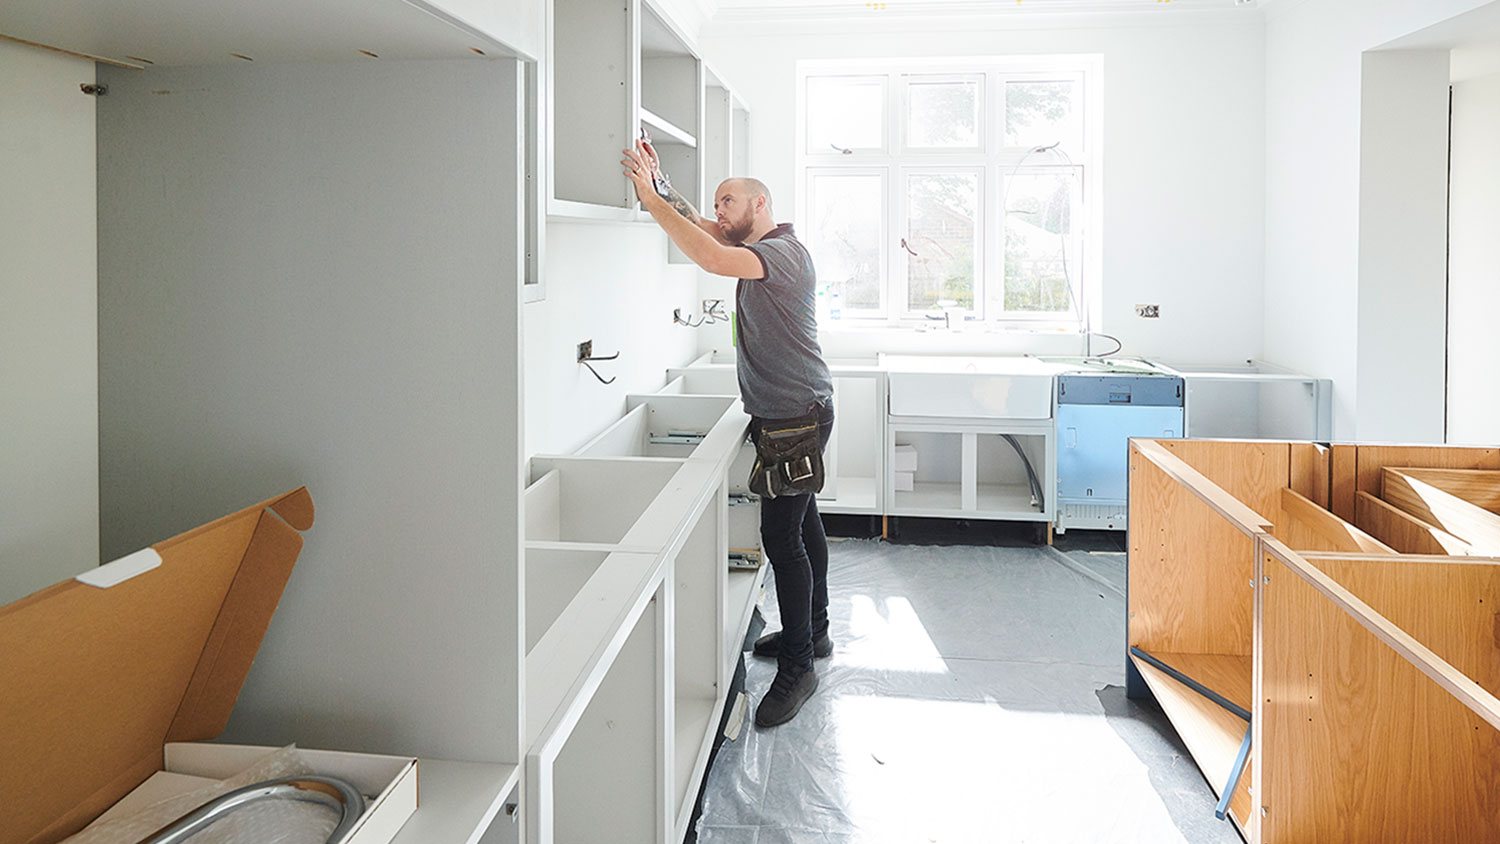
Discover cabinet installation cost estimates, including average prices, key cost factors, and tips to save on your new kitchen or bathroom cabinets.
Build a hidden space to stash your essentials


Whether you’re looking to clear a cluttered vanity or designate an easy-access space for your daily essentials, learning to build a medicine cabinet is the perfect DIY solution. Plus, if you want a no-frills modern look with a functional mirror to boot, the process is fairly straightforward, especially if you have experience with similar projects. Here are the steps to build a custom medicine cabinet for your space.
Before you start, decide on your medicine cabinet’s length, width, depth, and number of shelves to plan out the wood pieces you’ll need to cut. Some hardware stores will measure and cut the wood for you, but there may be a limit on the number of free cuts they offer before they charge an extra fee.
You’ll also need to select the right stain or paint and primer to achieve your desired finish. Note that the best paint for cabinets in the bathroom is mold- and mildew-resistant paint with a gloss or semi-gloss finish. You can also opt for a waterproof sealer to create a finish that won’t rot or develop mold and mildew.
Measure and mark the area of the wall where you’ll be mounting the cabinet. Use a magnet or stud finder to locate studs to securely attach the cabinet. Use a pencil to leave a removable mark on your wall.

Next, measure and cut out your cabinet pieces using a circular or a miter saw. Cut two same-size pieces for the top and bottom, as well as the two sides. Then, cut the wood for the front, back, and inner shelves.
After you’ve cut your pieces, assemble your cabinet frame. Affix the top, bottom, and back of the cabinet to the sides of the frame using construction adhesive. Reinforce the joined components with brad nails or wood screws.
Determine the amount of inner shelves you would like and measure the distance between them. Attach your shelf brackets to the inside walls of your frame using nails or screws, and add your shelves.
Measure the surface area of your mirror and cut a matching-sized piece of wood with your circular saw. Attach one side of your hinges to the back of your door, as well as the smaller portion of the magnet clasp on the back of the door on the opposite side of the hinges. Finally, carefully adhere the mirror to the outside of your medicine cabinet door using construction adhesive.

Next, lay the cabinet frame face up on a flat surface. Adhere the larger portion of the magnetic clasp to the frame of your medicine cabinet where it meets the other half of the clasp. Once the magnetic clasp has adhered fully, attach the other halves of your hinges to your frame, leaving enough room for the door to fully open and close.
Once your cabinet is built, locate the spot where you marked the wall stud. Secure the cabinet to the wall using wood screws and use a level to ensure it stays straight.
The last step is DIY cabinet painting or staining. Start by removing your shelves from the inside of your medicine cabinet for easier access. If you’re staining, apply one to two coats of your stain, allow it to dry, then finish off with a waterproof sealer.
If you’re painting, coat the inside, outside, and shelves with a waterproof primer. Once your paint is dry, apply one last layer of waterproof sealer to protect against humidity. After everything is dry, reinsert your shelves so your cabinet is ready to use.
Building a medicine cabinet can be a satisfying and money-saving DIY project, although the final cost will depend on the style, materials, and finish you use. If you’re not confident in your woodworking skills or lack the necessary tools, you may want to consider hiring a local cabinet maker for this project to ensure a flawless installation.
To save on labor costs, you can also shop for prefab models and do a simple DIY medicine cabinet installation rather than a full build. However, you’ll be limited to the sizes and styles that are available for purchase, and costs can be significantly higher than what you’d pay for the raw materials.
From average costs to expert advice, get all the answers you need to get your job done.

Discover cabinet installation cost estimates, including average prices, key cost factors, and tips to save on your new kitchen or bathroom cabinets.

The cost to replace the bottom of kitchen cabinets often isn’t too high, but depending on the damage, a full cabinet replacement can cost thousands.

When refinishing your cabinets, you’ll need to consider the condition of your cabinets, budget, color, and stain preference. Find the cost to refinish cabinets in this guide.

Understanding the difference between custom and semi-custom cabinets will help you decide what’s the best fit for your budget, space, and design taste.

Picking the right handle or knob isn’t difficult if you know a bit about the most common kitchen cabinet hardware styles.

Do you have a cabinet door that’s banging into walls, appliances, or kneecaps? Here’s how to stop cabinet doors from opening too far with all the best solutions.