
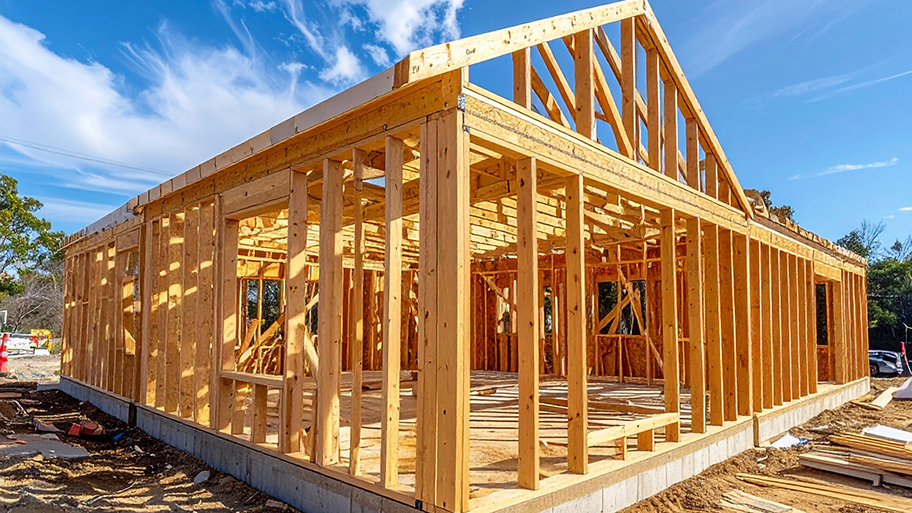
The cost to frame a house can vary depending on the size of your home, the structure you’re building, and your materials. Keep reading to learn how much framing your house might cost.
Fresh eggs await you…


Imagine waking up to the sound of your very own chickens outside—and the benefits that come with it (hello, fresh omelets!). You can learn how to build a chicken coop yourself to save some money and personalize it to your liking. A DIY chicken coop requires the proper planning, and the right tools. This guide walks you through how to build your own sturdy, safe, A-frame chicken coop, from design to final detail.
The first four steps focus on big-vision thinking and planning. Many home improvement projects have a wealth of resources available online for savvy DIY homeowners, and building a chicken coop is one of them.
Here are some questions to ask yourself to start:
How many chickens will I keep?
How will I protect against predators?
How much space do I have available?
Will my coop be mobile or stationary?
The average cost to build a chicken coop is $650 but ranges between $300 and $2,000. In some cases, though, you can build one for less than $100 by using recycled materials or free wooden pallets.
If budget is less of a factor, more expensive woods like mahogany, teak, and redwood are fantastic options for your DIY chicken coop build. Inexpensive wood rots more easily, which can make your chickens vulnerable to predators. If you're on a budget, regular plywood is the way to go.

What's your outdoor living space like? Where might you build a chicken coop? A good rule of thumb is to add 3 to 6 square feet for every chicken you plan to keep.
One consideration for budget chicken coop building also is the land you'll build on. Clearing trees or leveling land could add hundreds (or even thousands) of dollars to the final price tag.
A mobile chicken coop with wheels on the bottom can also help open up your options—but will add complexity to the build.
You'll need to clean your chicken coop out at least several times a year, otherwise your chickens will get sick—and might stop laying eggs.
Make sure the designs you consider to make cleaning easy don't make your chickens vulnerable to coyotes or other predators. The A-frame is a stable design overall, but if you decide to customize, reinforce with extra wood.
Floors aren't necessary when building a chicken coop, but we strongly recommend them. One main reason is predators can dig underneath to gain access to your chickens. Your best options for chicken coop flooring include:
Concrete
Wire
Linoleum
Rubber mats
Plywood
Plywood is easiest and costs the least. Linoleum is slick and incredibly easy to clean. Whatever you choose, you can add wood shavings or straw over the top of it. These start at around $15 per bag at pet stores.
The one vulnerability of an A-frame chicken coop is that they don't usually weigh much. Strong predators like coyotes may be able to tip yours over otherwise. A thicker floor made with rubber mats can help counter this problem, or you might consider placing rocks around the edge. You can also invest in some locks to keep your coop safe. Weather-resistant padlocks will hold up agains the elements wells. A two-step latch system is quite effective in preventing predators from unlocking and sneaking into your coop. You can also install automatic doors that shut and lock the chickens inside.

Pre-cut all boards to the proper dimensions; 8-by-5-by-5 feet is a good starter size coop if you're unsure.
Here's what you'll need to cut for this size:
Six 64-inch pieces with a 60-degree angle at the top and a 40-degree angle at the bottom
Two 64-inch pieces with a 30-degree angle on both sides
Three 32-inch pieces with a 32-degree angle on both sides
Lay out a rectangular base. Grab a friend or family member to help you with the next step, as you'll need someone to hold the boards together while you drill.
Drill the boards together on both sides, then repeat on the other end. Install the bar of the A-frame two-thirds of the way up on either side. With the frame assembled, measure how big the plywood board needs to be on the top shelf. This is where your chickens will sleep and roost. Leave approximately 12 inches off one end (this is for chickens to fit through) and install this piece with screws. Drill the final 64-inch piece into place on the top. Paint if desired.
Install the chicken coop floor using concrete or dirt, rubberized roofing, vinyl, wire and batten, or treated wood. For our purposes, we will cover how to install a wooden coop floor. Cover the floor with medium- to coarse-grained sand or straw.

Using a staple gun, install chicken wire along every edge of the A-frame. Pull it taut and put a staple every 3 to 5 inches to ensure it holds tight. Give it a gentle tug to make sure it's secure after you finish each section. By the way: chicken wire is an inexpensive way to fence off a garden or outdoor living space.

Chickens have a natural instinct to perch themselves up when they sleep, so adding at least one roosting bar to the top half of your A-frame is good for keeping your chickens healthy and happy. Otherwise, they may wind up sleeping in their poop, which is both unfair and unsanitary.

A leftover piece of plywood with small 3-inch slats of wood drilled or hammered into it makes a perfect ladder to help get your chickens up into their nesting box. You can also build a ladder out of scrap wood or buy a pre-made chicken coop ladder online for $10.
You're aiming for simplicity, so putting a 1-inch PVC pipe in at an angle (with or without a funnel, up to you) makes feeding your chickens easy. You can do the same thing on the other side with a chicken nipple water feeder, or buy a chicken coop watering bucket. A watering device will cost between $10 and $40.
Building a chicken coop definitely takes some hard work and forethought. However, the final product will be pretty rewarding if you build a living space for animals you'll eventually care for.
If research becomes overwhelming, look into buying a premade coop or simply building the frame and buying other parts (nesting boxes, for example) offline. A combination can make DIY seem more accessible for the average homeowner, and save you money. If you decide that the project is out of your wheelhouse, you can hire a local contractor to build a chicken coop for you.
From average costs to expert advice, get all the answers you need to get your job done.
The cost to frame a house can vary depending on the size of your home, the structure you’re building, and your materials. Keep reading to learn how much framing your house might cost.

Home elevator costs depend on the size and type of lift, if it needs retrofitting, and the number of floors. Our guide outlines all residential elevator costs.

Going from an undeveloped plot to your dream home can be expensive. Learn about the cost to develop land and what factors can affect your total.
Are you wondering how much lumber you need for your construction project? This lumber calculator will help you estimate how much to purchase.

Not sure what the difference is between coffered and tray ceilings? Learn the key distinctions in design, cost, and benefits to decide which ceiling style is best for your home.

As you ring in the new year, you may wonder: What are the top home improvement ideas of 2025? Read on for a full breakdown of in-demand projects on the horizon.