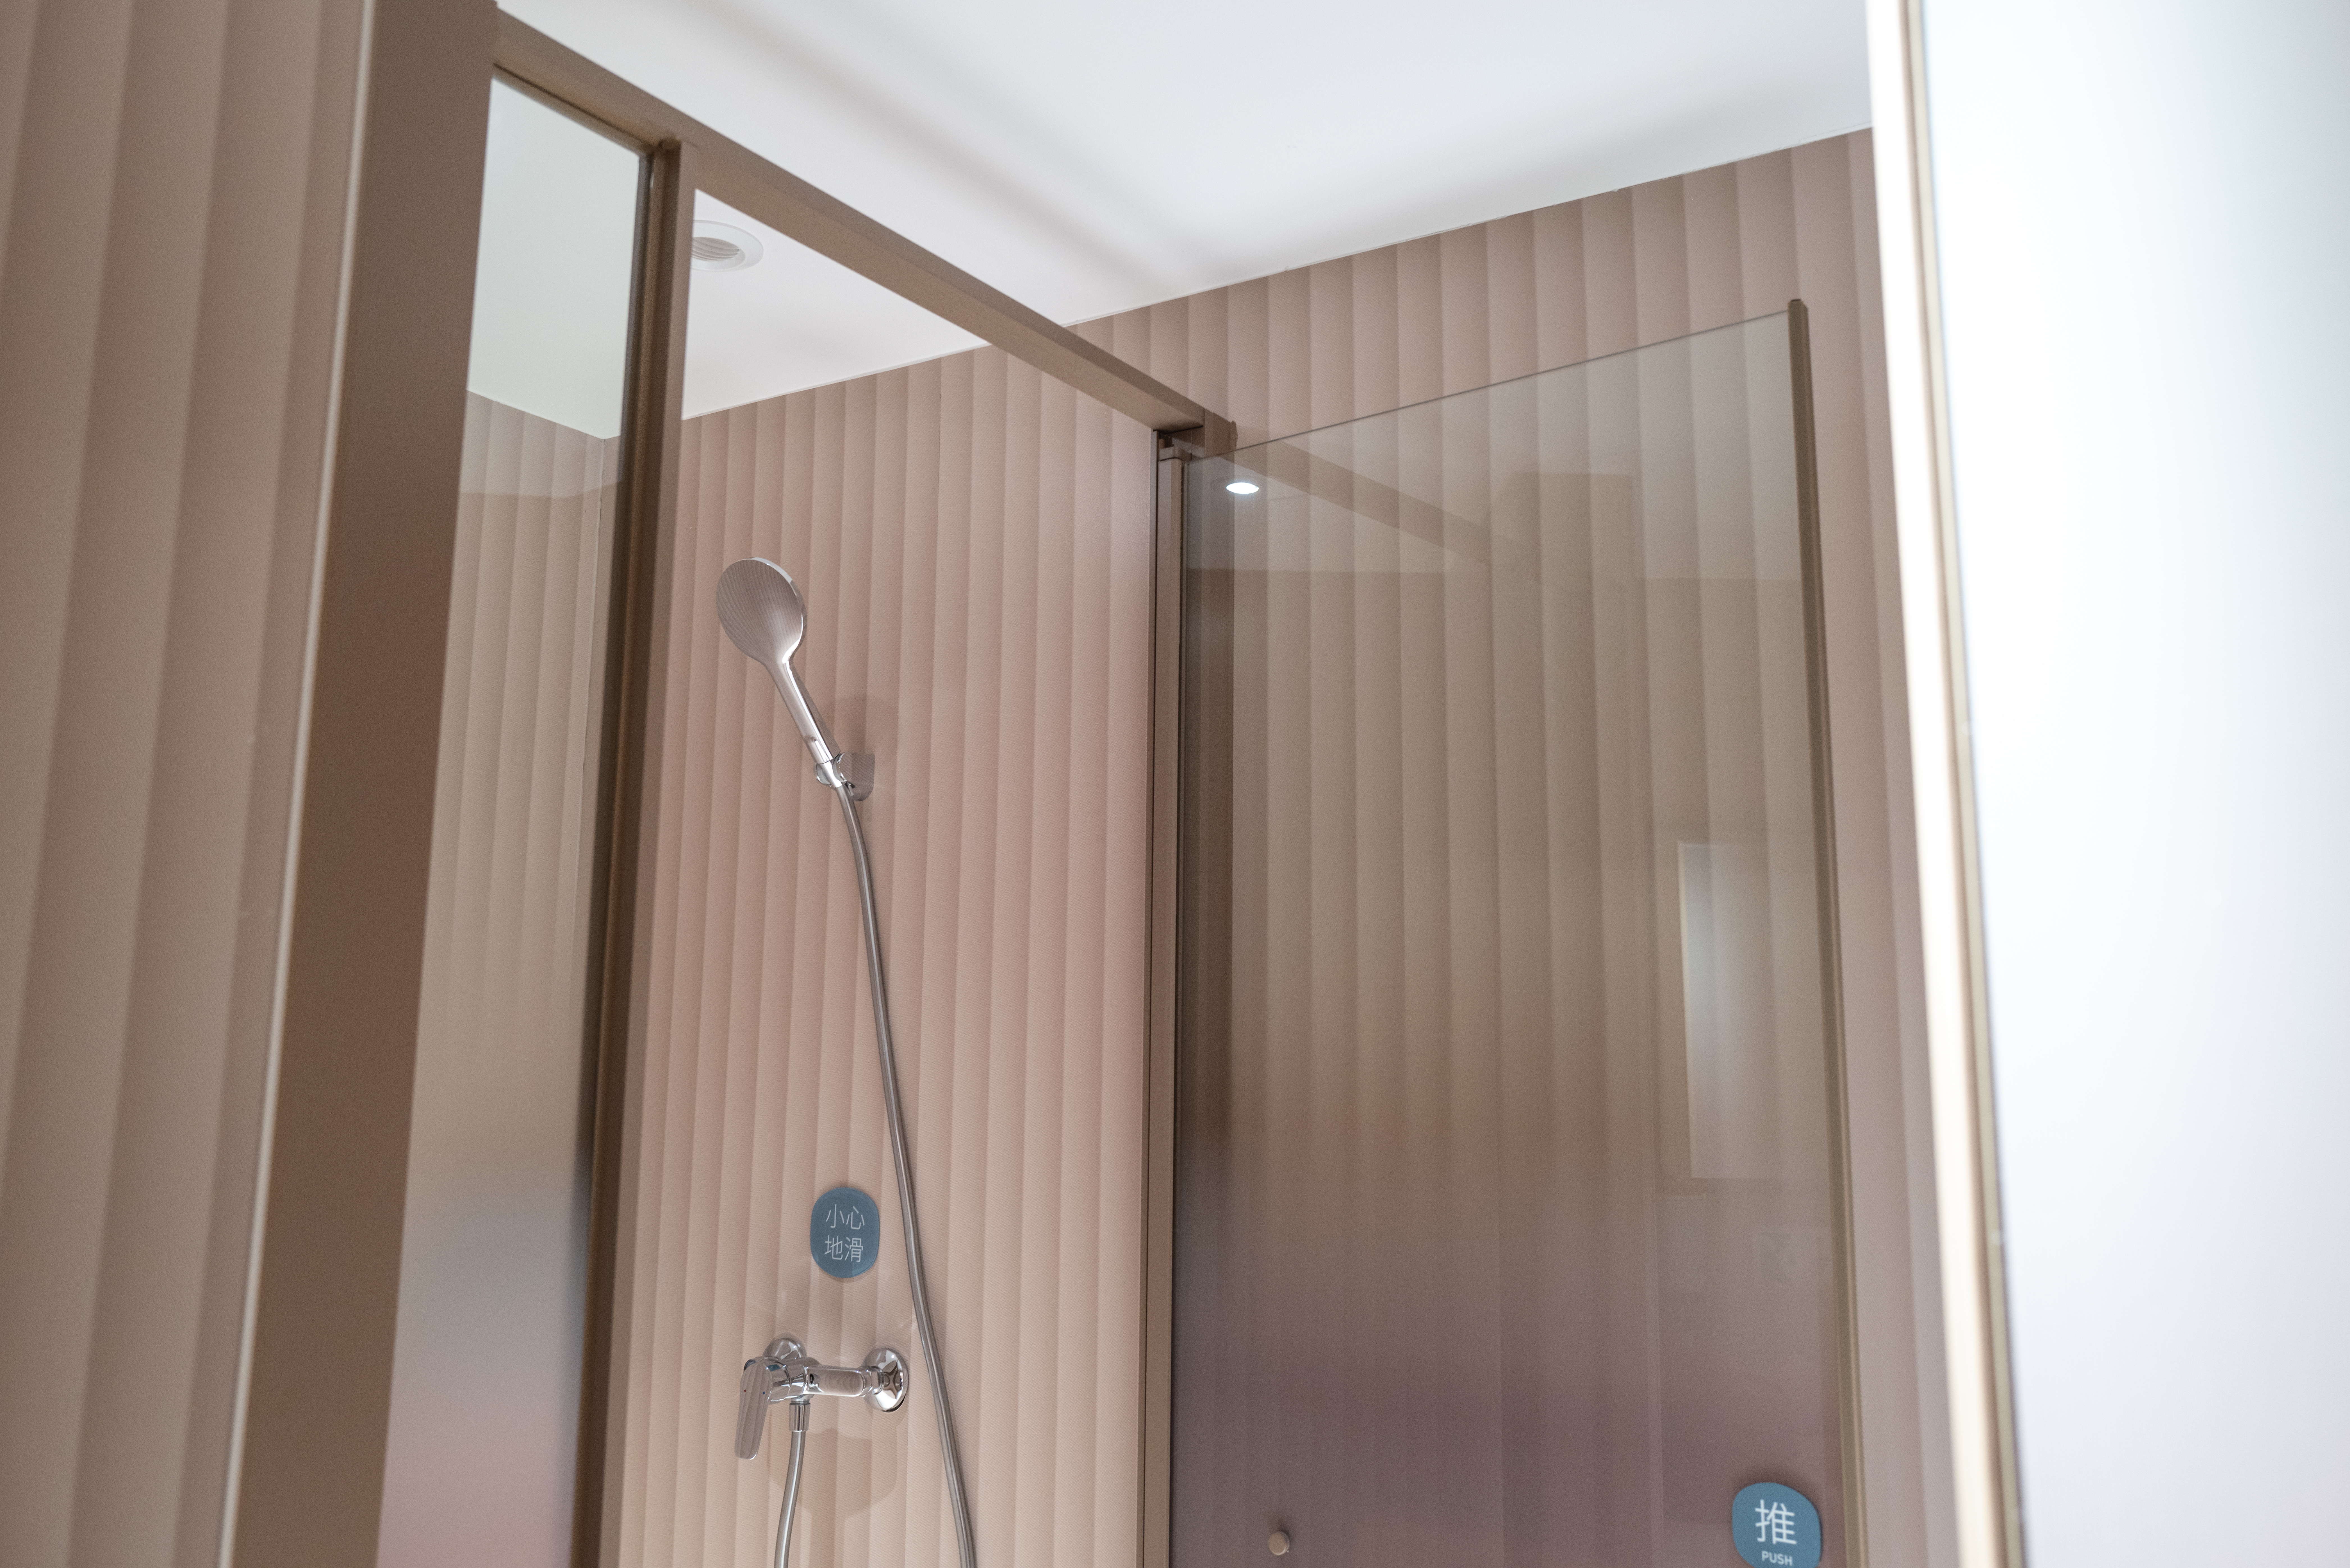
Remodeling your bathroom can add significant value to your home. Your bathroom remodel cost in Columbus, OH will depend on size, fixtures, materials, labor, and other factors.
If you can build a box, you can build a box column


Whether you want to hide a small post in the middle of the room or you want to increase the curb appeal of your home with Craftsman-style columns, building a box column is a great weekend project.
A box column is strictly decorative, meaning it’s not structural or load-bearing. You can build them on their own or cover existing columns or objects, such as pipes or ducts. Still, they protect the posts, pump up the appearance, and give character to your home.
To build a non-load-bearing box column, you make a box using boards to envelop the existing column. Here’s how it’s done.

Decide on the final look of your box column, the size of the column, the design of the base, where you want your trim to be, and if you wish to paint or stain the column.
The width of the box column is subject to your preference and the look you want to achieve. However, the length should be shorter, at least 1/2-inch, than the actual height, so the column has room to clear the ceiling when it’s in place.
Now that you have the measurements, you need four boards of this height for all four sides of your column.
Cut four pieces using a table saw. Tilt the blade to 45 degrees and cut a mitered edge on both long side edges of all four parts.
When all four pieces were cut, attach the first piece of the board to the front of the post with exterior construction adhesive and a gauge nailer. Repeat this process on all sides of the post, then make sure the edges are flush before nailing all the sides together.
If the boards are uneven, place shims behind the pieces to straighten them out or use a mallet to tap the pieces into place.
The biggest challenge when making a box column is assembling long pieces of material uniformly along the entire length.
Resolve the problem by using nylon strap clamps to get it snug. Wrap the column during assembly to apply pressure equally on all four sides. Use a 1/2-inch wrench to tighten the clamps.
After building a basic plain column, it is time to dress it up. Use a tape measure to determine the length of the top and the base parts of the column. A bevel cut in the top edge will help shed rainwater.
Cut four pieces of pre-primed lumber or plywood for the top and four for the base at a 45-degree angle using a miter saw to make them snug and nicely fit together. Assemble and glue the base and repeat the same process for the top part. Then secure the corners with nails on all sides. You might want to use shims to get the base pieces level and tight on all sides.
Now it’s time to use the decorative molding on the top panel and the base cap to finish trimming out the base. Not only does decorative molding add a nice look to your column, but it also covers any gaps the column has.
Measure and cut pieces of the molding with mitered saw at 45 degrees. Be sure to cut one piece at a time, fitting mitered pieces to get the best fit. Glue each piece at a time, then shoot nails through it at a slight angle to secure it.
Once you have completed the bottom trim, repeat the same process at the top of the column.

After building the column, you will want to fill all nail holes and seams with wood filler.
After the glue dries completely, sand every part of the column using 100-grit to remove any wood mill residues. Once everything looks good, you can paint or stain the entire column. Follow the stain instructions and sand the wood properly to ensure water won’t damage the columns when it gets into the cracks.
From average costs to expert advice, get all the answers you need to get your job done.

Remodeling your bathroom can add significant value to your home. Your bathroom remodel cost in Columbus, OH will depend on size, fixtures, materials, labor, and other factors.

The cost to install a bathroom fan will vary based on multiple factors, including the bathroom size, how many fans you need, the type of fan, and more.

Are you considering converting or adding a loft space to your home? Here's what you need to know about the cost of loft conversion and how to control prices.

What is a range in a kitchen, and which is best for your cooking needs? Learn about the various types of kitchen ranges and what to consider before buying one.

There are lots of different types of shower door seals to keep your bathroom dry. We’ll show you what they are and where they work best.

The chances of slipping and falling in the shower increase with age and limited mobility. Here are the types of shower grab bars and safety rails that can keep you safe.