
Discover how much it costs to build a balcony, including average prices, cost factors, and tips to budget your project. Learn what impacts balcony construction costs.
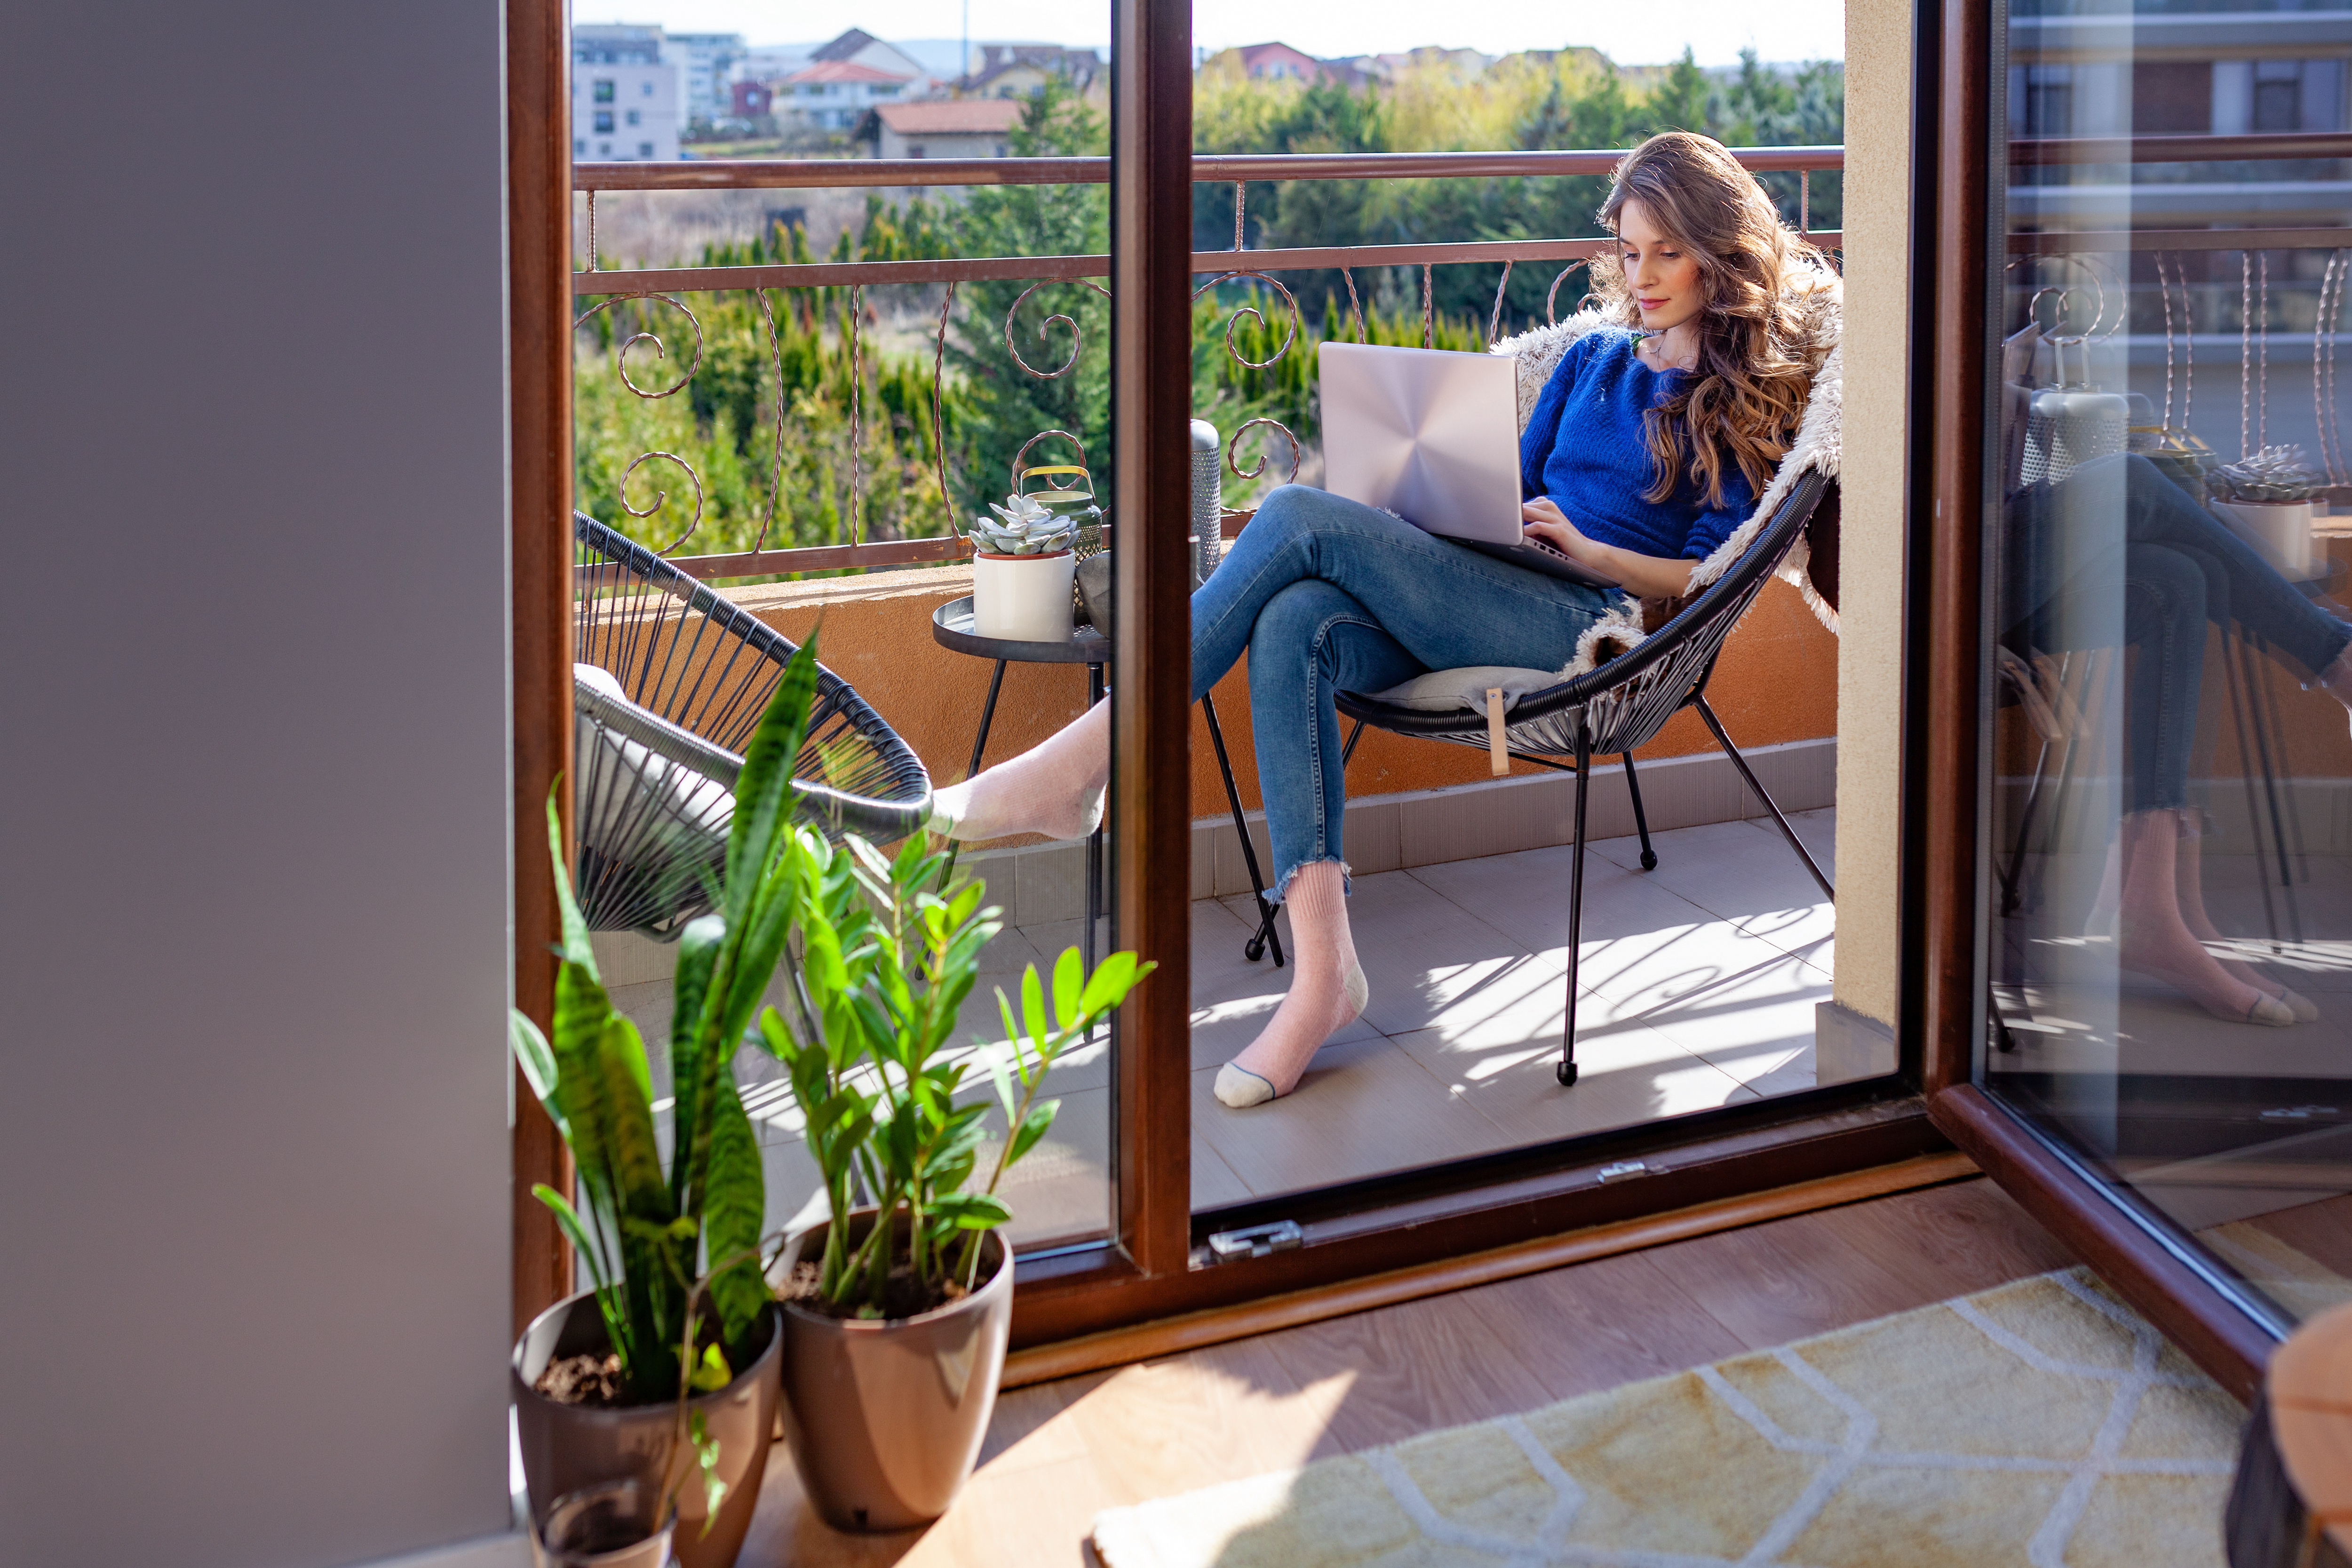
Sip coffee and take in the sights perched on top of your handiwork

Imagine how relaxing it would be to sip a warm cup of coffee—or a frosty beer—from the comfort of your own two-story balcony. Guess what? It's totally possible if you're willing to put in the work. However, building a balcony from scratch isn't a project for the casual weekend DIY warrior. But with some thorough planning and careful work, you can realize the dream of building a balcony onto your home. Learn how to build a balcony in this step-by-step guide.
Treat this guide as a rough outline for your project. Each homeowner will need to check local codes and ordinances and consider their current yard when designing their build. Depending on your municipal building authority, you might need a permit, which costs around $25 in many states. Failure to do so could result in the whole deck being removed, as well as substantial fines.
In addition, make sure you figure out how much wood you'll need. Your joists and frame pieces will vary based on the dimensions you choose. It will also factor in when deciding how big your post holes will be. A small balcony is usually 4 feet by 9 feet, which creates enough room for a small table and two people to sit. Slightly bigger would be 5 feet by 10 feet or 5 feet by 12 feet, which can fit a table and things like a balcony garden.
Use an auger or post hole digger to create four post holes. Again, check local ordinances to determine how deep the holes need to be for a balcony or second-story deck. Each post hole should be three times the diameter of the piece of lumber.
Place your 4-by-4 or 6-by-6 posts into the hole, then fill with cement to secure them. You'll likely need an extra set of hands for holding the beams still as one person pours cement and sets it. Read your quick-drying cement instructions and follow them carefully.
If you're building an especially heavy or large deck, insert rebar into the top of each post hole.
The first step for building the balcony frame is to secure a ledger board to your rim joist. You'll need to remove siding from the home to get direct access. Use lag screws to drill the board into your foundation—approximately every 12 inches.
The ledger should be as close to the home as possible. Assuming an entryway is above it, the board should be as fit and snug as possible underneath to prevent water seepage from rotting the wood over time. Install flashing or caulk when you're finished to prevent leaks.
To build the frame, attach the 2-by-6s to the ledger board. The outside portion of your balcony should be double-framed for support. Use two boards cut to the same length on all three sides not touching the rim joist. Screw them in with two lag screws fitted to a corner bracket.
If possible, position your double frame directly underneath a double stud in the wall. Use a stud finder to locate stud points and mark them with a pencil or pen.
Lastly, attach your frames to the posts using lag screws and a corner bracket.
Install the balcony joists or wood beams that'll form the base of the floor. Insert a 6-inch board every 12 inches, starting at the rim joist, then securing it to the opposite side of the frame.

You can buy deck boards at home improvement stores for around $20 per piece. It's up to you whether you'd like to cut these into individual 12-inch pieces and layer or install them as one long beam across your hoists.
Deck boards are usually 5 1/2 inches wide and 1 inch thick. You'll establish the board length needed after determining the size of the balcony. Use screws to fasten boards to your joists. Work slowly and use nails to reinforce if needed.
For railings, you can either use lumber or buy a premade balcony railing kit from a home improvement store. The latter will cost between $60 and $100 for 6 feet of railing.
Read the manufacturer’s directions on your kit. In either case, you'll likely need to drill holes every 3 to 6 inches—depending on railing gaps—into your doubled-up balcony frames. Drill starter holes, then fasten using screws or as described on the packaging.
Since this is a substantial DIY project, hire a balcony contractor near you with experience to guarantee that the job winds up looking exactly the way you want it to. Building a balcony is a challenging proposition involving lots of cutting, drilling, and setting. You will have to work from a ladder and drill directly into your home's rim joist—which, if damaged, could compromise the structural integrity of your home.
The average cost for a new balcony or deck is $8,000. Between applying for permits and ensuring you have enough (and the correct) materials, a local deck-building professional can ensure the job goes accordingly.
One of my old tall evergreen trees was suddenly leaning toward the busy street in front of my house. I submitted a request for an emergency tree inspection, and Alejandro, owner of Cajete Tree Service, contacted me immediately and arrived to look at it just 20 minutes later. We agreed the...
1 tree was cut down and 5 others including a large willow tree were trimmed. The Grant Tree Service men were professional and cleaned up afterwards. The cost of the 6 trees were affordable. I am very happy with the results. I would hire them again.
Archie did a good job cleaning up the driveway before he laid down the sealer. It looks good. He was gracious and even helped me bring up my groceries. His rate was comparable to another company who came out to give me a quote and he talked to me personally rather than just text me a quote...
We have bought and sold numerous times over the past 50 years. Sherman Hall and Top Line are top notch. Thorough and detailed, he explains every possibility, probability, and eventuality. High class and pleasant. The best.
 Top Line Home Inspections, LLC
D1 Roofing delivers outstanding service from beginning to end, backed by a strong warranty and expert teams. I highly recommend them for their excellence in meeting and surpassing expectations with unmatched communication. Choosing D1 Roofing was flawless decision
Couldn't ask for a better company. Josh and Dee were Very professional, efficient, courteous and takes major pride in their work. They will travel to come to your home and will still give you a fair price. They are honest and trust worthy. Their focus is on their work and their work is...
 Supreme brick & chimney
Window Depot did an amazing job on my deck. I wasnt sure what I wanted to do, but their composite decking was affordable and will last a long time. I am excited to have family over, and I am no longer embarrassed by my backyard. Jeff and the ground crew were polite, respectful, and caring for...
Wonderful. I am going to have them remove and replace my driveway in the spring.
 All Star Paving and Sealing
We were having 2”x 2” tile installed . There was a small installation error and the new additional replacement tile was from a different lot and the colors didn’t match. Joe assured us that he would rectify everything , which he did without hesitation. We decided to go with the 18” x 36” tile...
 CarifaTile
Maple Tree Service should serve as a mentor for other business! Customer service was superior and beyond expectation. Response to request was prompt. The representative was very courteous and proud of the company. Quote was given during initial visit and work date established. A follow up...
 Maplewood Tree Service
From average costs to expert advice, get all the answers you need to get your job done.
Discover how much it costs to build a balcony, including average prices, cost factors, and tips to budget your project. Learn what impacts balcony construction costs.

To learn how to build a deck, you’ll need to consider design, materials, labor, and time. Our guide will show you how to build a deck to fit your lifestyle.
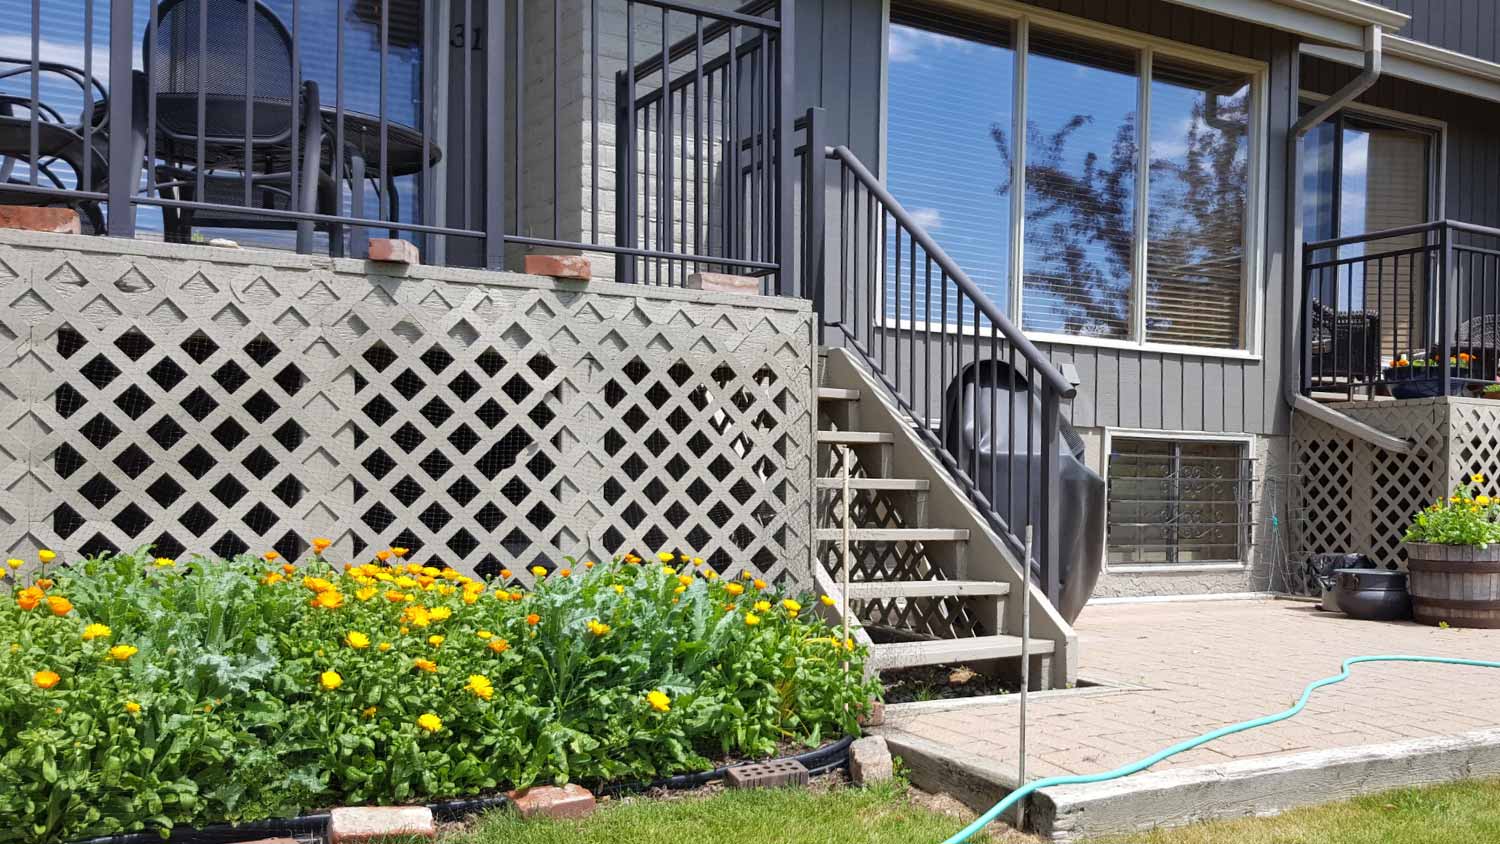
Lattice panels can give your home a polished look and hidden storage. Learn how to install lattice under a deck or porch with this step-by-step guide.

Take the mystery out of replacing old exterior stairs or installing new ones by learning how to build porch steps using this helpful guide.

Your outdoor living space gives you extra room to breathe and enjoy the weather. Learn the differences between a balcony vs. deck to see which one suits you best.

Looking for balcony planting ideas and inspiration? Breathe life into your outdoor space by planting a balcony garden. We’ve collected seven helpful hints on how to use pots and plants to inspire the small space of your dreams.