
Need an oversized garage to cover your RV? Use this RV garage cost guide to see what it will cost to install a permanent solution on your property.
Maximize your storage space with a custom-built shed


Having a shed on your property can really come in handy, especially if you don’t have a garage.
Use this guide to learn how to build a shed for extra storage space, to use as a utility room for your pool, or to maximize your home’s hangout space.

Yes, even a backyard shed build may require building permits and approvals—especially if you plan on running power to it. Before you start, be sure your plan gets the green light from the following organizations:
If your home is under the jurisdiction of an HOA, you will need to get approval from the board before building a shed. There may be certain rules in place that will dictate:
Whether or not you can add a shed to your property
Shed size restrictions
Color requirements
Siding and roofing material restrictions
Consult with your local zoning board to make sure your new shed build plans are well within your property lines.
Generally speaking, most areas do not require a building permit to build a standard-sized shed on a property. However, these rules can vary by state, county, and town. To be on the safe side, it is best to inquire with your local town clerk to know for sure.

Once you have the permissions needed to build a shed, get started by prepping for the project.
You can’t properly build something without a plan. Start by measuring out the space you have to work with and determine how much of that space you’d like the shed to take up. For a basic shed, 8-feet by 12-feet is a standard large shed size. These are the dimensions we’ll use throughout the guide.
Once you have the dimensions of your shed, it’s time to draft up a design. This mock-up doesn’t have to be perfect, just enough to put a plan in place that’s easy to follow. You can do this step yourself, or hire a professional contractor to give you a hand.
Before you can get started, it’s crucial to ensure the ground you’re planning to build on is level. If it’s not, you may end up with an uneven shed. For severe slopes, it’s best to hire a landscaping pro to grade your yard.
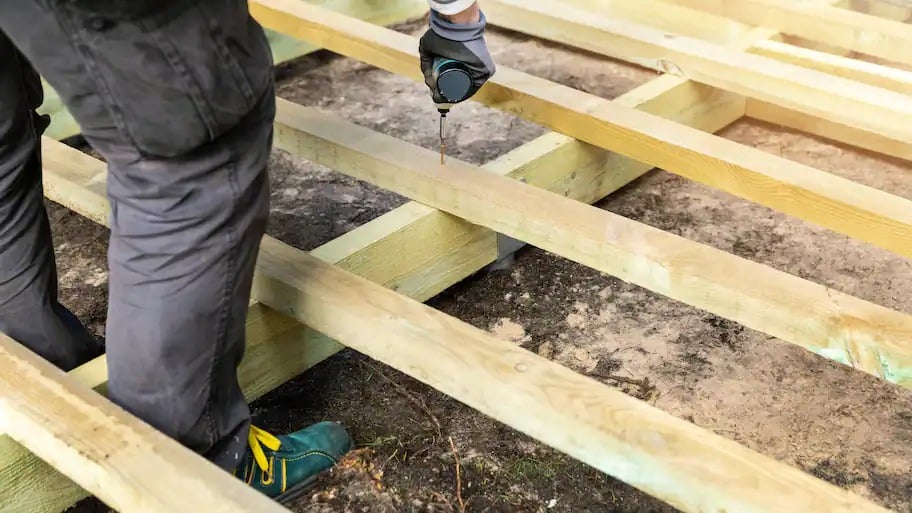
Permits? Check. Level ground? Check. Dimensions and design? Check! Perfect—now it’s time to build the base of your shed.
Start by measuring out the perimeter of the floor frame by using measuring tape and stakes. Use a sledgehammer to secure the steaks where each corner will be.
Place 2-inch-thick concrete pavers in all four corners, replacing the stakes. Make sure the concrete pavers are all level with each other by using the flat side of a wood plank and a level. If you find that a corner is uneven, add or remove a paver until all sides are as even to each other as possible.
Next, get four pressure-treated 2x6 wood planks ready to build the frame of the shed. Make sure the planks are already cut and measured to fit the size of the shed you have planned. Use a framing nail gun and galvanized nails to secure each plank together and create a rectangular floor frame that rests on top of the four concrete pavers.
Before moving on, compare the measurements diagonally from corner to corner to ensure the frame is perfectly squared.
Cut down six 2x6 wood planks to fit inside the width of the frame. Evenly measure the six planks along the length of the frame. Secure them into place with your framing nail gun and galvanized nails.
Measure and cut plywood to fit over the platform, creating the subfloor. Once again, use a nail gun and galvanized nails to nail the floor frame and subfloor together.
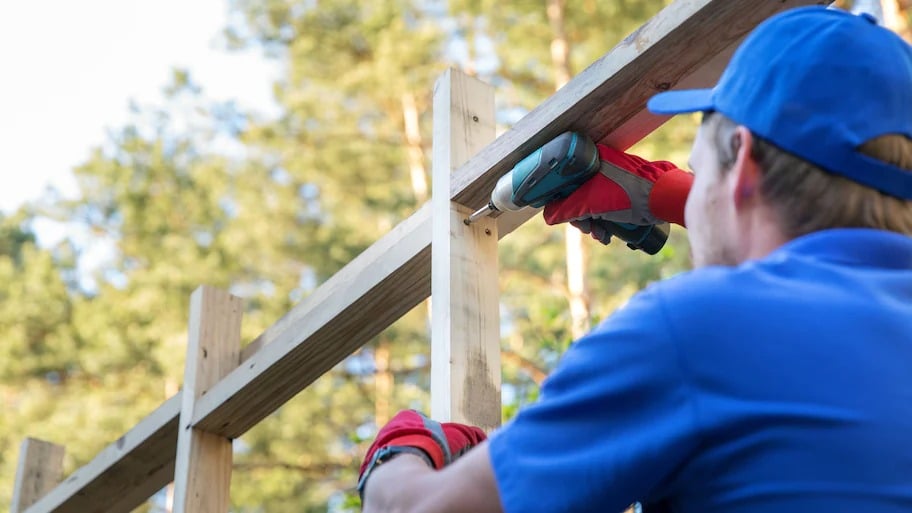
Now it’s time to frame and build the walls. The wall measurements will vary depending on the type of roof you have in your design plans. For example, a basic gable roof will require the addition of two peaked tops on two opposite sides.
It’s best to build the walls on top of the floorboard you just built so they can be easily tipped into place. This prevents you from having to carry an entire wall frame from one location to another.
Start by building the two gable walls. Using 2x4 planks, cut and set the studs, plates, and rafters for one of the gable walls. Once the wall is laid out evenly according to the design plans, nail everything together with a framing nail gun and galvanized nails.
Tip the wall upright and align the wall flush with the edge of the floor platform. Nail the wall frame securely in place. Repeat these steps for the other side of the gable wall.
Next, build the stud wall framework for the other two walls. Using 2x4 planks and your measurement plans, start by building the outer perimeter of the wall. Use eight additional 2x4 planks as wall studs by measuring them evenly across the wall frame and securing them into place using a framing nail gun and galvanized nails.
Then, tip the wall up and secure it into place by using the same nail gun and galvanized nails to connect the wall to the floorboards and also to the gable walls you have already built. Repeat these steps for both walls.
Don’t forget to leave an opening for a door in the front-facing wall. Depending on the building codes in your area, a window may be required for your shed build or it may be optional. If you plan to add a window, be sure to also leave an opening for a window according to your design plans.
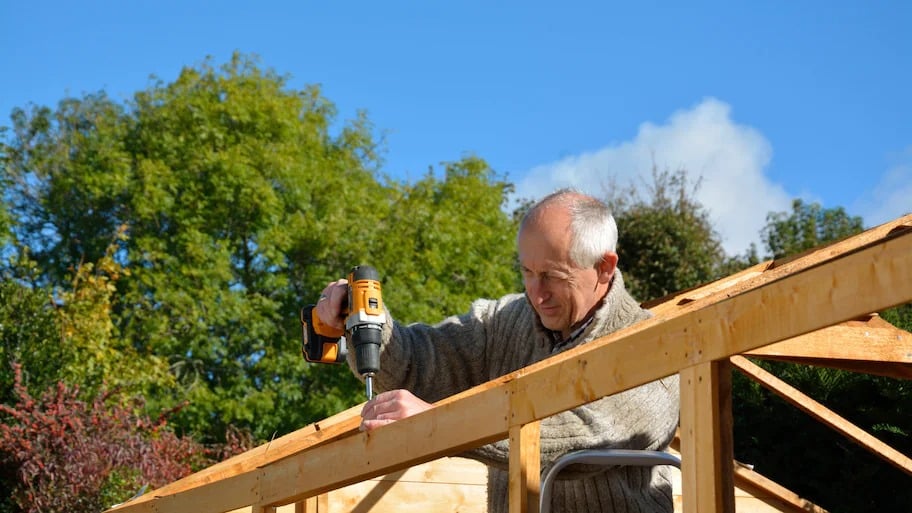
The roof is arguably the trickiest part of building a shed. This step requires the use of a ladder, so it’s best to have an extra hand available to help.
First things first—build the roof rafters. Start by installing a top plate across the non-gable walls. Then, add a ridge board that goes from the top point of one gable wall to the other. Evenly measure and mark the location for each of the eight roof rafters across the ridge board.
Next, measure and pre-cut the rafters. The rafter pieces should consist of 2x4 planks with ends that have been evenly angled to create a gable peak when two rafter pieces are put together.
Secure a rafter plank where you previously marked the space evenly along both sides of the ridge board with a framing nail gun, galvanized nails, and hurricane ties.
Finish the rafters by connecting another 2x4 plank across the width of the shed and underneath each of the rafters you have already installed, creating a triangle. Continue this step until you have finished building all of the rafters.
Next, lay the plywood sheathing across the roof and nail it securely in place. Continue on by installing the rake boards, fascia, and soffit to prevent water from getting into the shed structure and rotting it over time.
It’s now time to finish the roof by installing felt underlayment. Lay it over the entire surface of the roof, and secure it in place with a staple gun. A drip edge can then be installed around the roof perimeter to further protect it from water damage.
Finish the roof by installing shingles (or another roofing material of your choice) using a siding nailer and smaller galvanized nails.
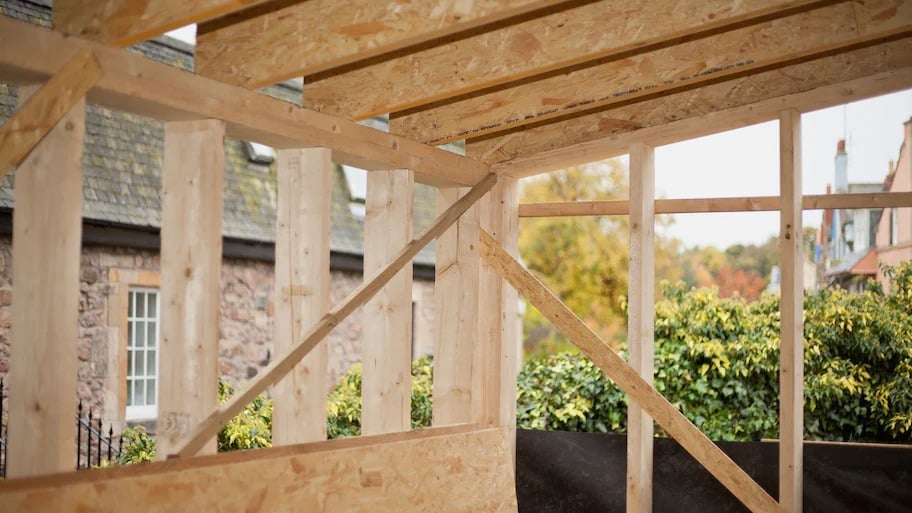
Now that your walls are framed, it’s time to add the finishing touches.
Install a plywood wall sheathing to all four sides of the shed—even covering up the space you left in the frame for a door and windows.
Using a reciprocating saw, cut and remove the bottom plate of the wall frame where the door will be installed. Then, use the framing you set in place for the door to guide the saw as you cut the openings for the door and windows.
Before installing the door and windows, measure, cut, and install the siding of your choice to all four exterior walls. Make sure the measurements for the door and windows are taken into consideration when cutting the siding.
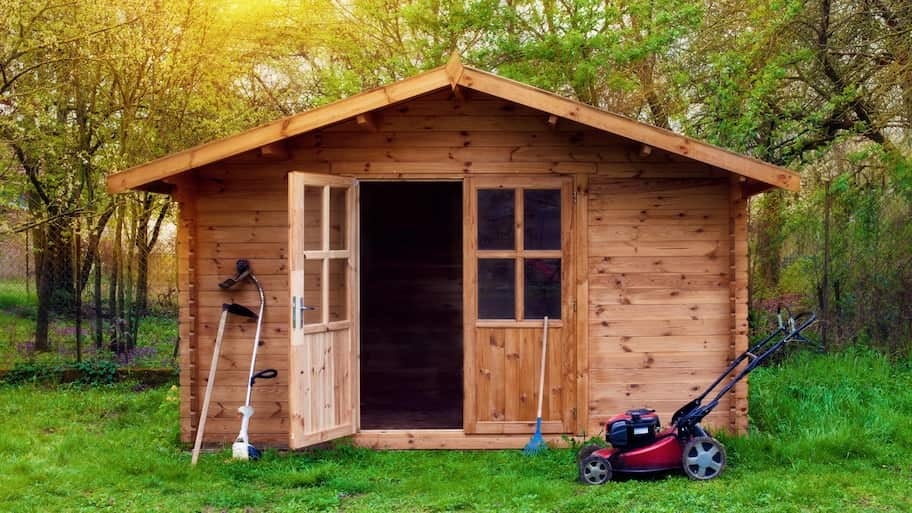
You have two options when it comes to installing the shed door. The first option is to build your own door by measuring, cutting, and assembling a frame with 2x4 planks. You can cover the frame by installing the siding you just removed to make room for the door. Just make sure to install the hinges before securing the frame.
The second option is to install a prehung door—a prefabricated door that is already assembled and measured to fit your custom door frame.
Continue on by installing the windows if you have them in your design plan.
Calk any cracks or openings left around the door or windows after installation.
Finally, add trim around the door and window frames using measured and cut 1x4 planks. This step is optional, but taking the time to do it can add a really nice touch to the finished look of the shed.
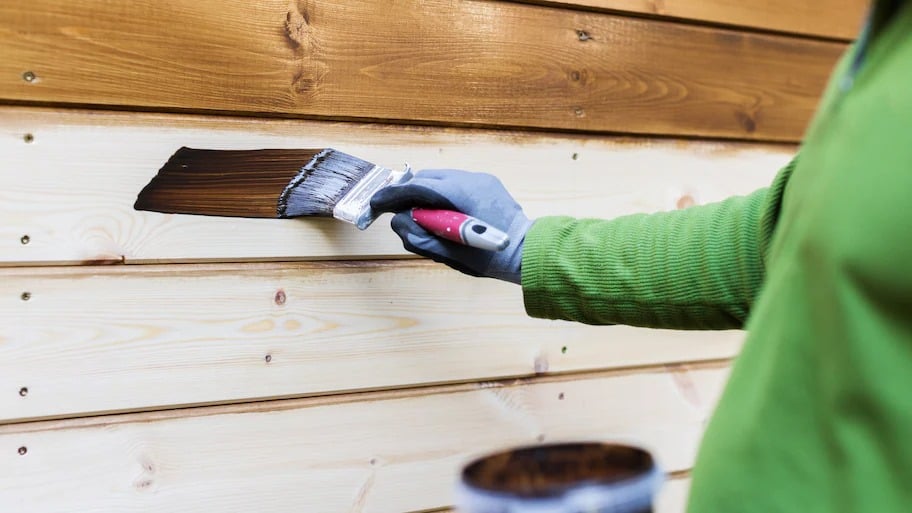
Before rushing to the finish line, consider adding these finishing touches to your shed:
A coat of paint or stain
A wooden lattice, large stones, or landscaping around the bottom of the shed
An access ramp to easily store appliances like a tractor or lawn mower
A vent at the top of one of the gable walls for airflow
From average costs to expert advice, get all the answers you need to get your job done.

Need an oversized garage to cover your RV? Use this RV garage cost guide to see what it will cost to install a permanent solution on your property.

Considering enclosing your carport to turn it into a more protective garage? Find out about the cost to convert a carport into a garage in this handy guide.

Building a shed adds storage space, provides protection for equipment, and can add living space. Shed costs depend on the size, materials, and amenities.

Thinking about repurposing your garage? Use these garage conversion ideas to transform your area and get the most use and added home value possible.

Looking to add a garage to your property but aren’t sure what type of professional should complete the task? Use this guide to see who to hire to build a garage.

Asking yourself, "Who do I call to install power in my garage?" You've got options. Read on to learn who to hire to add electricity to your garage.