
Use our expert guide to figure out how much it costs to install a pool enclosure. Establish your budget, then plan your pool enclosure project.
Keep bugs out and the summer vibes in


This project requires a lot of experience, so we don’t recommend DIYing it. Hire a pro with the special skills and tools necessary to complete the job safely.
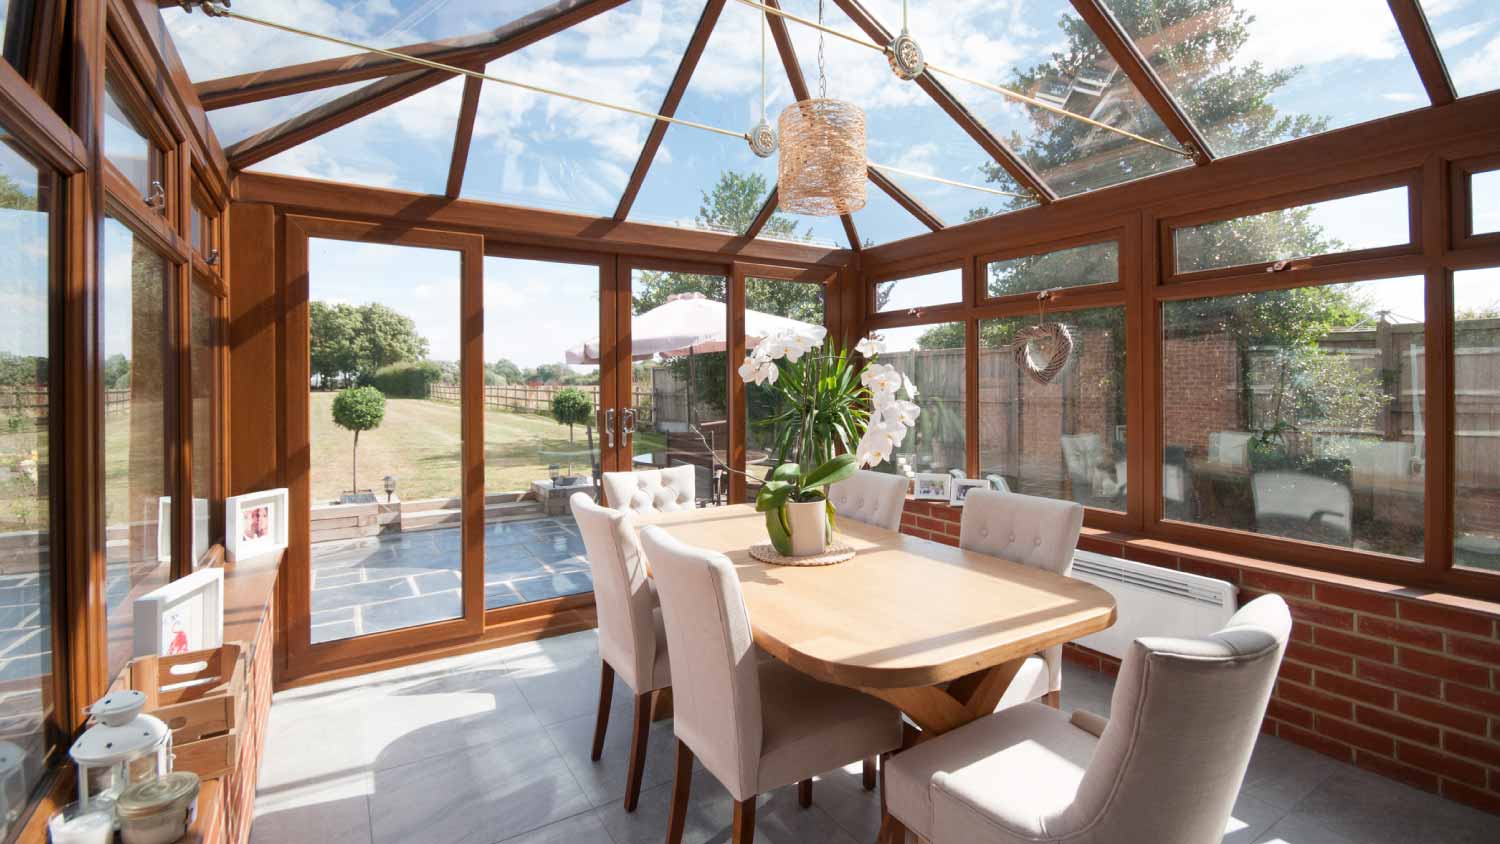
One of the main perks of the warmer weather is enjoying the outdoors in the comfort of your own backyard. But if the bugs and the unrelenting sun are ruining your experience, a screened-in porch can quickly get you back to backyard bliss. Starting with a solid plan is a good way to avoid mistakes and mishaps as you create the outdoor experience you’ve been dreaming about.
Permits can actually be quite expensive. Talk to your contractors before starting your project to understand how much the required permits will cost you.
Before you break ground, you’ll need to pull permits for your screened-in porch, as it will need footings and is considered a permanent improvement to your land. You’ll also need to call 311 to confirm it’s safe to dig for footings, prep the land by clearing vegetation and large rocks, and consult with a structural engineer to ensure your design is structurally sound and safe to enjoy.
Even if you know how to build a screened-in porch from the ground up, these initial steps are time- and labor-intensive, and everything to follow takes a lot of skill and patience. Consider hiring a professional who builds screened-in porches to get the job done, as this professional will pull permits, check for utility lines, and create a custom, safe design for your new home addition.
Use a post hole digger to dig the holes for your footings. Consult with a structural engineer to ensure you space these properly. Aim to set your posts 6 inches below the frost line in your area to avoid issues with frost heave.
Cut concrete form tubes so that they stick up one to two inches above the ground, and use a line level to ensure they’re all level. Insert the tubes into the holes and fill the bottom with a layer of gravel for drainage. Mix your concrete according to the directions on the package, and fill the tubes. Plunge a spare 2-by-4 into each to remove any air bubbles. Set your post bases into the concrete, double-checking that they’re all level with each other and square.
Once the concrete dries, set up your posts using 6-by-6 or 8-by-8 lumber—whichever your structural engineer recommends. Use a circular saw to cut posts in the center so they’ll come up to the bottoms of your joists. Cut the posts around the perimeter so they’ll come up to the bottom of your roof rafters. Secure the posts to the post bases with construction screws or framing nails, and make sure they’re all plumb.
Measure and cut your ledger boards from 2-by-10 or 2-by-12 lumber. Ledger boards attach your screened-in porch to your house, so remove siding from your exterior wall and attach them with structural lag screws.
Next, frame out the porch base using 2-by-8 lumber. Use joist hangers to attach the joists to your ledger board and post caps to attach the joists to support posts underneath. Space the floor joists 16 inches apart on center. Tie the joists together with a rim joist opposite the side that attaches to the ledger board. Double-check that everything is square and level as you work.
With the floor framed out, you can install the floorboards. Use deck screws to attach them to your joists, and always place gaps over a joist to ensure proper support.
Use 2-by-4 lumber to frame out porch walls. Half-walls with space for large screens above that are separated by floor-to-ceiling dividers every six to eight feet are common. Be sure to frame a door opening if you want one. Tie the porch walls together using 2-by-4 lumber to create a top plate.
Install roof rafters using 2-by-6 or 2-by-8 lumber—depending on what your structural engineer or screened-in porch plans suggest—and rafter hangers. Space them 16 inches apart on center, and cut them to length using your circular saw. Use your saw to cut plywood to cover the roof. Attach it to the rafters with roofing nails, and make sure to set gaps over the rafters.
Attach roofing felt using cap nails starting from the bottom of the roof slope and working up. Install flashing around the edges, and then use roofing nails to attach your asphalt shingles.
Use plywood and siding to finish the exterior walls, or install T1-11 siding or an equivalent to act as both structural support and a finishing material. Install exterior trim.
Screw the screen base strips around the large openings you left in the exterior walls, and check that they’re square as you work. Wrap each end of the porch screen around a rubber spline, pull the screen taut, and use the roller on your roller knife to push the rubber spline into the base strips. Use the blade on the roller knife to cut off the excess screen. Use a rubber mallet to attach the vinyl screen cap to finish your screened-in porch.
Finally, install the screen door, and decorate inside to bring your screened-in porch ideas to life.
Building a screened-in porch is a major undertaking, and a lot can go wrong between the design phase and the day your outdoor oasis is complete. Here are some of the top mistakes to avoid during your project.
Not setting your post bases properly: Your entire screened-in porch will rely on the footings you pour at the very beginning of your project. If these aren’t below the frost line and perfectly spaced and square, your entire project will start off on the wrong foot.
Using the wrong lumber: Always use pressure-treated lumber to build your screened-in porch. This will stand up better to the elements and is less likely to rot. Use ground-contact pressure-treated lumber for posts that will sit close to the ground.
Using the wrong fasteners: Make sure you use fasteners designed for structural and exterior use. Not doing so will lead to rusting and deterioration, which could create dangerous structural problems.
Not consulting with a structural engineer: Even if you know the basics of how to build a screened-in porch, you should hire a structural engineer to sign off on the design. They’ll make sure you’re using the proper lumber, spacing, and fasteners for a safe build.
It’s possible to build a screened-in porch yourself, but it’s a very involved project that demands a high level of skill. You can save between $2,000 and $10,000 on the cost to build a screened-in porch if you have experience pouring footings, framing, and installing roofing.
However, a lot can go wrong, and hiring a local sunroom contractor to handle everything from permitting and design to safe building and professional finishing is the best option.
From average costs to expert advice, get all the answers you need to get your job done.
Use our expert guide to figure out how much it costs to install a pool enclosure. Establish your budget, then plan your pool enclosure project.

Homeowners can enclose their porches in a few different ways—each having their own price tag. Learn what contributes to the total cost to enclose a porch and how you can reduce the bill.

When you're ready to kick back and enjoy nature without the bugs, a sunroom is your best option. Learn how much a sunroom addition costs to set your budget.
Our guide explores how much value a sunroom can add to your home and the factors that affect your return on investment.

Learn how to build a four-season room on a deck with this step-by-step guide. It’s all about planning, good foundations, and help from the right contractors.
Installing a sunroom on your home can boost value and add utility. Learn about the different types of sunrooms to get the most out of your home addition.