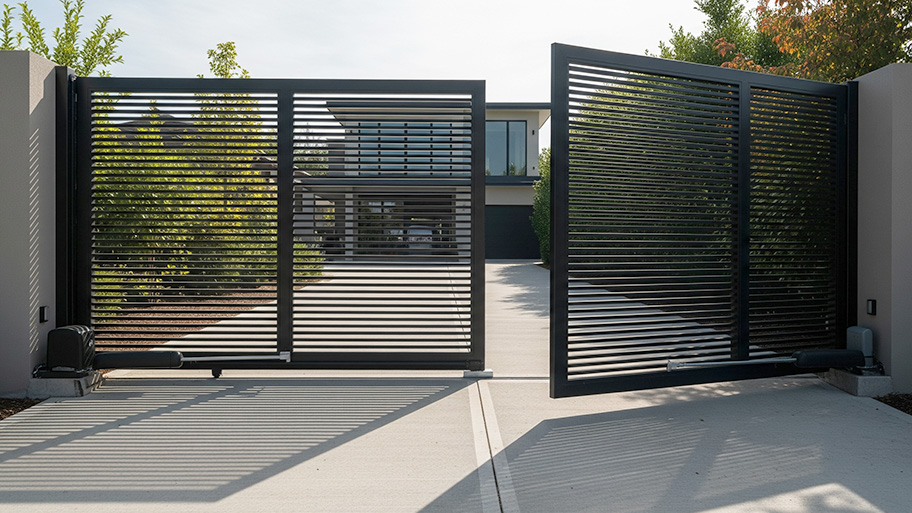
Discover the average automatic gate installation cost, key price factors, and ways to save. Get expert tips for homeowners planning a new automatic gate.
Add beauty and function to your backyard fence


Wooden privacy fences offer a variety of benefits all at once, including privacy, security, beauty, and function to your backyard. But they don’t last forever. Wooden fences require maintenance to continue functioning as they should. That’s especially true of the fence’s moving parts.
Wooden privacy gates often sag or wear out their useful life. A worn gate doesn’t have to mean you’ll need an entirely new fence, though. Follow this guide to learn how to build a wooden gate for your fence.
Before you get started, you should figure out what type of wood you want to use to build your gate. It makes sense to consider the type of wood fencing you have and use the same wood for the gate. Some popular options include Redwood, Red Cedar, Douglas Fir, Cypress, and pressure-treated wood.
Redwood is more expensive but resists rotting, pests, and lasts a long time with regular staining and sealing. Red Cedar also resists rotting and pests and is budget-friendly.
Douglas Fir is easily customizable with paint and sealant, while Cypress is rot-resistant. You can also opt for pressure-treated wood for an anti-rot, anti-pest option.
Also, you need to go out and get new gate hardware. The sturdier the hardware, the more durable your gate will be over time.
While you’re at the store, also grab a gate latch. There are plenty of options to choose from. You might go with a basic thumb latch or hook and eye. Or, get something sturdier like a slide bolt. Self-closing latches can help you make sure your gate stays closed, and latches with locks can offer the highest level of security.
Remove the old gate and hardware before getting started. These steps assume that the mounting fence post is in good condition and secured to the proper depth. Ensuring your gate will fit perfectly requires accurate measuring of the opening.
Measure the distance between the two wooden fence posts or mounting surfaces
Subtract 3/4-inch from the total width to determine the gate’s width.
Determine the height of the gate up to six feet.

Most gate hardware kits include steel brackets that measure 1/4 inches thick. Adjust this step to accommodate the thickness of the brackets you have if necessary.
With the measuring tape, square, and pencil, mark two two-by-four boards to 6 1/2-inches shorter than the final gate height.
With a circular or miter saw, cut one board from each 10-foot long two-by-four.
Cut two pieces from the remaining two-by-four lumber to match the overall gate width.
Cut each fence picket to 1 1/2-inches shorter than the final gate height.

The gate hardware kit includes four brackets (two with hinges attached), latch hardware, and two sizes of screws.
Starting with the drill and screwdriver bit, one long frame board, and the two brackets with the hinges attached, screw each bracket to the top and bottom of the board using the longer screws from the kit. The hinges should face away from the board in the same direction.
Repeat step one for the opposite side gate brackets.
On a flat surface, lay the two boards flat and parallel, so the brackets are pointing towards each other.
Lay the short two by four pieces flat and perpendicular to the long boards and brackets.
Screw the longer kit screws through the bracket and into the short two-by-four to create a corner.
Repeat step five on the other side of the short board and both sides of the other board.

Decide which side of the gate the hinges will be on. For this step, place the completed frame on a flat surface with the “outside” of the gate facing up.
Starting on the hinge side, line up the edge of the first picket with the edge of the frame.
With your measuring tape, adjust the picket so that three inches of it overhang the top and bottom of the frame.
With your electric drill, pre-drill two pilot holes into the picket and frame lumber at each intersection.
Use 1 1/4-inch exterior grade screws to attach the picket to the frame
Pre-drill two or three pilot holes along the edge of the picket and frame and secure with 1 1/4-inch exterior screws.
Repeat steps three and four for the remaining pickets, excluding the last picket. You can choose to install the pickets with an equal gap between each one, or you can butt each one to the previous one.
If the last picket’s edge doesn’t line up with the edge of the frame, lay it on top of the frame. Trace the edge of the frame onto the picket with a pencil line from top to bottom.
Cut along the traced line with a table saw or circular saw.
If you’re using dog-eared fence pickets, mark the angle on the cut side of the picket with a square and pencil. Cut off the marked corner with the circular saw.
Attach the last fence picket following steps three through five.
Your gate build is complete. Now you can hang it on the fence post.
Lay two pieces of scrap two-by-four wood on the ground in a perpendicular line from the hinge-side fence post.
Rest the new gate’s bottom edge on top of the scrap pieces with the hinges facing the inside of the fence post.
Mark the position of one hole from each hinge in the fence post.
Set gate aside and pre-drill pilot holes at the marks
Place the gate back on the blocks and screw the long screws from the kit through the hinge holes and into the fence post’s pilot holes.
Drill pilot holes at the remaining hinge holes and screw the remaining long screws into the holes.
Remove the scrap lumber pieces.

Your gate latch hardware will vary depending on your kit. In general, follow these steps to install your gate latch:
Install the gate handle 36 to 42 inches from the ground on the “outside” face of the gate. Use the short kit screws to attach the hardware.
Using short screws, attach the latch finger to the “inside” of the gate.
With the remaining kit screws, attach the latch to the fence post to correspond with the latch finger.
How you choose to finish your gate is entirely up to you. Match your existing fence’s finish or create a contrasting look.
Treating the timber with a top coat of oil, stain, paint, or varnish will protect the wood from the sun and other harsh elements for years. Follow the manufacturer's directions to apply an exterior grade paint or stain to your new wooden gate.
The cost to build and install a wooden gate on a weekend afternoon is around $200 to $600 for the hardware kit, screws, cedar lumber, and finish materials. The hardware kit makes the job simple for beginners to complete. And you can use the kit to create a more elaborate gate if your DIY skills are a little more advanced.
However, building fence gates isn’t everybody’s idea of a good time. Hiring a gate installer near you to complete the job will cost between $35 and $100 per hour. If your fence needs more help than just a replacement gate, you may consider having a nearby fencing company come out and look at your repair or replacement options.
Deane Biermeier contributed to this piece.
From average costs to expert advice, get all the answers you need to get your job done.

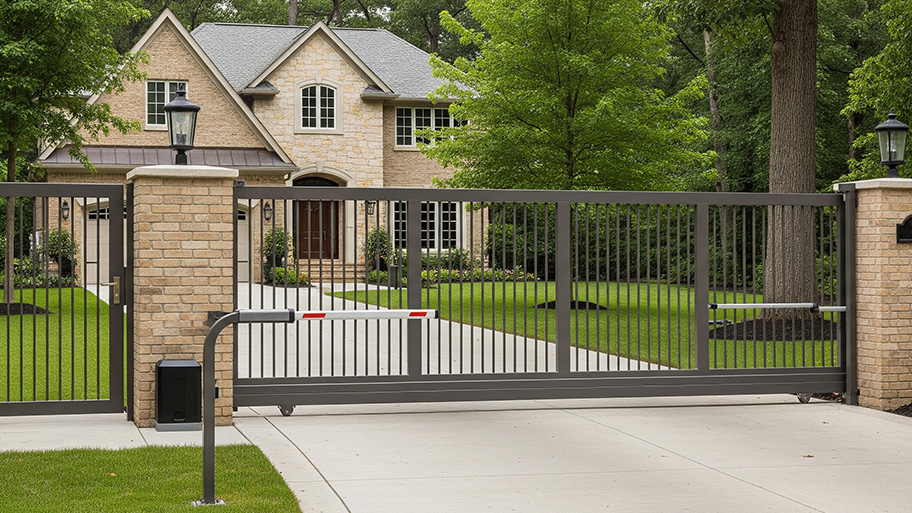
Discover the average automatic gate installation cost, key price factors, and ways to save. Get expert tips for homeowners planning a new automatic gate.

Find out the average automatic gate repair cost, key price factors, and ways to save. Get expert tips to budget for your automatic gate repair.

Gate installation costs depend on the material your gate is made of, and the type of gate you want to install. Explore all the gate installation cost factors in this guide.

Automatic gate openers let you open and close your heavy swinging gate with the push of a button. Use this DIY guide for the steps to gate opener installation.

You may be surprised by the various types of gates out there. Explore the most common gate types, material options, installation requirements, and more in this guide.

Curious about the parts of a sliding gate and how they operate? We've gathered everything you need to know if you're considering installing or repairing one.