
•
Discover the average automatic gate installation cost, key price factors, and ways to save. Get expert tips for homeowners planning a new automatic gate.
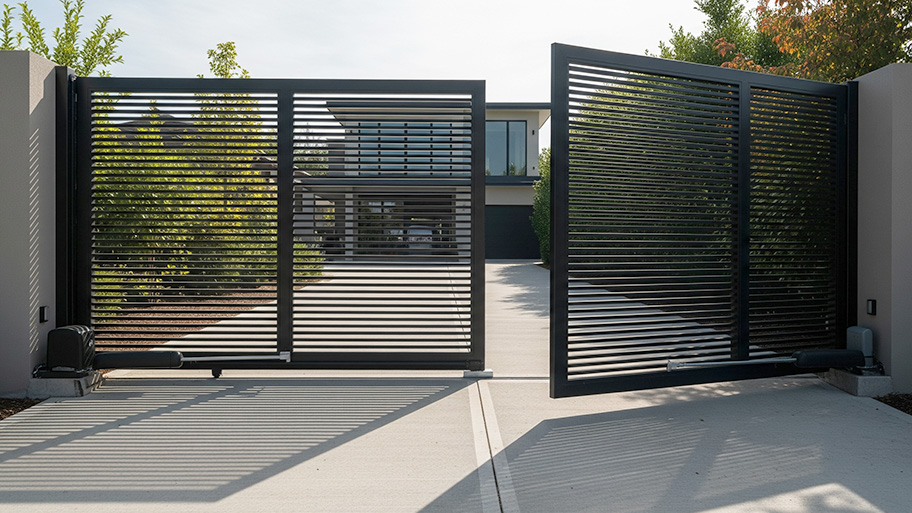
This could be your gateway to more curb appeal


Driveways and gates go together like peanut butter and jelly. They help keep your vehicles safe and dissuade would-be intruders from traipsing around your property. You could head to the store and pick up a prefabricated gate, but building your own is a great way to hone your home renovation skills and get your desired aesthetic. You’re just nine steps away from a simple, budget-friendly boost to your curb appeal—here’s how to build a driveway gate.
The general method here isn’t that different from learning how to build a standard gate. Choose the type of wood you’ll use depending on your current fence and aesthetic theme. Popular options include Redwood, Douglas Fir, Cypress, and Red Cedar. If you opt for pressure-treated wood, make sure to acclimate it for 72 hours beforehand.
Check local regulations for any permits you’ll need, gate height restrictions, or minimum dimension requirements.
Decide how wide you want your gate to be based on the available space and your individual needs. Most residential driveway gates are 9 to 12 feet wide. You can get by with 8 feet of width, as this will still allow a full-sized pickup truck to squeeze through, but it’ll be tight.
Measuring the width at the bottom, middle, and top where the gate will reside. Account for a ½- to ¾-inch gap on each side to allow for easy opening and closing. As for the height, it’s up to you, but driveway gates are typically between 5 and 6 feet tall. Use a level on the ground to adjust for any variations.
Next, draw some sketches of the finished product, using online images of your favorite gates for inspiration, or grab an online template. Make sure to write out the measurements on these sketches, along with how each piece of wood will connect.

The gate rails run horizontally on the top and bottom of the gate. These rails should be approximately 1 inch less than the width of the gate opening, leaving plenty of space for gaps and the hardware. Use a miter saw—or circular saw if you have one—to cut the wood planks to the appropriate size. Two-by-four planks work great for this part of the job.

Unless you opt for prefabricated posts, you’ll have to build these as well. The posts sit vertically on each end of the gate and physically attach to the fence, stone column, cement wall, or wherever else you place the fixture. Like the above step, you’ll review your measurements and cut a plank or two down to size using a miter or circular saw.
With the rails and the posts, the frame is beginning to take shape. Finish it off by using a miter saw to cut opposing 45-degree angles, which allows the rails and posts to fit snugly when you screw them together. Arrange the posts side by side and lay the rails toward the top and bottom.
Next, push the posts and rails together until the opposing angled ends come together. Use a power drill to screw in some 2-½-inch wood screws; the length could vary depending on your design. Don’t skimp here. Use at least two screws spaced equally apart for each corner of the gate. As a bonus step, drill in a galvanized ring shank nail near each corner, equally spaced from the other screws—this type of screw easily withstands severe weather. Once finished, your gate should look like a picture frame.

Balusters fill out the center of the gate, allowing for increased privacy and security. You can add as many or as few as you like, but a general rule of thumb suggests that you space the balusters 2 to 4 inches apart. Any wider than 4 inches may allow pets and children to escape through the gap.
Next, cut wood boards to the same height as the posts with a miter saw. At one end of each board, use the saw to cut a 45-degree angle to help it shed water during use. This angle will be at the top of each baluster. However, you can opt for squared ends to save some time here.
Cut a wood block to match the spacing measurement and use it as a guide when attaching the balusters. Lay the spacer flush with one gate post and lay the first baluster on the other side. Next, use the power drill to place wood screws at the top and bottom of the rail. Repeat this process until all of the balusters are attached.

It’s time for some finishing aesthetic touches. This is a wood gate, so you’ll want to sand the surface with 120-grit sandpaper. If the gate is on the larger side, you can swap out sandpaper for a power sander, like an orbital sander.
Once the surface is smooth, you can add some personal touches. Add a finish or a stain to match the rest of your fence or add a colorful touch. If you opt for paint or finish, let it dry before moving on to the next steps.
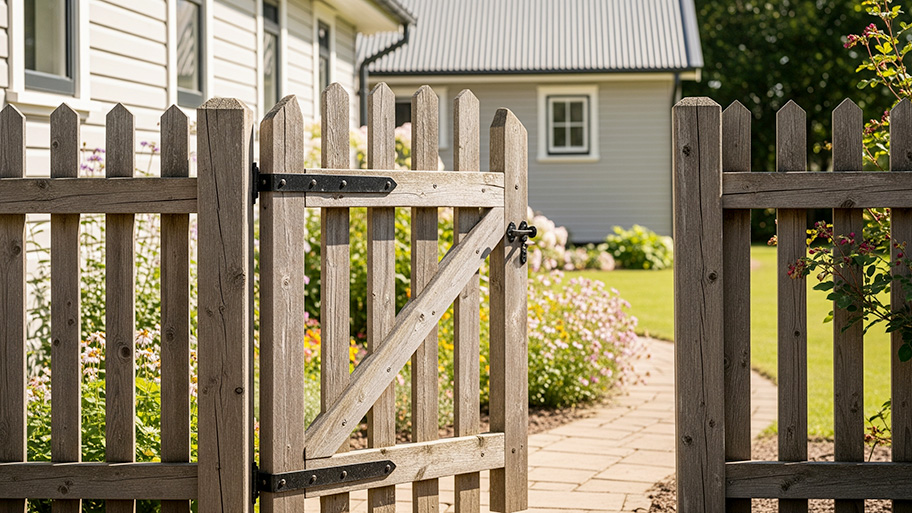
Recruit a friend or family member to help hold the gate as you find the perfect spot for the hinges that attach the gate posts to your fence, stone column, or cement wall. You’ll have to do some measurements here and break out the level to ensure the hinges on each post are exactly the same height.
Draw a circle in pencil at the appropriate height of each connection point for the gate. Drill in the hinges according to the manufacturer’s instructions and pre-drill holes at the connection points.
Now that the hinges are attached, it’s time for the locking hardware, which could include a simple drop rod, a standard latch, or something more high-tech. No matter which type of latch or lock you choose, mark a spot at least three inches from the top of the gate for installation. Next, grab the screws that came with the hardware or exterior wood screws. Use a power drill to secure the hardware in place.

The method here depends entirely on what you attach the gate to, whether a fence or a cement wall. In most cases, you’ll start by digging holes for the posts, making sure to measure ahead of time. After that, place the posts and the gate snugly in the holes.
Mix some cement with water and fill the holes, stopping at 3 inches below grade. Adjust for height during this process, as there’s no going back once the cement sets. Finally, add a support board or two to ensure the gate stays in place as the cement sets. Cement takes 72 hours to set; once that time has passed, remove the support boards and test the gate.
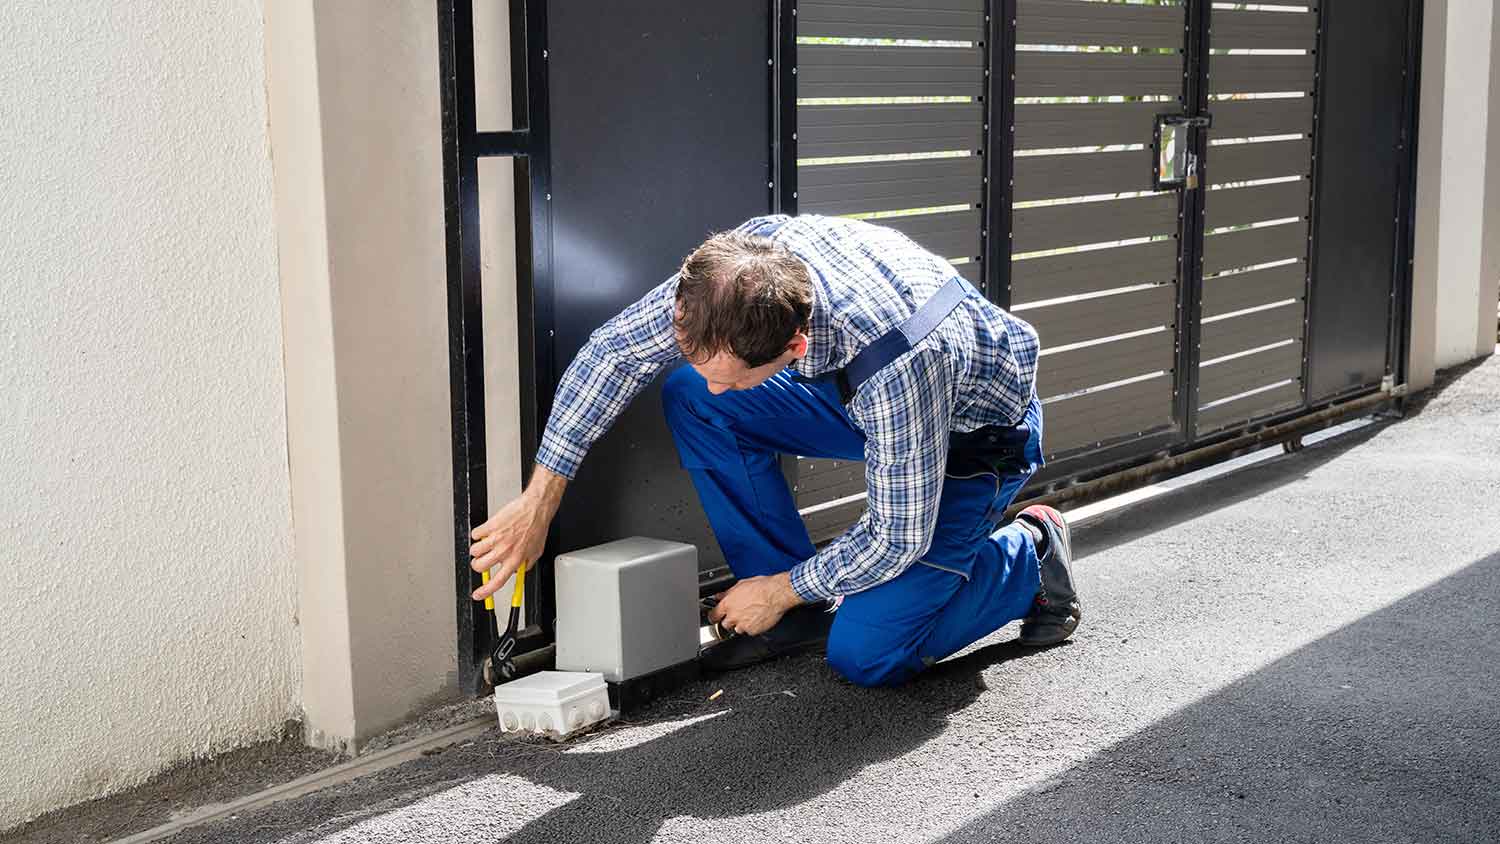
This is not the easiest DIY job in the world and requires experience with various tools and supplies. In other words, there’s no shame in hiring a local gate installer. However, pros are pricey compared to DIY builds. Hiring a contractor to custom-build and install a gate costs anywhere from $900 to $3,800, depending on the materials used, the size, and any optional features.
There’s also a middle ground, as many companies sell prefabricated driveway gates. You’ll have to learn how to hang the gate, but that might be a simpler job for inexperienced homeowners or anyone who doesn’t own the tools to build from scratch.
From average costs to expert advice, get all the answers you need to get your job done.
Discover the average automatic gate installation cost, key price factors, and ways to save. Get expert tips for homeowners planning a new automatic gate.
Find out the average automatic gate repair cost, key price factors, and ways to save. Get expert tips to budget for your automatic gate repair.

Gate installation costs depend on the material your gate is made of, and the type of gate you want to install. Explore all the gate installation cost factors in this guide.
Learn how to build a wooden gate for your fence so you can secure your property while enjoying easy access to the yard.

How valuable driveway gates are depends on many factors like size and materials. Read this guide to see if driveway gates do add value to homes.

If you’re preparing to install a driveway gate, here are the questions you should ask a contractor about the project.