How to Attach a Dishwasher to a Countertop: 7 Helpful Tips
Wash your hands of worries with these tips


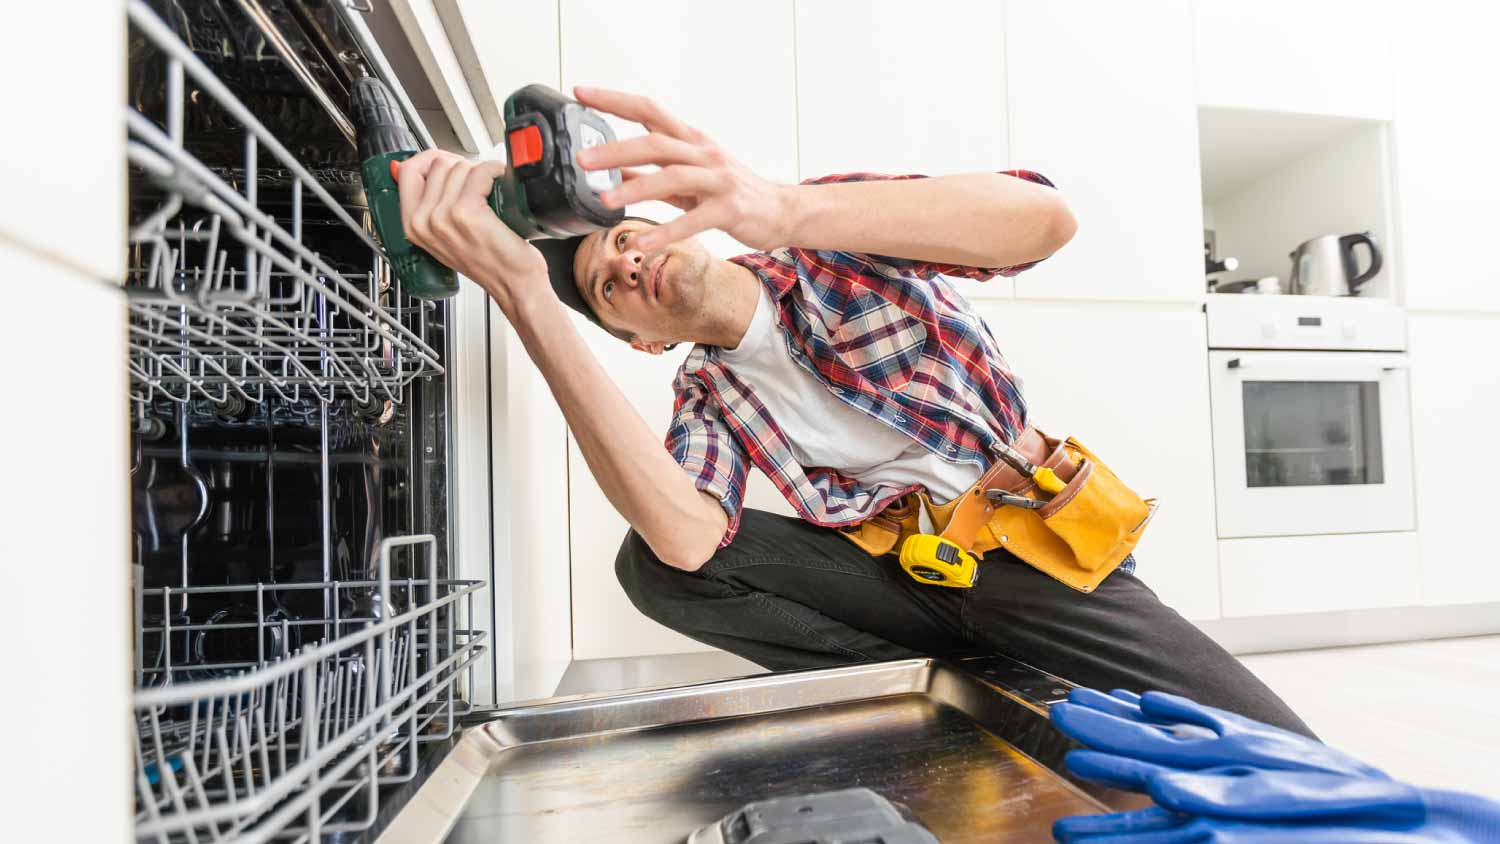
Every homeowner can learn how to attach a dishwasher to a countertop. Whether you’re installing a brand new dishwasher or making repairs on the old one, ensuring it’s safely locked in place can help you rest easy that your dishes are cleaned and your countertops are safe. If you’re stuck rinsing and repeating on this household task, these tips can help clean up any misconceptions.
1. Understand Your Tools and Materials

Before attaching your dishwasher to the countertop, familiarize yourself with the machine and its components.
In addition to the basic tools (screwdriver, wrench, drill, level, and measuring tape), you’ll also need a few specialized materials from the hardware store.
Dishwasher mounting brackets: Brackets may already be attached or included with your new dishwasher. If not, be sure to get the right type for your countertop material.
Mounting screws: These small screws go through the mounting bracket and attach to your countertop.
Silicone sealant: A silicone adhesive will help create a waterproof seal to protect your cabinets and ensure your mount is securely attached.
Safety goggles: You will be drilling during this DIY, so protect your eyes from any flying debris that may rise.
2. Prepare the Space
Clear out the area the dishwasher will go, and measure the width, height, and depth to make sure you have a perfect fit. If your dishwasher is too short or tall, they usually have adjustable legs to help you get the perfect fit.
3. Measure and Mark
You know the adage: measure twice, cut once. Well, this is especially important when attaching a dishwasher to your countertop. Because the screws you’ll be using for your brackets are relatively small, drilling a hole even a few centimeters out of place can play a damaging role in ensuring the security of your dishwasher.
After confirming measurements, mark where your brackets will go so you can drill a hole in the exact place you need.
4. Be Mindful of the Alignment

Sometimes, it’s easier to slide the dishwasher into place and then install the bracket. Other times, you’ll attach the bracket first and then slide it in. It’s more important to get the alignment just right.
Double-check your alignment with where you marked for the hole in your countertop and make adjustments as needed. Once you’re sure you’ve got the right spot, drill into your countertop to create a hole for the mounting screw. Avoiding any unnecessary hole repairs can cut down your kitchen remodel cost.
5. Ensure Proper Adhesion
Use construction adhesive behind the bracket to create a foolproof seal. Similarly, once everything is in place, apply silicone sealant around the edges of the dishwasher’s top. This creates a waterproof seal that prevents water damage to your cabinets, and it can also help absorb any vibrations the dishwasher creates during its cycles.
6. Test the Connections

Take your newly secured dishwasher for a test drive to see if all your hard work has paid off. Before calling it a day, check to see if:
Your dishwasher is secured to the countertop and leveled properly
The connections are tight
Your dishwasher stays in place during its wash cycle
7. Avoid Common Mistakes
While it may seem like a straightforward process, attaching a dishwasher to your countertop might present some problems.
Vibrating Dishwasher
If your dishwasher vibrates when it runs, that’s probably a sign that it isn’t properly leveled. Use a level on your dishwasher and adjust its feet as needed to ensure perfect balance.
Water Leak
If you notice water pooling around the base of your dishwasher, the silicone sealant may not be doing its job. Double-check that the seal is tight, and if you notice any spots where it could be improved, reapply as needed to create a sturdy seal. If the seal looks good but the leak persists, call your local countertop installer for assistance.


