How to Apply Peel-and-Stick Wallpaper in 8 Easy Steps
There’s no need to feel stuck on how to apply this type of wallpaper

- Screwdriver
- Drill (optional)
- Sponge
- Cleaning cloth
- Measuring tape
- Water
- Soap
- Peel-and-stick wallpaper rolls
- Sanding block
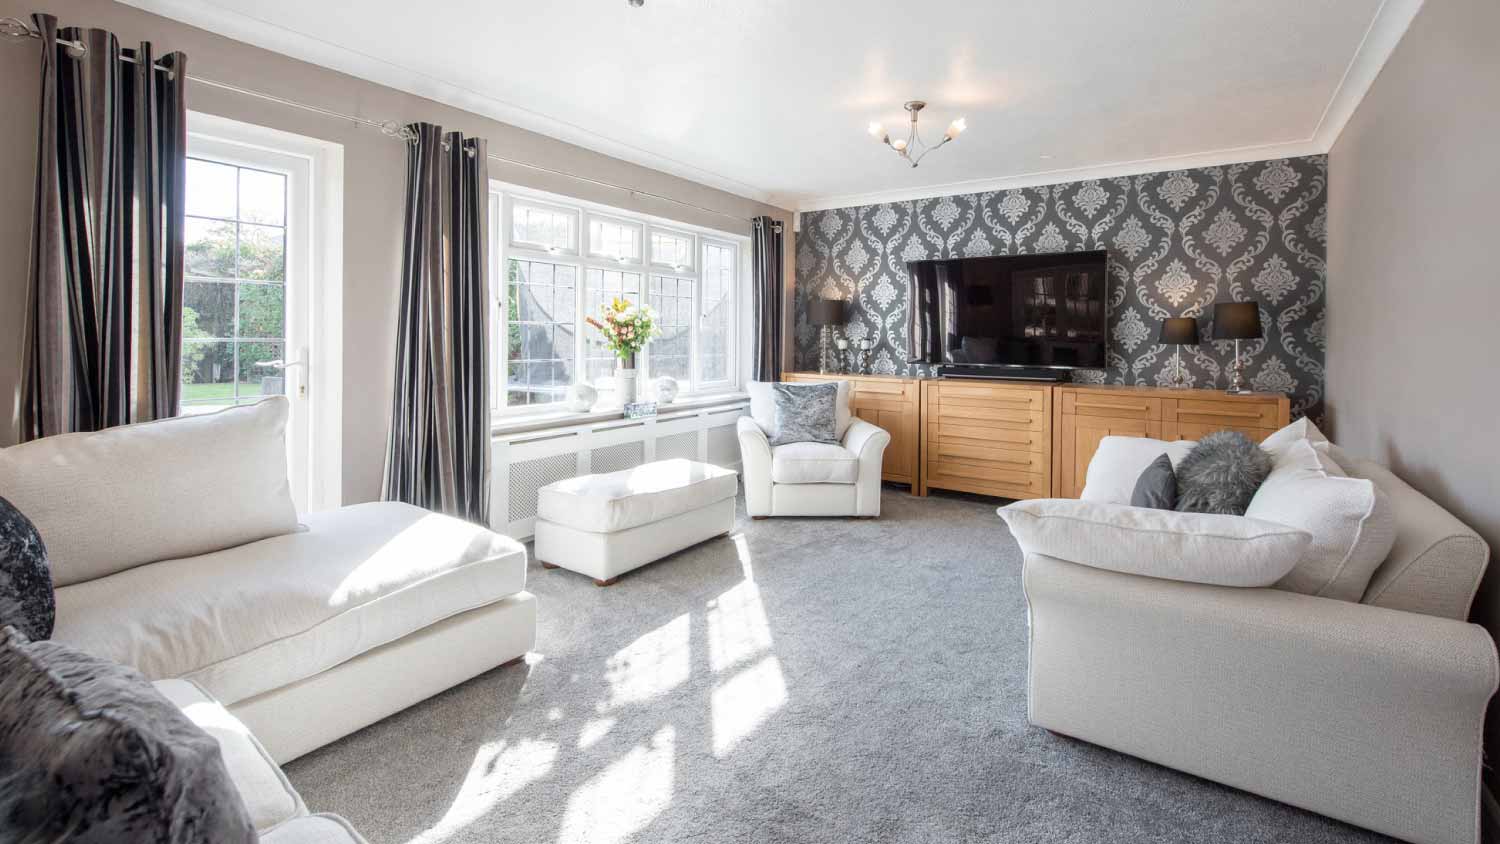
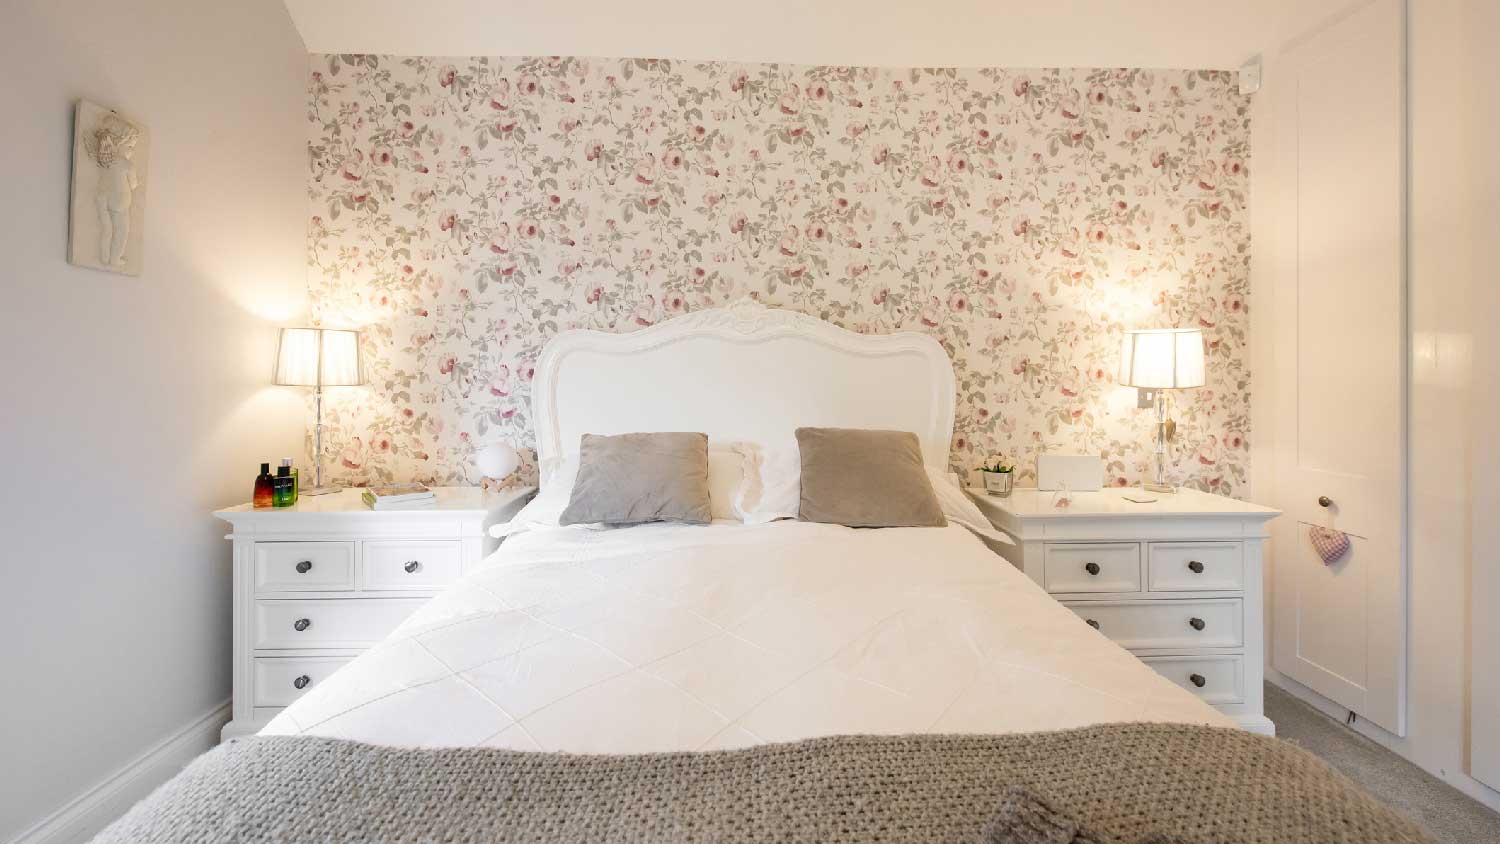
Peel-and-stick wallpaper is often considered a renter-friendly, easy-to-install option for creating an accent wall or adding a “wow” factor to an ordinary room. For renters and homeowners alike, this wall covering makes it easy to bring current trends to a space with less permanence than traditional wallpaper. Here’s how to apply peel-and-stick wallpaper to the rooms in your home in just one afternoon.

Prep the Walls
Peel-and-stick wallpaper has an adhesive backing (rather than wallpaper paste), so it needs a smooth surface to adhere to. That means you’ll need to remove any decor from the walls, outlet covers, visible nails, and other fixtures before you roll out the wallpaper panels.
Turn off the electricity to the room, then use a screwdriver or drill to remove all outlets, mounts, and other fixtures. Then, use a sponge, warm water, and soap to wipe down the walls. Follow up with a dry cloth to dry the walls. Use a sanding block to smooth out any rough patches on the wall.
Create a Guide
For the straightest panels and most seamless finish, creating a guide where the first panel will hang makes the entire installation process easier. Use measuring tape to measure the width of the wallpaper.
Then, use a tape measure, a level, and a straightedge starting at the top of the wall in one corner of the room. Mark the spots for the wallpaper with a pencil, creating lines from the top of the wall to the bottom for an outline of where the panel will go.
Cut the Roll
 Photo: middelveld / E+ / Getty Images
Measure the length of the wall. Then, measure the wallpaper and cut the roll to a length that will cover the wall, plus around 4 to 6 inches to spare. You can always trim the excess later.
Hang the Wallpaper Strip
Have one person stand on a ladder and hold the top of the wallpaper panel while another person stands nearby to align the panel with the guide you made earlier. Pull back the wallpaper backing from the top toward the bottom by 12 inches to reveal the adhesive and stick it to the wall, having a partner align it with the pencil marks.
Then, use the smoothing tool to help the wallpaper adhere to the wall. Peel down another 12 inches of wallpaper and use the smoothing tool to continue applying the wallpaper. Repeat until the full panel is on the wall.
Smooth It Out
Whether you’re installing temporary wallpaper in a guest bedroom or considering washable wallpaper for bathrooms or kitchens, you need to smooth out each panel as thoroughly as possible to prevent bubbles and wrinkles.
Run the smoothing tool across the wallpaper and apply firm pressure as you move it. When you come across a bubble or wrinkle, work from the spot outward to the edges of the wallpaper panel.
For stubborn spots, poke a small hole into the wallpaper bubble or wrinkle, then smooth over it with the tool to release the air. Avoid poking any holes in washable wallpaper, though.
Trim as Needed
When the wallpaper reaches the baseboards or floor, use a utility knife to trim the wallpaper at that intersection. Follow up with the smoothing tool to adhere the bottom of the panel to the wall. Discard the excess wallpaper or save it for arts and crafts projects or touchups.
Align and Hang the Next Wallpaper Strip
 Photo: Patryk_Kosmider / iStock / Getty Images Plus / Getty Images
Repeat the process with a new panel of wallpaper. Align the next panel so that it just slightly overlaps the first panel and that the pattern on each strip matches up for a seamless look. Plus, overlapping the panels makes it easier to remove peel-and-stick wallpaper with no damage to the walls.
Repeat to Cover the Room
Continue the process of hanging the wallpaper strips until you’ve covered the entire accent wall or room to your liking. Then, you’re ready to replace the outlet covers, re-hang mirrors and art, and start enjoying your newly refreshed space.
Mistakes to Avoid When Applying Peel-and-Stick Wallpaper
There are a few best practices and things to avoid if you want an unblemished wallpaper finish. Here are common mistakes to steer clear of when hanging peel-and-stick wallpaper panels.
Not asking for help: Hanging peel-and-stick wallpaper is easier to DIY than traditional wallpaper, but it still works better with at least two people to guide each strip. Ask a buddy for help before you get started.
Forgetting to smooth out each strip: Air bubbles don’t just ruin the flawless finish of your wallpaper. They can also shorten the life of your peel-and-stick panels. Be sure to use the smoothing tool across the full length and width of each panel to smooth out all bubbles and wrinkles.
Forgetting to let the wallpaper acclimate: When you bring wallpaper into the house, let it sit in the room you’ll install it in for at least 24 hours to acclimate before installing. Otherwise, you risk the wallpaper shrinking or expanding after application.
DIY Peel-and-Stick Wallpaper Installation vs. Hiring a Pro
The biggest cost to install wallpaper is the cost of the wallpaper itself. For peel-and-stick varieties, the average cost is $2 per square foot, plus you’ll need to spend $5 to $10 for a sanding block to prep the walls.
When it comes to peel-and-stick versus traditional wallpaper, peel-and-stick is much easier to DIY, although aligning the patterns can get tricky. If you have any trouble or want to spend your day relaxing rather than hanging wallpaper, hire a wallpaper installer near you to take over the project.
Frequently Asked Questions
One of the biggest downsides to peel-and-stick wallpaper is that it doesn’t last quite as long as traditional wallpaper. The life span of peel-and-stick wallpaper is about five years, depending on the quality of the wallpaper and how well you prep the wall before applying. The good news is that, because of its shorter lifespan, peel-and-stick wallpaper is a great choice for people who enjoy switching up their interiors more frequently.
Walls should be as smooth as possible before applying peel-and-stick wallpaper. Although you technically can apply wallpaper on textured walls, the peel-and-stick variety won’t last long without a clean, smooth surface for the adhesive to stick to. If you have textured walls, consult a pro about removing the textured finish before moving forward with wallpaper.


Get our Angi-powered app


