

Learn how to adjust Rain Bird sprinkler heads, no matter the type. Fine-tuning your sprinklers ensures optimal water usage and reach.
Your heads up on speedy sprinkler head fixes

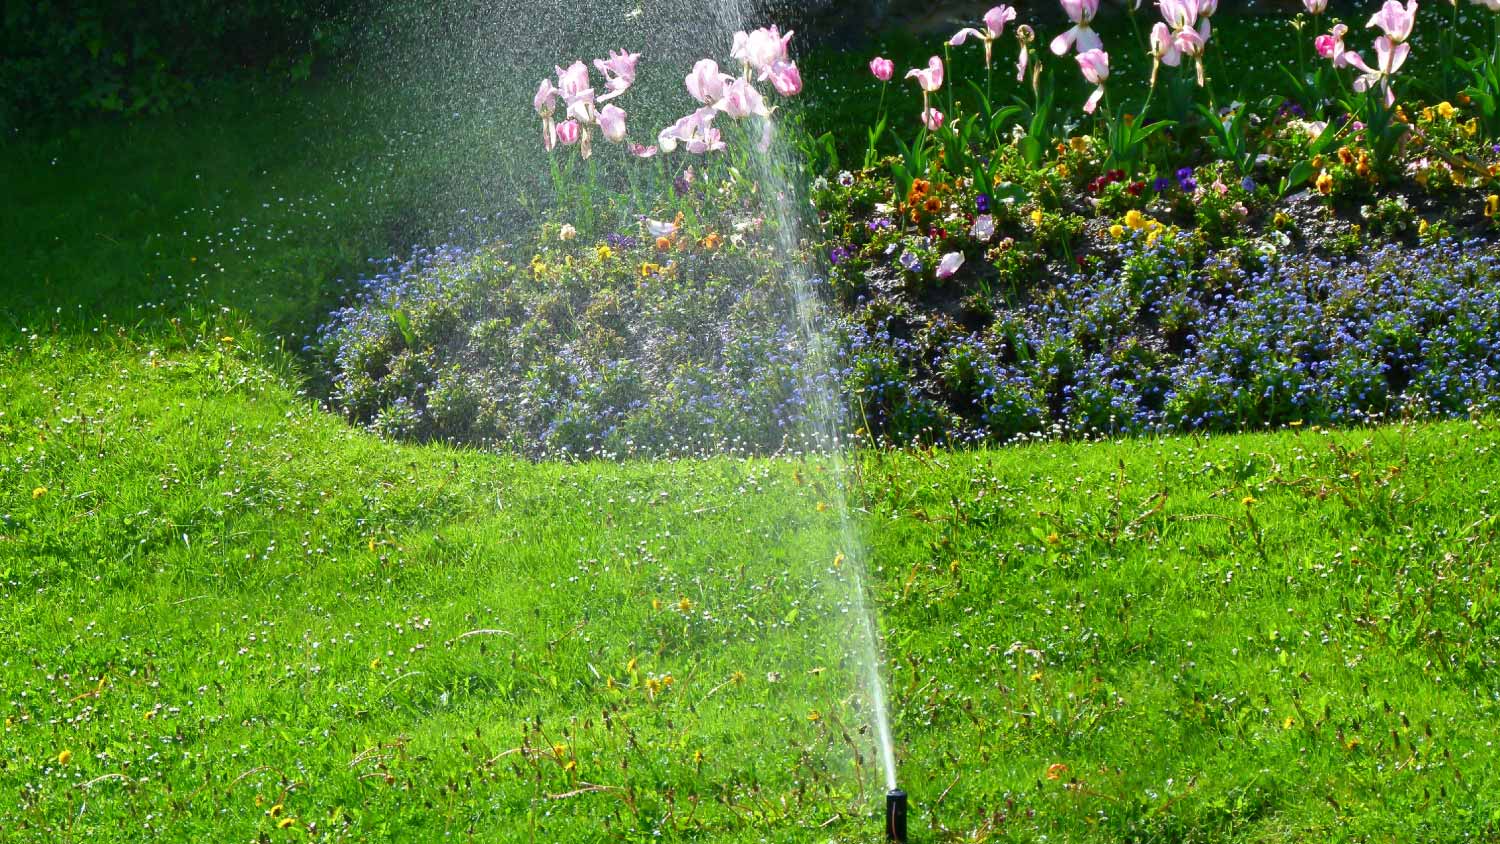
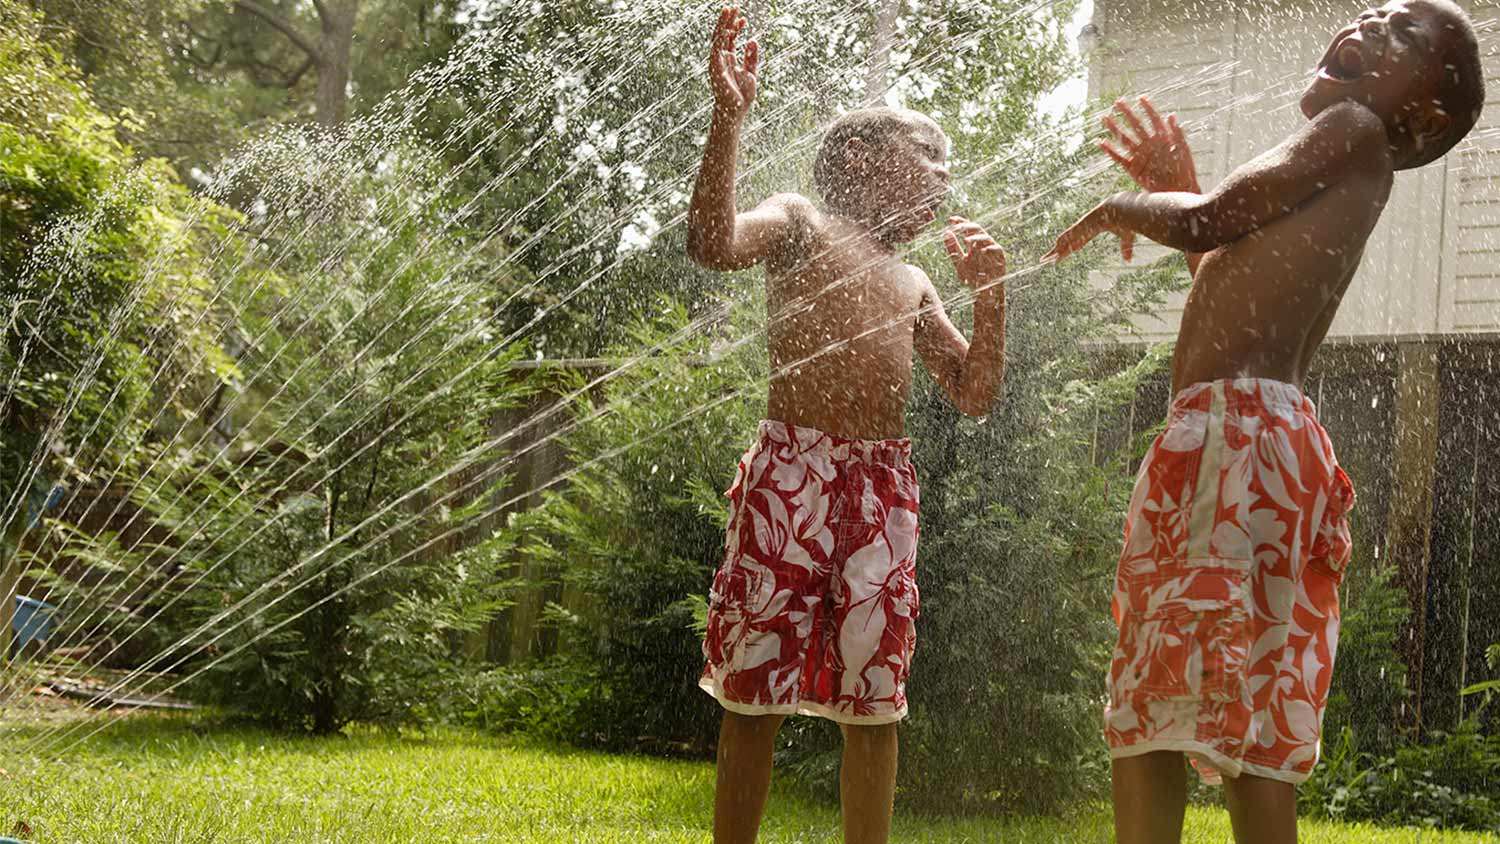
A wonky sprinkler can cause parts of your lawn to take in too much water while other sections are left to wither. Learning how to adjust sprinkler heads only requires a few minutes of your time and a couple of tools, depending on what type of sprinklers you have. With a bit of patience as you practice trial-and-error to fine-tune spray patterns, stream direction, and radius, you’ll soon have an evenly watered, healthy lawn. Here’s how to adjust your sprinkler heads.
Before you start tinkering with the sprinkler heads, turn on the sprinkler system and identify which sprinklers need some TLC. The sprinklers may be missing a spot on the lawn, leaving behind a dry patch, or the spray may be weak. Stick a landscaping flag near any sprinkler heads you want to adjust to mark their spots.
If your lawn seems lackluster but you’re not sure if the sprinkler heads are the problem, consider investing in the cost of a yard sprinkler inspection to help determine any potential issues and get you closer to the healthy, green lawn of your dreams.
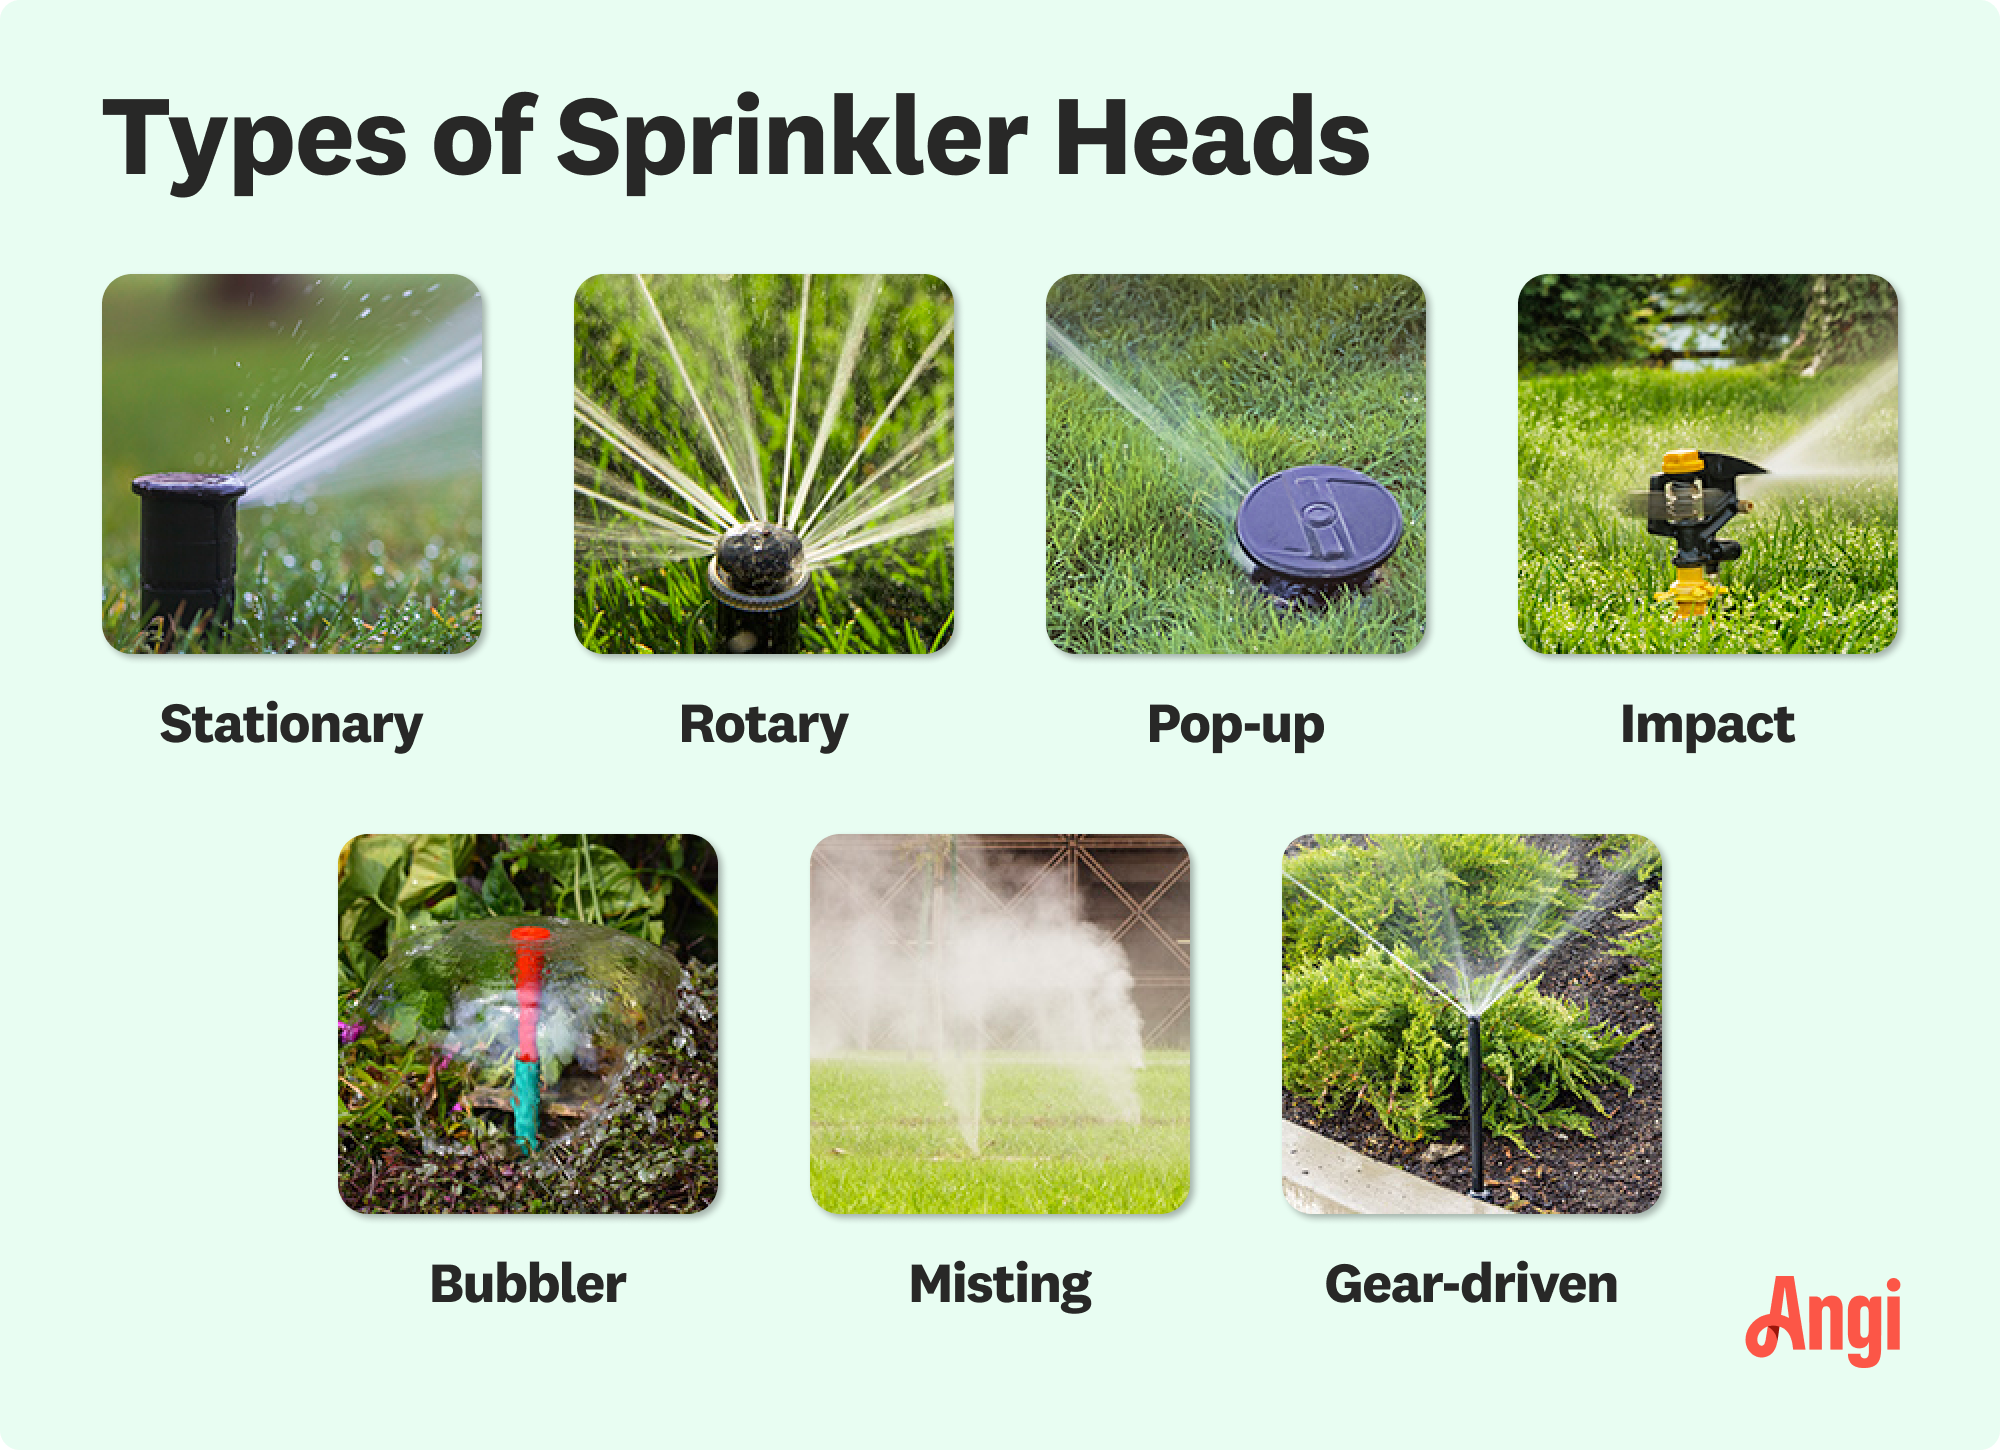
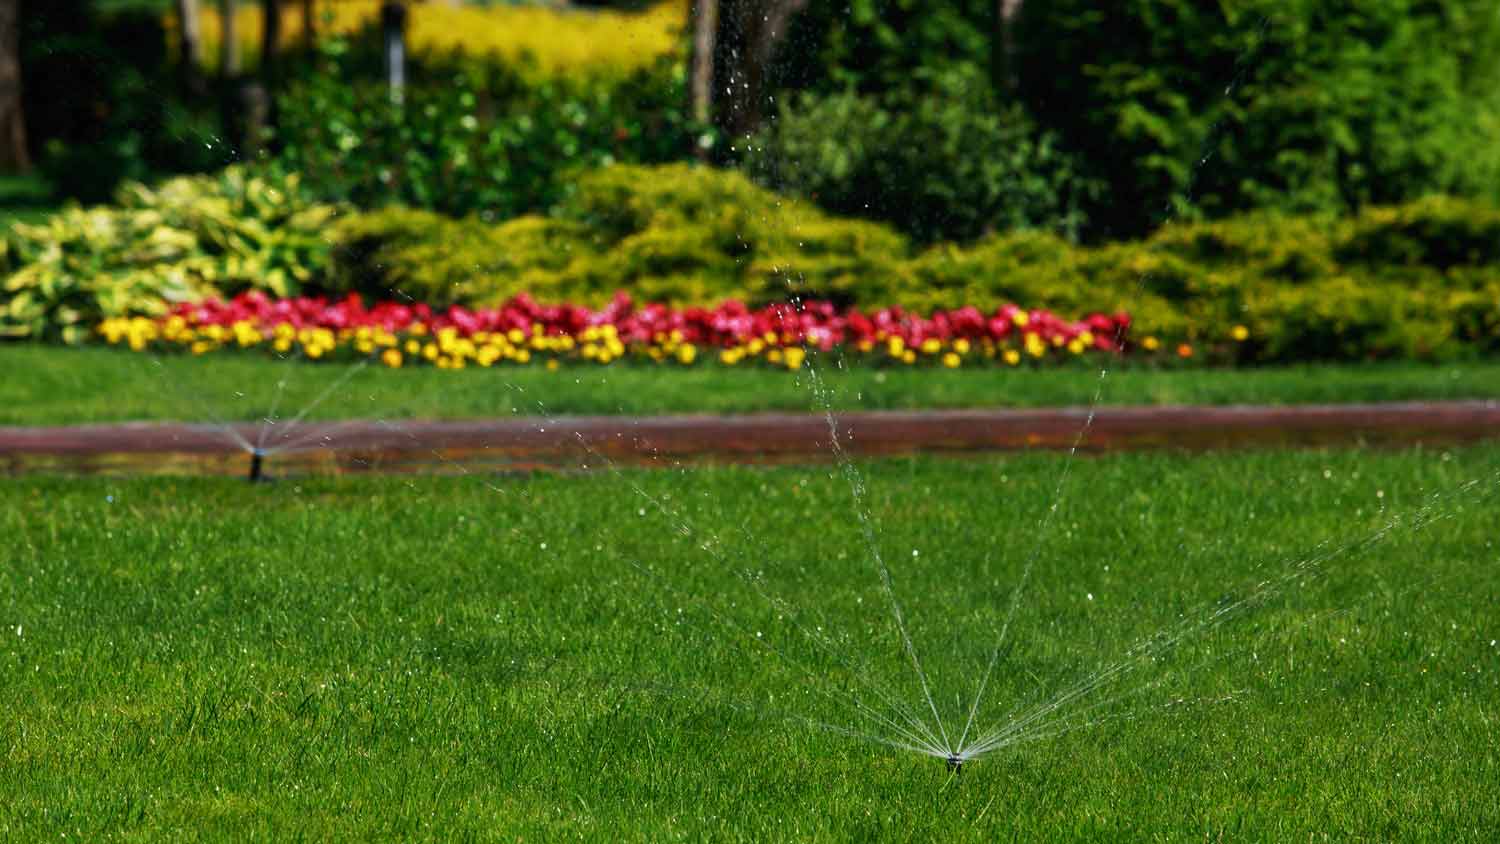
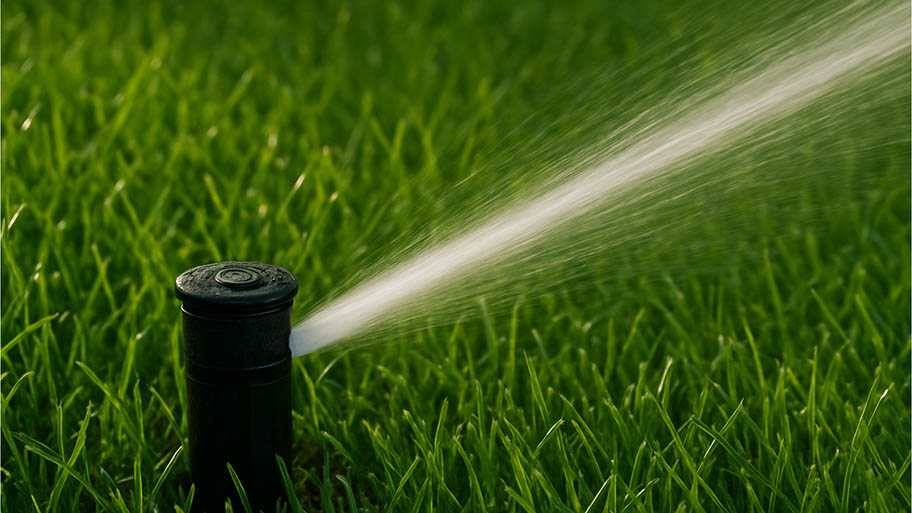
Different types of sprinkler heads need to be adjusted in different ways. You may have fixed spray heads that sit aboveground, pop-up heads that sit below ground and spring out from the ground when the system kicks on, impact sprinkler heads that click as they spin and spray out large amounts of water, or rotary heads that spray water outward while rotating around.
Fixed sprinkler heads can only be adjusted by changing the nozzle. The nozzle sits at the top of the sprinkler head and should just twist off. Then, you can twist on a new sprinkler head that’s designed to meet your desired water spray pattern.
If the area nearby still needs some extra water after replacing the nozzle on a fixed sprayer, consider adding a sprinkler head to this watering zone.

For many sprinkler heads, including pop-up or rotary varieties, you can easily change the direction just by using a pair of pliers or a wrench. Gently grip the sprinkler head with pliers and pull it upward, then twist in the direction you want the sprinkler to spray.
Most sprinkler heads have a screw at the top that turns left or right to change the spray pattern. Turn on the sprinkler so that you can see the spray pattern. Insert the screwdriver (you may need a hex wrench for other types of openings) and twist slightly to the left or right until you achieve the spray pattern you want.

Rotary sprinkler heads come with a small notch on top to help lengthen or shorten the arc. On one side is a small plus (+) symbol, and on the other, you’ll find a minus (-) symbol. Insert a rotor screwdriver (or an adjustment tool made specifically for your brand of rotary sprinkler head) into the notch, then turn it toward the plus to lengthen the arc or toward the minus to shorten it. You may want to have the rotary head turned on while doing this to find the sweet spot for arc length.
Impact heads can be easily adjusted just by manually twisting the sprayer clockwise or counterclockwise to increase or decrease the arc, respectively. After adjusting the arc, turn the sprinkler system on to check that the arc is to your liking, then adjust again as needed.
If you’ve cleaned the sprinkler heads and adjusted for spray pattern, arc, and direction and still find dry patches in the lawn or a malfunctioning sprinkler head, it may be time for a replacement. You can either DIY sprinkler head replacement for $5 to $40 per sprinkler head or hire a pro for $50 to $100 per hour.
If the issue is with yard flooding from too much water, consider calling a pro for yard drainage assistance. The issue may not be the sprinklers but the lack of proper drainage.
With the sprinkler heads adjusted, faulty sprinklers replaced, and a drainage system in place, your irrigation system will be back to properly watering your lawn and garden for a vibrant, lush look.
Sprinkler heads are designed for easy adjustability, so unless the head is truly malfunctioning or clogged, you should be able to handle minor tweaks to the direction, arc, or spray pattern yourself. So long as you have a toolbox stocked with items like pliers or an adjustable wrench, you’ll only need to spend $5 to $10 for a new sprinkler nozzle or landscaping flags. Many sprinkler heads can even be twisted manually for minor adjustments.
However, if the sprinkler head is broken and adjusting it doesn’t fix the excess or shortage of water coming out, hire a sprinkler repair pro near you to inspect the sprinkler system, identify the problem, and make repairs. Because a damaged sprinkler system can flood your lawn (or the neighbor’s), it’s best to leave bigger repairs to a pro.
Cody did a great job!
Wonderful. I am going to have them remove and replace my driveway in the spring.
 All Star Paving and Sealing
We had a 20+ year old landscape lighting system that needed replacement. Midwest Lightscapes worked with us to design a much improved lighting system, lighting the exterior of the house and the back yard. Installation of the 45 light system took one and one-half days, and went very smoothly....
 Midwest Lightscapes
Did an amazing job transforming my yard. Also installed sod in places, would recommend to everyone.
Always been satisfied with the service work and how they have taken care of my pool.
Bill Gerhardt sold the company to his employees at the end of 2019, apparently without a workable succession plan and without notifying prospective customers of this fact. Most aspects of the maintenance contract have not been fulfilled: no installation of anual plantings per contract, no...
They show up and they did take us on as a client which seems to be a problem with other lawn care providers. We have multiple properties and this one was located close to downtown and no one really wants to mess with it.
I was very happy with the service provided by AK Irrigation. They responded quickly to my email, and the woman I spoke with was polite and professional. I was able to get an appointment that same week. <br /> The technician (Tyler) arrived on time. He was very knowledgeable, and worked...
 AK Irrigation
The worker came out when he was supposed to come. He informed me he would honor the Angie's List deal, but would not do any more work for me since my son in law owns lawn care company as well, even though they do not do the same type of work. He said he did not feel comfortable giving me...
 Bello Giardino LLC
E & L Lawn Care was super. They were very responsive before and after service. They were efficient and were able to complete the job within 1 day. I have had concern about one section of sod - the owner was pro-active and did a visit to evaluate. I have no doubt they will stand behind...
 E&L lawn care
From average costs to expert advice, get all the answers you need to get your job done.
Learn how to adjust Rain Bird sprinkler heads, no matter the type. Fine-tuning your sprinklers ensures optimal water usage and reach.
Sprinkler systems offer lots of variety in sprinkler heads. Learn the differences between sprinkler head types to find the best one for your watering needs.
If your sprinkler head is popping up but not spraying, you could have a clog. Learn the main causes of this problem and how to fix them.
Is your sprinkler system on the fritz? Discover our troubleshooting tips and steps for how to fix a sprinkler system so your lawn can stay lush and healthy.

When your sprinkler head is not rotating, the common culprits are debris, dirt, or low water pressure. Read on to learn how to solve a sprinkler head problem.
Sprinkler heads can go missing in your lawn or landscaping, leaving you with uneven watering. Learn how to find sprinkler heads covered by grass and plants.