Discover the cost to winterize a sprinkler system, including average prices, key cost factors, and tips to save. Learn what impacts your estimate and how to budget.
Ensure even flow throughout your lawn


If you notice burnt or brown spots on your otherwise green lawn, it could be an indicator that parts of your yard aren’t getting enough water. If you have a sprinkler system installed, our guide will help you learn how to add a sprinkler head. That way, you have even water coverage throughout your yard for a lush, symmetrical look.
The first step is to assess your yard to see which areas of your grass don't receive adequate watering. This is easy to spot, especially in the summer months, because you’ll have patches of your grass that appear burnt, gold, or brown. These areas need sprinklers.
But before adding a sprinkler head, make sure the zone can handle more water flow. If it can’t, it’ll reduce the amount of water that sprays to other areas of the zone, creating a bigger problem than what you originally found.
So, how do you determine how many sprinkler heads per zone? In most cases, sprinkler systems can handle eight to 10 spray heads per zone. Along with this, you should know which sprinkler heads you have installed, as you don’t want to have a mix of spray and rotor heads in one section due to their differences in water flow.

When installing your sprinkler system, it’s vital to have a map of where all of your sprinkler heads are. These come with your sprinkler system, so don’t toss any of the paperwork away when you first get it. These maps make it easy to find the last sprinkler head in the zone. If you need help finding it, your local sprinkler installer can assist.
Next, put on a pair of work gloves and dig around the area of the last sprinkler head carefully to avoid damaging the pipe. Keep in mind you’ll want a 3/4-inch pipe, as a 1/2-inch pipe won’t provide enough water flow for all the sprinkler heads in your zone. Once you determine it is a 3/4-inch pipe, make a small cut to add another 3/4-inch pipe.

Next, join the existing pipe of your sprinkler system with your new one. To do this, you’ll need to cement a slip fitting on one end of your pipe and a tee fitting on the other. A slip fitting works like an extra pipe with two couplings. Meanwhile, a tee fitting makes connections to other pipes at a 90-degree angle. Make sure the tee fitting remains in an upright position.

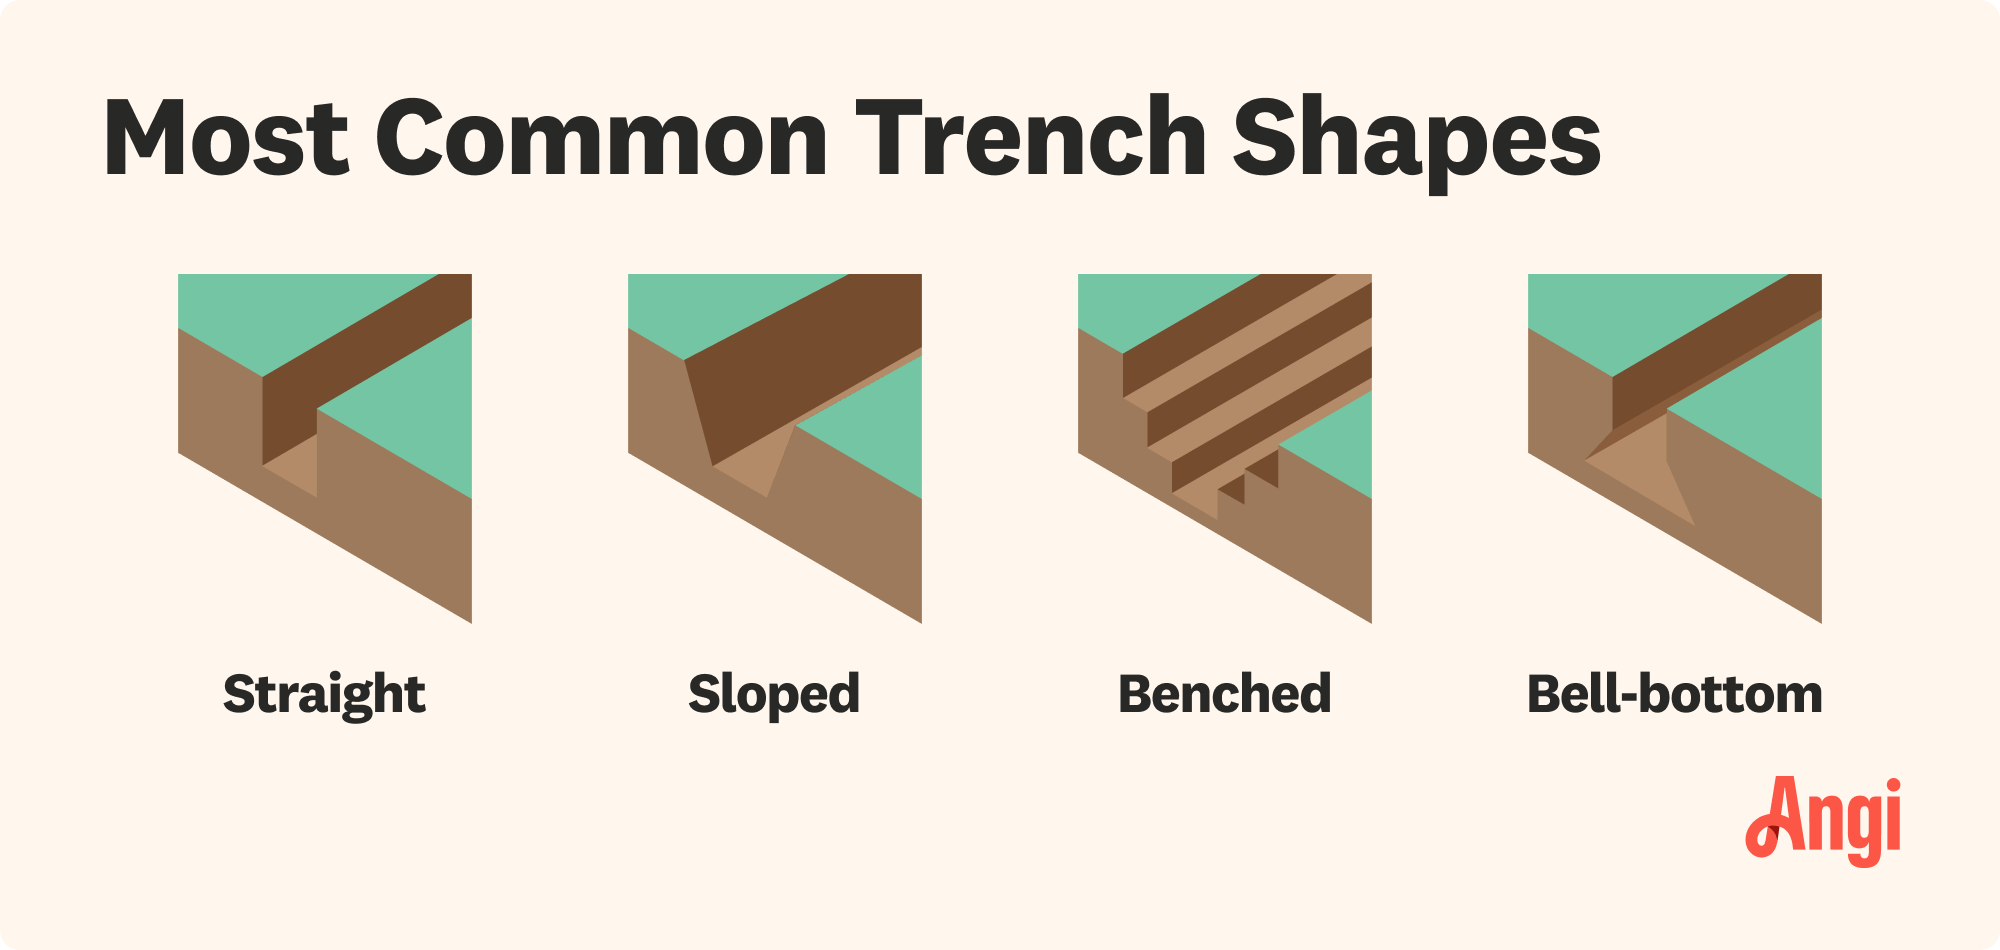
From here, dig the trench where you want to lay the pipe. Before you dig, pay close attention to the areas you want to water with this. To illustrate, you don’t want to lay your pipe too close to a sidewalk or driveway where you’ll waste some of the water coming out of the sprinkler heads. This is where consulting a sprinkler pro or someone who’s had experience with installing sprinkler heads comes in handy. They can help you calculate water flow rates to better position your sprinkler head for maximum application.
Once you dug the trench, add the fitting pipe at the end with the attached riser. From here, put the tapered side of the sprinkler head onto the riser, screwing it until it’s firmly secured. You can use the adjustment tool on the head to ensure it has the same patterns and water flow as the rest of your sprinkler heads. Before putting dirt around it, seal the head joint to the riser with seal tape, as this will prevent the sprinkler head from leaking.

Finally, you’ll want to fill the hole you dug. Be careful to pat the soil down and water immediately to help the grass grow quickly. Take a cleaning cloth and remove any debris on the sprinkler head.
This is one of those projects where it’s best to leave it to the pros unless you have direct experience. Hiring a pro to do the job will cost you on average $65 to $90 per sprinkler head. Plus, a professional will help ensure your sprinkler head has proper positioning to maximize coverage for your lawn and plants while reducing water waste.
From average costs to expert advice, get all the answers you need to get your job done.

Discover the cost to winterize a sprinkler system, including average prices, key cost factors, and tips to save. Learn what impacts your estimate and how to budget.

Discover yard drainage cost estimates, including average prices, key cost factors, and tips to help you budget for your yard drainage project.

Find out the average sprinkler system repair cost, what impacts pricing, and how to save. Get transparent estimates to plan your sprinkler repair project.

Is your sprinkler head leaking? We explore various reasons this leak may be occurring and common fixes for the problems so you can keep your lawn pristine.

Irrigation controller on the fritz? Here’s how to tell whether your sprinkler controller is bad—and some steps to take to mitigate the problem.

Tired of your hose spraying everywhere except your plants? Learn all about garden hose thread sizes, buying new fittings, and types of hose couplings in this guide.