Learn how much plumbers cost in Columbus, Ohio. Discover pricing for faucet repairs, pipe work, and emergency services, plus how you can save money.
Test your water for peace of mind


You might take your water quality for granted until you notice a change in color, taste, or smell. These changes are a good reason to test your water, but some contaminants are only detectable through testing. Whether you’re plugged into the city’s water system or are using a private well, here’s how to test your home water quality and ensure your family’s safety and wellness.

You're ready to find out the truth about your water quality, but first, you need to decide how you're going to do the test. There are different options available depending on your needs and budget.
Also, there's one cleaning task to put on your to-do list.
You have two options for testing your water quality: You can do it yourself with a home test kit, or you can call an accredited lab.
There are several types of home water quality test kits that range from $10 to $400. The most affordable options usually allow you to get results within minutes, and they test for the most common contaminants. The pricier options ask you to ship your water samples to a lab for analysis.
Look for labs in your area that are accredited by the Environmental Protection Agency (EPA) or the National Environmental Laboratory Institute. Some labs only work with commercial or governmental agencies, although many provide services to individuals. These labs are either privately owned or are part of your local health departments.
You should first sanitize your faucet to make sure there is no cross-contamination of your water sample. Before you begin, remove the faucet aerator if you have one installed.
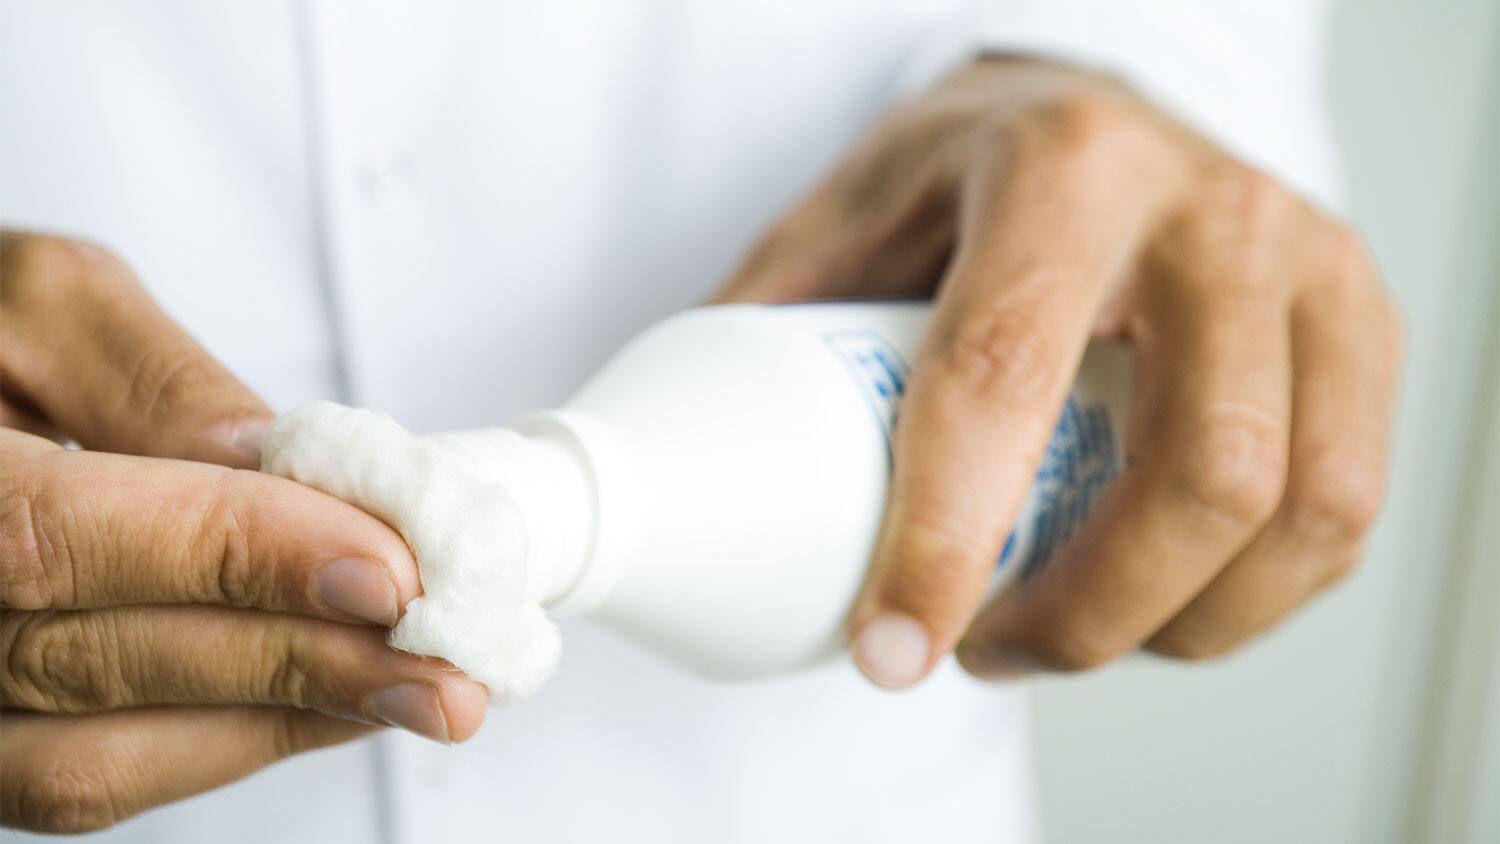
Use a propane torch for a quick sanitizing job, or use rubbing alcohol and cotton balls. If you opt for rubbing alcohol, thoroughly clean the inside and outside of the faucet opening. Afterward, turn on the water to flush the faucet.
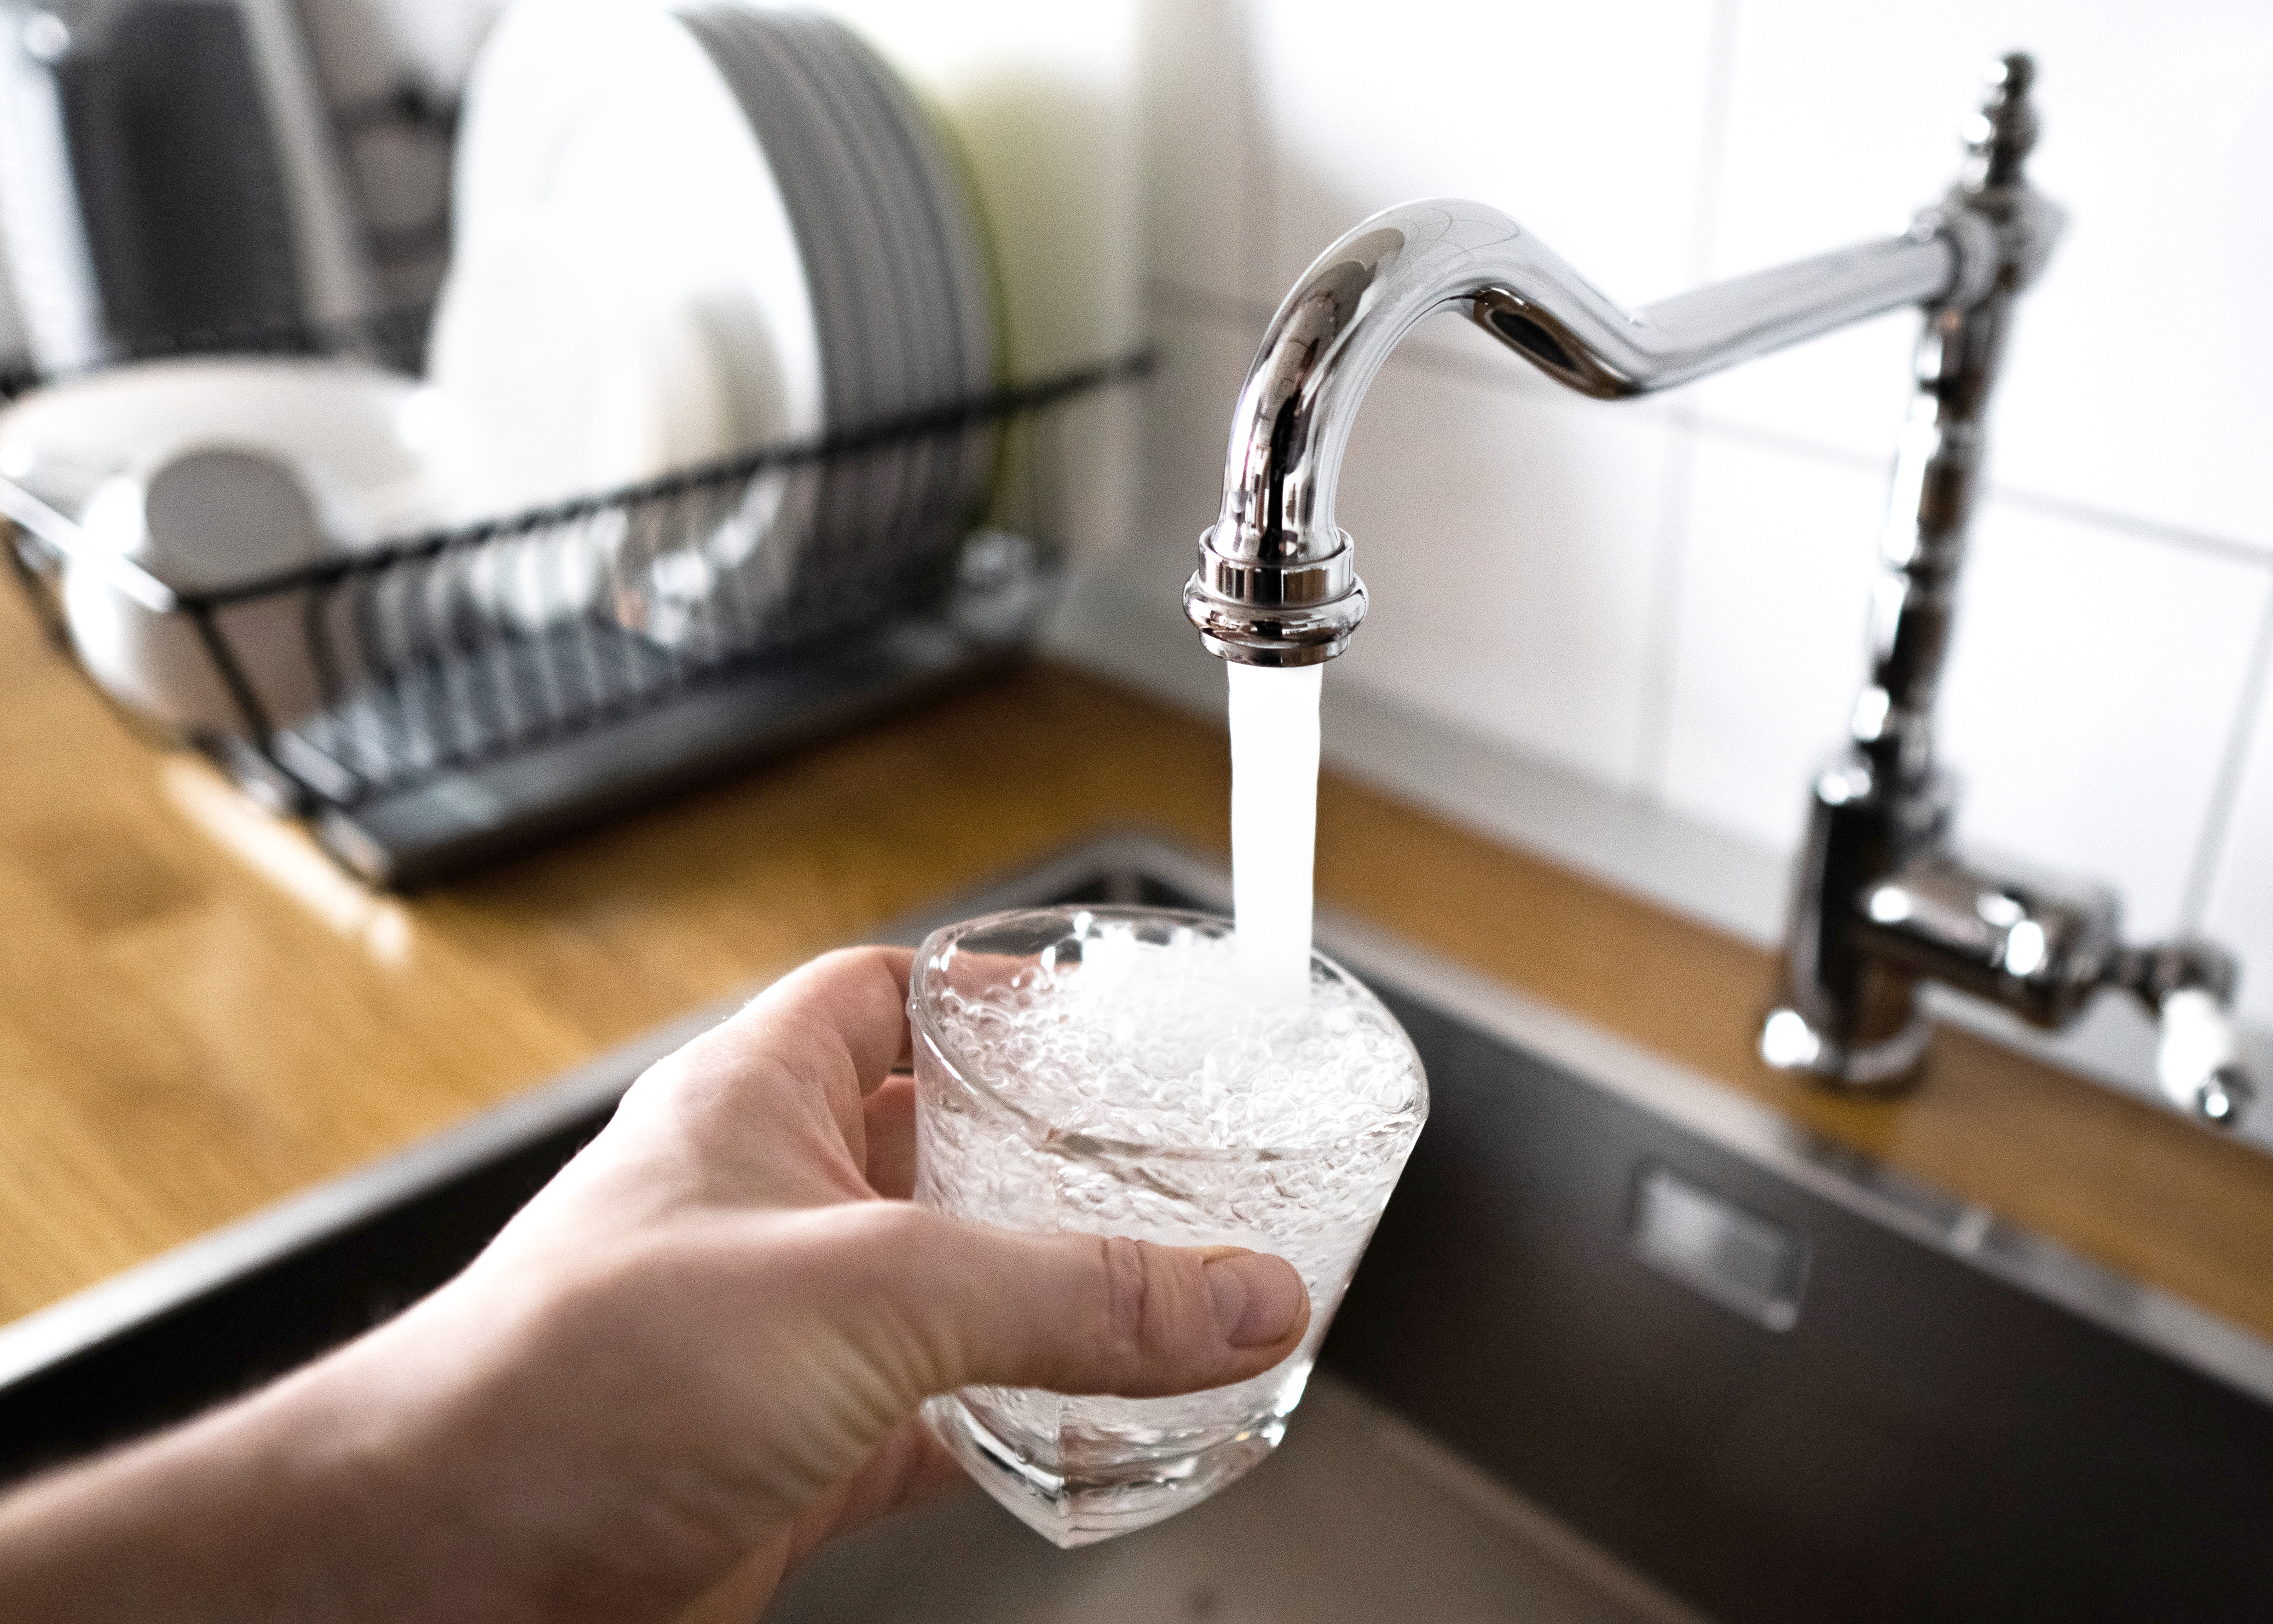
The best time to get your water sample is going to be the first thing in the morning. This is because the tap water that first comes out of your faucet has time to sit in your pipes overnight. Any plumbing issues like high lead or copper levels will be detected during testing.
Additionally, be careful when handling the sterile vials, so you don’t accidentally compromise the sample. In some cases, like for bacterial tests, it is recommended that you use gloves.
It's time to find out what could be lurking in your water. On the off-chance that there's something amiss, know that pros can help you fix the issue.
DIY at-home tests will come with a set of specific directions for each type of test. It’s advisable to use a timer to be as accurate as possible.
For most tests, you will need to submerge a test strip in the water sample for a certain number of seconds. You will shake the container, wait some more, and then match the color of the test strip to the provided chart.
Be sure to ship your samples or deliver them within the recommended time frame. Since the labs will be doing all of the heavy lifting, you will simply need to wait for the results to be ready. Mail-in tests could take seven to 10 business days to process.
For mail-in tests, you will be supplied with a shipping cooler. Refrigerate the water samples in the fridge until you’re ready to go to the shipping center.
If you’re delivering the samples yourself, you should keep them on ice. But don’t go overboard, as labs will reject your sample if they are frozen.
If your first test results at home indicate that you have excessively high levels of any contaminant, it could be a good time to call for professional help. A lab may suggest further testing to rule out any other possible toxins in your water.
The EPA sets guidelines on water safety, and any contaminants that are over the recommended limits require immediate attention. These toxins can cause a range of serious health issues that can have a lifelong impact.
You may need professional help to identify the source of the toxins and fix the problem. In the meantime, you should switch to using bottled water only for your drinking water.
DIY water testing is typically more affordable than hiring a water specialist in your area, although it varies depending on the comprehensiveness of the tests. You can opt for an expensive at-home water test that checks for more contaminants than a local lab, and the home test could be more costly. Additionally, some labs offer testing at comparable prices to mid-range home testing kits.
Home kits can cost less than $10 or upwards of $400. Submitting water samples to a lab can range anywhere from $50 to $200 and up, depending on the services you select.
Because the costs of testing can vary widely, it’s advantageous to research any local lab options if possible. Generally speaking, the test results are likely to be more accurate. In some cases, you can have a technician come retrieve the water sample from your home, which ensures the highest level of accuracy.
Additionally, if you detect any tap water quality issues with a home testing kit, it would be a good idea to call in a pro. Any serious irregularities like high levels of lead or copper may require an in-depth investigation of your plumbing.
Depending on the issue, you may need to replace your pipes. If you’re using private well water, you may need to fix issues like cracks in the well or you may need to install a new water treatment system.
From average costs to expert advice, get all the answers you need to get your job done.

Learn how much plumbers cost in Columbus, Ohio. Discover pricing for faucet repairs, pipe work, and emergency services, plus how you can save money.

Learn about main water line repair costs in Columbus and what affects pricing to be prepared before you start getting estimates.

Discover the leading factors affecting your main water line replacement cost in Columbus, including length, material selection, and installation details.

Looking for the best kitchen sink materials? We’ve got you covered. Here’s a comprehensive list of kitchen sink materials and how they measure up.

When budgeting for your dream shower setup, you'll need to decide which of the five shower drain types you'll use. Discover all the ins and outs in this guide.

This guide will tell you everything you need to know about different types of showerheads, from eco-friendly, low-pressure models to panel systems.