
•
Get transparent power seeding cost info to learn what impacts pricing, how to save, and whether to DIY or hire a pro for your lawn’s best results.
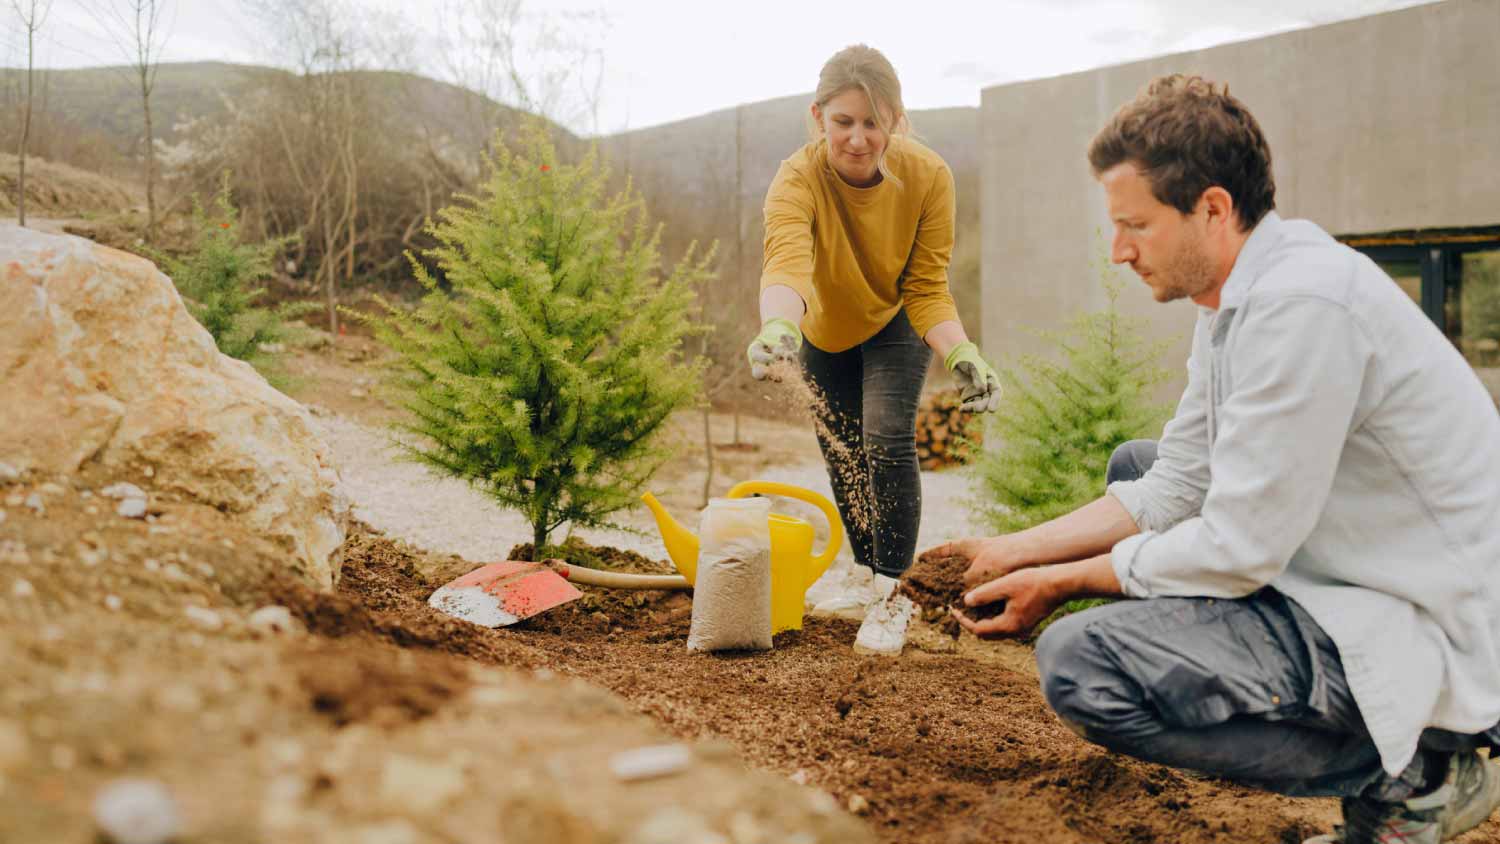
Give your spring seeds a head start

The best vegetables to start from seed indoors include broccoli, brussels sprouts, cabbage, cauliflower, celery, tomatoes, and peppers, which all benefit from your indoor head start.
Starting seeds indoors extends your growing season and gives warm-season crops enough time to mature, especially in areas with longer winters and shorter summers.
You should plant seeds four to 10 weeks before your last frost date, depending on the type, and use seed-starting soil to prevent your seedlings from becoming waterlogged.
Hiring a local sprinkler installation professional keeps your transplanted seedlings thriving with automated watering systems that save you time and deliver consistent moisture as roots establish themselves.
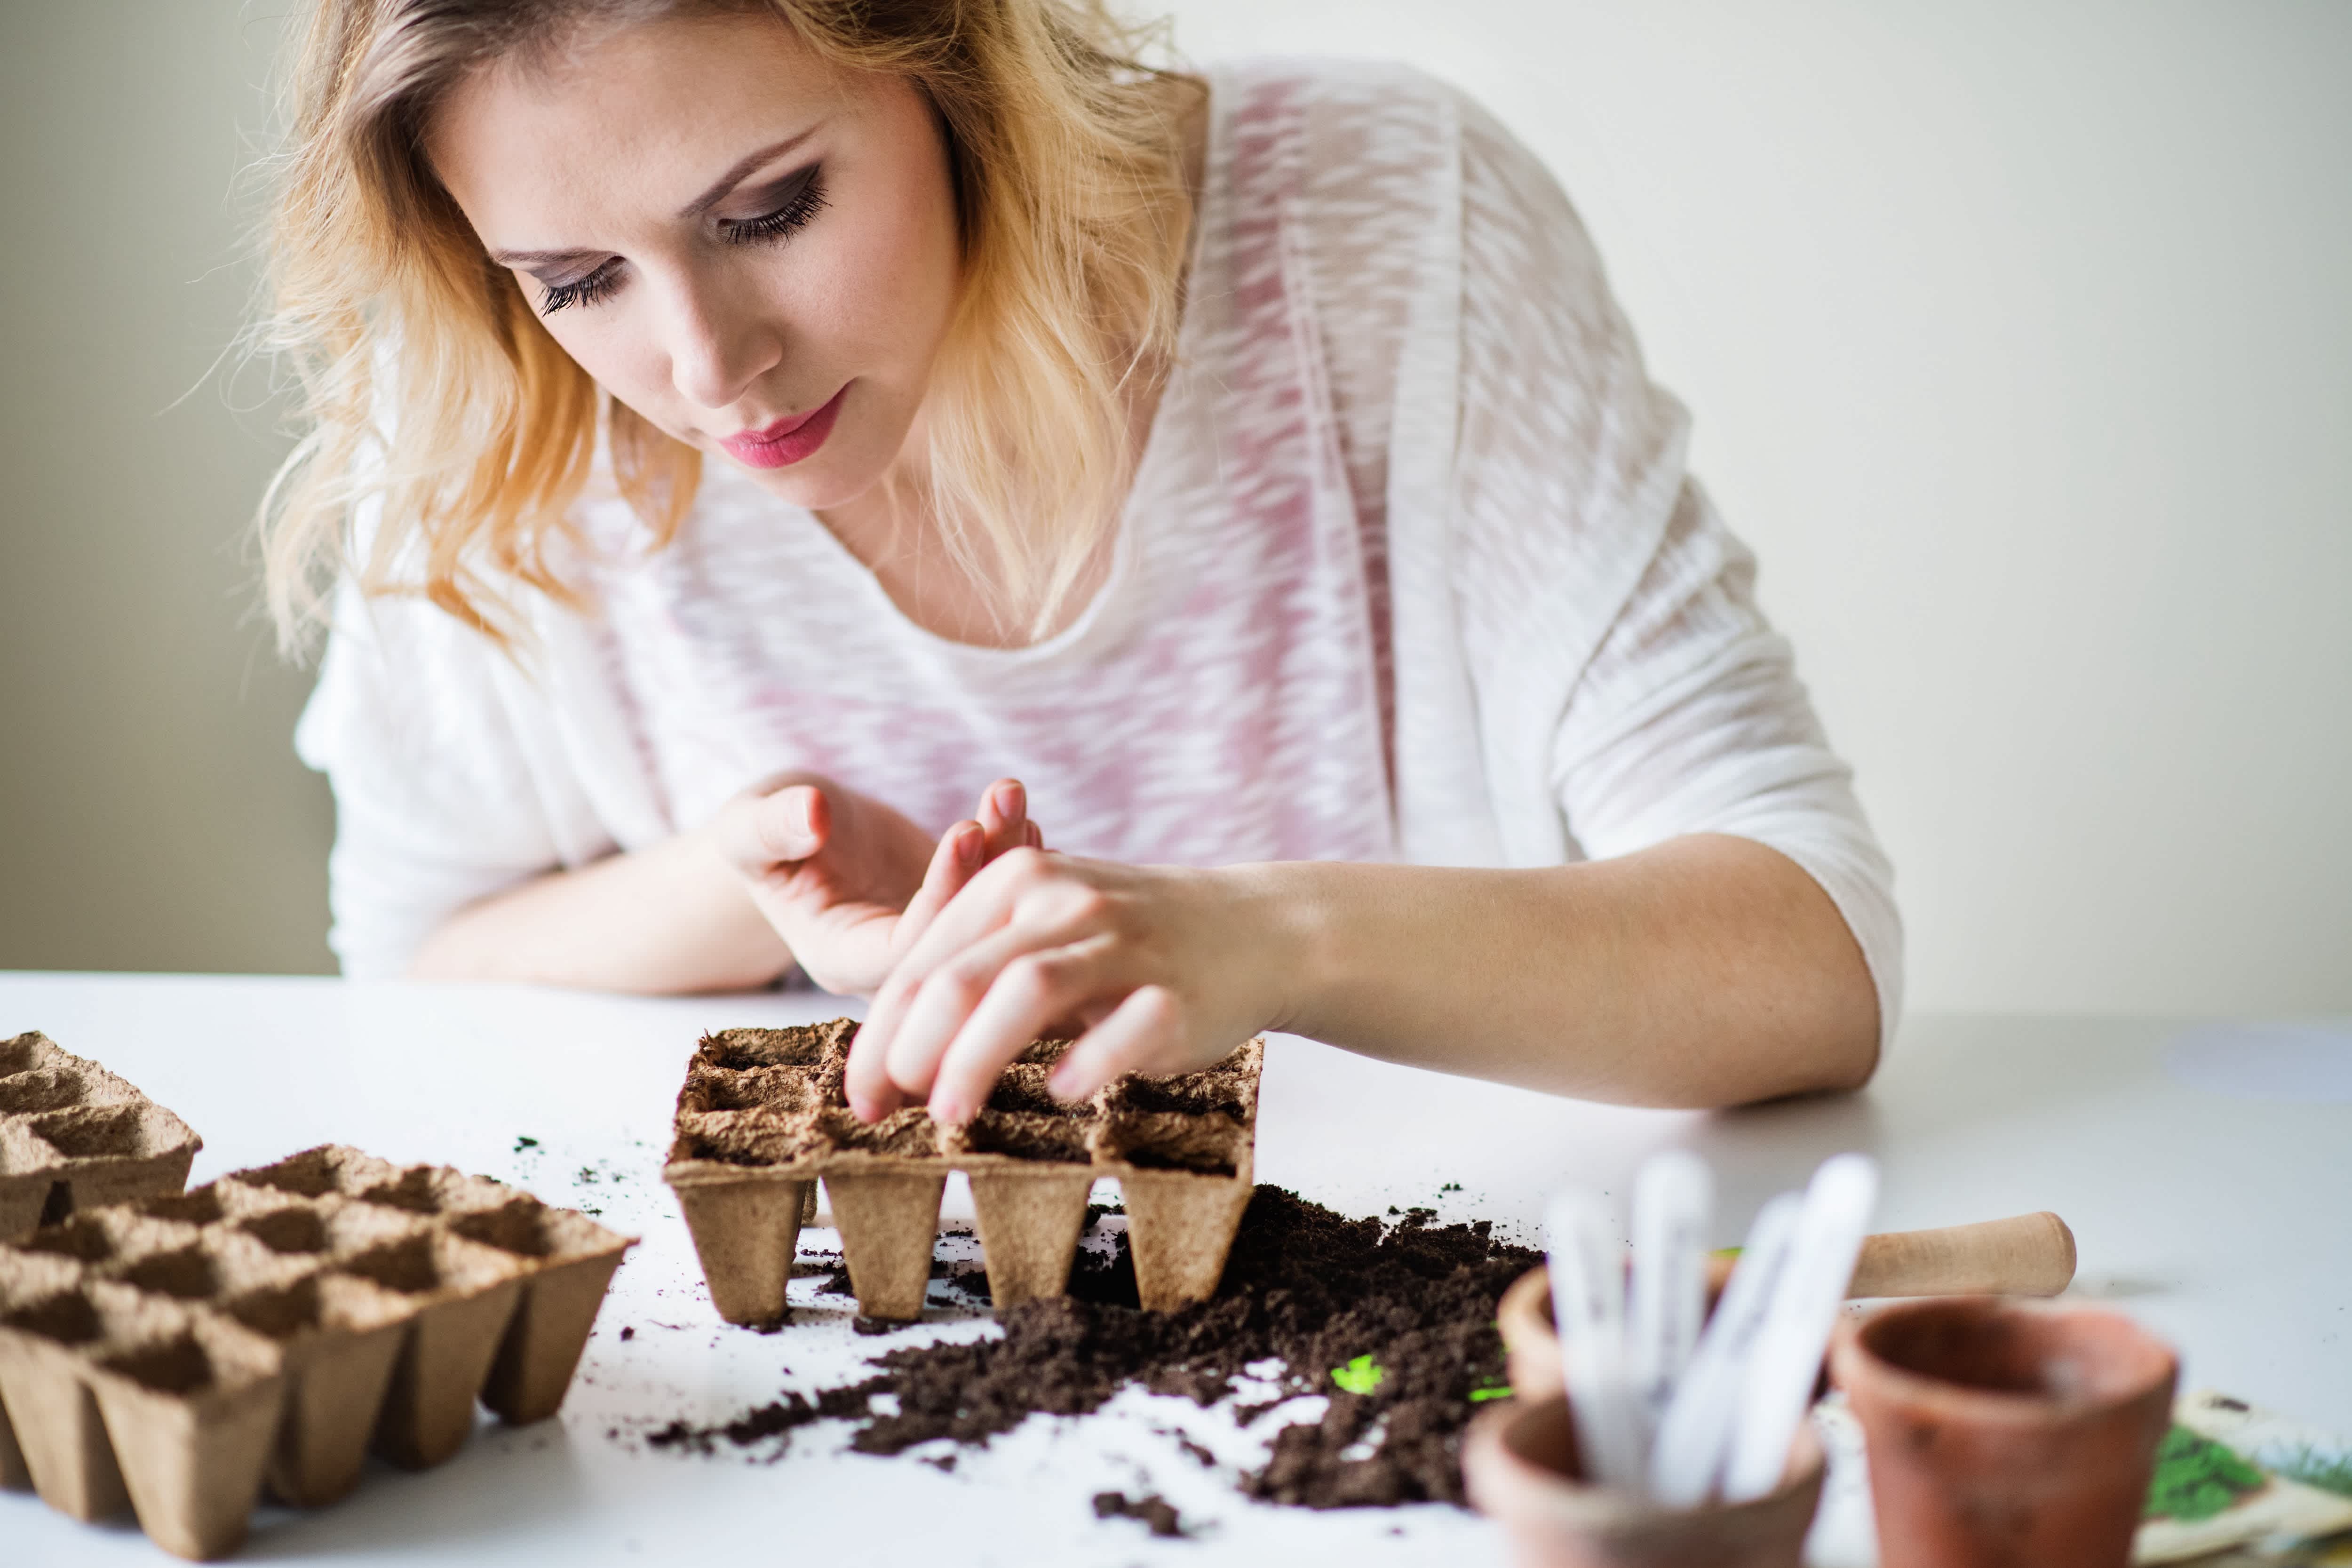
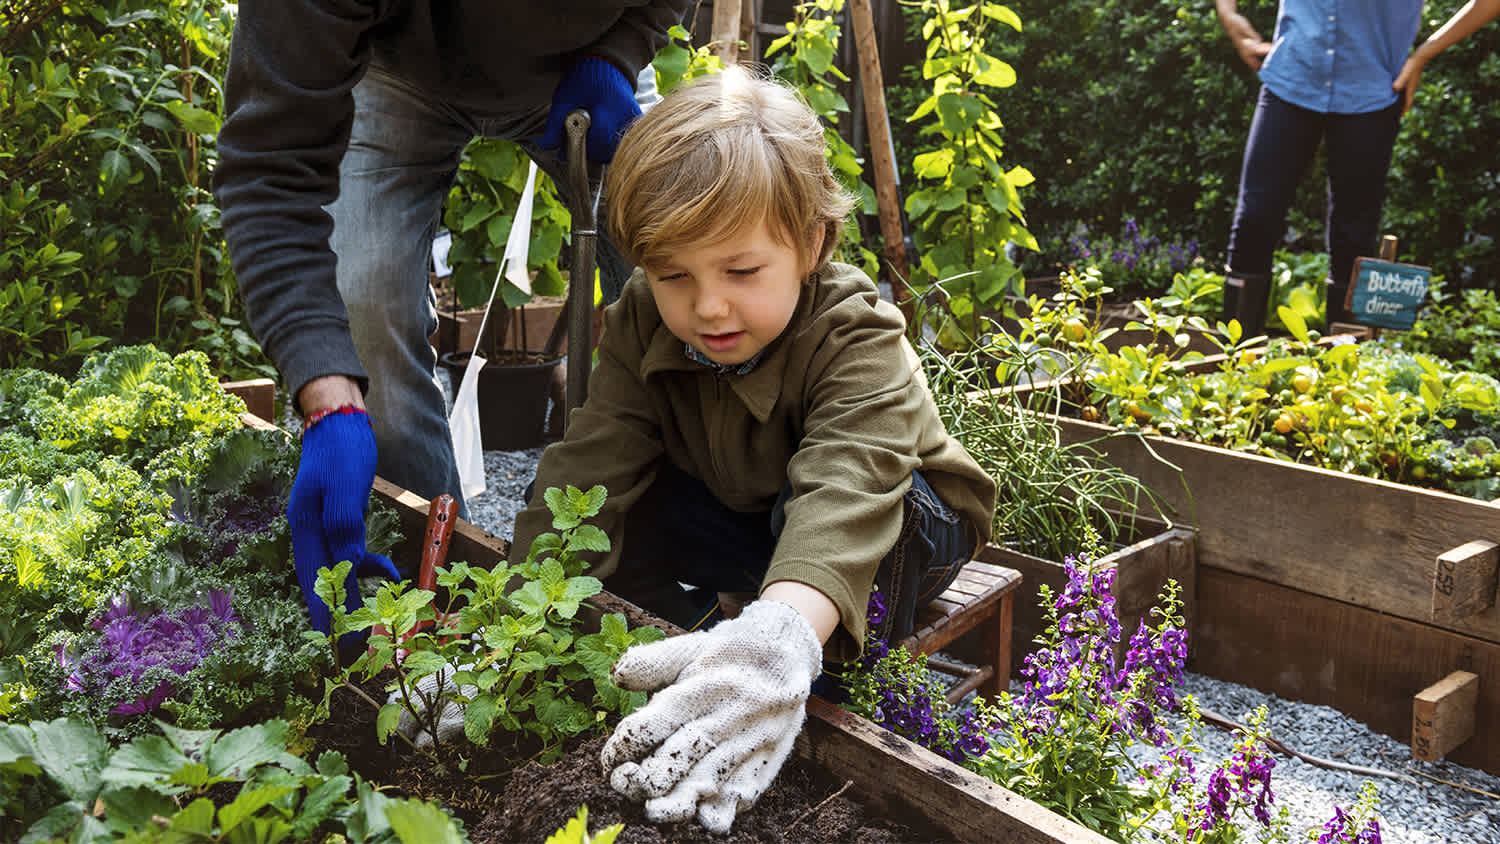
If spring weather has you itching to get going in the garden, you’ll want to know when to start seeds indoors for the best results. Creating a germination station is a great way to kick-start your seedlings, and with a little planning, it can be an easy way to dive into the growing season.
Learn how to start seeds indoors to ensure your little sprouts make it into the ground.
Starting from seed indoors has a lot of benefits, but mainly, it’s a jump-start to the growing season. It’s particularly important in areas that have longer, colder winters, like New England and the Midwest.
In these climates, warm-season vegetables don’t naturally have enough time to grow, so the only options are to buy a transplant (a young plant that was seeded at a nursery) or to start the seeds indoors yourself. That’s why knowing when to plant a vegetable garden is crucial.
Even if you live in a warmer climate, starting seeds indoors can help you get the highest yield of veggies (perks of an extended growing season). In fact, some veggies, like radishes and carrots, actually prefer it.
When to start seeds indoors depends on your local climate and the type of seed, so check your local frost dates and the seed packet.
In general, you should plant most seeds indoors anywhere from four to 10 weeks before the last frost. Some take less time, and some take a bit longer.
Here are a few common indoor seed planting timelines:
3–4 weeks before last frost: Fast-growing plants like morning glory, sunflowers, melons, pumpkin plants, squash, and certain kinds of peas
4–6 weeks before last frost: Broccoli, cabbage, cauliflower, and the majority of leafy greens like spinach, collards, and kale
6–8 weeks before the last frost: Slower-growing veggies like eggplant, leeks, and onions and flowers like cornflower, petunia, and marigold
8–10 weeks before last frost: Flowers and herbs like forget-me-not, snapdragon, hibiscus, impatiens, and parsley
More than 10 weeks: Slow-growing plants like celery, butterfly weed, delphinium, eucalyptus, and foxglove
Keep in mind that not all of these plants do best when sown indoors. That doesn’t mean it’s not possible. It just means you’ll have better results if you plant them directly in the ground.
Not every seed thrives indoors. Some plants get stressed when you disturb their roots and, as a result, are difficult to transfer. Others grow so fast that there’s no reason to start them indoors. In truth, the vast majority of vegetables do just fine when planted directly in the ground, but it really depends on your climate.
Before you can get to the fun stuff, like harvesting your veggie garden, you’ll need to choose the right seeds.
Some of the best seeds to start indoors are:
Certain veggies like broccoli, brussels sprouts, cabbage
Plants with slow-growing roots like cauliflower and celery
Tender veggies that struggle in cold spring temperatures like tomatoes and peppers
Some of the worst seeds to start indoors are:
Root veggies like beets and carrots
Plants with taproots, including dill and parsley
Cucumbers, pumpkin, squash, and watermelon
There’s a lot to consider when shopping for your supplies. You'll need to consider how many plants you want to get started, how you’ll keep them organized and labeled, and even how you’ll transport them outside when it comes time to harden them off (more on that later).
Here are the main things you need to know before you hit the store.

Now you know when to start seeds indoors, but it’s also very important you check your USDA hardiness zone before purchasing seeds. Otherwise, you run the risk of buying seedlings that won’t do well in your area, negating all the hard work you’re about to put into ensuring they get a jump-start in life.
Some other things you want to keep in mind when shopping for seeds are:
Lighting needs
Soil preference
Companion plants (what you’ll plant near them since some plants don’t do well when planted together, like fennel and basically every other plant)
When it comes to starting seeds indoors, not every soil is fit for the job. You’ll want to make sure you’re specifically using “seed-starting soil” for your plant babies. This is because regular potting soil can hold too much moisture and smother your seedlings before they have enough time to develop. Plus, at that stage, there are certain nutrients and fertilizers that they do (and don’t) require to grow.

If you’re planning to start a bunch of seeds indoors, you may weigh your options between using potting trays—which allow you to start multiple seeds in a single tray and often come with a lid to help keep the humidity levels right—or individual pots.
The right one for your germination area will depend entirely on how much space you have and how many seeds you plan to start. If you’re going big and starting several different seeds, you’ll want a tray. However, individual pots may be easier if you’re only doing a small handful of seeds.
In the early days, a lot of your seedlings will look the same, which means it will be hard to tell them apart. Making sure you’re coming up with an easy way to label your seedlings will go a long way in keeping everything organized, which will become especially important when it comes time to plant them outside.
After all, how are you going to know which plants go in your full-sun locations and which plants need partial shade unless you’ve clearly labeled each sprout?
You can use just about anything to mark your seeds (popsicle sticks and a marker are an old favorite) as long as you can make it easy to identify what you’re working with.
If you don’t have easy access to a light source (like a south-facing window that gets at least four to six hours of sunlight a day), you’ll need an external lighting source. Fluorescent grow lights will be your best bet. (T5, T8, or T12 work best.)
Once you’ve found the perfect date, it’s time to get planting. Make sure the threat of frost has passed (unless you’re planting a cool-season crop), and follow these steps to start your seeds indoors.

Now that you’ve purchased everything you’ll need to get started, you want to bring it all together on the day you’ll plant. Because you’ll work with dirt, it’s a good idea to make sure you’ve covered your work area to protect your floor and furniture and to make cleanup a bit easier. Be sure to wear gloves.
If you’re reusing last year's pots and trays, they’ll need a thorough cleaning before you get started. Warm water and dish soap should be enough to get rid of any old dirt or spores that may have stuck around.
Don’t reuse the starter pots made from all-natural materials and designed for direct, in-ground planting.

Get a large mixing bowl out and combine your starting mix and a little water. You want the seed-starting material to be moist without being saturated.
Fill each cell or pot with enough soil that it almost reaches the top, being sure to leave a gap at the top.

Check the directions for each seed packet before placing them in the soil. Some will require you to push them into the dirt a bit, while others will need a light sprinkling on top. Just be sure you’re not packing the dirt on top of the soil down too much—you don’t want to make it too hard for your seedlings to sprout. And remember to label every batch of seeds as you go!
Once done, you’ll need to get them right in front of a light source. If you’ve opted to put them near a window, you’ll need to remember that your seedlings won’t like it drafty. Make sure the window remains shut when temperatures are lower outside.
If you’re using a grow light, you’ll want to set your tray at least 2 to 3 inches under the light source.
This is the preferred distance to keep between your seeds for the duration of their time inside, so you’ll need to frequently adjust your light source as they start sprouting.

When you begin seeds indoors, you are their primary water source, which means you’ll need to stay on top of keeping your soil’s moisture levels just right. The best way to tackle this job is with a mister or spray bottle.
This prevents the soil from being oversaturated and keeps seeds from becoming dislodged from the soil. You should check them a minimum of once a day to make sure they’re doing well, but twice a day is preferred.

Once the threat of the last frost has passed, it’s time to transfer your seedlings outdoors. You’ll have to do it gradually in a process known as “hardening off.” This just means you’ll get your vulnerable seedlings used to harsher outdoor weather and direct sunlight.
Think of it as slowly easing your way into a cold swimming pool rather than jumping right in. Follow these steps to plant your indoor seedlings outside:
Two weeks before you plan to plant, bring your seedlings outside for a few hours at a time. Start in the afternoon, when the weather is warmest, and put them in a shady area that’s protected from the wind. Gradually leave your plants outside for longer and longer, moving them towards direct sunlight.
After two weeks, you can leave your seedlings out in the sun until you’re ready to plant them. To minimize stress from the sun, wait for a cloudy day or transfer your seedlings in the late afternoon.
If your seedlings are in plastic, you can remove them from the container and plant them as you typically would. If they’re in peat pots, newspaper, or another organic container, you’ll want to plant them inside the pot.
Trim the lip of the pot so it’s soil-level and cut holes for roots in the bottom of the container. From there, plant your seedling—container and all—in your garden bed. If you don’t have one currently, now is the time to build a raised garden bed for your new seedlings.
Once you’ve transferred your seedlings, you’ll need to water them about once a day until they’ve established their roots. Keep the soil bed consistently moist, but not waterlogged. Your watering schedule will change depending on the sun, heat, and precipitation.
You may want to hire a local sprinkler installation company to install a system for when your plants are mature, as it will help save time and keep your plants thriving.
Newly planted seedlings are vulnerable, so you can give them a little extra protection by using a row cover until the roots have established themselves in the soil. This could take a couple of weeks.
Starting your garden from seeds is truly a passion project. Some people love the sense of accomplishment that comes with growing a garden from scratch—especially when it’s veggies that end up right on your plate. That being said, it’s not for everyone. It takes a lot of patience, care, and trial and error.
Instead of starting with seeds, you can spend a few extra bucks and purchase starter plants from a nursery in your area. These are easier for beginning gardeners and generally a lot less fuss than seeds.
If you don’t really want to get your hands dirty at all, there’s no shame in hiring a gardener near you, either. They’ll know when to start seeds indoors for the healthiest plants and flowers, and be able to give you care tips too.
Custom Paint Jobs LLC made our home feel like a piece of art. Thank you for your creativity!
Window Depot did an amazing job on my deck. I wasnt sure what I wanted to do, but their composite decking was affordable and will last a long time. I am excited to have family over, and I am no longer embarrassed by my backyard. Jeff and the ground crew were polite, respectful, and caring for...
First of all, the gentleman I dealt with (Cam?) was very responsive to my many questions and concerns throughout the project, which is a huge plus to me. From the first time I met him for the estimate all the way til the completion of the job, he and his crew were professional and respectful....
 All Star Paving and Sealing
We had a 20+ year old landscape lighting system that needed replacement. Midwest Lightscapes worked with us to design a much improved lighting system, lighting the exterior of the house and the back yard. Installation of the 45 light system took one and one-half days, and went very smoothly....
 Midwest Lightscapes
Another great success for me on home advisor. This company did an awesome job on my landscaping and stayed within my budget. The best part, the work was complete within 2 days of my initial request. Professional and responsive. I highly recommend!
The company no showed on me twice. The 2nd time was no call no show. They were responsive to set up the first appointment to perform the "landscape cleanup". 3 hours after their initial scheduled appointment time they called me to let me know they had some "problem" with the truck and their...
 Ruby Home and Hauling Services
Received ideas for future landscape plans...quote to do the work seemed a bit high but I did not have any other quotes to compare it to, so perhaps that is the going rates. <br />
 Landscapes By Terra, Inc
All around they have done a really great job. <br /> I have used JL Landscapes for the past 8 years. I own and operate my own commercial/residential real estate company where we own, operate, and maintain our own properties. JL Landscapes has been our exclusive landscaper for both our...
 J.L. Landscapes
Bought a half a cord of firewood from Pitzer with stacking last month. I waited to report so I could see how the wood burned. <br /> <br /> I have three pet peeves regarding landscapers, but Pitzer scored "A"s regarding all three. First, rather than having customers "leave a message" and...
 Pitzer Landscaping
I left a message on Sunday requesting to schedule a time to obtain an estimate/walk-through and received a return call in the morning of the following Monday. Mark worked with me and agreed to schedule the estimate/walk-through for the following Saturday. When Mark arrived for the...
From average costs to expert advice, get all the answers you need to get your job done.
Get transparent power seeding cost info to learn what impacts pricing, how to save, and whether to DIY or hire a pro for your lawn’s best results.
The cost to reseed a lawn can vary depending on the size of your yard and the condition of the soil. We’ll help you figure out the true cost of reseeding or overseeding your lawn, along with whether or not you should hire a professional.
Get a head start on your spring garden with our detailed guide on sowing and growing seeds indoors, including indoor seed gardening FAQs.
Find out the best time to start seeds for spring planting based on where you live, how you plant, and what you want to grow.

Learn how to prepare soil for grass seed to give your new lawn the best chance of becoming healthy, happy, robust, and the envy of your neighbors.
Learn how much seed you need for a new lawn and how to calculate the right amount to ensure your grass has a healthy start.