
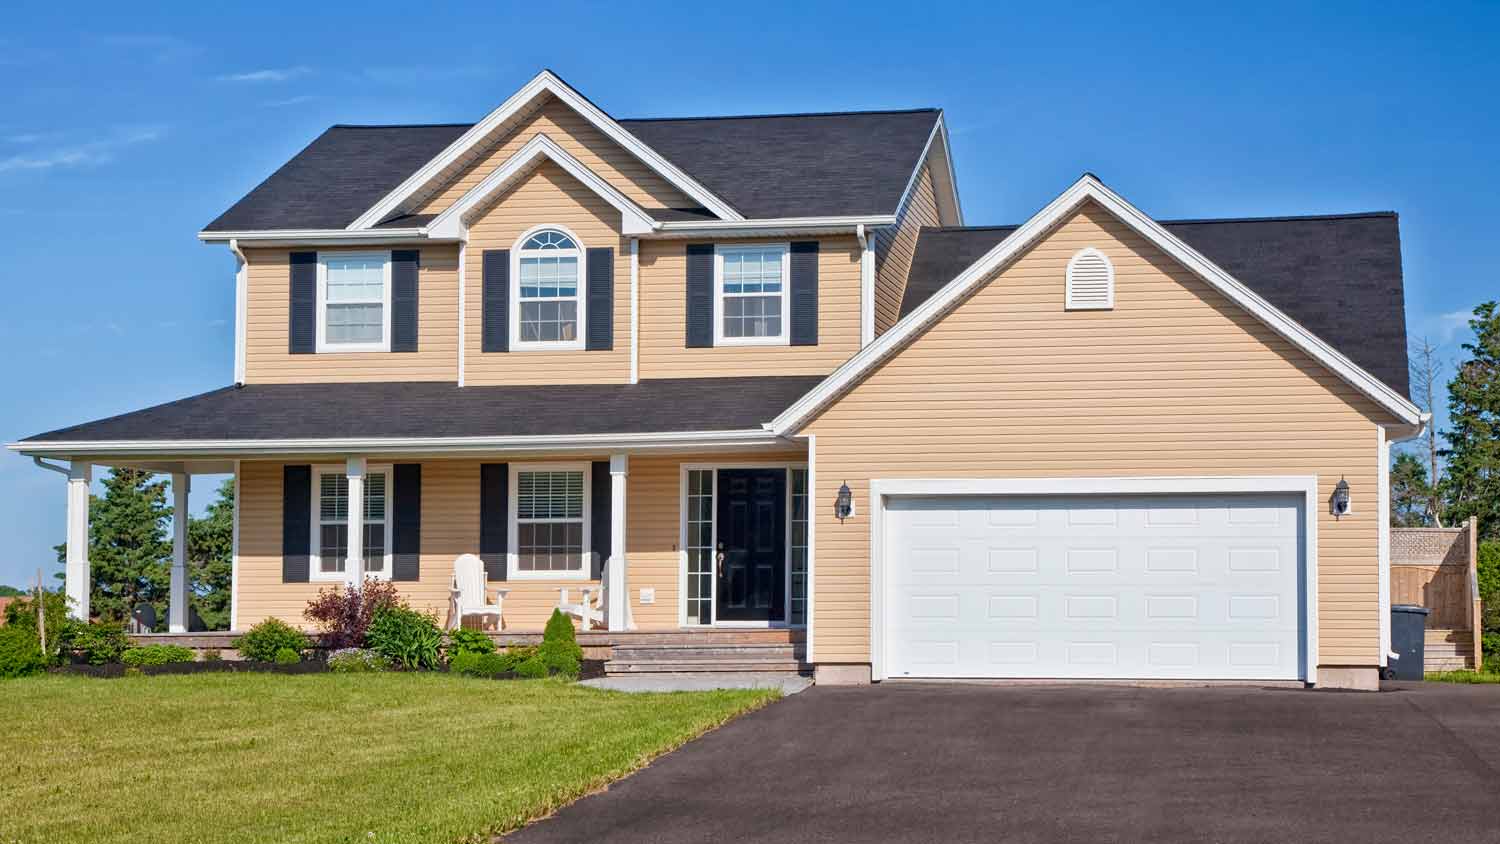
The cost to paint vinyl siding depends on the type of paint, square footage, labor, and more. Check out this guide to help you budget for painting vinyl siding.
Don’t paint yourself into a corner; caulk before you start

Caulking before painting seals cracks and gaps in your home's exterior, preventing water damage, blocking pests, and improving insulation for better energy efficiency.
Painting over caulk protects the sealant and extends its lifespan, while caulking after painting creates visible caulk lines that detract from your home's appearance.
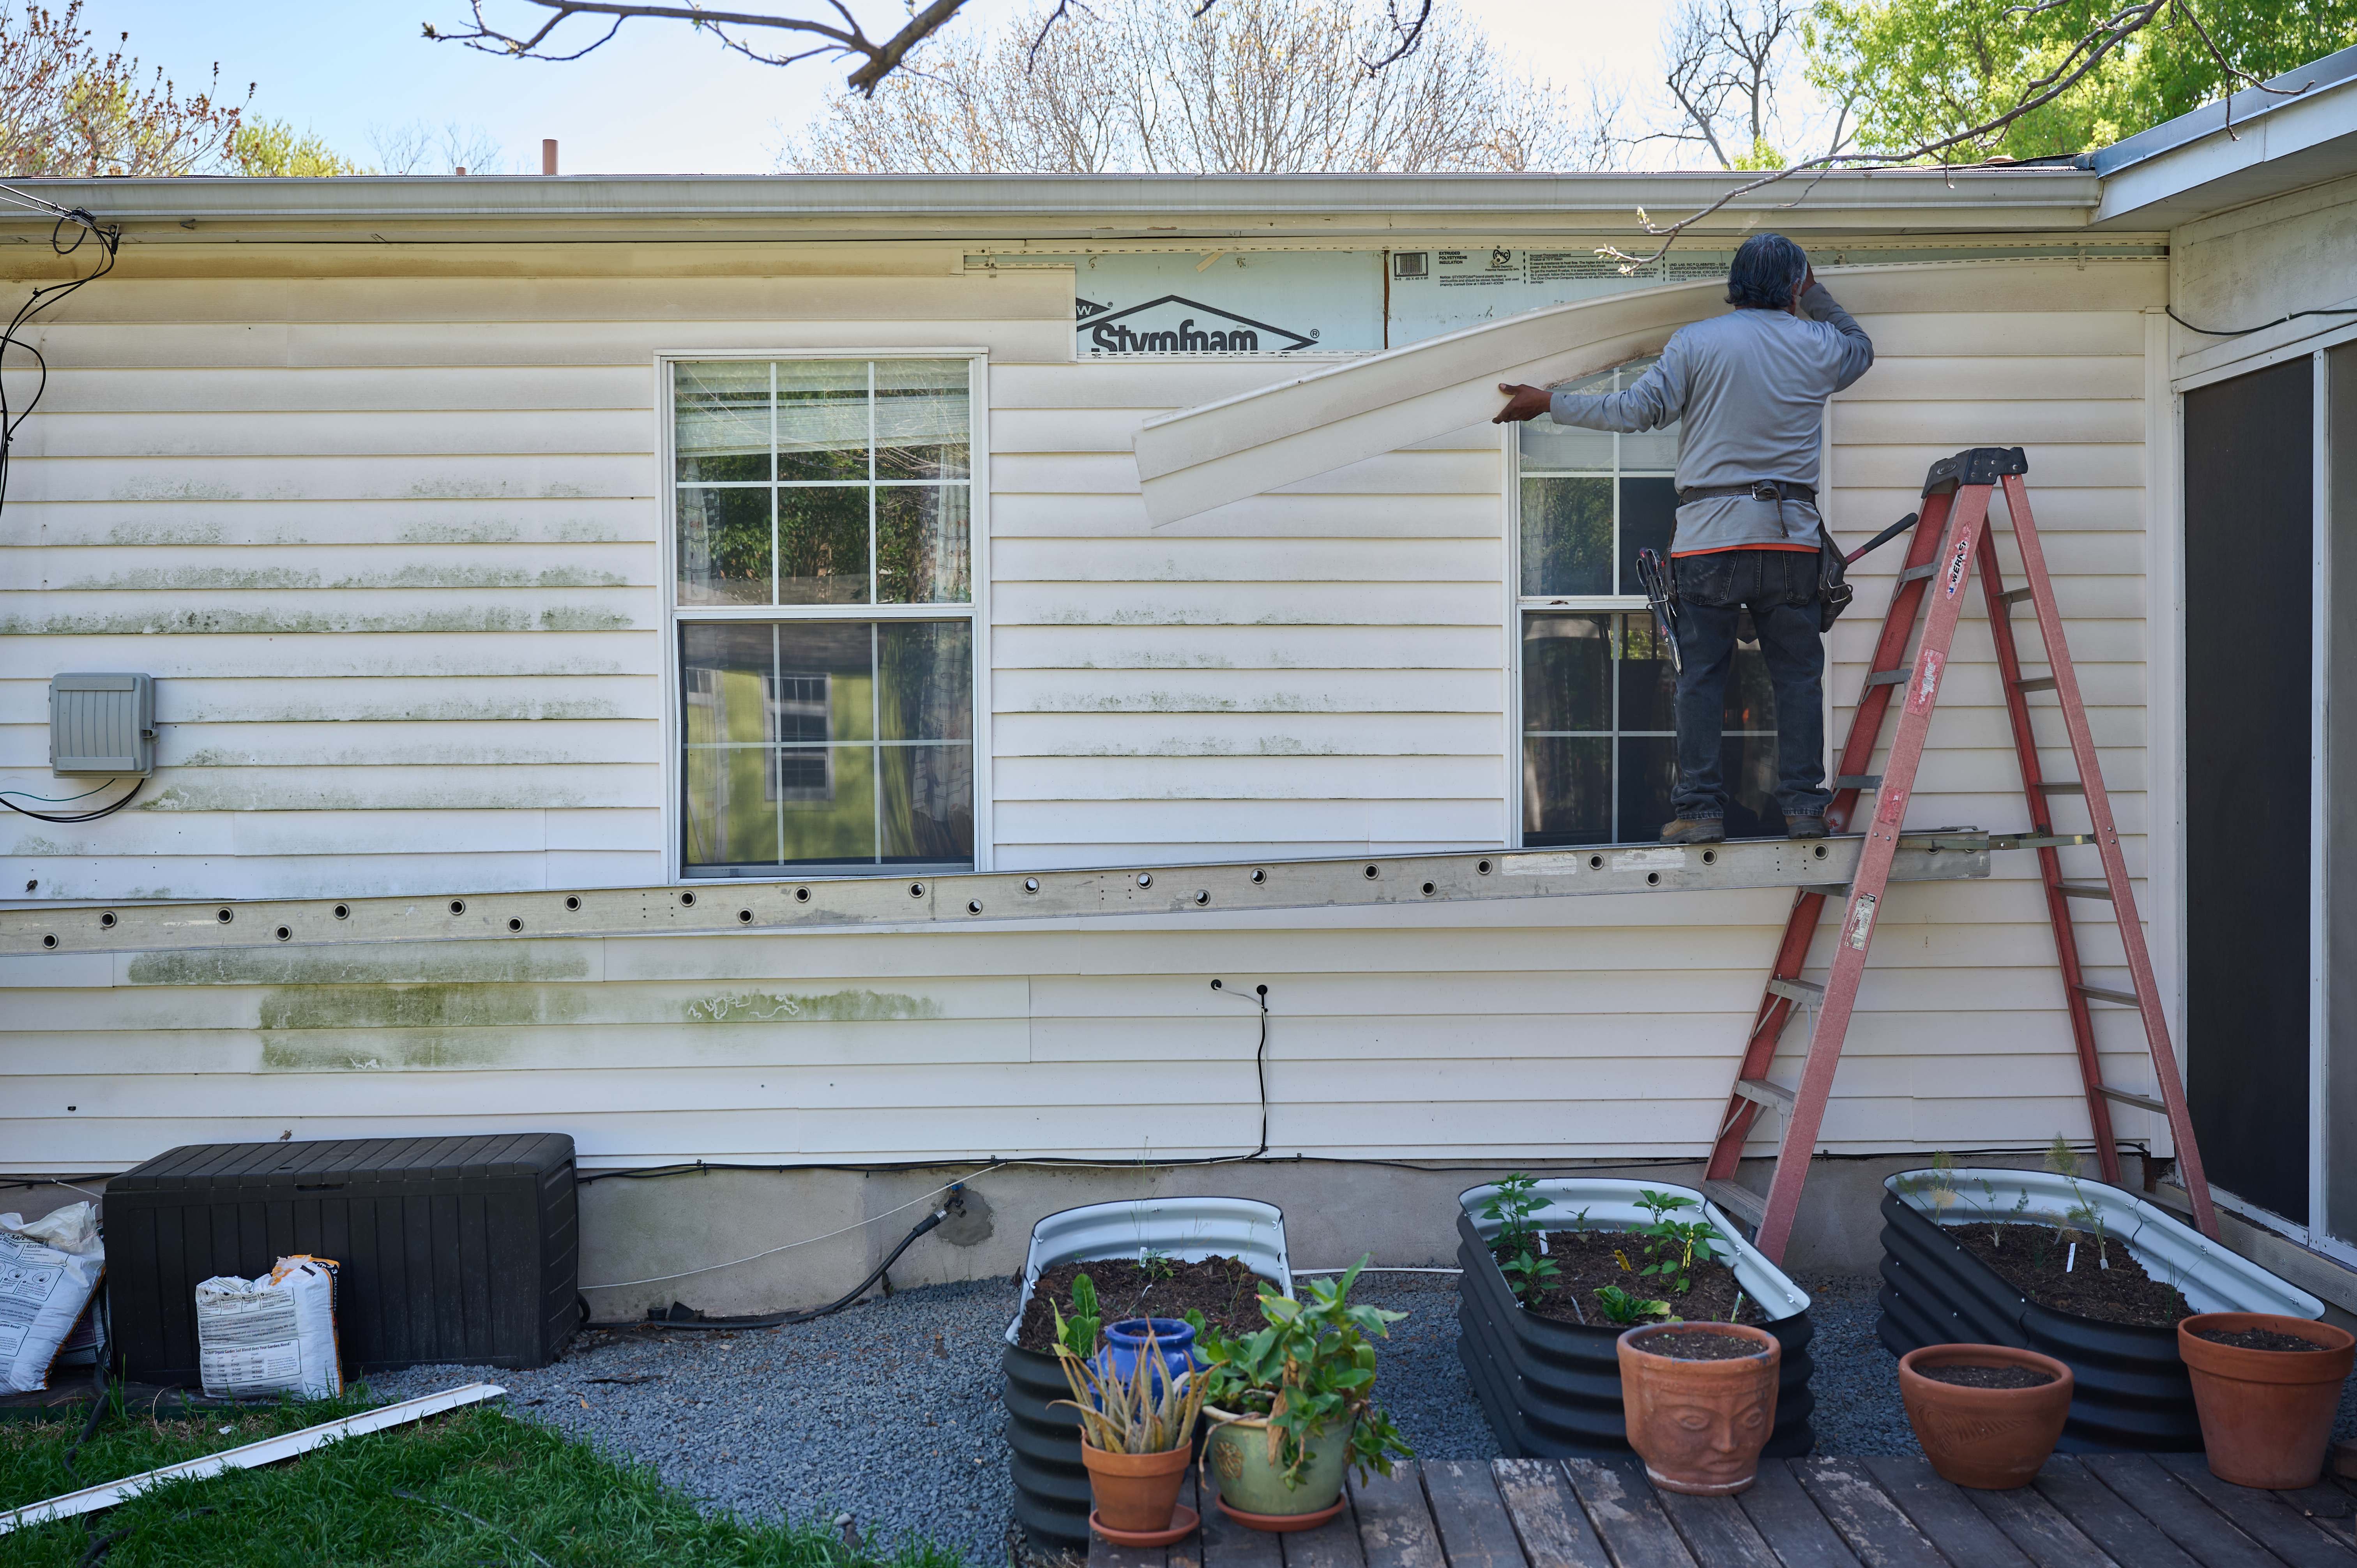
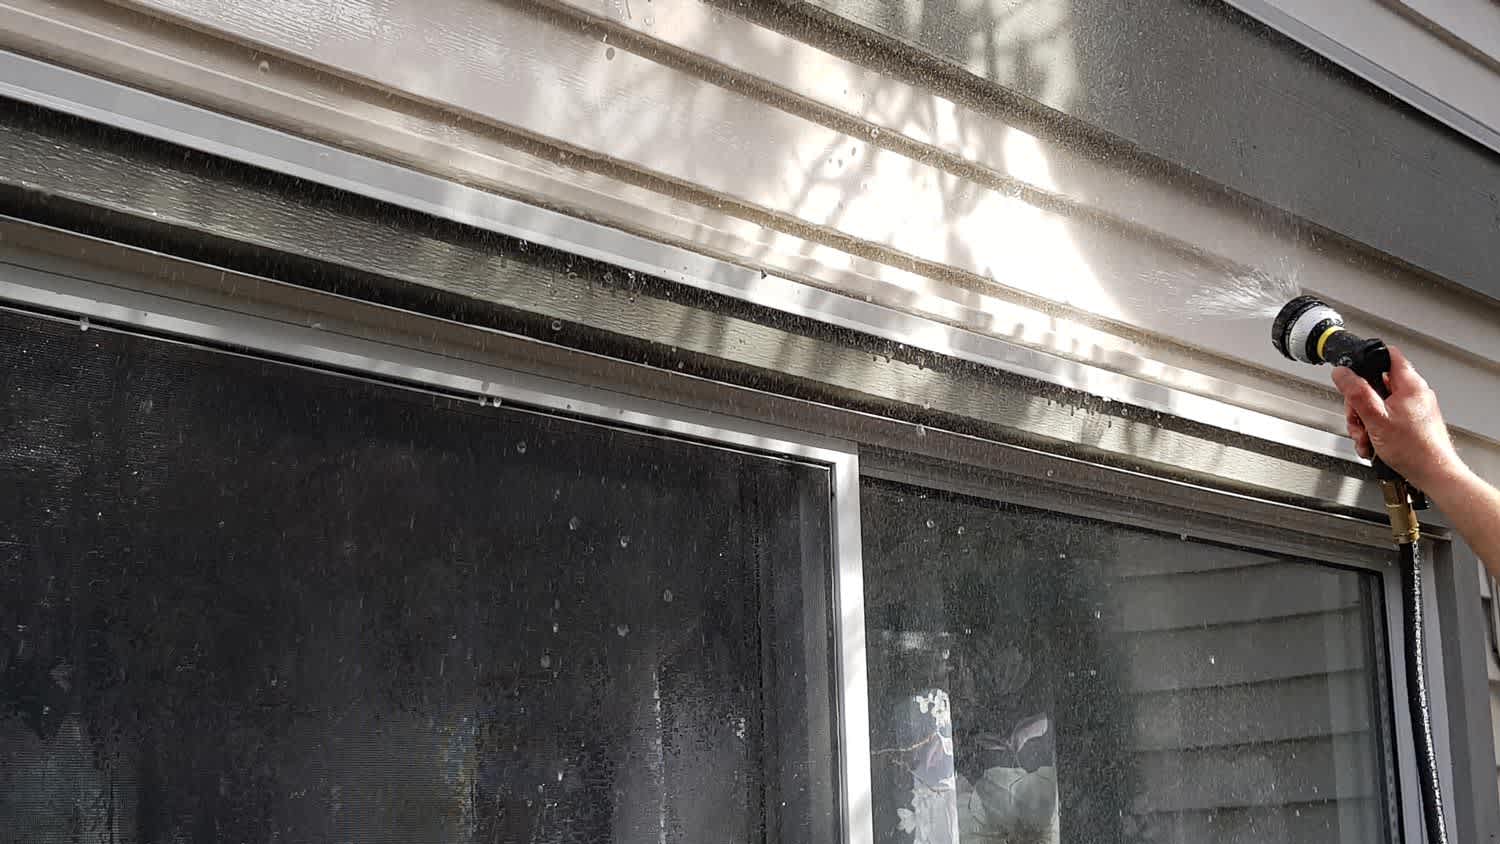
Clean and scrape old paint or debris from cracks before applying exterior-grade caulk, then wait at least 24 hours for complete drying before you start painting.
Hiring a local exterior painting professional ensures proper caulking and paint application, keeping your home protected with the right materials and expert preparation techniques.
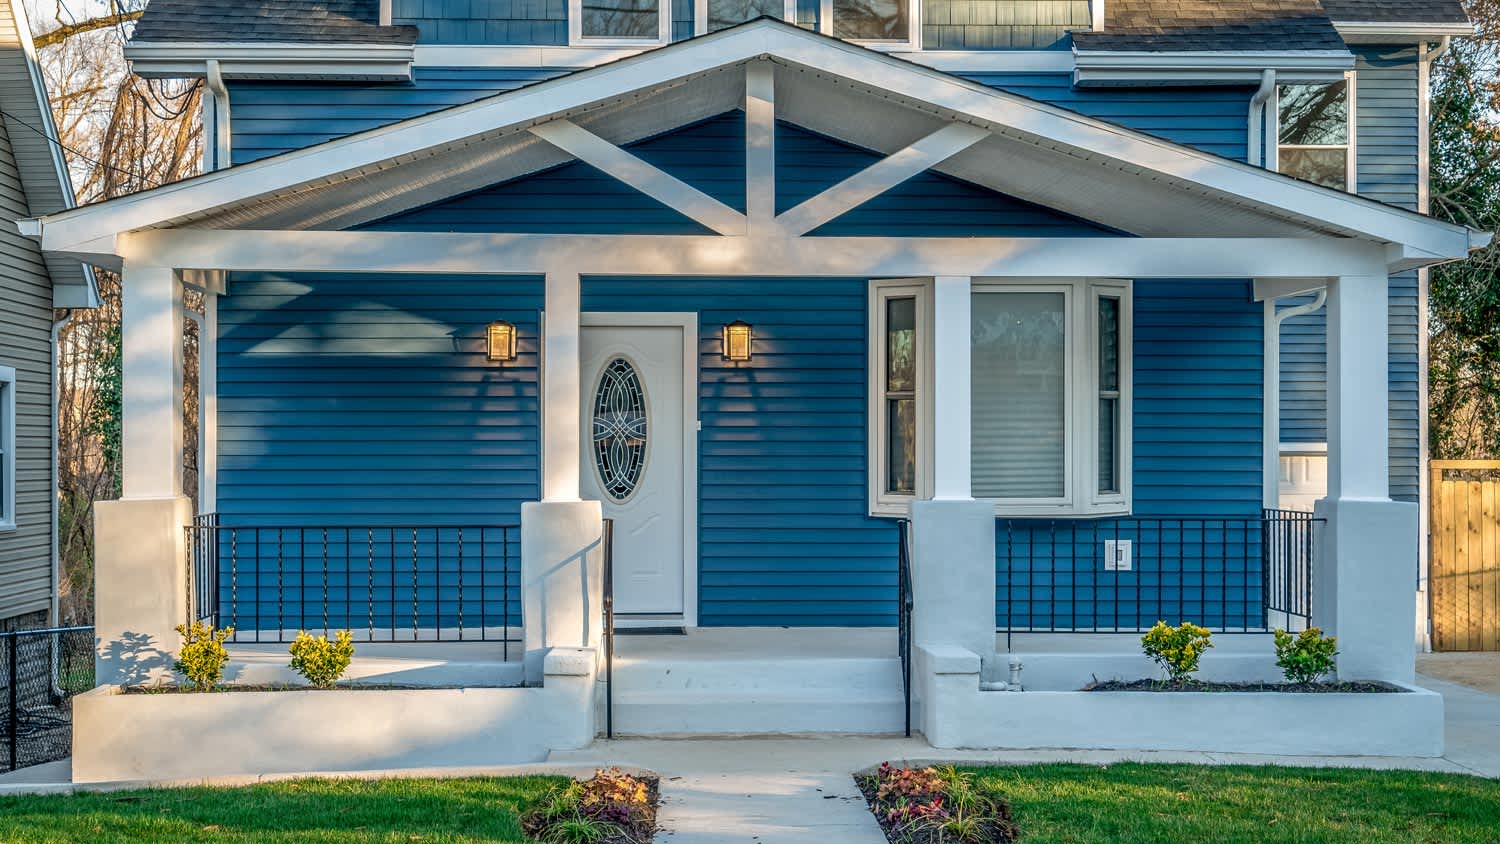
Imagine you’re looking to put a fresh coat of paint on your home, but you’ve noticed a few areas that could use some caulking. Instead of picking your favorite exterior house paint color, you’re now left wondering if you should caulk before or after painting. When it comes to where caulking should be in the home-painting process, there’s no room for debate: Caulking should always come before painting. Trying to caulk after painting would leave you with a bunch of spots that don’t match the rest of the home, plus it’s not a great idea for a few more important reasons.
But why should you worry about caulking? And what is the process of spot-correcting old caulk on your home? Explore the wonderful world of home exterior caulking below.
Caulking is a broad term used for a variety of different sealant materials. You use caulking to repair cracks or holes that are relatively small. According to the United States Department of Energy, these repair types should be no wider than 1/4 inch.
Different caulking materials tackle certain repair jobs better than others. So while you might use household silicone caulk for faucets and tile in the home, you wouldn’t want to use that same material outside. Instead, for repairing cracks and holes on your home’s exterior, you’d want to use a polyurethane or latex base, which always performs well outdoors.
The most common caulking compounds that you’re likely to come across at your local home improvement store include:
Butyl rubber
Latex
Oil
Polyurethane
Resin
Silicone
Water-based foams
Before you waltz up to the register, make sure the caulk you pick up is good for outdoor use. You can typically find it written plainly on the tube if it’s an outdoor caulk; you’ll likely see some combination of the words “window, trim, door, and outdoor sealant.”

Now that you know the definitive answer of if you should caulk before or after painting (ALWAYS before), let's look at why it’s so important. The reason you caulk before painting the exterior of your home is so there’s no opportunity for paint to get into the home itself. It also saves you time down the road, as you would want to paint over the caulk anyway to avoid having visible caulk on your exterior. Caulking beforehand means you don’t have to paint the same area twice.
Also, caulking before you paint ensures the paint creates a protective layer over the caulking itself, extending the lifespan of the material and further protecting your home.

Besides keeping paint out of your home, you should caulk your exterior for these reasons, as well:
Keeps water from seeping inside
Prevent insects from entering the home
Enhances insulation
Prevents condensation from building in the cracks and holes
To apply caulking, you’ll want to clean and prepare the area first. Here’s a quick step-by-step on prepping your exterior for caulking:
Scrape any old paint, caulk, or debris that may be in cracks or holes across your exterior.
Make sure the area where the caulk is going doesn’t get wet (so don’t save this for a rainy day).
Ensure you have the right type of caulk for the job.
Apply the caulk.
Wait for the caulk to dry—at least 24 hours before painting.
If you’re unsure of what type of caulking to use, how to properly caulk, or simply don’t have the tools necessary, consider hiring a local exterior painter or handyperson to tackle the job instead.
Matt Marandola contributed to this piece.
Custom Paint Jobs LLC took our exterior from drab to fab! We couldnt be happier.
From average costs to expert advice, get all the answers you need to get your job done.
The cost to paint vinyl siding depends on the type of paint, square footage, labor, and more. Check out this guide to help you budget for painting vinyl siding.
Siding replacement costs around $11,000 on average, but several factors influence what you’ll pay. Our guide breaks down all the siding cost factors.
Fiber cement siding is a cost-effective option and can last a long time with proper maintenance, including surface cleaning, patch up, and repainting.
It's the age-old siding debate: to caulk or not to caulk Hardie Board. In most cases, Hardie Board discourages caulk use, but it's important to see the whole picture.
Can you paint vinyl siding? The good news is, yes, you can—but there are things you should know first. Learn about the pros and cons of painting vinyl siding and if it's the right project for you.
Save money and maintain your home’s structure by learning how to repair vinyl siding in minutes with this handy DIY guide.