

Facing a pesky mold problem on your walls? Learn how to clean mold off drywall to freshen your home and keep spores away.
Mold and mildew have a bad habit of overstaying their welcome


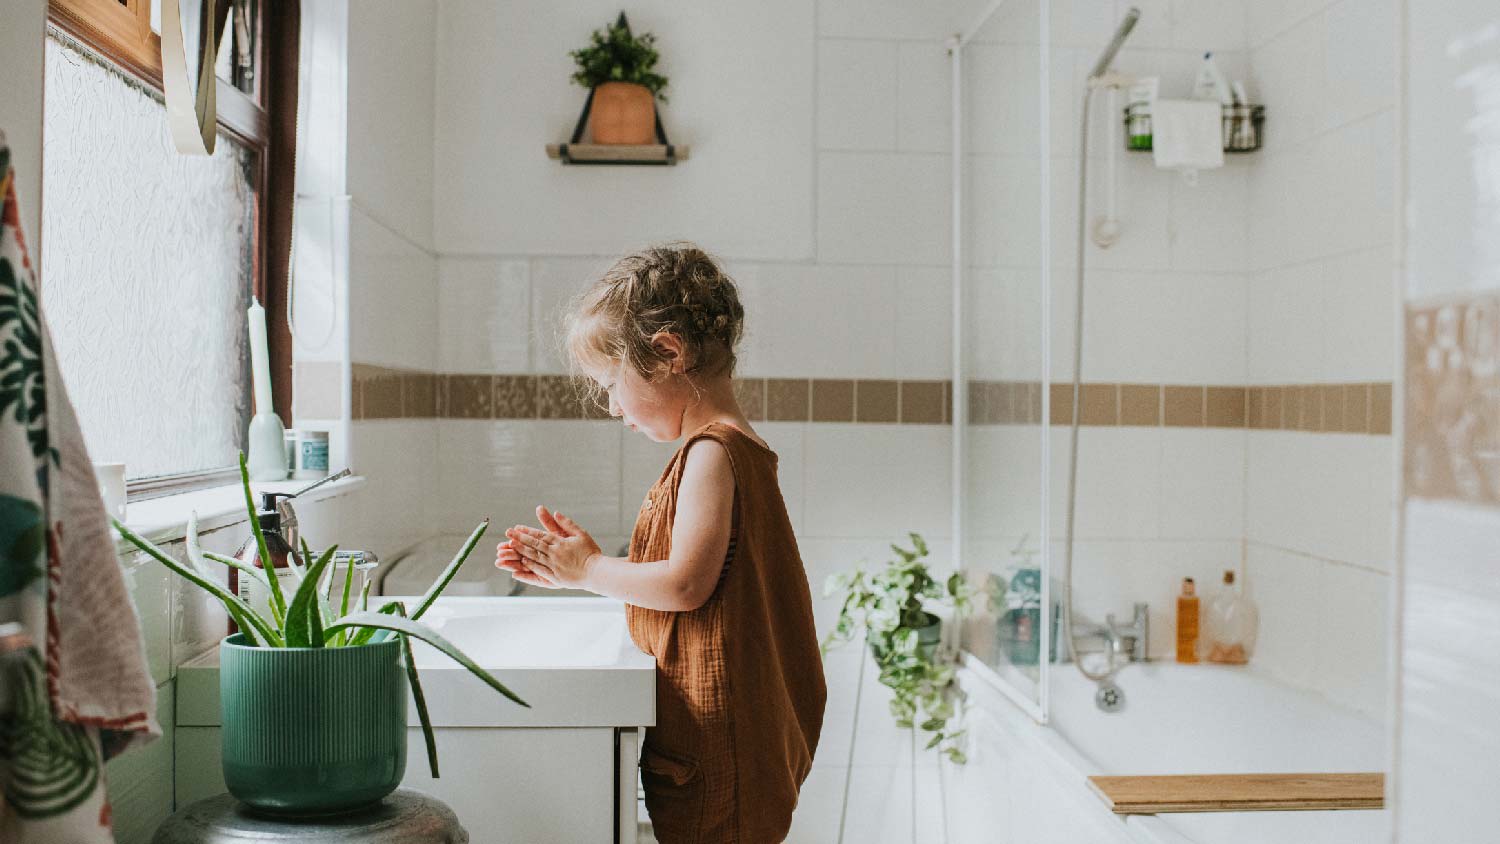
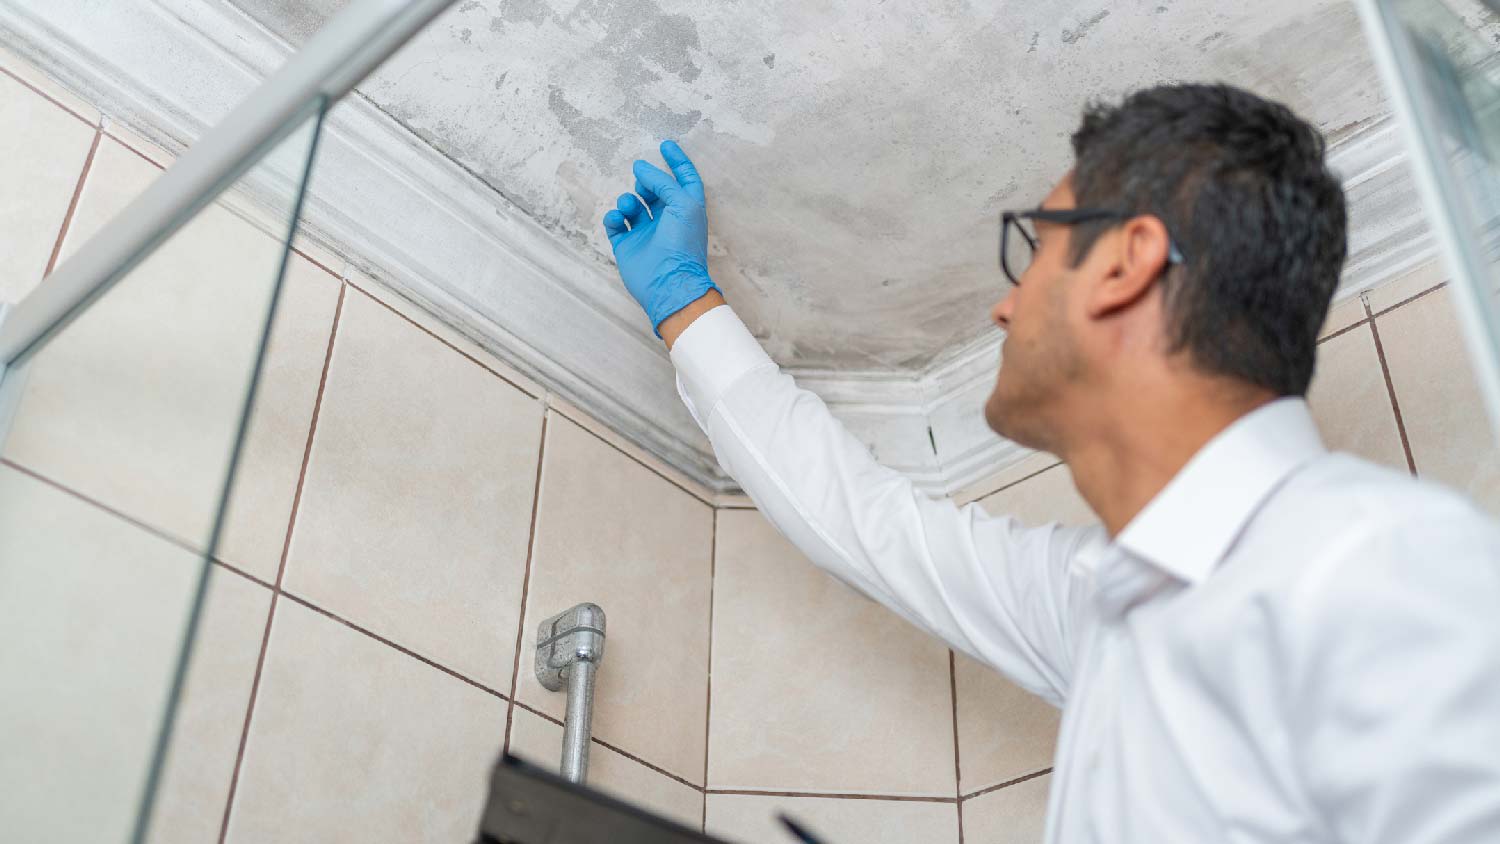
Mold removal in the house starts with understanding that mold spores need moisture to grow, so you'll often find mold in bathrooms, basements, or areas with leaks.
Expect to pay $1,100 to $3,300 for professional mold remediation, with costs around $10 to $25 per square foot depending on the affected area size.
Vinegar works as a safe, effective cleaner for mold on most surfaces in your home, and you should spray it directly on the mold and let it sit.
Hiring a local mold removal professional provides reliable help when mold covers more than 10 square feet, keeping your home safe through proper containment and thorough remediation.
The relationship between houses and humidity has always been spotty. Mold can find its way into our homes no matter what we do—and latch on if it's wet and humid enough. But even though it's commonplace, take action the moment you see signs of mold in your home. Let's walk through how to get rid of mold safely—from wearing the proper protective gear to choosing a product that will get the job done right.

Even sneakier than an insect infestation, mold spores can slip into our homes through open windows, doors, clothing, or shoes. Keeping mold out of the air in our homes is nearly impossible. The trick is learning how to kill mold before it can latch onto a surface and grow out of control.
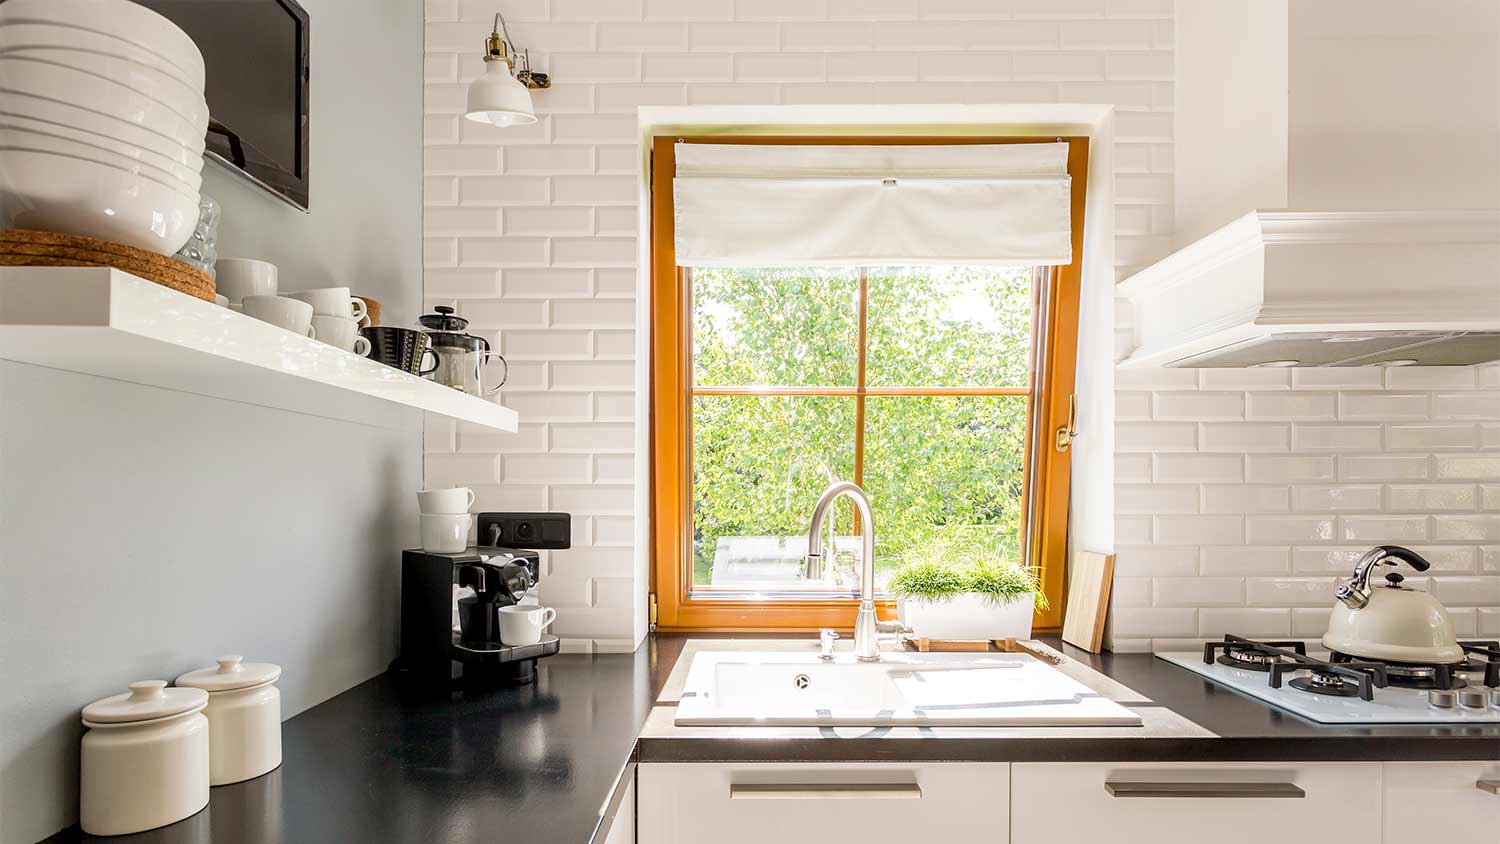
However, as we know too well, mold growth may remain out of sight long before we smell it, see it, or note its damage. The largest contribution to mold growth in a home is too much moisture, either from a leak or high humidity, which is why it’s not uncommon to find mold in bathrooms.
Here are some of the most common places where mold grows:
Basements or crawl spaces
Bathroom caulk and plumbing
Sinks and appliances
Attics
Shingles or roof rafters
Water-damaged flooring
Carpets
Peeling wallpaper
Ceiling or wall leak
Garage and sheds
HVAC systems and ventilation ducts
Overwatered houseplants
Mold remediation that requires the removal of drywall can be difficult to contain. Any sort of demolition can cause spores to travel into your home’s HVAC system leading to potentially more harmful infestations. A mold removal pro will have the right tools and skills to contain it.

There are two primary ways to identify mold—seeing it and smelling it. Often, you'll smell mold before you see it. For instance, it may be less visible on fabrics but there’s no mistaking it if your carpet smells like mildew.
Mold appears visually as slimy or fuzzy patches on the surface of an affected area, such as a wall, carpet, or furniture. Since mold likes to grow in damp areas, you may notice that the patch of mold looks wet.
Mold comes in an array of colors, but some hues are more common indoors, including blue, green, and black. You're more likely to see mold that's red or orange outdoors. In the earliest stages of growth, mold may appear white.

DIY mold removal is possible in some cases—the Environmental Protection Agency (EPA) recommends handling mold removal yourself when it covers less than 10 square feet of space in your home. However, for larger areas, it's important to hire a professional mold remediation specialist for assistance.
If you're going to tackle mold removal on your own, there are a few things to remember. Always wear protective equipment, including an N95 mask, gloves, and goggles while you work. You don't want to breathe in mold spores, as they can be irritating or trigger an allergic reaction.
Goggles will keep the mold from getting into your eyes and gloves will protect your skin. Additionally, wear long sleeves and long pants while you work.
Be cautious when choosing a cleaner for mold removal. Bleach may seem like the go-to option, but it has drawbacks. Its fumes can be irritating and even dangerous if you mix it with another cleaning product, such as ammonia or vinegar. Natural mold killers are also worth considering, as options like vinegar or hydrogen peroxide can work even better.
In addition to mold removal, you must also remove the source of excess moisture to halt the mold's ongoing growth. This step may involve identifying a hidden water leak or lowering the humidity in your house.

Vinegar is the best way to get rid of minor mold infestations in your home. It's a common household product, and you probably already have a bottle or two of distilled white vinegar tucked away in a cupboard. Bleach or hydrogen peroxide can also help to get rid of mold, just remember never to mix cleaning products.
How you go about tackling the mold depends on the surface type.
Your best bet for removing mold from painted interior walls and ceilings is vinegar. You can use either full-strength vinegar or a solution of one part vinegar and one part water. Spray the vinegar onto the areas with visible mold, then let it sit for at least 15 minutes.
Wipe the solution (and the mold) off of the walls or ceilings with a clean sponge or rag. Dry the area thoroughly after wiping away the vinegar.
If you see mold on unpainted drywall or another porous material, such as ceiling tiles, removing it is trickier, as it requires you to remove the material itself. Even if the mold is only on a small area, it's definitely a job for a mold remediation professional.
While bleach isn't usually the best option for mold removal, it's ideal for use when cleaning grout. Vinegar's acidity is too much for unsealed grout and will end up doing more harm than good.
To remove mold from grout and tile, mix one part bleach with four parts water in a spray bottle and spritz over the affected area. Let it sit for at least 15 minutes, then use a clean toothbrush or other soft-bristled brush to scrub away the mold. Rinse with water, then dry completely.
Moisture and wood are the perfect breeding grounds for bacteria, which is why you may find mold on windowsills and doorframes if you live in a wet climate. Use a 1:1 mixture of distilled white vinegar and water to remove mold from untreated wood surfaces. If the wood is stained, finished, or painted, you can remove mold with soapy water.
For unfinished wood, let the vinegar solution soak for about 15 minutes, then use a brush to scrub away the mold. Dry the wood with a towel or hair dryer. It's also a good idea to gently sand the wood to ensure you've thoroughly removed any mold spores.
Wipe finished or painted wood with the soapy water, using a scrub brush to remove the mold. Rinse the soap away with clean water, then dry thoroughly.
How you remove mold from an appliance depends on the type of appliance:
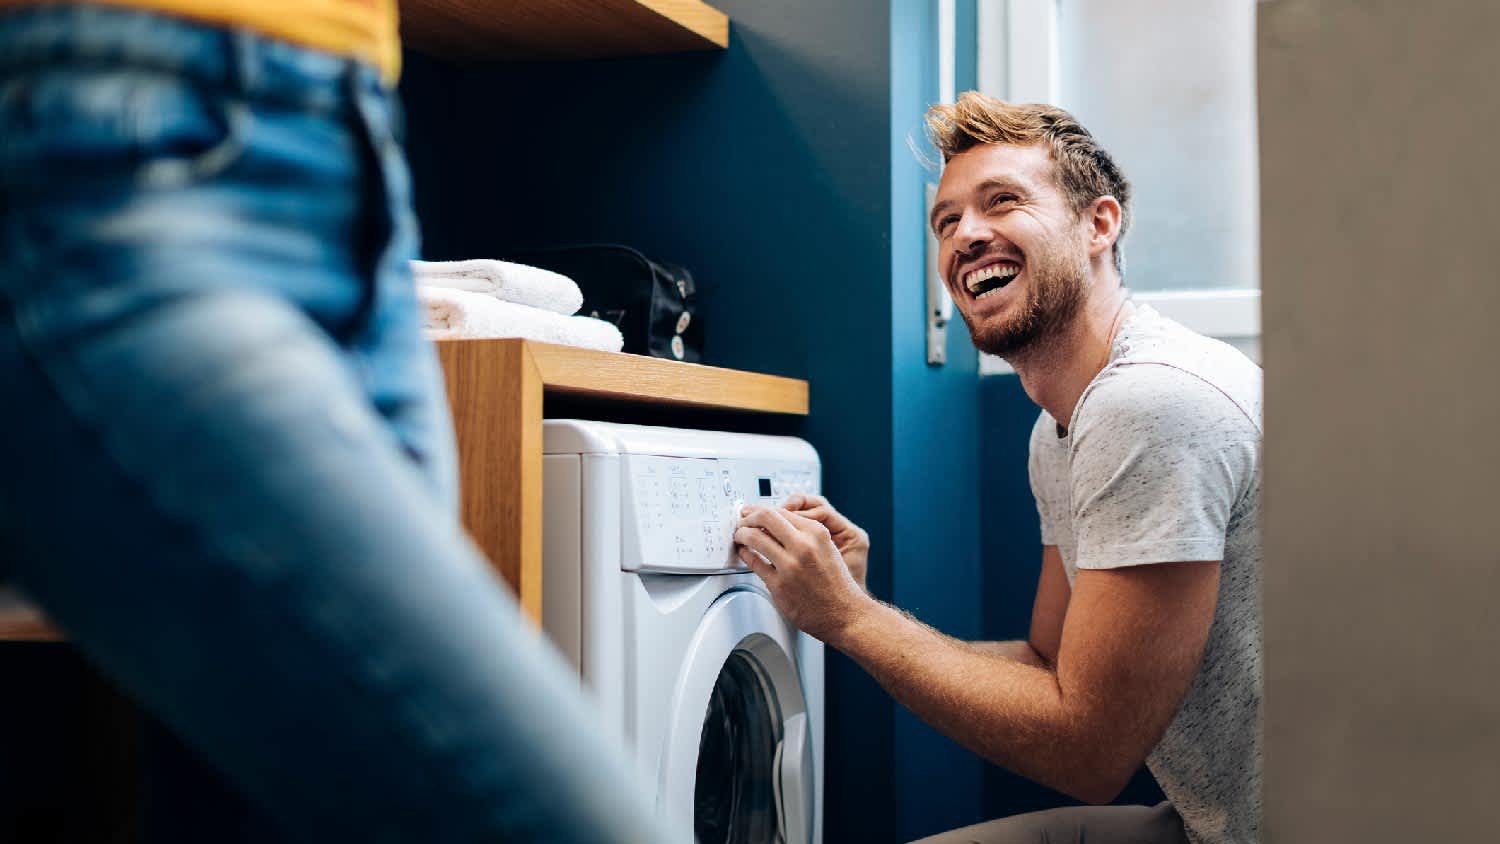
Washing machine: To remove mold from a washing machine, run a cycle on the hottest water setting, adding one cup of hydrogen peroxide to the drum or detergent dispenser.
Refrigerator: Use vinegar to clean mold from the interior and exterior of your refrigerator. Spray either undiluted vinegar or a 1:1 vinegar/water solution on the affected area, then wipe clean and dry.
Coffee maker: Cleaning your automatic drip coffee maker with vinegar will help to remove mold and any hard water deposits. Fill the coffee pot with undiluted vinegar, then pour it into the machine and "brew" the vinegar like you're making a pot of coffee. Dump out the vinegar, then brew two pots of plain water to rinse it away.
Spraying a vinegar solution onto concrete, brick, or stone should kill the mold and make it easy to remove. Spritz the vinegar all over the visible mold, spraying enough that the vinegar fully saturates the material. Let it soak into the concrete, brick, or stone for at least 15 minutes.
Use a stiff bristled brush to scrub the area, removing the visible mold. Rinse the vinegar away with water and let the material dry.
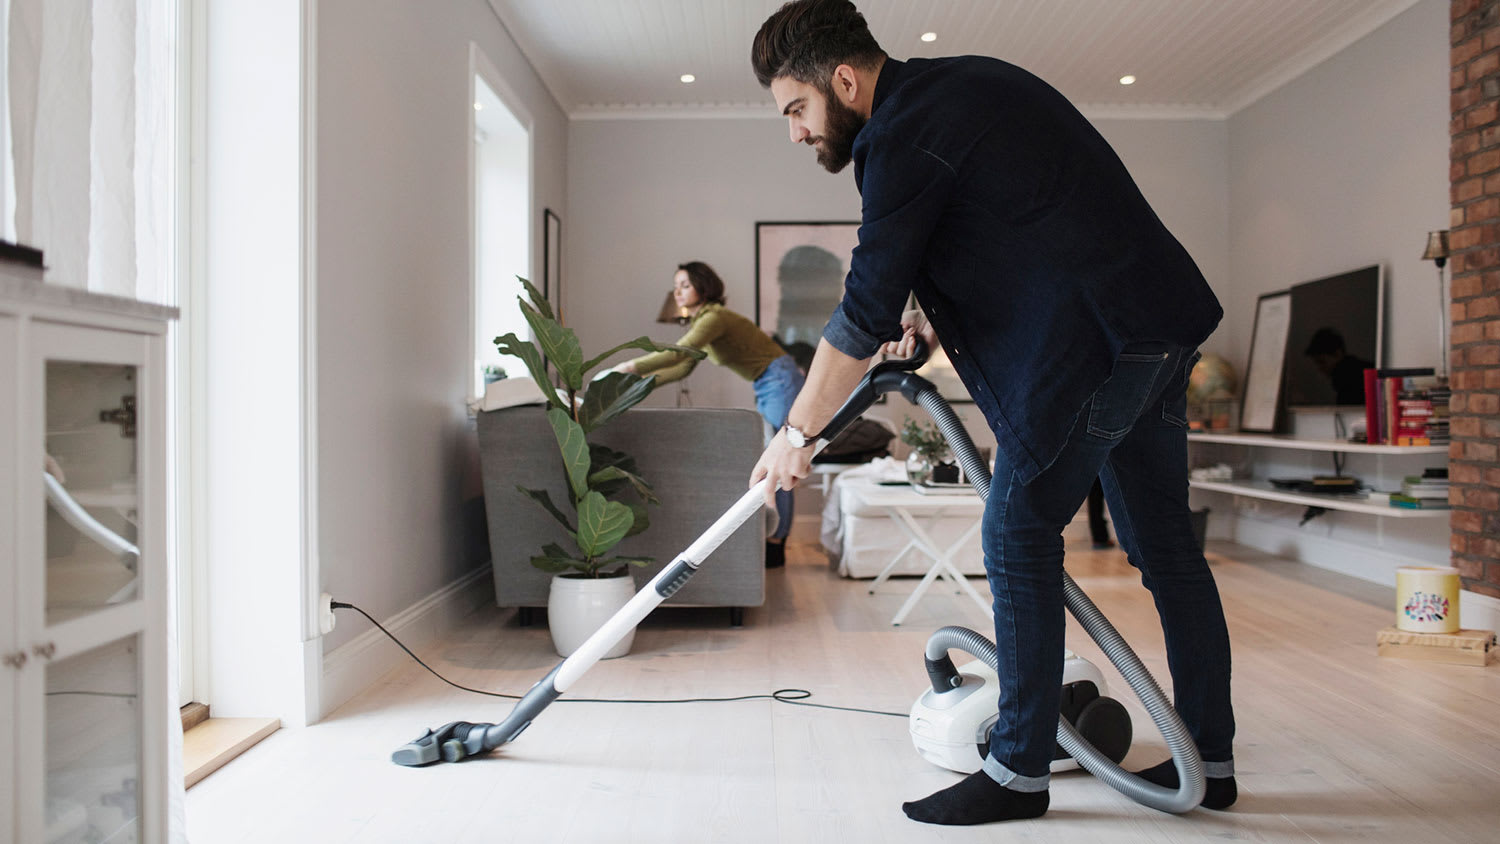
After removing mold, it’s important to take steps to ensure it doesn’t come back. Although all visible mold might be gone, its spores are likely still floating around your space or have already tucked themselves out of sight in nooks and crannies or in the floor grout.
That’s why it’s a good idea to perform normal chores after mold remediation. That includes vacuuming, dusting, and mopping to remove remaining spores. Consider using a vacuum with a HEPA filter so you don’t accidentally contaminate other spaces later, and dust with a wet or damp cloth to reduce the risk of further spreading spores.
The key to controlling mold in your home is monitoring water and humidity levels. Think of mold like a pest problem—the sooner you remove the mold, the less chance of an infestation. Here are some things to prevent mold growth at home.
Know the signs: Mold is not always obvious. Musty smells, wall discoloration, or loose boards can be a sign of a hidden mold problem. Hire a specialist for a mold inspection as soon as you spot signs of mold.
Associate leaks with mold: Whether water seeped in during a storm or you recently burst a pipe in the wall, check the area for mold several days and weeks after the water damage occurred for mold growth.
Keep humidity in check: The ideal humidity of a home is under 60% in the summer and up to 40% in the winter. Consider using a dehumidifier to keep humidity levels in check, especially in your basement and attic.
Keep up with leaks: Hire a professional plumber every few years for a full plumbing inspection. The plumber can prevent leaks, breakages, and overflows from happening before they threaten your home with mold.
Toss moldy items: If you're on the fence about whether to save a moldy item, you’re likely better off tossing it. Moldy fabrics, cushions, furniture, and rugs may be too tricky to clean, and therefore risk the surrounding surfaces.
Maintain a cleaning schedule: If you live in a high-humidity area with poor ventilation, clean your tiles, counters, and appliances on a regular schedule to prevent mold spread and buildup.
Mold can grow on just about any surface, provided the conditions are ideally wet and warm. However, surfaces that are most prone to mold include drywall, windowsills, carpet, tile, upholstered furniture, and wood.
Appliances like dishwashers, washing machines, and refrigerators are vulnerable to mold, as well. You may also find mold in some unexpected places, such as your clothing, books, and journals.
According to data from Angi customers, most homeowners suspect they have mold on their walls and ceiling, or in their HVAC system. If you’ve ever had leaks in your roof or other areas of your home, the likelihood of mold growth increases. If you have a suspicion that there’s mold anywhere in your home, the safest way to handle it is to call a professional for mold testing.

As mentioned above, the EPA recommends that any area larger than 10 square feet of mold is best left to professional removal. Mold remediation costs can range between $1,100 and $3,300 on average, or about $10 to $25 per square foot. Mold remediation specialists can test your home for mold, advise on what to replace, and perform ongoing checkups to ensure a mold-free home.
I would recommend this company to anyone! He showed up on time, was friendly, completed a very difficult repair on our dryer vent cover, was responsive, and pricing was extremely fair and competitive. I would have him back to do any of our repairs or cleanings without hesitation!
The technician was very professional and friendly. He answered all my questions and was very thorough. He left the fireplace area very clean . He inspected from the roof and advised me as to other work that might need to be done. There was no pressure there. I was very satisfied with the...
 Supreme brick & chimney
Ace Fireplace Services came to the rescue for my chimney repair. They were quick to pinpoint the issue and worked their magic to fix it. My chimney is now in excellent shape, and I'm a satisfied customer.
 Ace Fireplace Services
Professionalism, quality, and affordability - Custom Paint Jobs LLC checks all the boxes.
On time, clean and finished fast. Windows seem sturdy and the finish is good. Caulking was done with no smudges. Would recommend.
Great job...edging and pre clean up went well with a great job with seal coat. Friendly, efficient and professional.
 All Star Paving and Sealing
Scott did not get appropriate access to the property prior to the scheduled inspection which required us to come back later in the day to complete it. He also, unprofessionally, knocked on a neighbor?s door in his attempts to reach someone with access. His overall report was fine though the...
Did a great job replacing the ice maker and water regulator on my refrigerator. He was quick and thorough, very friendly and professional. If I needed a heart transplant I'd want him to do it!!!
Scott checked our large crawl space for mold and water infiltration and recommended a viable solution. The crew was efficient and they cleaned up well after the job. The job was expensive but I am confident that I won't have to deal with the problem again. Highly recommend.
I am very pleased with the services performed by OTS. Bless my late Mother, but she was a bit of a pack-rat. The basement of her home was crammed with 40+ years of "stuff," and the other companies I contacted were concerned with possible mold contamination of the items due to the musty smell...
From average costs to expert advice, get all the answers you need to get your job done.
Facing a pesky mold problem on your walls? Learn how to clean mold off drywall to freshen your home and keep spores away.
Learn how to remove mold from under silicone caulk with our expert guide. These safe, effective methods will keep your home clean and mold-free.
Does vinegar kill mold? Yes, but it’s not the only effective natural mold killer. Find out the best homemade and natural ways to kill mold.
Despite our best efforts, our homes aren’t always as clean as they could be. Learn 17 home cleaning mistakes that could be dirtying up your routine.
Got mold on your washing machine? Follow this guide to learn how to clean mold from a washing machine and make your laundry smell fresh.
There's an excellent reason why you should avoid going with the same company for mold testing and mold remediation. Learn why different companies should handle these tasks.