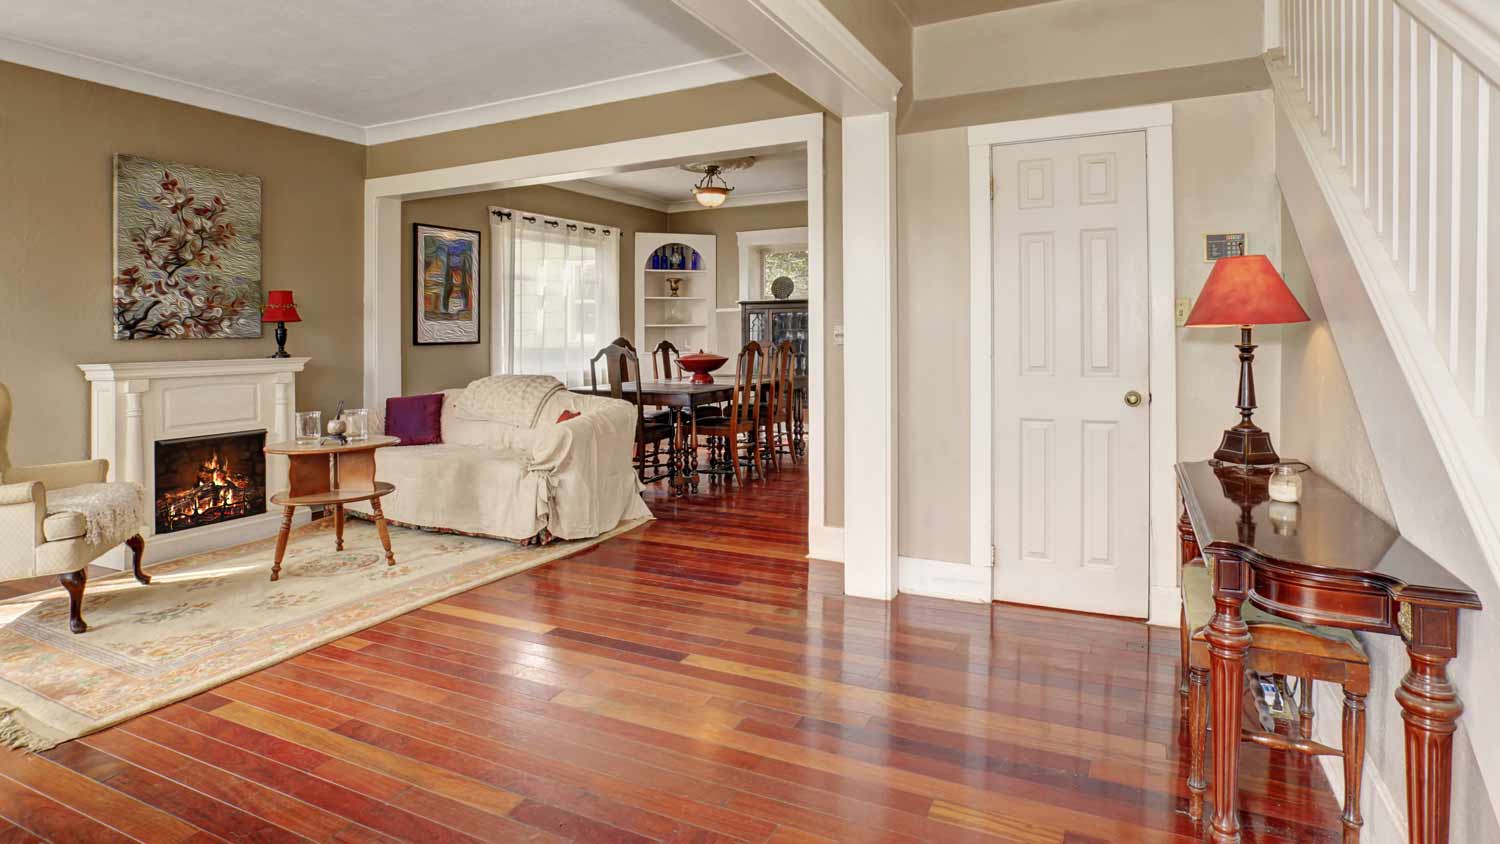
Both materials and labor determine hardwood floor installation costs. This guide breaks down all the prices you need to know before starting your new flooring project.
Uncover your floors’ original beauty


Note: The tools needed will differ depending on how far down you need to sand down the surface.
Hardwood floors are a durable and beautiful flooring option (and can increase the overall value of your home). However, everyday wear and tear can create scratches, scuffs, blemishes, and an overall loss of luster on the surface. Rather than replace the hardwood entirely, you can sand it down and refinish it to give your floors new life.

For an in-depth guide on how to prep the room and make repairs, you can check out our Prep Your Hardwood Floors for Refinishing Guide, but here are some of the basics:
Clear the room as much as possible.
Vacuum the floors with a wet/dry vac, and remove remaining debris with a mop, allowing the floors to fully dry before moving on to the next steps.
Cover vents and doorways with plastic sheeting to protect ducts and adjacent rooms from sawdust.
Cover outlets with painter’s tape to protect them from sawdust.
Hammer down nails that are sticking out.
Replace any boards that are damaged.

After the area is prepped, remove cap molding, shoe molding, and baseboards so there aren’t any obstructions when sanding.
Firmly press a utility knife where the molding meets the wall to break the seal from any caulk or old paint.
With a pry bar, carefully lift the molding, placing a scrap piece of wood behind the bar to avoid damaging the wall.
Pull out any remaining protruding nails.
Clean up any remaining debris with a wet/dry vac and mop, if needed.

If your floors require heavy sanding, you will need to rent a drum sander. Otherwise, you can use a belt sander for this step. It’s important to note that a drum sander is used by professionals and much less forgiving than a belt sander (too much pressure can leave divots and grooves in your floors that can be impossible to repair). However, if done correctly, a drum sander can fix some of the most damaged surfaces, allowing you to restore them to their original grandeur.
Safety Note: Be sure to wear proper protective gear such as ear plugs, shoe coverings, a dust mask, and safety goggles. Ventilate the room as much as possible, and turn off your furnace or air conditioner to avoid circulating sawdust and toxic fumes during the sanding and refinishing process.
You can rent a drum sander at most home improvement stores or tool rental stores, but keep in mind that this is a large machine and will require help moving it as well as operating it (especially if this is your first time). Be sure to ask for a demonstration when renting the equipment, so you can see firsthand how to switch out sandpaper and operate it.
If you’re a beginner, practice sanding on a scrap piece of plywood before you start on your actual floors to avoid damaging the wood.
Begin with a coarse sandpaper of about 40 grit, and start two-thirds of the way across the room.
Align yourself parallel with the floorboards, and move in the direction of the grain. Work in 4-foot sections at a time, overlapping the previous run when pulling the machine. Leave out the edges and corners of the room, as you will sand those with a smaller sander.
Once you have sanded two-thirds of the room, turn the machine in the opposite direction and pass over the last third.
Repeat this same sequence, decreasing the coarseness of the sandpaper (60 to 80 grit for the second pass and 100 grit for the final pass). Before you switch out sandpaper, be sure to sand the edges using the same grit progression, so you can overlap the areas for a more even surface.
Remember, no additional pressure is needed when operating the machine. Moreover, it’s important not to rest on one section for too long to avoid unevenness and damage to the surface.
A belt sander is a quick and effective way to repair floors that have scuffs and blemishes. While belt sanders look like drum sanders and still need to be rented, they have a quicker learning curve (especially when switching out sandpaper).
Start with a 40-grit coarseness, and begin two-thirds of the way back in the room.
Sand with the grain and keep the machine moving at an even pace. Overlap each pass as you work in 3-foot parallel sections at a time.
After you have finished two-thirds of the room, turn the machine around, and finish the last third.
Switch out the sandpaper to 60 to 80 grit as you make your second pass. Switch to a fine 100 grit sandpaper for the final pass around the room. Be sure to sand the edges and corners of the room with the same grit sandpaper before you move on to the next grade.

Begin with a coarse sandpaper of about 40 grit.
Sand the perimeter of the room using a small orbital sander, edge sander, or by hand-sanding.
Repeat this process with a medium-coarse sandpaper of 60 to 80 grit, and then work your way up to a fine 100 grit. It’s important to remain consistent throughout the room as you switch out different grades to provide an even surface.
Be sure to overlap the section that was sanded with the drum or belt sander and the edge you’re sanding for a smooth finish.
Remove dust and debris from the room with a wet/dry vac before moving on to the next step.
Note: If you notice any damages on the surface after rough sanding, fill them in with wood filler and a putty knife, and allow them to dry for 24 hours (or the specified drying time per the manufacturer’s recommendations). Re-sand this area with a 60-grit sandpaper, then move to 100 grit, removing all sawdust once complete.

Once you have completed the rough sanding of the room, you will screen-sand the floor using a floor buffer. This machine buffs the floor using a fine-grit screening pad to level the surface and blend the edges with the center of the floors, providing professional-looking results. What’s more, screen-sanding can remove any scratches that may have occurred during the rough sanding process.
Set up the buffer by placing the buffer over the sanding screen, then lock it into place.
Begin at a corner, moving toward the back of the room as you work. Slowly move the buffer from right to left along the grain (or left to right, depending on how the handle is positioned), making an arc-shape as you swipe over the floor. Be sure to only go over the area once or twice, creating a smooth surface as you go.

After the floor has been buffed, it’s time to remove all sawdust and debris from the room. Vacuum the floors, window sills, moldings, and any other areas where sawdust may have accumulated using a wet/dry vac. You can then tack the floor by hand with a tack cloth to remove any remaining debris.
For flawless results, you can wipe the floor with mineral spirits and a rag, ventilating the room as you work. Ensuring your floors are free from particles is an important step because even a small hair or bit of sawdust can show through the finish.

You may decide to stain the floors to change the color before applying a finish. Remember, certain types of wood (think maple and birch) are much more difficult to stain than red or white oak floors. Moreover, staining or restaining wood floors can make imperfections from sanding more visible. But if you are going to stain the floor, here’s how to do it:
Fully ventilate the room during this step and wear proper protective gear, so you’re not breathing in toxic fumes.
Apply the stain with an angled paint brush or foam carpet pad in small sections at a time, working in the direction of the grain. Use a rag to wipe away any excess stain before moving on to the next section.
Maintain even consistency as you work around the room during this step to ensure an even finish. Allow the stain to completely dry (per the manufacturer’s directions) before moving on to the next step.
Note: You may need a second or third coat of stain, especially if you opted for a darker color, and each coat can take a full day to dry, depending on the brand.

Once the stain has fully dried, you can apply the finish, which is the protective layer (either polyurethane or wood oil) that seals in the floor refinishing.
In a well-ventilated room using the appropriate protective gear, apply the finish around the perimeter of the room using an applicator pad. It’s important to work in small sections at a time, so the sealant blends evenly together.
Apply the sealant to the middle of the room using a high-density foam roller in a thin, even coat.
You may need a second coat of sealant, and some brands require a fine sanding between coats, so always refer to the manufacturer’s directions. If you do need to sand, you will want to either lightly hand-sand or use a sanding pole, rather than an orbital sander.
Allow the sealant to completely dry (about 24 hours to walk on and 48 to 72 hours before moving furniture back into the room).
A floor installation pro typically charges $2 to $8 per square foot in labor costs, which accounts for roughly 80 percent of the total cost to refinish the floors. That’s for a traditional refinish. If you opt for a dustless refinish, the project costs go up to $5 to $8 per square foot.
The price will increase if the floor needs a repair–like a subfloor repair. However, a professional owns and has the experience using the equipment needed to refinish the floor. Also, consider that the refinishing method affects the total cost. If you go with a flooring contractor, check to see if the estimate includes cleaning up the dust accumulated throughout the sanding process. It can be a lot of work and might be work adding to the contract to save yourself some time.
You can save a significant amount of money by refinishing your hardwood floor yourself. For example, if you replace a plank or two yourself, you can save between $400 and $1,400 in labor alone. However, the process does take time and some DIY skills. The costs to DIY tend to come in the form of renting equipment. Additionally, unless you have experience with this type of equipment, there’s a learning curve, so it might take more time to get the project done. Plus, there’s always the risk that you’ll accidentally damage the floor while learning to use the equipment.
From average costs to expert advice, get all the answers you need to get your job done.

Both materials and labor determine hardwood floor installation costs. This guide breaks down all the prices you need to know before starting your new flooring project.

It’s impossible to keep floors damage-free over the years. Thankfully, the cost to refinish hardwood floors is far less than the price tag to replace them altogether.

Here’s what you should expect to pay when renting an orbital, drum, vibrating, or edging floor sander—as well as where you can rent them and what else to know.

Planning a refinishing project? This guide will walk through how long it takes to refinish hardwood floors, including what will slow down your timeline.

Get the look of hardwood at a fraction of the cost. This guide will help you understand the cost to install engineered hardwood floors in your home.

Replacing hardwood floor planks without replacing the entire floor is an intermediate DIY project that most homeowners can take on. Learn how in this guide.