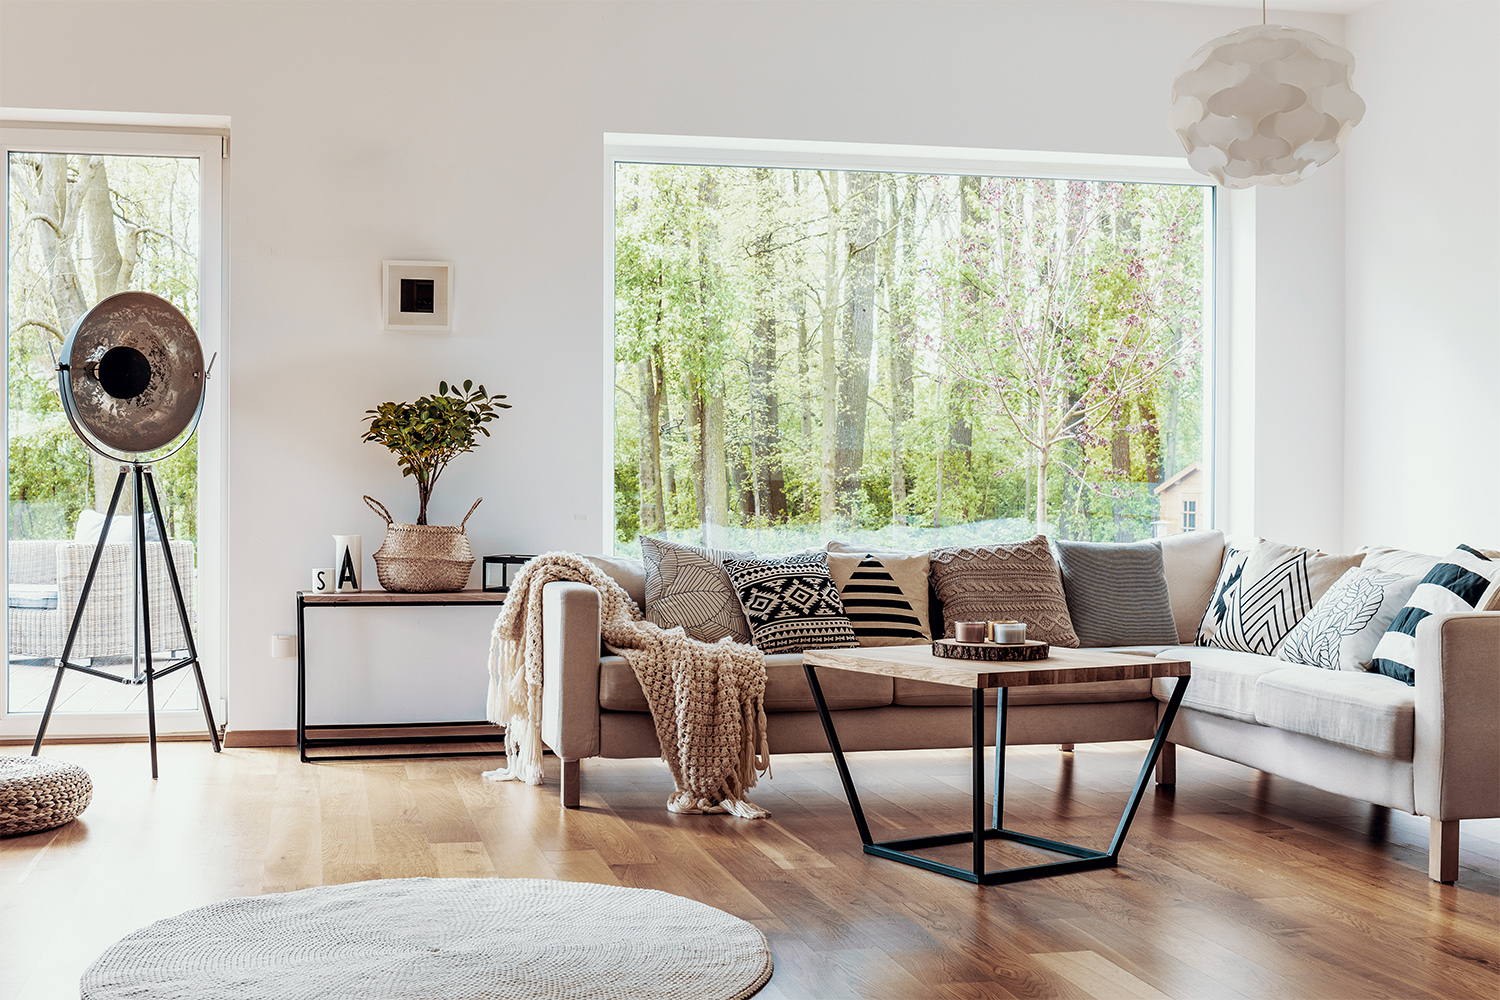
It’s impossible to keep floors damage-free over the years. Thankfully, the cost to refinish hardwood floors is far less than the price tag to replace them altogether.
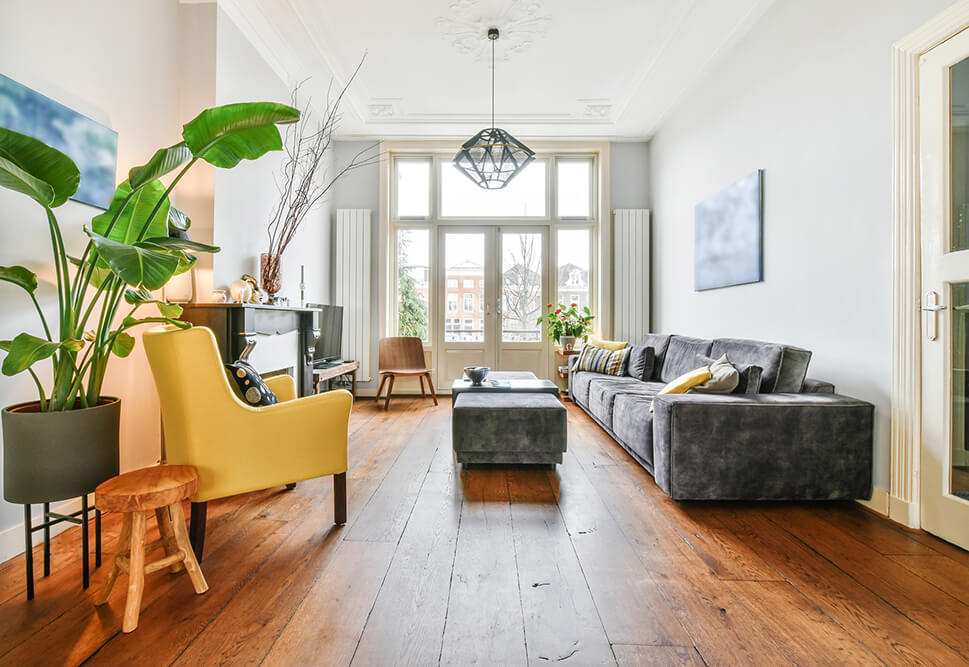
Get your floors refinishing-ready

Preparing hardwood floors for refinishing involves clearing the room completely, taping off vents and doorways, and sanding the old finish to create a smooth surface.
Professional refinishing costs start at $125 to $225 for smaller jobs, while larger projects or floors with extensive damage can cost significantly more.
After sanding with progressively finer grits, you'll need to repair any damage with wood filler and clean thoroughly to remove all dust before applying stain.
Hiring a local wood floor refinishing professional removes the guesswork from sanding techniques and damage repair, ensuring your floors are properly prepped for a lasting finish.
For a moderately handy homeowner, refinishing hardwood floors can be an inexpensive way to make a major impact in your home. However, before you can start on your project, you’ll need to properly prep your space. Failing to do so could turn your quick-and-easy weekend renovation into a lengthy and expensive undertaking.
If the idea of going through all of this extra prep work before you can even get started on refreshing your floors sounds like way more than you bargained for, you can always hire a local flooring expert to come in and do the job for you. You should expect to pay around $125 to $225 for smaller jobs. Larger jobs, or projects where a lot of damaged flooring needs to be repaired, could end up costing much more.
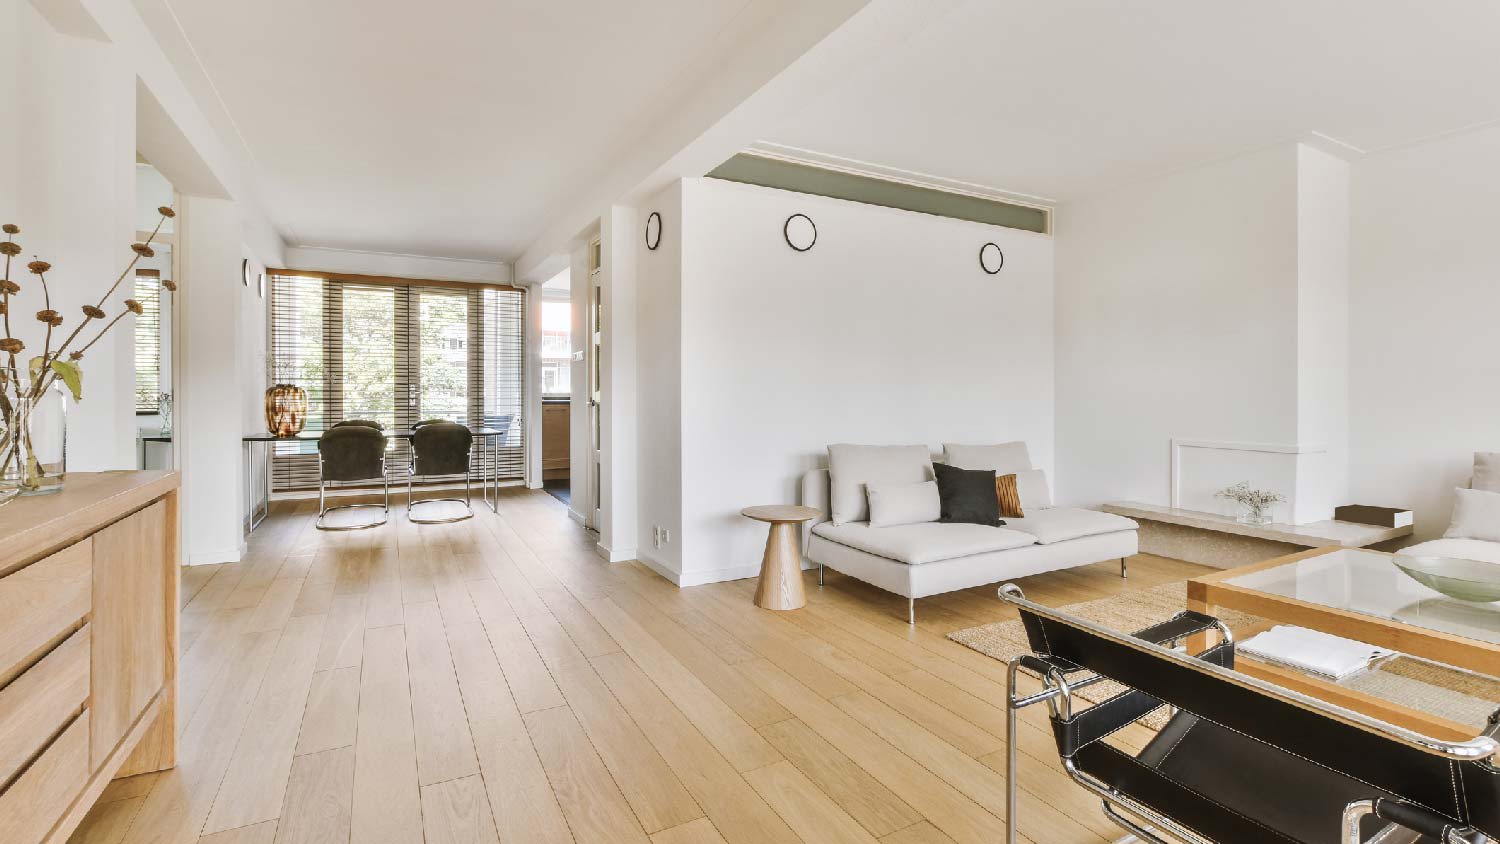
First things first, you’ll need to clean out the room you’ll be working in before getting started. This means everything from furniture to window treatments to any pictures that might be hanging on the wall. You’ll kick up a lot of dust and debris while sanding the floors, so you want as little left in the room as possible when you get started.
You’ll need to sand the flooring to get the original stain off, which means you’re going to send a lot of dust into the air. The last thing you want is for those small particles to invade the rest of your home.
Using plastic sheeting, you should tape off any doors and air vents. Even vents that blow air out should be covered so you don’t end up needing to clean dust from the ductwork.
After putting on your safety goggles and hearing protection, begin removing your existing finish using the sander loaded with 40-grit paper. As you're running the machine, make sure you’re using small, even circles to remove the stain.
Begin around the perimeter and move toward the center of the room as you work. The sander should always be in motion and never stopped in a specific spot—this can wear away at the wood flooring itself.

Even if you’re super careful while you’re sanding, there may still be damaged bits of flooring that need to be repaired.
Clean up the space with the shop vacuum so that you can see any problem areas before using a wood filler in order to tackle these spots. Following the manufacturer's directions, apply the wood filler to any scratches, gouges, and gaps.
After you’ve applied the wood filler, go over the surface of the floor with the sander again. This ensures you have not only gotten all of the original stain, but also that there are no raised areas where the filler didn’t settle correctly.
Do one pass with the 60-grit paper and then a second with the 100-grit paper.
Once your sanding is done, vacuum again. Begin with window ledges and framework, then work your way down to the floor. This should help pick up any dust you stirred up while sanding.
Use an attachment to reach the higher areas in the room where dust might’ve accumulated, and make sure you thoroughly vacuum into any cracks and crevices on the floor. When done, use a damp microfiber cloth or mop to go over the floor
Now your floors are prepped and ready for stain!
This company does it right. Firstly, I want to say that Landan was a joy to work with. He was so kind, transparent, and had everything under control. His entire team showed up ready to work and they were all very respectful of the fact that we were in an office space. A little backstory – we...
Terrible experience. Walls/trim/floors/cabinets/doors all have drip marks, overspray, etc. Tiling at the fireplace had to be redone by another vendor due to incorrect and shoddy install by Profect. Contractor had his children in our house while he was on site without prior authorization or...
 Profect painting & exteriors
**Would rate a 0 if i could** NEVER USE THIS COMPANY!!!!! They shattered my tv console and dresser, lost a mirror, and never finished the move. The broken furniture cost me over $600 to replace. They left me with 6+ hours of personal labor moving my 1BR apartment, when I was quoted a FULL...
 All My Sons Moving & Storage
Finished Basements Plus was wonderful from beginning to end! First, they came out quickly for an estimate. I had 4 estimates and theirs was by far the best. (2 of the estimates were more than $20K higher than for the exact same work). Beyond their fair pricing, the work was excellent. They...
 Finished Basements Plus Inc.
AFS was excellent from start to finish. Jess, the sales associate, was fantastic...very knowledgeable and very professional. The installation crew was excellent. I couldn't be more pleased with the process. Best of all, my new floor looks fantastic!
 America's Floor Source
It was wonderful working with Yordy and his team. They were very professional and are experts in what they do. They have completed the work on time, with better quality and with in fairly reasonable price. We just started with backsplash work , but liking his work, we went on to provide...
We were having 2”x 2” tile installed . There was a small installation error and the new additional replacement tile was from a different lot and the colors didn’t match. Joe assured us that he would rectify everything , which he did without hesitation. We decided to go with the 18” x 36” tile...
 CarifaTile
We hired Jim to replace our hardwood floors with new hardwood. He and his helper Jerry did a fantastic job. Their work ethic is impeccable!! We would highly recommend McColl Floors!
Description says they handle window repair including rotten hardwood - they called me back right away but didnâ t leave a voicemail. I followed up 3 days later and they said they donâ t do that kind of work.
Chaz, the owner, was very responsive and he communicated with us throughout the entire process. The overall cost was in the middle compared to the three estimates we received. The installation crew was very professional. Chaz was considerate enough to send a crew back to our home to repair...
 Unique Hardwood Floor LLC
From average costs to expert advice, get all the answers you need to get your job done.
It’s impossible to keep floors damage-free over the years. Thankfully, the cost to refinish hardwood floors is far less than the price tag to replace them altogether.
Both materials and labor determine hardwood floor installation costs. This guide breaks down all the prices you need to know before starting your new flooring project.
Unsure who to hire for hardwood floor refinishing? A professional floor refinisher is the answer. They provide guaranteed results and save you time and energy.
Hardwood floors improve the look and feel of your home. Refinishing them requires some work, but with these tips, your results will be better.

If you want to avoid hiring a professional to refinish your floors, it can pay to learn how to restore hardwood floors without sanding.
Keep your wood floors looking their best. Learn how often to refinish hardwood floors, what it costs, and if you can do it yourself.