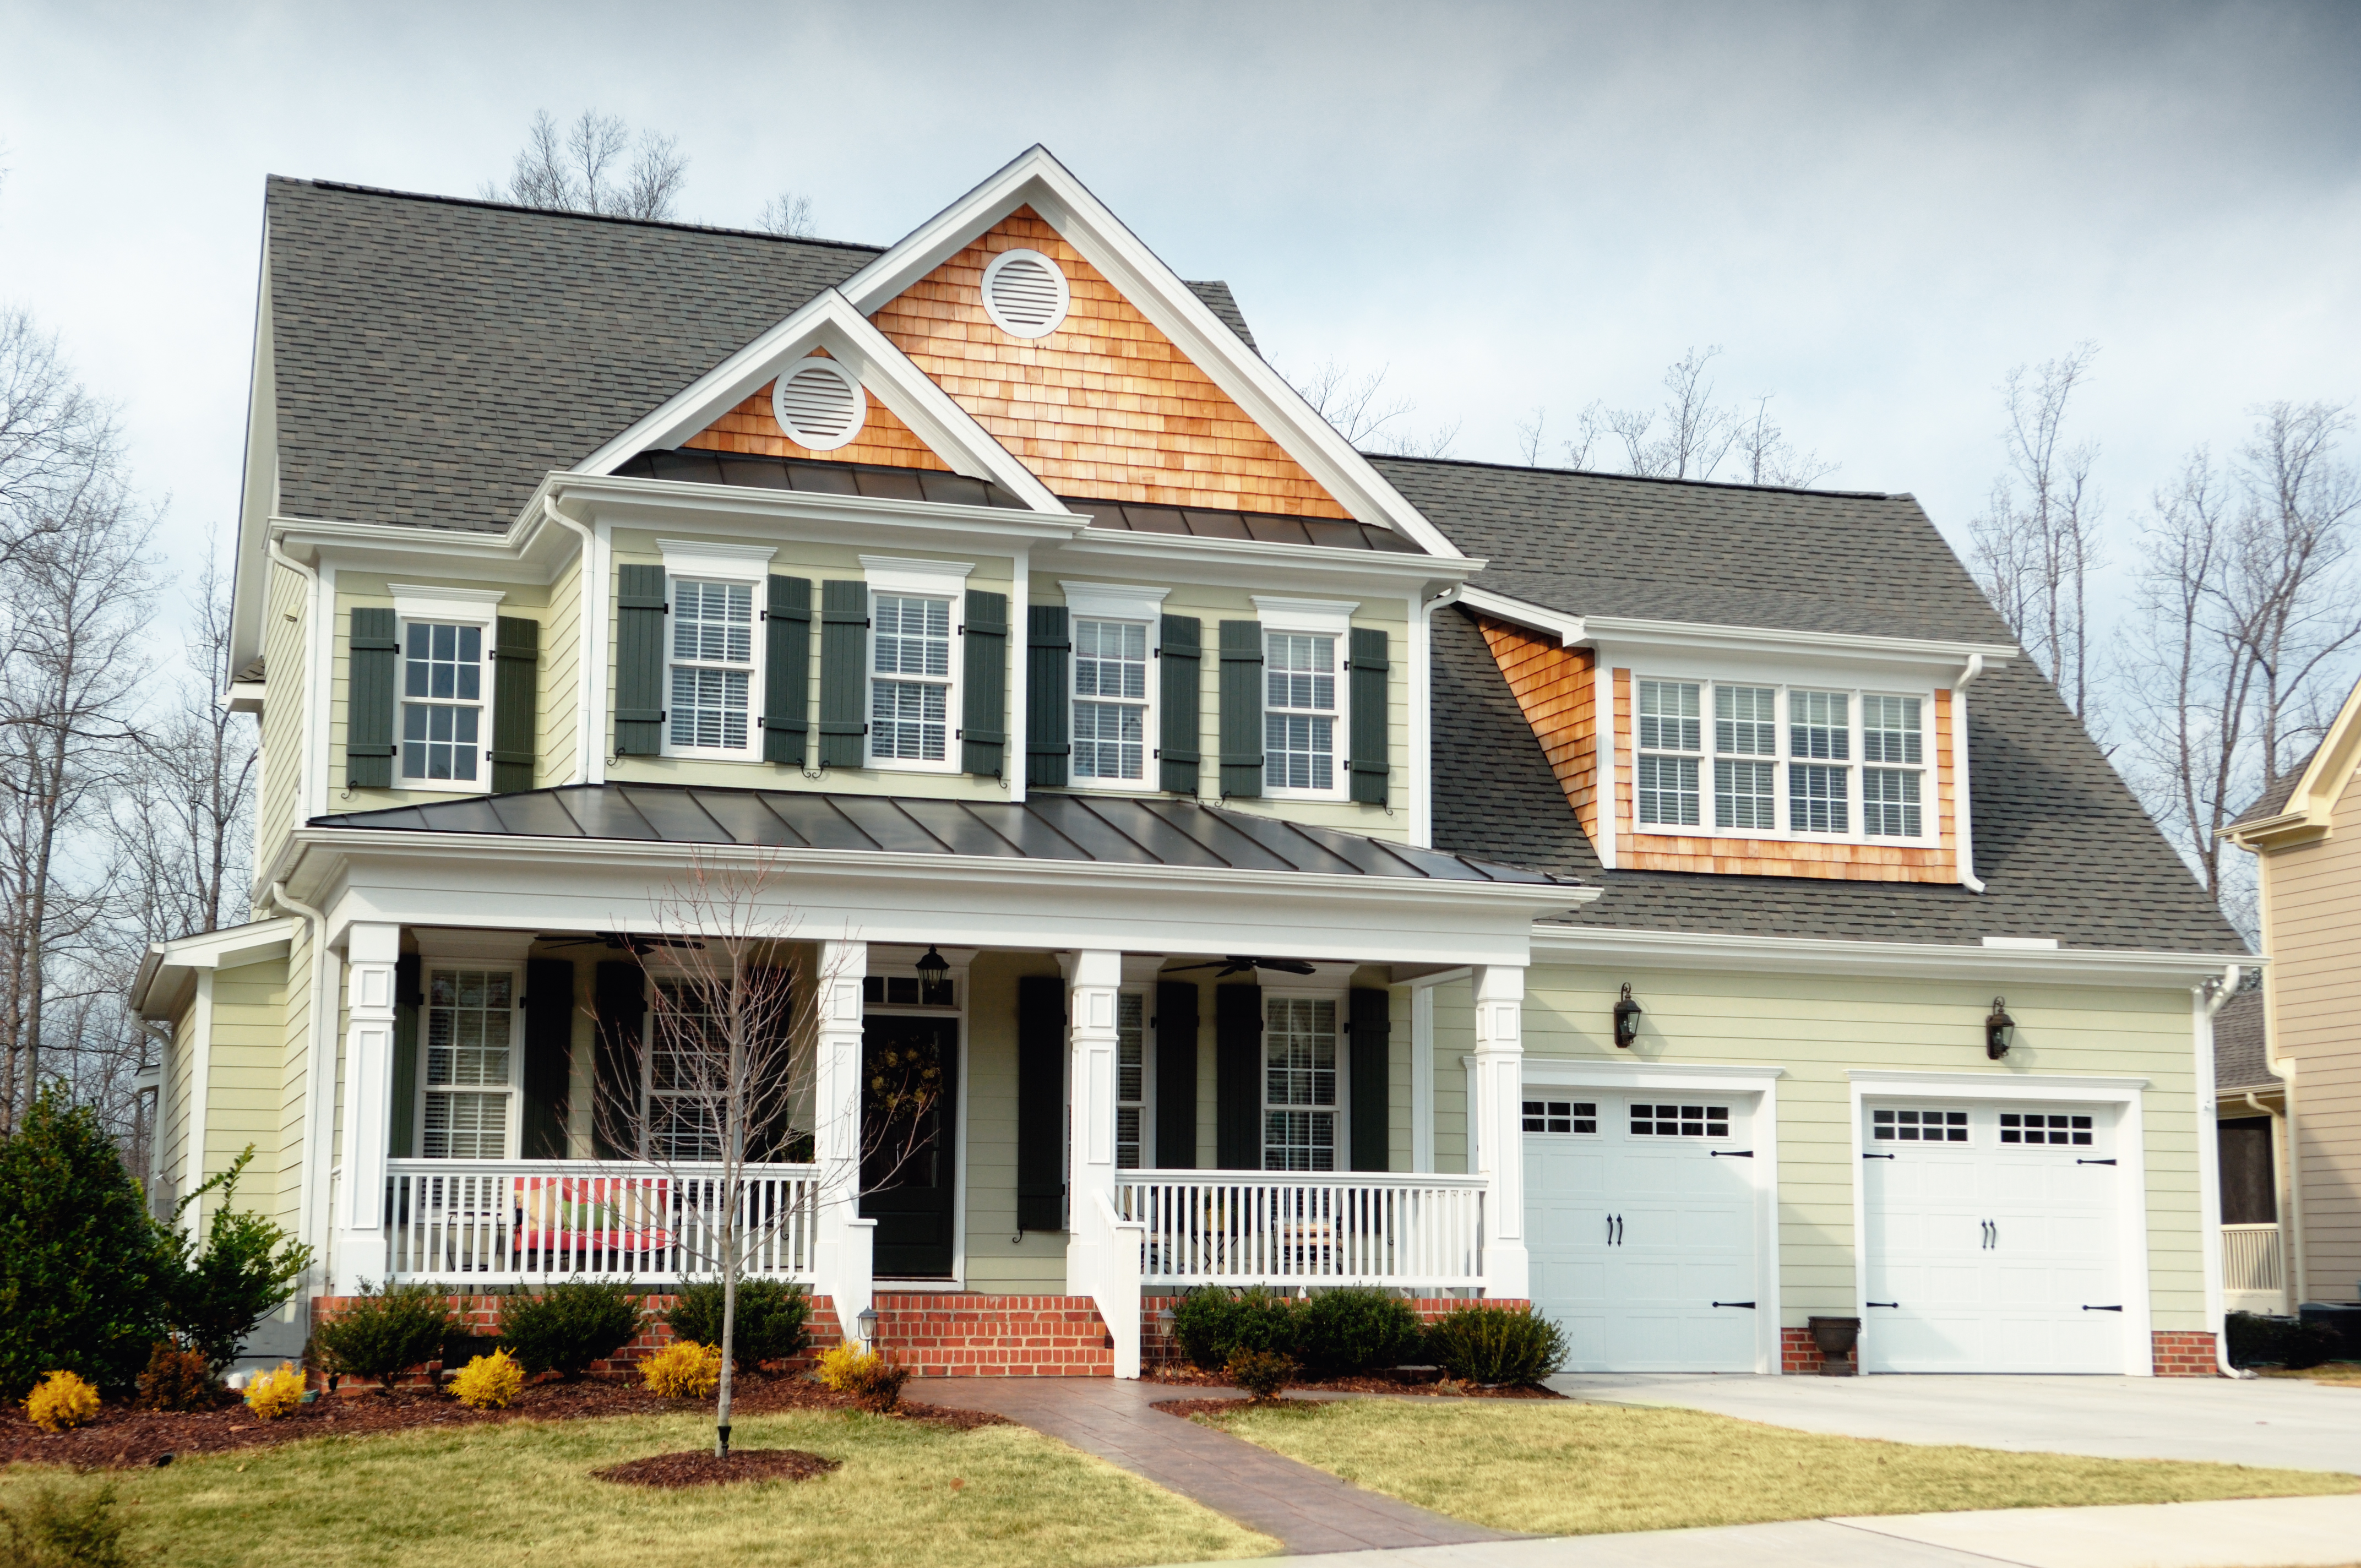
Dealing with a visibly damaged roof or leak? Learn about roof repair costs in Columbus to see how much you’ll need to budget for a permanent solution.
Patch up that leak in no time


Many homeowners choose synthetic rubber (also known as EPDM) over other types of roofs because it can help protect against rough weather. But even the best rubber roof can spring a leak from time to time, causing water to drip into your attic or even rooms inside your home.
Fortunately, the fix is not too complex, as long as you are not dealing with a roof emergency. You will need some common tools, a replacement piece of rubber and substrate, and a few more supplies available at a hardware store. This is a less expensive option than the cost to install a new roof coating, which can cost up to $2,500. Read on for nine steps to dealing with rubber roof repair.
A quick disclaimer: Roof climbing is not for everyone, so make sure you have sufficient strength, coordination, and confidence before climbing on top of yours. If you are not comfortable fixing a leaking roof, it is best to outsource the job to a local rubber roofing contractor.
Never climb on a roof during inclement weather (high winds, snow, rain). Also, never make a repair when the roof is wet, because products won’t adhere properly. Be sure to practice good ladder safety by climbing slowly and having a friend or family member hold the base. Ideally, you shouldn't complete this task without assistance, even if it's just having someone to keep an eye on you.
Without being on top of your roof, you cannot know exactly where the leak is. But you can probably pinpoint the location, or at least get an idea by looking for all the spots water is seeping into your home first. After all, leaks are one of the most common rubber roof repairs needed.
If it helps—especially when there are multiple areas leaking—draw a small diagram to bring with you when you get back up on the roof, so you do not miss one. You may also want to look from the inside out by looking for water damage or punctures inside the attic.
Prepare the roof surface by thoroughly cleaning the repair area. Start by using a soft-bristled brush to scrub the area with warm soapy water. Then rinse the area to remove soap. You will need to repeat the process two or even three times until you have completely removed debris.
Depending on the type of membrane used, there could be small particles of carbon black, a soot-like material that needs to be fully removed. (Carbon black typically results from EPDM membrane.) After thorough cleaning, dry the area with a clean cloth. You will need to repeat this process in every area that needs repair.
Once you are safely on the roof with the tools needed to complete the job, locate the first leaking section. It will most likely appear damaged, dented, wrinkled, or could even be missing.
Cut a square around the entire damaged portion of the roof using a utility knife. You might use a board or piece of fiberglass to keep the cut as straight as possible. Set the damaged piece aside.
Underneath most rubber roofs you'll find screws holding down a piece of substrate. This is what your rubber roof is adhered to and offers both insulation and water protection. If your roof is leaking a lot, this may need replacement, too.
Remove the screws (and caps) holding the substrate down and set them aside. Use your utility knife or power saw to remove the damaged substrate section. Below it you'll find exposed wood. Use your hands to remove any excess pieces so the section is clear before continuing.

Line up your replacement rubber roof section (and substrate, if needed) over the hole. Use a permanent marker to mark a section that'll fit snug over the gap. Use that piece of fiber board or scrap wood to keep the cut straight. You'll need to cut the new piece larger than the actual hole so that you have overlap of at least two to three inches. The manufacturer installation instructions should provide you with the exact overlap amount.
Repeat this step with your new piece of substrate, if needed. Screw the substrate piece back into place afterward to cover the wood.
In some cases, especially if your rubber roof is older, the new substrate piece may be slightly thinner than what is installed on the rest of the roof. If this happens, lay down a scrap piece of rubber roof—use any that is left over from the piece you just bought, or the old piece folded over itself if it is not too damaged—to even it out. If the roof has become more uneven over time because of repairs, it might be time to call a roofing repair professional.
Take your paint roller and dip it into a rubber cleaning solution, available for $10 to $15 at home improvement stores. Run this along the piece of substrate or extra piece of scrap roofing, as well as the side of the new rubber roofing that will face down.
Once dry (it won't take long), add contact cement to both the top layer of substrate/scrap rubber and half of the new rubber mat. Roll it into place gently and press firmly to seal on all parts of the mat. Repeat the process on the other side.
Finally, lay a bead of rubber silicone caulk or lap sealant around the edge. Lap sealant is more expensive ($20 to $25) as compared to silicone caulk. If you opt for basic caulk or another type of roof sealant, make sure it is suitable for rubber and rated for outdoor use.
Repeat steps 3 through 8 as needed on other areas of your roof.
If you’re not experienced with this type of repair, it’s best you call in the professionals. It's not worth an accident or further damaging your roof, which could be quite costly—far more than you'd pay to simply have someone who knows what they're doing tackle the project. More extensive roof repairs cost anywhere from $400 to $2,000 depending on the scope of the project.
From average costs to expert advice, get all the answers you need to get your job done.
Dealing with a visibly damaged roof or leak? Learn about roof repair costs in Columbus to see how much you’ll need to budget for a permanent solution.

Learn about roof replacement costs in Columbus and what factors are at play to budget accurately and make sure you’re getting a fair price.

A metal roof can defend your home against Ohio’s varying weather conditions. Learn how much a metal roof costs in Columbus, OH.

Learning how to cut rafters correctly for your roof strengthens your building’s frame. We’ll explain everything you need to know, including the birdsmouth cut.
If you’re upgrading your roof with stone-coated steel, you should be aware of the total project cost. Learn what will impact your final stone-coated steel roofing costs.

Know the different pros and cons of different types of asphalt shingles, including three-tab, architectural, and luxury shingles.