How to Paint in Order: Do You Paint the Ceiling or Walls First?
Top to bottom or side to side, we’ll tell you where to start when you can’t decide


- Drop cloths
- Ladder
- Paint stirrer
- Paint tray
- Paint roller
- Painter’s tape
- Wall paint
- Primer
- Gloss or semi-gloss trim paint
- Caulk
Painting an entire room can be daunting, especially if you’re not sure whether to paint the ceiling or walls first. In general, the best approach is to start with the ceiling and then move down to the crown molding, the walls, the trim, and the window and door frames before finishing up with the doors. This helps keep paint from dripping onto surfaces you just finished painting. Below, our step-by-step guide will show you exactly how to paint a room like a pro.
Prepping to Paint Ceilings and Walls
Before you start your project, you’ll want to research the best paint brands to use on your walls and ceilings. You should aim to tackle your painting project on a mild-weather day so you can throw open those windows and let some fresh air in.
DIY painting is a manageable job for a single person, but it doesn’t hurt to have a partner. Especially if you have balance issues or a finicky shoulder, you should consider asking a friend to help you with your painting project.
Get Your Tools Together and Ready Your Space for Painting
 Photo: Westend61 / Adobe Stock
Properly preparing one or more rooms for painting is the key to guaranteed success. It takes time to move furniture and correctly apply painter’s tape to the border between the trim and walls, but these extra steps are worth it to reduce unwanted mess and make your space look professionally painted.
Make sure you have enough paint to complete the project. Not having enough paint for all the various elements of a room can cut your productivity in half and greatly lengthen what should normally be a relatively quick process. In general, you’ll need about 1 gallon of wall paint for every 400 square feet, but this doesn’t include potentially necessary trim paint and ceiling paint for your space. When in doubt, give your space measurements and specs to the paint professional at your nearest hardware store to find out just how much paint you’ll need.
Take time to move furniture and cover the trim and floor with drop cloth or plastic sheets. Securely cover the floor by fixing the cloth or sheet to the point where the wall meets the trim with painter’s tape. You’ll also want to cover up any electrical outlets or light fixtures to avoid accidental paint splatter.
Repair damages and imperfections like holes or cracks. Apply caulk to these spots, let dry completely, and sand before moving on.
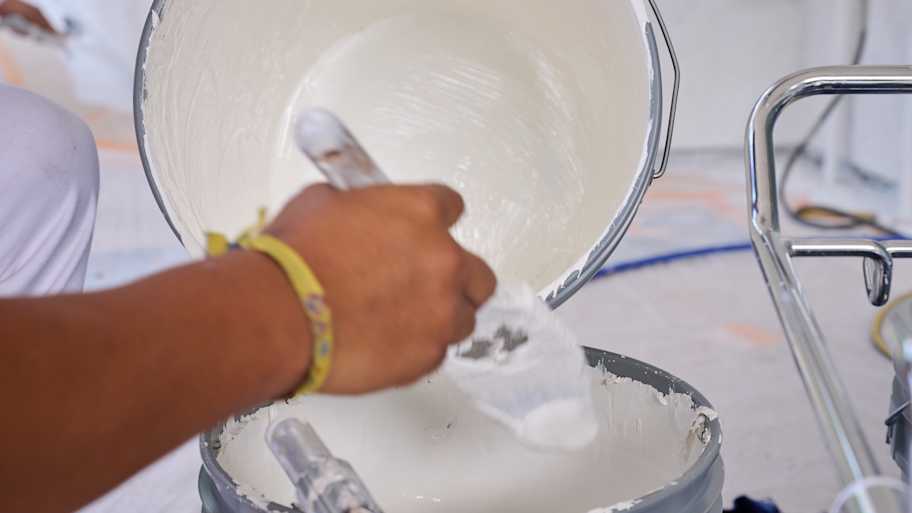
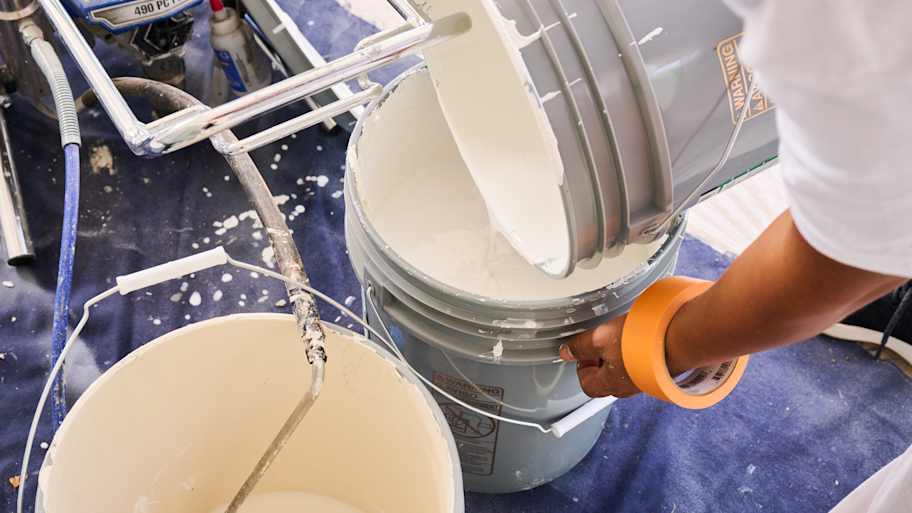
Prepare a paint pan or bucket for rolling and stir your paint. Place a grate in the pan or bucket to use for removing excess paint.
Primer the walls and ceiling if necessary. Doing this will generally give your painting project a more polished look, and it’s also a great way to hide dark colors more easily. But if you’re working on white walls, or in a brand-new home, you may be able to skip this step.
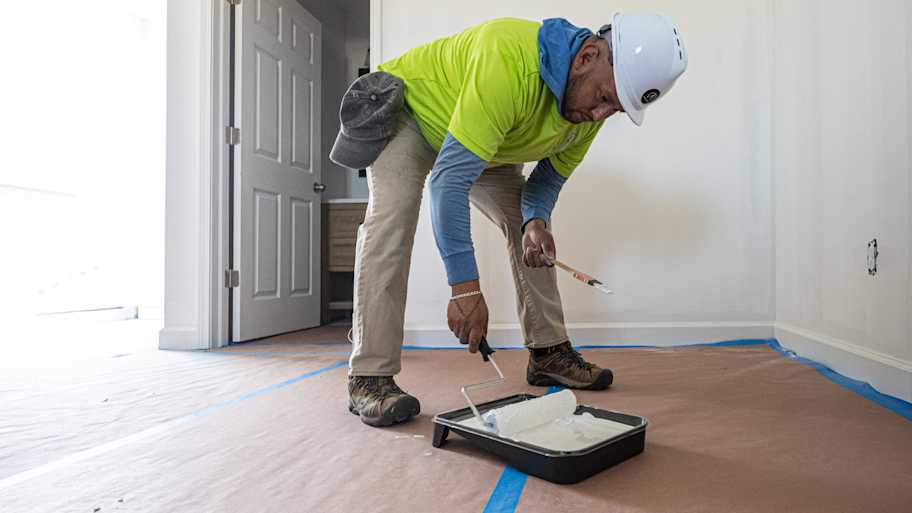
Start at the Top With Your Ceiling
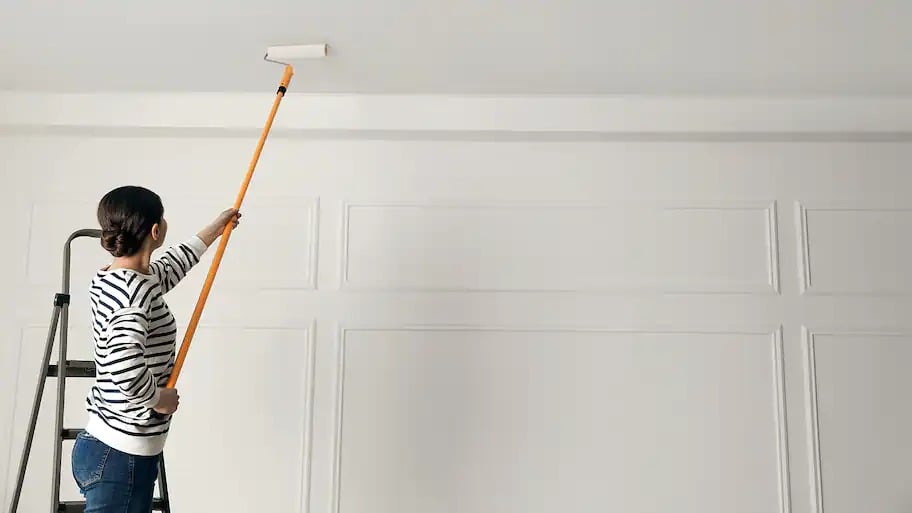 Photo: New Africa / Adobe Stock
Working from top to bottom is the secret to painting any space. That way, you won’t have to worry about any unexpected dripping damaging the walls or trim you’ve already painted.
You can use either normal wall paint or ceiling paint to complete this project, but ceiling paint is technically better for the job and has a similar cost to the alternative—between $15 and $50 on average per gallon. It’s thicker and more viscous, making it less prone to dripping and better at hiding common ceiling marks like bubbles and cracks. Also, using this option means you usually won’t need to apply a second coat.
To paint a ceiling like a professional, follow these steps.
Use a brush to cut in before anything else. Cutting-in is a painting technique that involves painting a straight line along all edges and borders that are difficult to reach with a paint roller. Odds are you’ll need to use a ladder or step stool to reach those spots on your ceiling.
Fill in the center of your ceiling with an extended paint roller. Once you’ve finished cutting in, use your preferred painting method to fill in the center. Take time to overlap the border with the new paint carefully so there are no noticeable streaks.
Do both of these tasks at once with some extra help. You can absolutely cut in and roll simultaneously if you have enough hands to do it. Recruit a friend or two to help you complete this project twice as fast as you normally would.
Move Onto Crown Molding (If You Have Any)
Since the trick to painting is working top to bottom, crown molding should be the next stop on your list. Treat it the same way you’d treat the trim along your walls and windows. Cover with painter’s tape while you’re taking care of the ceiling. When that’s fully dried, remove the tape and use a brush to apply an even coating of gloss or semi-gloss trim paint.
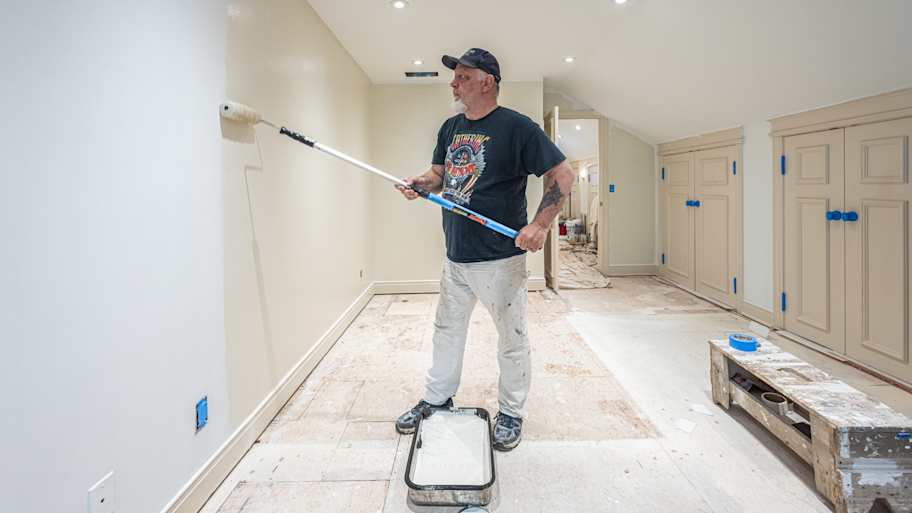
Paint Your Walls
 Photo: VAKSMANV / Adobe Stock
The only difference between painting your walls and painting the ceiling is the type of paint you use. Otherwise, the process is mostly the same, but you will normally need to apply a second coat.
Use a brush to cut in and frame each wall. Try to roll in an M or W motion to make sure the roller lines are properly blended.
Use a paint roller and your preferred painting technique to fill in the rest. Once again, working with others will make this process go a lot faster.
Work Your Way to the Trim
 Photo: Rob and Julia Campbell/Stocksy / Adobe Stock
Now that you’ve finished the ceiling and walls, you can now move on to the trim. It’s not always necessary, but painting your trim will give you professional-level results. Follow these tips to put the perfect finishing touches on your painting project.
Wait until your walls are dry to begin painting the trim. Then, remove any painter’s tape and adjust your drop cloth. Fix it to the point where the floor and trim meet and cover the border between the wall and the top of the trim with more painter’s tape.
Remove any dust or debris beforehand as well. When everything is covered, use a damp, microfiber cloth to remove anything that might get in the way of your paint.
Finally, use a brush to paint the trim with gloss or semi-gloss paint. You may need to repair damages with caulk and sandpaper as you did with the walls and ceiling, and using primer can create a polished final appearance here as well.
Add Paint to Your Window and Door Frames
Touching up old window and door frames is an extra step that can add sophistication to any room. But knowing just how to paint window and door frames is essential to perfecting the art of this often overlooked step. Here’s how to paint your window and door frames like a pro.
Clean the frames. Before you do any painting, repairs, or prep work, you’ll want to clean your window and door frames. Use mild soap and water and a sponge to remove grease and grime.
Repair your frames. Adding a fresh coat of paint can add much-needed highlights to your room. At the same time, if your frames have many holes, dents, and scuffs, paint can actually highlight the worst elements of a room. Repair any damage using spackle and a putty knife, then let it dry overnight.
Prepare the surface by sanding or removing old paint. In some cases, you can simply paint over old paint, but you may want to lightly sand old surfaces to ensure the paint fully adheres to the wood. If your old paint is chipped and worn you’ll want to use a scraper to scrape off old paint. Always test old paint for lead and wear a safety mask and glasses when removing old paint. Wipe away dust and debris.
Put down painter’s tape. To prevent paint from getting on your freshly painted walls, ceiling, and trim, or on your windows, place painter’s tape along the edges of your window and door frames.
Apply a primer to the frames. Though not always an absolute must, priming your frames helps the paint stick to the surface. If you’re painting over latex paint with new latex paint, you might not need to do this step, but if you’re switching from oil-based paint to water-based paint, it’s important to prime the frame. Use an angle trim brush for precision.
Paint the frames. Now it’s time to use a paintbrush to apply your first coat of paint to your window and door frames. Follow the same method you used to apply the primer, allowing the paint to dry before applying a second coat if necessary.
Don’t Forget the Doors
Before you shut the door on your paint project, don’t forget to give those doors a much-needed coat of paint. Whether you’re simply painting them a neutral color or you’re going for a vivid wow factor, painting your doors—especially painting your exterior door—is an effective way to customize your home’s style. Follow these steps to paint your door as good as new.
Remove your door’s hardware. The secret to a clean paint job on doors is removing hardware like locks, plates, and knobs using a screwdriver before painting.
Put down the drop cloths. Make sure you move the drop cloths underneath your doors before you begin sanding or painting to make cleaning up a breeze.
Clean your door. Just like you did with your window and door frames, use soapy water and a sponge to clean the door.
Prep the door. Once your door is dry, fill in any scuff marks or holes with spackle and a putty knife, then sand down the entire door gently using sandpaper if needed. Wipe away sanded particles with a rag.
Apply painter’s tape. Place tape over the hinges of your door to prevent paint from bleeding into places you don’t want.
Use a primer. As with your door and window frames, you might not need to use a primer on your door, but if you’re covering up old, bright colors or switching types of paint, applying primer will give you the most out of your paint project.
Apply the coats of paint. Lastly, use a roller to effectively spread paint across the surface of your door. If you have a panel door, you may want to use a paintbrush to go in and cover recessed sections. If you decide to apply a second coat of paint, be sure to wait for the paint to dry before applying the coat.
Cost to DIY vs. Hiring a Pro
In general, the cost to paint a home’s interior is far less than if you were to hire a professional painter. While it only costs $200 to $300 on average to buy all the materials and tools you need to paint one room yourself, a painter will charge anywhere between $200 and $1,000 to paint a single room.
On the flip side, a local interior painter can complete the project in about a third of the time it might take the typical DIYer.
Audrey Bruno contributed to this piece.


Get our Angi-powered app


