

Find out how much it costs to refinish your porcelain sink and the factors that influence the final price to make it look like new, including size, type, and labor.
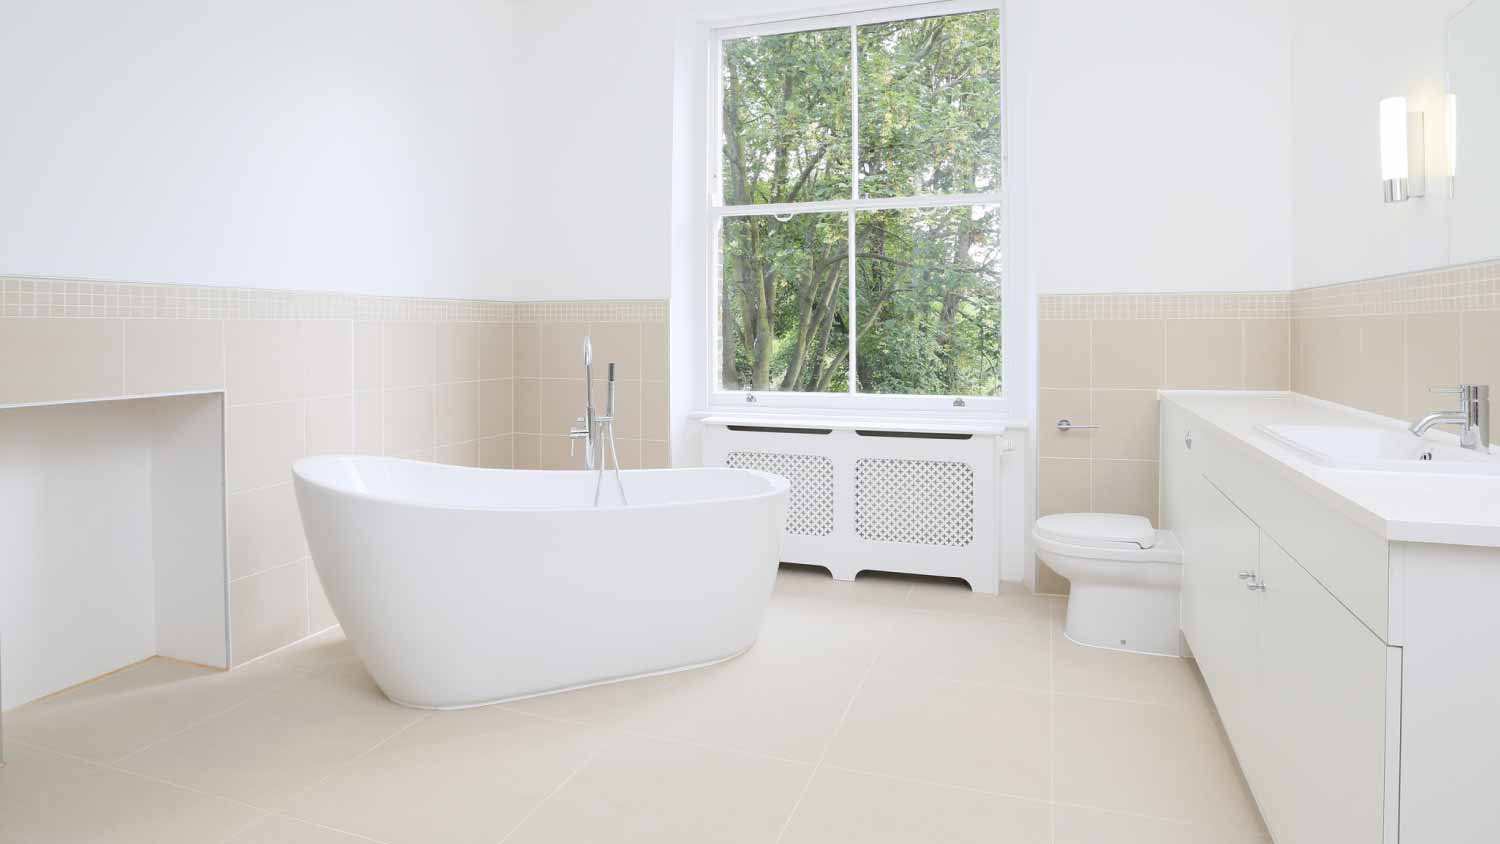
The right bathtub will help you soak in serenity


If you’re a sucker for a long, bubbly soak at the end of the day, having a bathtub that you enjoy–functionally and aesthetically–is essential. Luckily, if your tub love has gone lukewarm, you can pull out your DIY toolbox and get to work.
While you’re gathering all the necessary supplies, make sure you’re content with your new bathtub paint color. There’s nothing worse than taking a bubble bath in a brownish-green tub that makes you think of a swamp. You can paint it a color that matches your bathroom walls, or use color theory to make the tub pop with something complementary.
There’s some additional prep work to do before you get to painting. You’ll want to remove the old caulk in your bathtub, which you can do using a caulk scraper. If you don’t have this tool, a sharp razor edge is a good alternative. You can also use a spackling knife or various painter’s tools.
To thoroughly paint your bathtub, follow the steps below. Remember: if you have questions or concerns, it’s okay to call in the big guns and hire a local bathtub refinishing expert.
The first step is to thoroughly clean the entire bathtub. You can use a cleaning solution, or you can create a mixture of bleach and water. Afterward, wipe the tub entirely dry using your lint cloth. If there’s any dust or debris left, you can use a small vacuum to remove it all.
Although it can be tempting to just jump to the painting, this step is essential, since any debris or dust will get in the way of the paint sticking.
If you see any imperfections—scratches, holes, chips—you’ll want to repair them to the best of your ability before applying any paint. After all, you want the final look to be smooth and intact. You can use epoxy putty or a tub repair product to fill the holes or dents. After allowing the tub to fully dry, use sandpaper to sand any areas necessary.
To remove any residual debris or dust, rinse the tub and fully let it dry before getting started.

Epoxy is a common tool used for adhesive purposes—for this project, it’ll help your paint stick to the bathtub. Carefully follow the instructions on whichever type of kit you purchased.
Usually, with epoxy, you’ll need to combine it (in two parts) with paint. Because epoxy has a strong odor, consider wearing a mask while doing this step and make sure your bathroom is well-ventilated.
If you’re noticing that the mixture seems abnormally thin, continue mixing for up to a few minutes.
Use your rollers to apply the paint. It’s often easiest to start in one corner and then work your way across to the other side.
You’ll want to apply at least two coats and allow ample time for drying in between—most bathtub paint products will have instructions indicating how long you should wait.
You’ll want to let the paint dry for up to three days (depending on how many coats you applied). After it’s sufficiently dry, you can re-caulk the tub, reinstall your faucet, and take a bubble bath as a reward for all that hard work.
From average costs to expert advice, get all the answers you need to get your job done.
Find out how much it costs to refinish your porcelain sink and the factors that influence the final price to make it look like new, including size, type, and labor.

Bathtub refinishing costs are relatively inexpensive and can make your bathroom look like new. Our guide gives you the information to learn more about this process.

Whether upgrading to a new tub or replacing an old tub with a shower, you’ll need to know how to remove a bathtub to make room.

The short answer is yes, you can paint a fiberglass tub. But you need the right preparation and paint to transform your bathtub successfully.
If you're looking for an economical way to spruce up your bath or kitchen, here are the bathtub refinishing questions you should be asking a contractor.

Acrylic bathtubs are a common go-to, but are they right for your bathroom remodel? This guide breaks down the pros and cons of acrylic tubs.