How to Pack a Rug for Moving: 7 Tips
Packing and moving a rug is easier than you think

 - Derek Rose.png?impolicy=thumbnail)
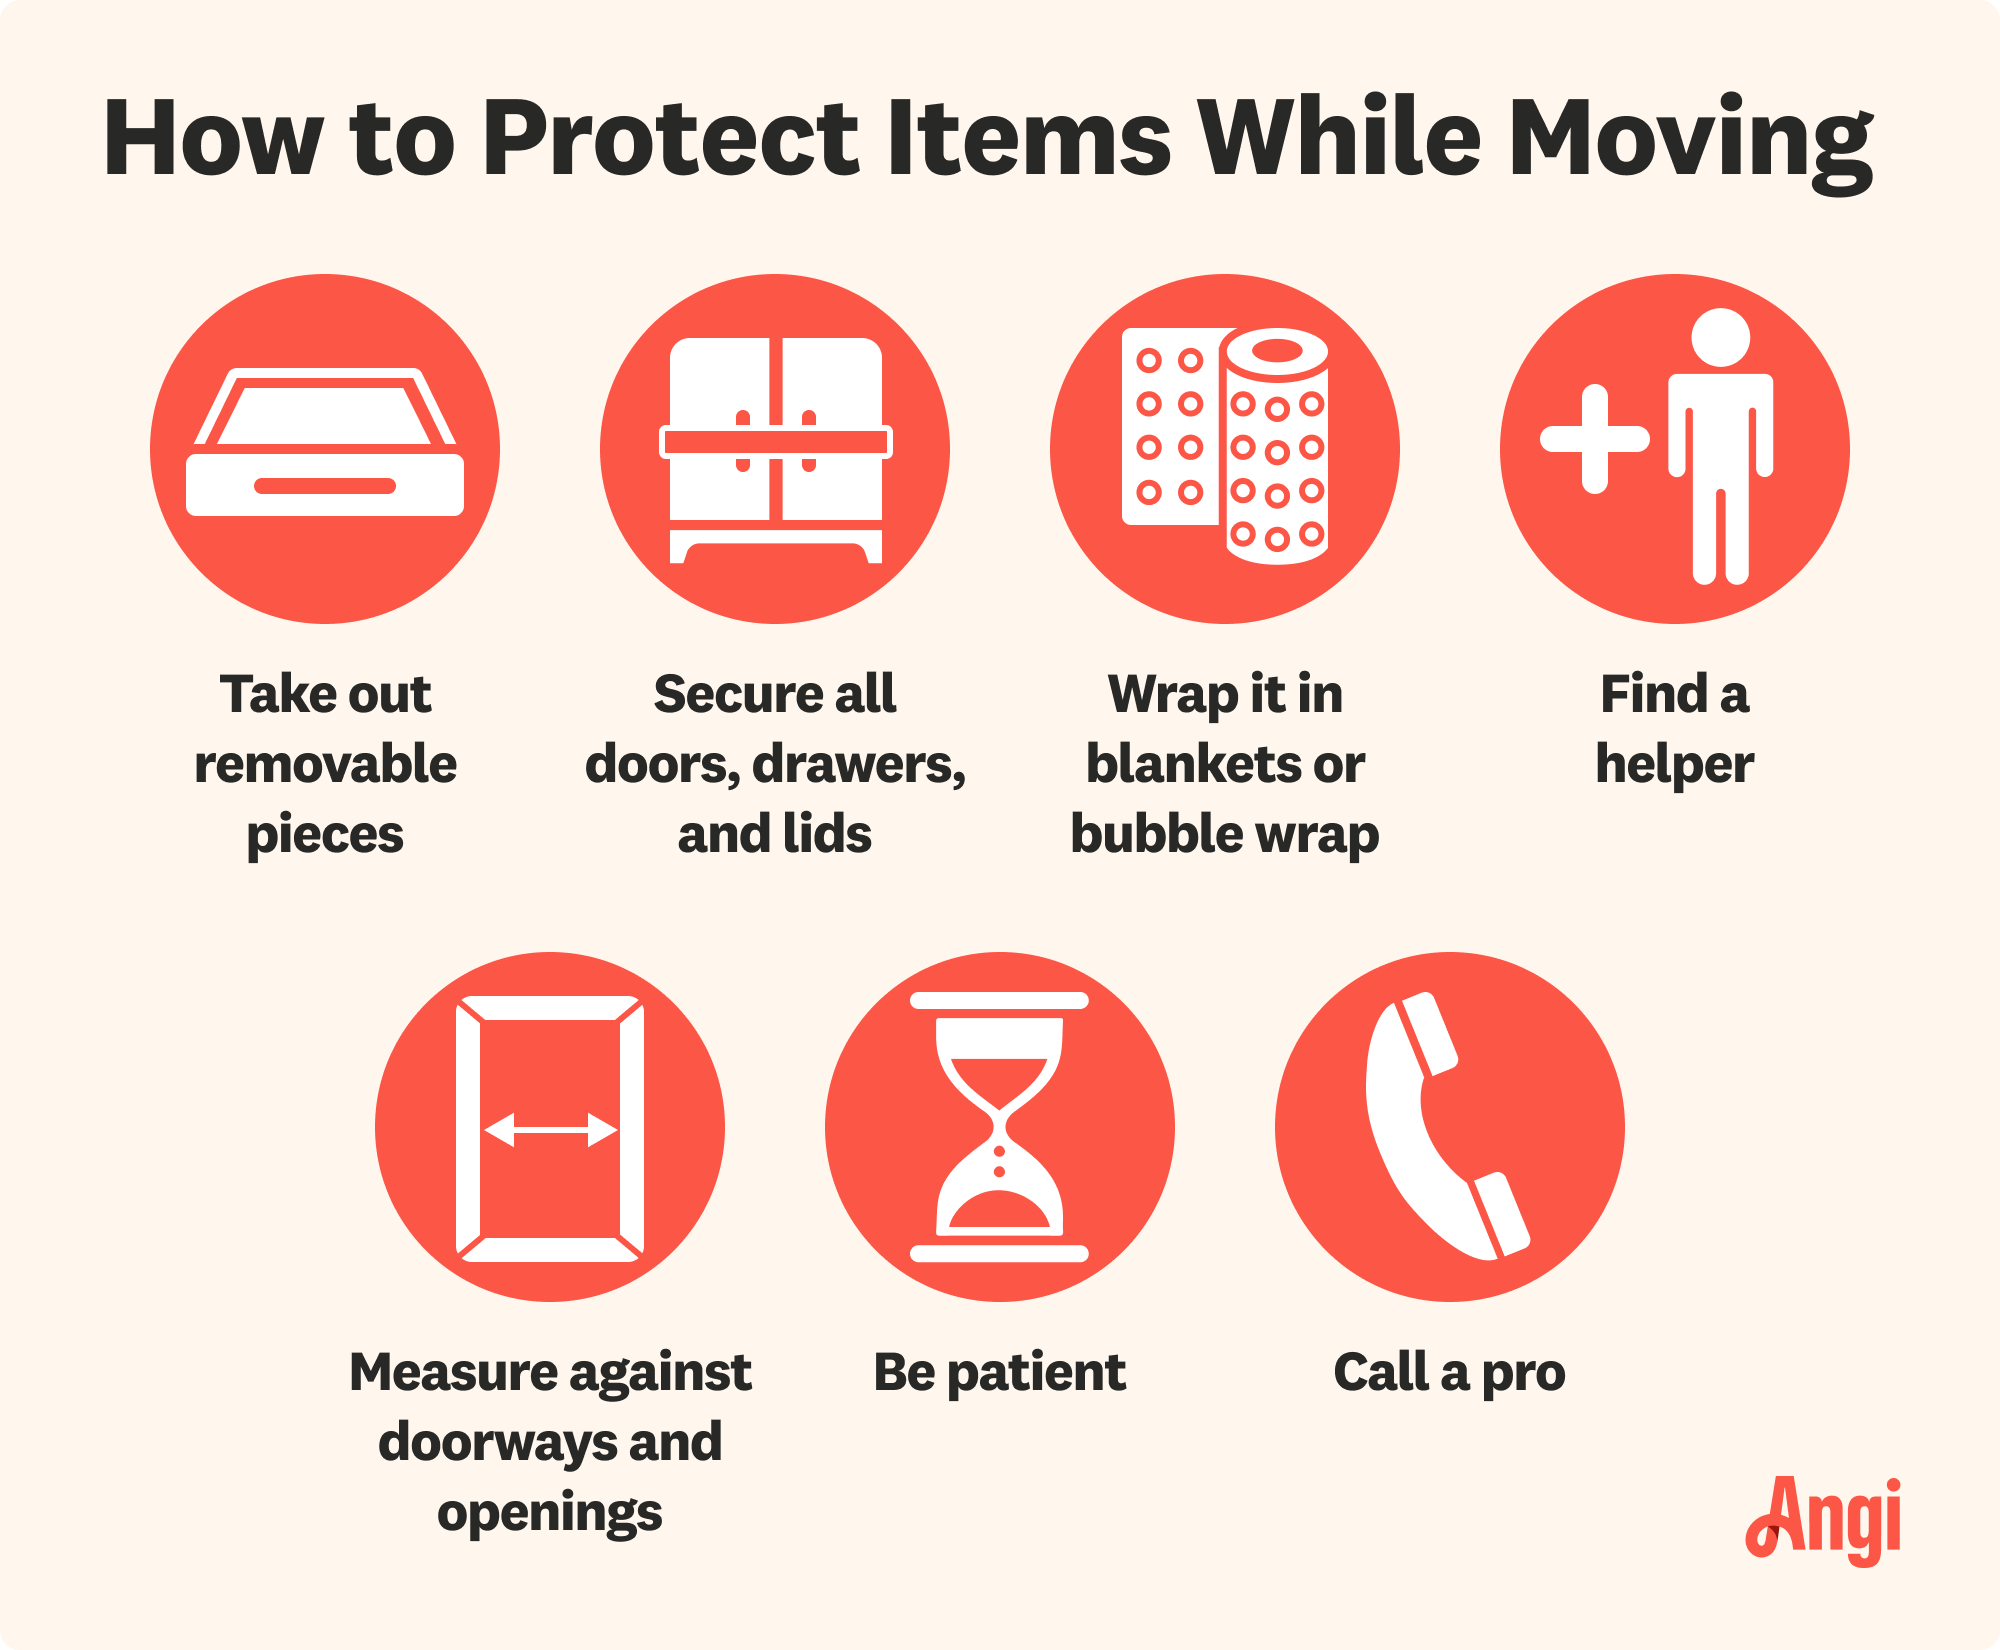
Once you’ve loaded your belongings and furniture into the moving truck, it’s time to pack up your area rugs. But rugs can be awkward, bulky, and intimidating to move. And if done incorrectly, you can damage or even ruin your rug during the moving process.
Luckily, only a few steps are required to move an area rug successfully, and it’s fairly easy to complete. Check out these five moving steps for packing and moving your rug easily and effectively.
Prepping to Pack a Rug

You may be shocked to discover how much dust, debris, and food are trapped in your rug. Before you start the packing process, it’s important to clean your area rug to prevent bringing allergens into your new home. If you use a wet vac or steam cleaner, let the rug dry completely before moving on.
If your area rug is antique or extra delicate, like a Persian rug, you may consider hiring a professional carpet cleaner to clean it thoroughly. This additional step can give you peace of mind during the moving and unpacking process, knowing your rug is safe and ready for your new space.
How to Pack a Rug for Moving
These tips will help you transport your rug safely and efficiently.
Turn the Rug Upside Down
First things first: Ensure your floor is clean before tackling the first step, as this could negate your entire preparation process. Then, turn the rug over so the pile side faces down. This step will help prevent the backing from overstretching and cracking.
Roll the Rug Tight
Starting from the shorter side, roll the carpet against the grain of the pile. Do this action slowly, taking time to ensure the roll is as tight as possible. To find the direction of the nap or rug pile, run your hand over the area rug’s surface. One direction will feel smooth, and the other will give you resistance. The direction that gives you resistance is the direction you should roll.
Tie the Rug With Rope or String
Once the rug is rolled as tightly as possible, wrap both ends with rope or heavy-duty string. Make sure it’s tight enough to keep the roll together but not so tight that it leaves an indentation. Do not use packing tape to secure the rolled area rug, as this could cause irreversible damage when removing it.
Wrap the Rug
Use kraft paper or plain newsprint (no ink) to wrap your rug. The thick layer of paper will act as a protective barrier between your rug and the moving truck. It’ll also allow you to place it on the ground as necessary during the moving process without worrying about it getting dirty. If you don’t have kraft packing paper, you can also wrap your rug using old bedsheets or quilts, which is cost-effective when moving several large area rugs.
Contrary to popular belief, you should not use traditional plastic wrap to wrap your rug. Plastic wrap can trap moisture and lead to mold or mildew. When you see rugs wrapped in plastic at the store, they use special plastic bags with air vents that let moisture out.
Store the Rug Horizontally
Place your wrapped rug in the horizontal position in the moving truck, as the upright position can cause irreversible damage. When the rug is horizontal for long periods of time, it starts to bend, creating permanent creases. It’s always best to store a rug rolled up and lying flat on its side.
Ensure not to stack anything on top of your rug, as heavy boxes and items could permanently harm your rug’s structure. It’s helpful to lay your rugs down along the sides of the moving truck so they don’t take up too much space. You might also be able to place your rug carefully on top of your items, but the entire surface must be flat.
You don’t want the rug hanging off anything, as it could create a permanent bend or crease. We also recommend tying your rug in place with a rope or string so it doesn’t roll around when the truck is traveling. When moving antique or delicate area rugs, ensure the temperature isn’t too hot and the truck is well-ventilated.
Unpack the Rug
Bring the rug out of the truck and into the room where you’ll be using it, or store it in another clean, dry space. Keep your rug rolled up and lying horizontally on its side until you’re ready to unroll it.
Use scissors to cut the rope or string that kept the rug rolled up. Be careful not to cut the rug or its fibers. Slowly unroll the rug. The floor space should be free of boxes and furniture, allowing you to position the rug how you’d like it.
Clean and Flatten the Rug
If the corners or other parts of your rug curl during the move, place furniture or heavy boxes in those areas to help flatten the rug. You may want to vacuum the rug to give it a fresh start in its new home, especially if you notice any debris.
How Much Does It Cost to Hire Movers?
The cost to hire movers is mainly based on the move distance and the volume of items. Several smaller factors come into play, too, including the time of year, the ease of access to the house or apartment, and if any add-on services like moving insurance or furniture disassembly are purchased.
On average, it costs $1,715 to hire movers when you’re moving within a 100-mile radius. For a long-distance move, the cost varies widely. The standard range is between $2,700 to $10,000 with an average cost of $3,500.
DIY vs. Hiring a Pro
As you can see, packing a rug isn’t too complicated—but it does take a bit of time and patience. If you’re unsure of your ability to tackle this on your own or have an expensive or antique rug that may require more care, consider hiring local movers instead. They have experience with various rug types and are knowledgeable in packing and storage.
While hiring movers will cost more than doing it yourself, they’ll usually guarantee the cost up to a certain amount, giving you even greater peace of mind during the moving process.


Get our Angi-powered app


