How to Pack Dishes For Moving: Glasses, Plates, and More
We’re dishing out step-by-step instructions to pack dishes for your upcoming move


Packing up your kitchen for a move can be tricky because a wide range of dishes and appliances, from fragile to bulky, can be easily damaged during the move. Learning how to pack dishes for moving takes strategic planning, but it’s worth it to ensure the contents of your kitchen arrives at your new destination safely. Here’s how to pack dishes for moving like a pro.
Why Should I Pack Dishes for Moving Carefully?

During a hectic move, you might be tempted to hastily cram your dishes into boxes and hope for the best. However, it’s best to pack dishes strategically to reduce the risk of broken dishes and a box-full of chipped glass.
Packing for a move takes time and effort, and your breakable kitchenwares are no exception. But doing so can bring you peace of mind during the moving process and save you from buying all-new dishes upon moving in.
How to Prep for Packing Dishes

Before you start packing up your dishes for the move, you’ll want to prepare your materials and work space.
Gather Your Packing Materials
Since dishes tend to be delicate, it’s essential to use the right packing materials. Instead of the standard moving boxes, you’ll need dish boxes designed to transport fragile items. Dish boxes have double layers of cardboard for extra protection. They can also come with cell packs which hold drinkware or stemware.
In addition to dish boxes, you’ll also need:
Packing paper or bubble wrap
Packing tape
Moving boxes
Towels or linens
Permanent marker or label marker
Prepare Your Packing Space
It’s also important to have a flat, clean, and spacious area to pack your dishes. A table is ideal, but you can also use the kitchen countertop or floor. You’ll also want to assemble your boxes, making sure the bottoms and seams are padded with tape for extra protection. Have any materials beside you so the packing process will be seamless.
How to Pack Dishes for Moving

After you’ve prepped, it’s time to start packing. How you pack will depend on the specific type of dishware. So, let’s consider each one individually.
How to Pack Plates and Bowls
Place your plate or bowl in the center of a piece of packing paper.
Wrap the dish by pulling the corners of paper over the plate.
Take another dish of the same size and repeat the wrapping process until you have a stack of three or four plates. Make sure the stack isn’t too heavy.
Next, wrap the entire stack in more wrapping paper, then secure it with tape.
Pad the moving box with more paper or other soft items.
Place the stack into a box, standing them up vertically. Do not place them horizontally.
Repeat this process and add stacks until the box is full.
Tape the box shut.
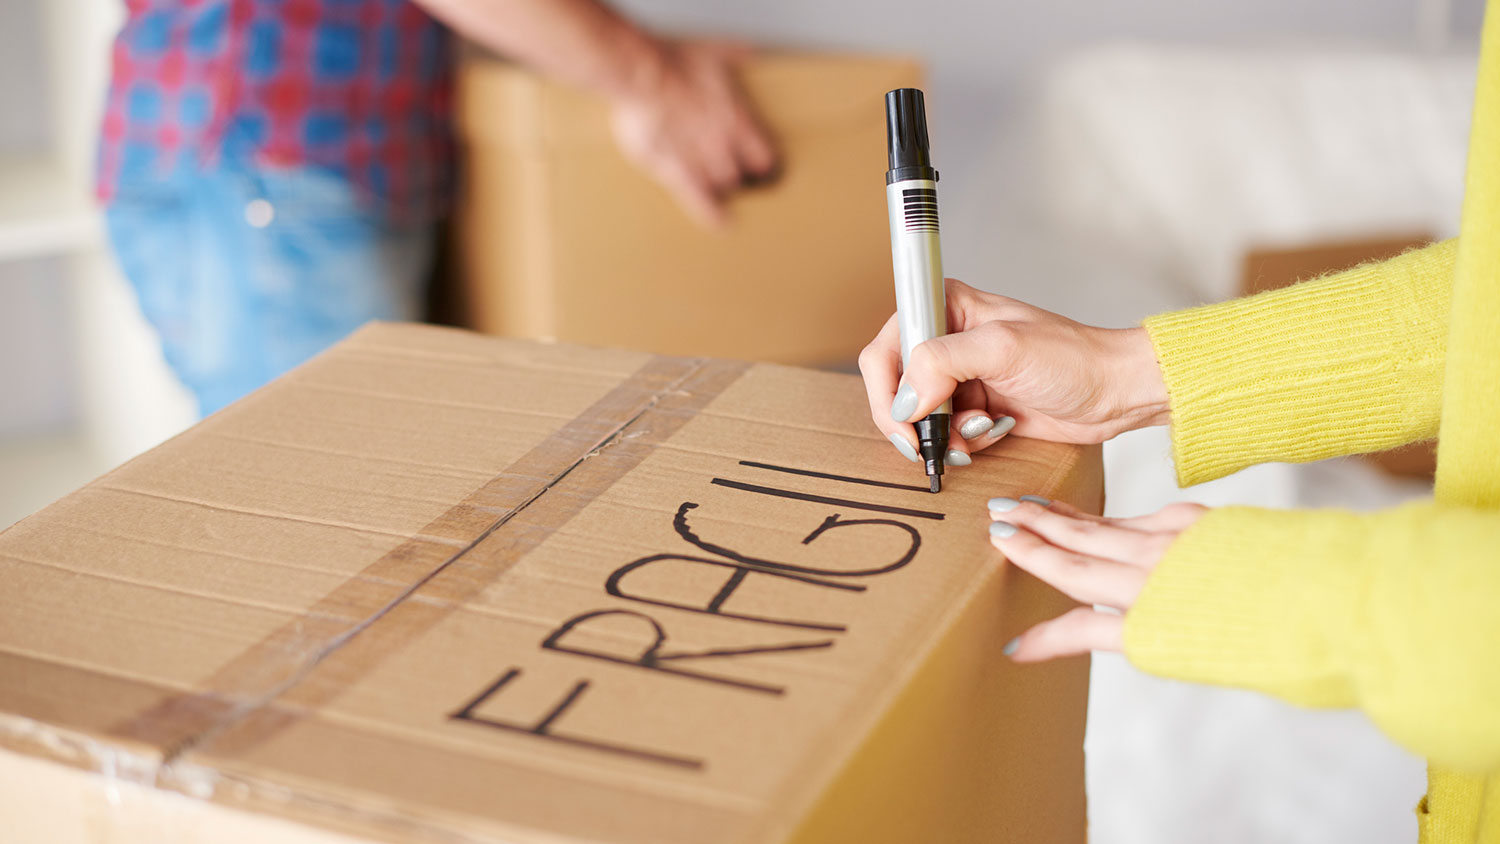
Label boxes to indicate they are “Fragile, This Side Up.”
How to Pack Cups, Glasses, and Stemware
Gently stuff the insides of cups and glasses with crumpled packing paper. Make sure the handles and stems of each glass are covered completely.
Double wrap the dish with more packing paper or bubble wrap.
Line the bottom of your box with packing paper or another protective material.
Place the glasses in an upright position inside the box. To maximize space, place like items together.
Fill empty space with packing paper for added protection.
Tape box shut.
Label it “Fragile, This Side Up.”
Wine Glasses
Packing wine glasses, which are usually more delicate than other types of glasses, will need even more time and attention. Along with following the steps cited above for glasses, you’ll also want to wrap packing paper around the stems of wine glasses for extra padding.
It may also be helpful to double-box any extremely delicate or valuable stemware. You can do this by placing the stemware box into an even larger box, ensuring all sides are padded with soft packing materials.
How to Pack Pots and Pans
Remove lids from pots and pans. Then, wrap them separately in packing paper and bubble wrap. Pack them into a well-padded box in the same way you would plates.
Next, pack pots and pans together, nesting them by size.
Place packing paper into the largest pot or plan. Then, place a smaller pot or pan on top. Repeat this process until the nesting group is complete.
Wrap the entire group in more packing paper and secure it with tape.
Place the group into a well-padded box.
Tape the box shut and label accordingly.
How to Pack Small Appliances
If possible, it’s best to pack small kitchen appliances (like blenders, food processors, toasters, and crock pots) back into the boxes they originally came in. If the original box is long gone, you can use your best-fitting box. Pad it with crumpled packing paper and pack up the appliance, along with any cord and accessories.
How to Pack Other Kitchenware
Over the years, it’s safe to say your kitchen has accumulated a variety of dishes and appliances. Here’s some helpful steps for packing up other types of kitchenware.
Plastic Storage Containers
Sort through your current collection of storage containers. Recycle, donate, or throw out any unwanted items.
Identify containers of similar sizes, then group and nest them together.
Gather all the lids together, secure them in a bundle, and wrap them up with packing paper.
Pack containers and lids in boxes with empty space.
Silverware and Cooking Utensils
There are many creative ways to pack up silverware and cooking utensils. If you have the box your silverware set came with, you can use it to move your forks, spoons, and butter knives. You could also use a plastic storage bin. If none of these ideas work, you can stick to the traditional method of wrapping your silverware in packing paper and bundling them up into a padded box.
Knives
You’ll want to take extra precaution when packing sharp kitchen knives. Start by covering them in a protective sleeve or wrap many sheets of packing paper then covered in bubble wrap. Next, group them together with rubber bands. You can then pack them away into a plastic container, and pack that container into a moving box. For safety reasons, always pack knives horizontally, never upright. Finally, label your boxes to indicate that they contain knives or other sharp kitchen utensils.
Additional Tips for Packing Dishes like a Pro

In addition to following our step-by-step instructions, consider implementing these tips when packing dishes for your upcoming move.
Use towels or linens as an alternative to bubble wrap and packing paper.
Give yourself enough time to pack up. You can always leave out essential items, and pack up the items first that you can do without.
Don’t make your boxes too heavy. Keep them under 50 pounds to decrease the likelihood of their being dropped.
Fill boxes up completely, with heavier items on the bottom and lighter ones on the top.
Tape up your pantry items to avoid spills.
DIY vs. Hiring a Pro
Packing dishes for moving is easy to DIY, but it can take a lot of time and patience to make sure everything arrives unbroken. If packing a kitchen’s worth of dishes and glassware has you worried, you can also hire a local moving company to help you pack and move the items into your new home quickly and safely. Plus, professional movers can help with as many other aspects of your move as possible—not just securing dishes.
Hiring movers costs an average of $1,400 for short-distance moves and anywhere from $2,700 to $10,000 for long-distance moves. Keep in mind that this price includes many moving services, such as loading and unloading the moving truck, transporting the truck, and packing services, if requested.
Frequently Asked Questions
Packing dishes so they won’t break during the moving process depends on your materials and packing methods. You’ll want to use moving essentials like protective packing material such as dish boxes, packing paper, bubble wrap, and even towels and linens to pad your boxes. Also, don’t pack your dishes flat since they’re more likely to break this way. Instead, pack dishes vertically on a generous layer of packing paper. When it’s time to load up the moving truck, place heavier items at the bottom and make sure boxes are secure so they won’t shift during transport.
Bubble wrap and packing paper are both useful when packing dishes for your move. They’re often best used in tandem. However, the best choice will depend on the specific item. Packing paper takes up little space while also providing an adequate measure of protection for fragile items. After wrapping items in packing paper, bubble wrap can then be used for an added layer of protection. Bubble wrap can also be a protective choice for bulkier items like appliances and electronics that might easily rip through packing paper.


