Wool insulation offers a higher R-value than fiberglass but is more expensive. Use this guide to estimate wool insulation costs for your home.
What to know before you blow


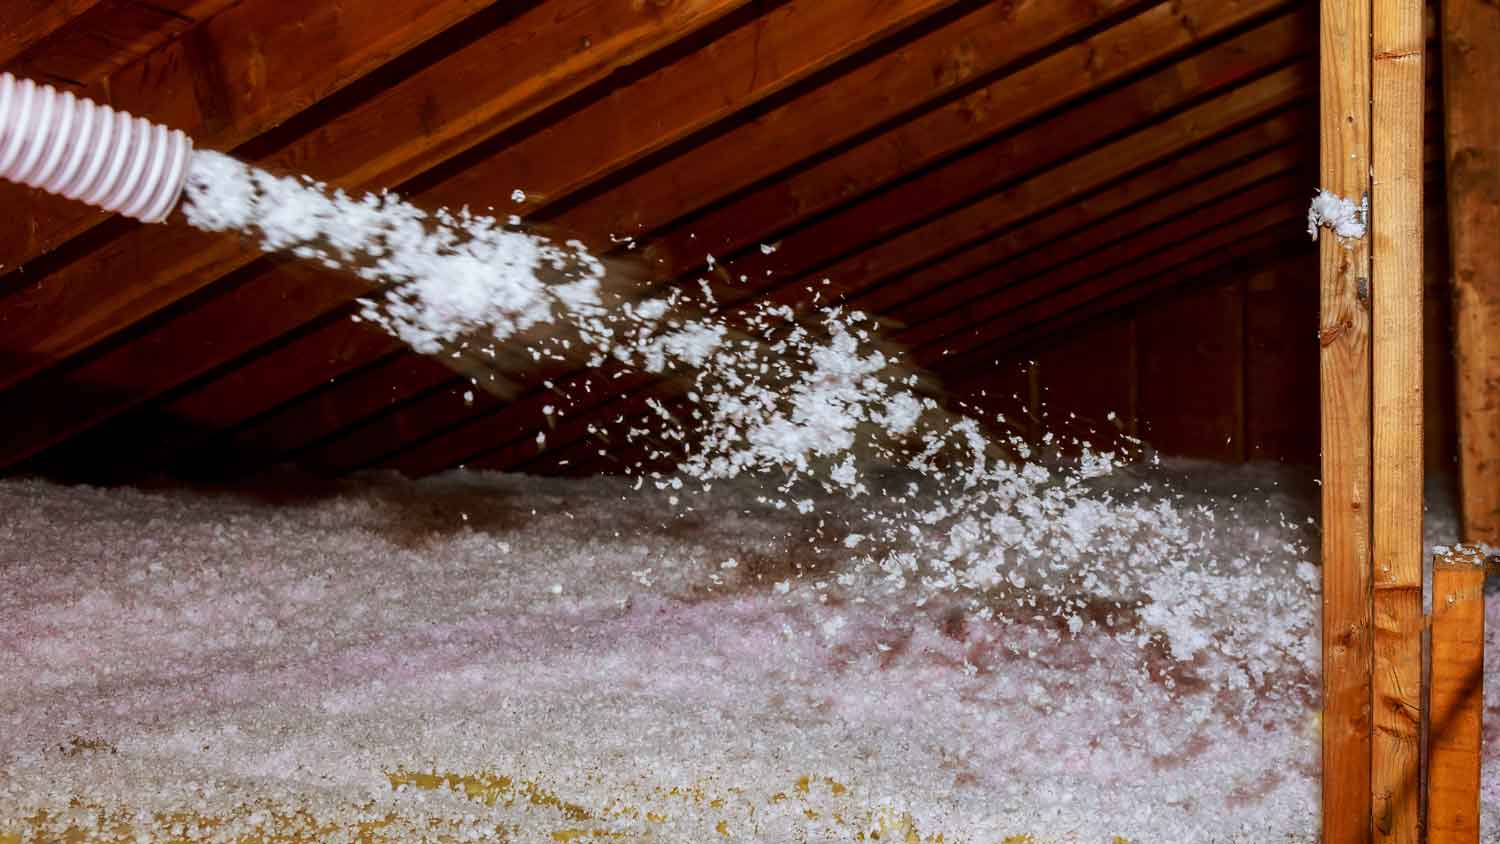
Blown-in insulation is common in attic spaces but can also work in your walls.
Several types of blown-in insulation are available, with various insulating values and features.
How much blown-in insulation you need depends on your location, material choice, and project size.
Your home may suffer from poor insulation even if insulation exists in the attic or walls. Eventually, all blown-in types of insulation will settle to some degree. While most types have life spans of up to 30 years, settling insulation can reduce its R-value over time.
Whether you're adding blown-in insulation over existing insulation or starting from nothing for a remodel or new build, here's how to determine how much you'll need for your project.

There are multiple types of home insulation. Batts, rolls, and spray foam versions are popular in ceiling, attic, and wall applications. Rigid foam board types have several uses, including common applications for basement walls and crawlspaces.
When it comes to attic insulation, blown-in insulation is the go-to material for many builders, and local insulation pros. Blown-in insulation types are also available for use when insulating walls without removing the drywall while installing other types would require wall covering demolition and rebuilding. Attic blown-in insulation is available in several material choices, each with its own features and benefits.

Other blown-in insulation types are available, including hemp and sheep wool. However, the primary and most common ones are fiberglass, cellulose, and mineral wool.
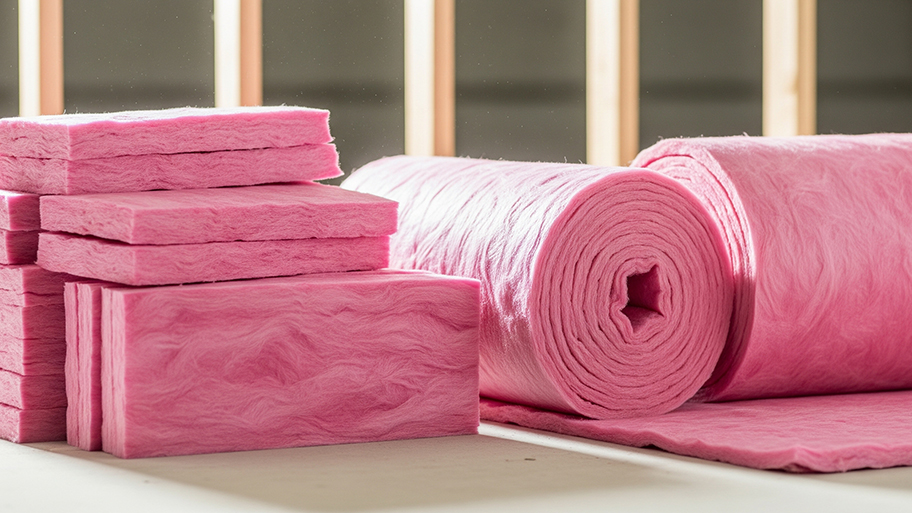
Called loose-fill fiberglass, this material consists of glass fibers loosely woven together. Its construction creates numerous air pockets between the fibers that slow heat transfer to provide its insulating qualities. Loose-fill fiberglass can also irritate your skin if you come into direct contact with it. Its installation requires plenty of protective clothing and gear to keep the material off your skin and out of your lungs. Its R-value is less impressive than other blown-in types, but it costs less overall.
Cellulose blown-in insulation is a solid middle-ground choice. Made mostly from shredded and recycled paper and wood products, then treated for fire and mold resistance, cellulose combines a relatively high R-value with moderate pricing. You'll still need protective gear when installing. However, cellulose is gentler if your skin comes in contact with it.
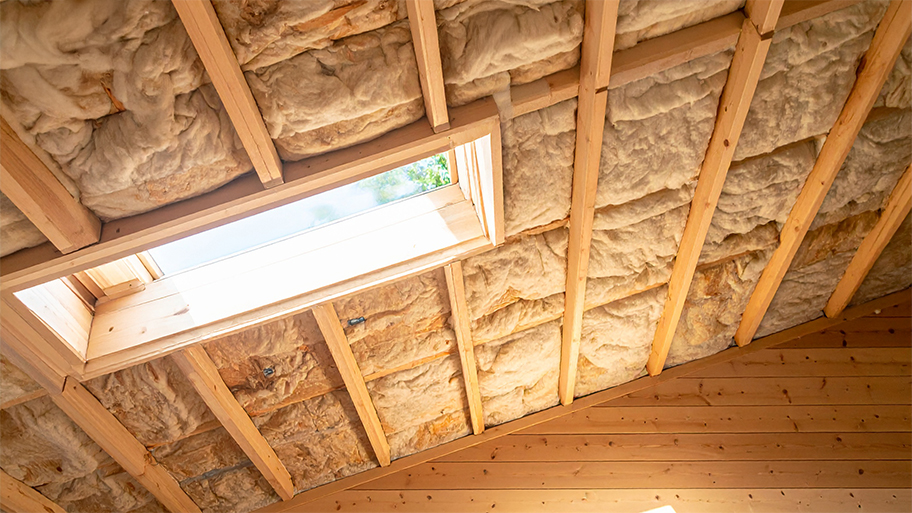
Wool insulation is available in natural types, as well as the most common one, mineral wool or Rockwool. Created from leftover industrial materials, mineral wool has a wide range of R-values, with some reaching 3.8, which is higher than other loose-fill types. However, it also carries a higher price tag. In return for higher prices, homeowners get excellent fire resistance and noise reduction benefits.
The type of blown-in insulation material you choose often comes down to cost. However, it's essential to understand the insulating qualities of each type when deciding the right material for your home's needs.
| Types of Blown-in Insulation | R-value per Inch of Thickness | Inches Necessary for R-38 Protection |
|---|---|---|
| Fiberglass | 2.5–3.5 | 11–15 |
| Cellulose | 3.2–3.7 | 10.5–12 |
| Wool | 3.0–3.8 | 10–12.75 |

Your total cost for blown-in insulation will depend largely on the area size of your project or your home and how thick your insulation needs to be for your climate zone to achieve the best energy efficiency and value.
Follow these steps to calculate the amount of blown-in insulation you need.
Determine the R-value of existing insulation if you're installing new material over existing material.
Choose the type and R-value of the blown-in insulation you'll use.
Determine the square footage of the area and the thickness you'll need to achieve the R-value goal.
Divide the sum by the insulation volume in each bag. The manufacturer of the product you choose provides this figure.
According to Angi data, 54% of homeowners report having blown-in insulation in their attics. Other common locations for this essential home insulation are inside the walls and ceilings.
While installing blown-in insulation is possible as a DIY project, some factors must be considered before doing so.
DIY blown-in insulation installation requires full protective clothing and equipment to stay safe.
You'll need to rent a blower machine and have a partner help with installation.
A comprehensive understanding of insulation and attic ventilation principles is necessary to avoid damaging your home.
A local attic insulation installer will have access to regional code requirements to ensure your project meets building code specifications and the proper R-value amounts.
Professional installation will come with a quality warranty and insurance protection in case something goes wrong during installation.
Correctly installing insulation can be difficult. Health and safety risks are involved; therefore, we highly recommend contacting a pro to ensure the job is completed safely and correctly.
From average costs to expert advice, get all the answers you need to get your job done.

Wool insulation offers a higher R-value than fiberglass but is more expensive. Use this guide to estimate wool insulation costs for your home.

Insulating your attic can massively improve your home’s efficiency and reduce electric bills. Use this guide to find out what attic insulation will cost you.

Crawl space insulation costs vary by size, insulation type, and material. Read this guide to learn how much your crawl space insulation could cost.

Read our step-by-step guide and learn how to remove fiberglass insulation. Our instructions will help you remove this tricky material quickly and safely.

Insulating your walls requires the right insulation and installation method. Keep reading to learn how to insulate a wall without removing the drywall.

Read our guide to insulating your attic for energy efficiency and comfort. Learn expert safety tips, cost considerations, proper preparation, and more.