

Window replacement enhances your home's appearance and helps to maintain a consistent indoor temperature. Discover the cost of window replacement in Columbus.
Forecast got you down? We got you covered.


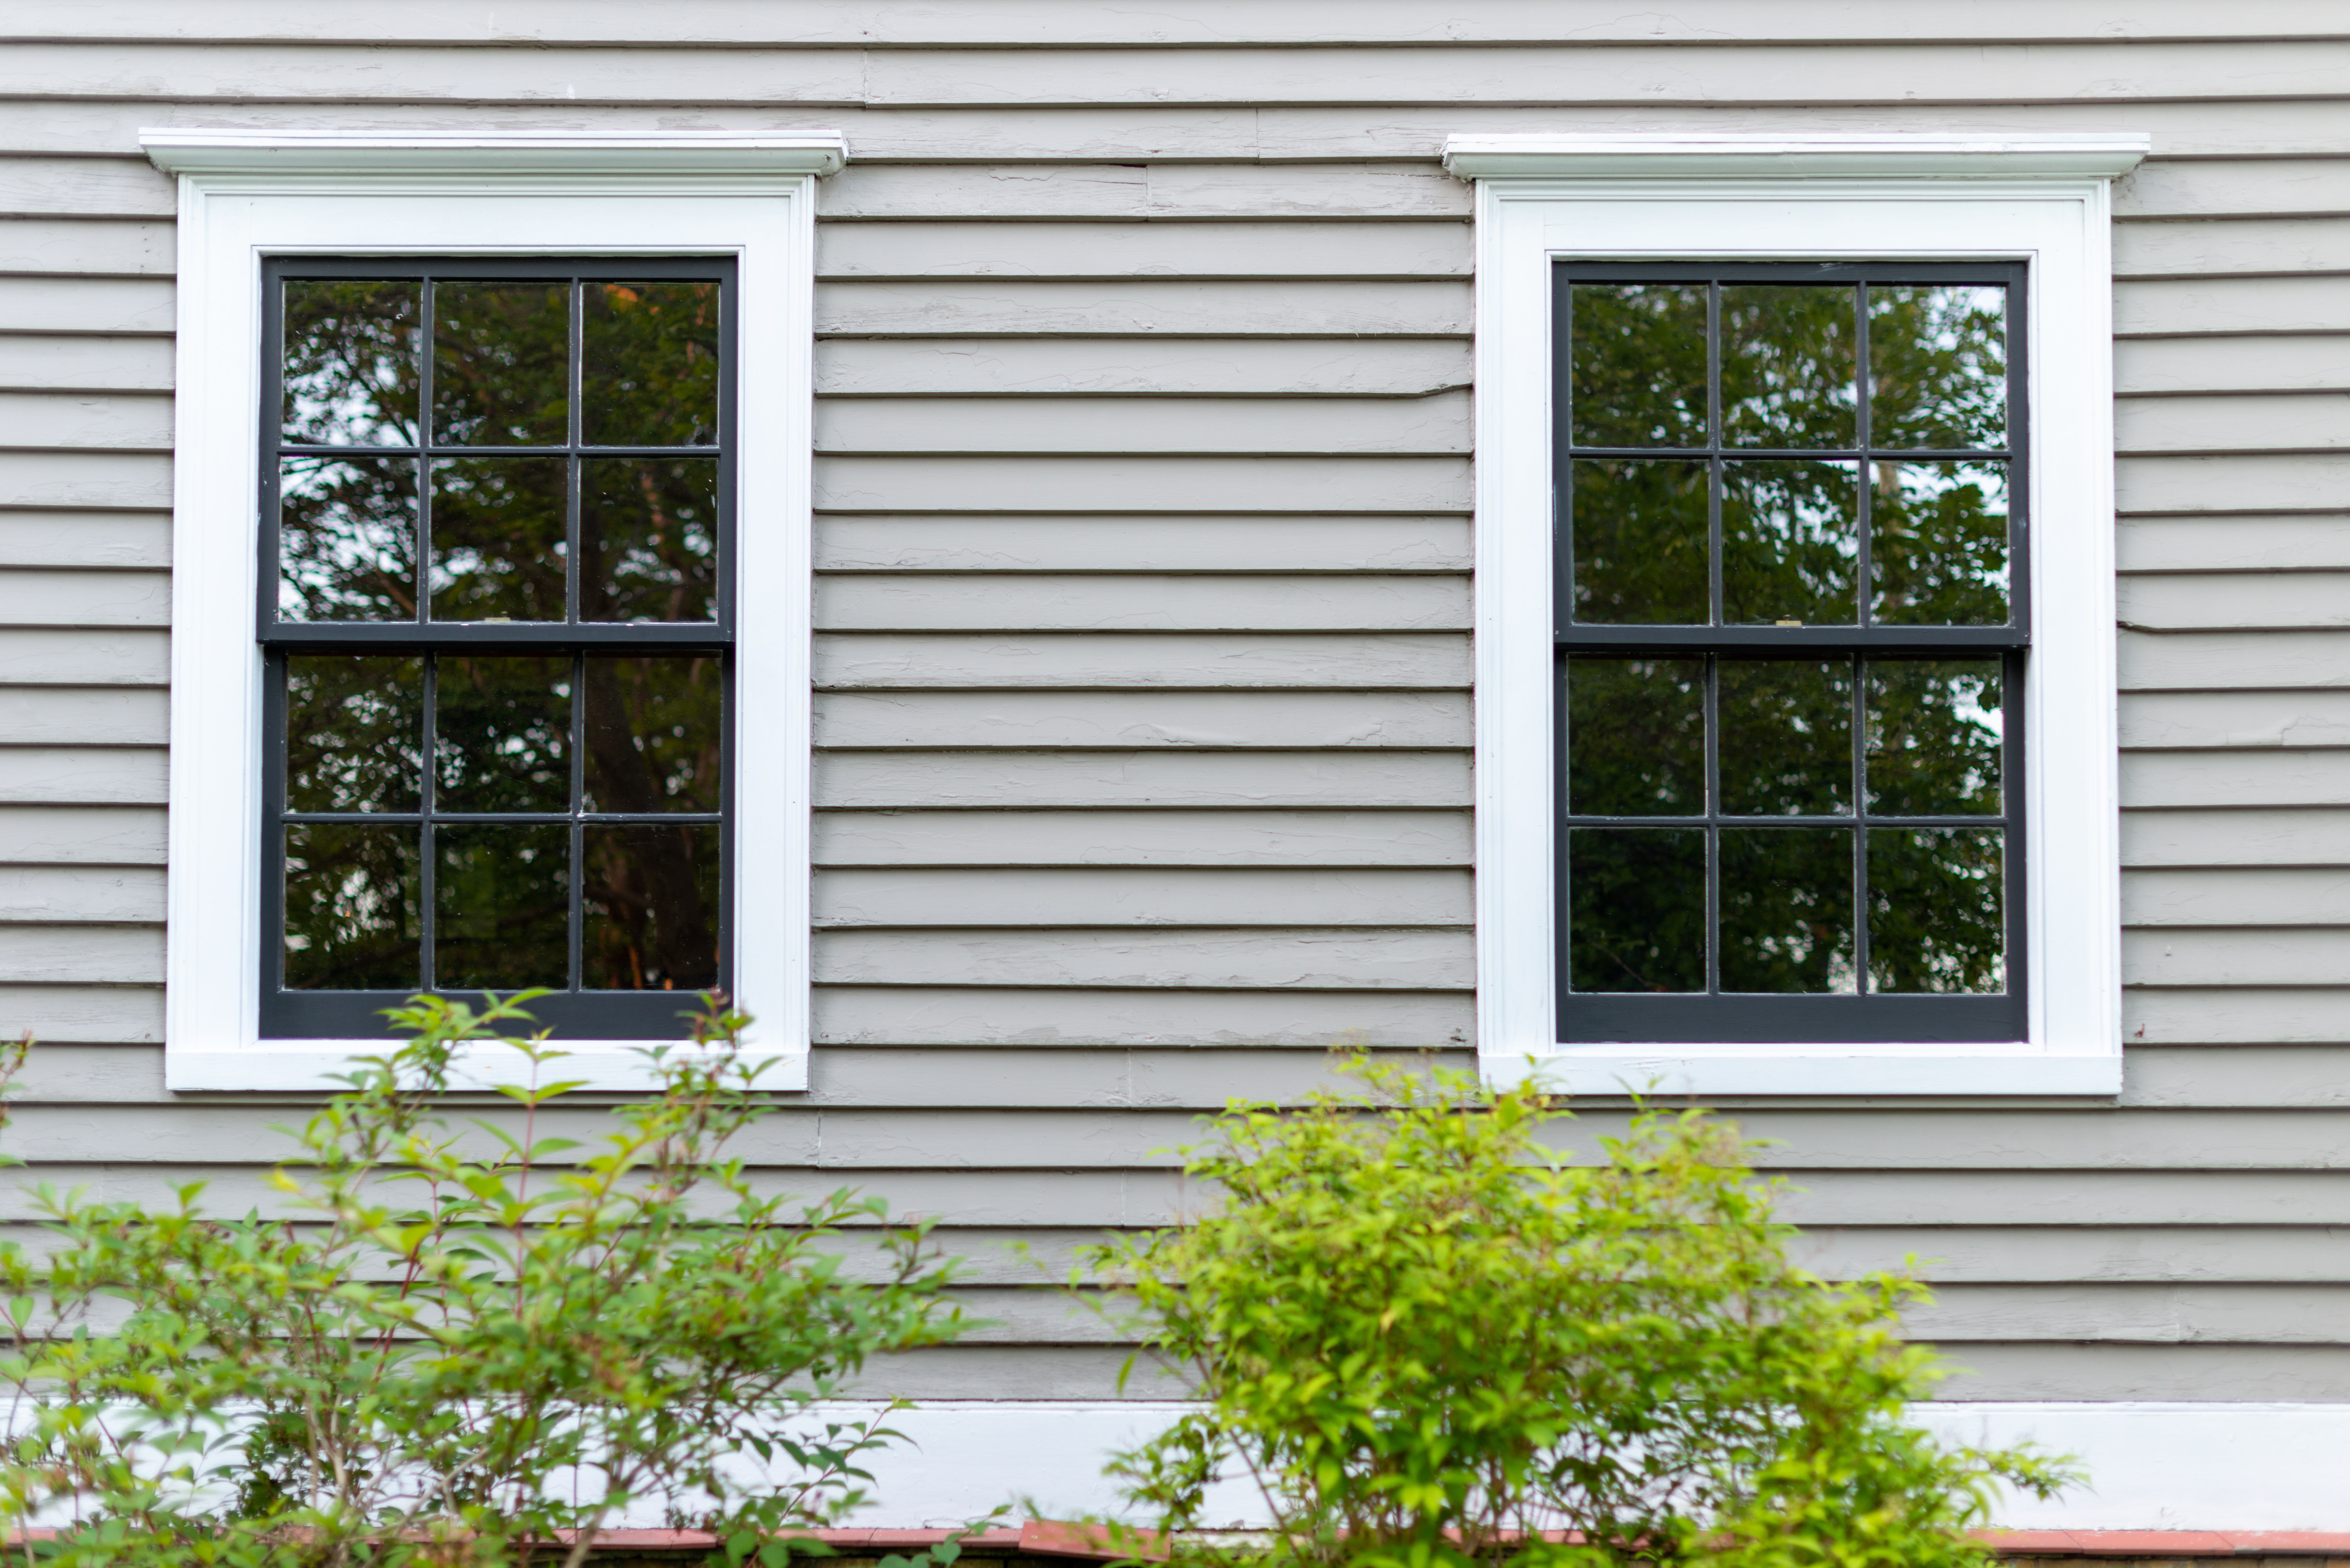
If you live in an area that gets hit with frequent storms, you’re probably eager for a little peace of mind knowing that your home is safe. Learning how to install storm windows can help you protect your house when a thunderstorm (or worse) rolls through. This guide teaches you how to install storm windows that can protect your home from the elements.
Storm windows protect your home against severe weather, so they’re ideal for people who live in regions that tend to get hurricanes, tornadoes, or blizzards. In addition to their durability, they’re also efficient at keeping your home warm in the winter and cool in the summer.
Here are all of the benefits of adding storm windows to your home:
Withstand winds up to 170 mph
Resist shattering when struck by flying objects
Improve home insulation
Save you an average of 10% to 30% in annual heating and cooling costs
Come in a variety of materials, including vinyl, wood, and aluminum
Easy to remove and clean
Reduce outside noise
Eliminate condensation
Can be installed on your home’s interior or exterior
When installing a storm window, you want to give it a clean, smooth, and dry surface. Conduct a once-over on your window and see if there are any repairs that you need to make. Check for rotten wood and remove it. Also, scrape off any leftover paint and caulk the window. Doing this will not only ensure your storm window is energy efficient, but it will also help it hold up better to rain and wind.

You’ll need to measure your windows to get a proper fit. To find the height of your storm window, measure the left side of the window’s height inside the frame. Repeat this process in the center of the window and on the right side. Use the shortest dimension for the window’s height.
To measure your window’s width, start from the bottom (above the sill), measuring from jamb to jamb. Repeat these steps in the center and top of the window. Use the shortest dimension for the window’s width, as well.
After taking your window’s measurements, determine if you have a Western casing or an Eastern casing.
A Western casing will have a blind stop inside the window opening. A blind stop is a bit of rectangular molding that’s nailed between the exterior trim and sashes. If you have a Western casing, you’ll need a window 1/4 inch smaller than the casing opening. If you have an Eastern casing, your storm window will need to be up to 1 and 1/4 inches larger than the casing opening.
Place your new storm window inside the opening to check for a proper fit. You can determine which side is the top portion and which is the bottom by looking at the direction of the movable panels. To ensure the right fit, look for any gaps. Also, confirm that all your storm window’s screw holes land on solid wood. Once you’ve conducted your examination, remove the window.
With butyl caulk, generously caulk your windows on the top and sides. Do not caulk the bottom. Using a pulling motion, hold the caulking gun at a constant angle and slide the nozzle along the joint while pressing the trigger with equal pressure.

Place your storm window back into the opening based on the manufacturer’s instructions. Put the window in the frame top first to ensure a tight fit, and temporarily secure the top corners with screws. Use your putty knife to press gently against the glass edges for an airtight seal. Then, secure the storm window into its frame with a drill and the provided screws.
Typically, storm windows come with a windowsill expander, which allows the window to expand up to about 1/2-inch to ensure the snuggest fit. Adjust the expander on the bottom of the storm window and press down on it with your putty knife for a tight fit. The expander should make even contact across the bottom sill.
Measure your window again to ensure it’s square (evenly in the hole and not lopsided). Grab a tape measure and put it in a lower corner of the window, and then run the measure to the opposite corner of the window (if you started in the bottom right, go to the top left). Write down the measurement.
Repeat the process with the two opposite corners. If both measurements are the same, the window is square, and you’re good to go. You can now install the remaining installation screws.
Ensure your storm window has at least two weep holes to allow it to drain any moisture that may potentially accumulate behind it. These will look like several small holes on the bottom edge of the frame. If these aren’t there, use your drill to create two or three holes.
If you’re installing an exterior storm window, you’ll need to accurately measure your window and ensure it’s properly sealed and secured. If you’re not confident that you can seal and secure it correctly, this project is best left to a local window company. It’s also safer to let a professional work their magic if you have multiple stories that’ll require you to use a ladder. If you do choose to install storm windows on a second story or higher, remember to always follow proper ladder safety precautions.
The cost to install a storm window is around $10,120 on average. This includes the price of $90 to $400 per window plus $30 to $65 per hour in labor fees if you hire a pro. Many professional window installers offer warranties on their work for up to 10 years.
From average costs to expert advice, get all the answers you need to get your job done.
Window replacement enhances your home's appearance and helps to maintain a consistent indoor temperature. Discover the cost of window replacement in Columbus.

Single, double, or cottage-style, the cost of casement windows is worth it for their versatility alone. Let's look at casement window costs plus installation.

Window repair costs in Columbus, Ohio, depend on several pricing factors, including the type and size of the repair it needs and the window itself.

Don’t let a window leak rain on your parade. Check out these nine simple tips to track them down and stop the damage before it gets out of hand.
What is window flashing, and why is it likely the culprit for your leaky glass? Learn more about this often-overlooked window installation step.
Find out how much it costs to add a window to your home, including the cost to cut and frame the opening, as well as installing the window itself.