
Thinking about installing concrete or brick pavers for a walkway or patio? Learn the cost of interlocking pavers in this informational guide.
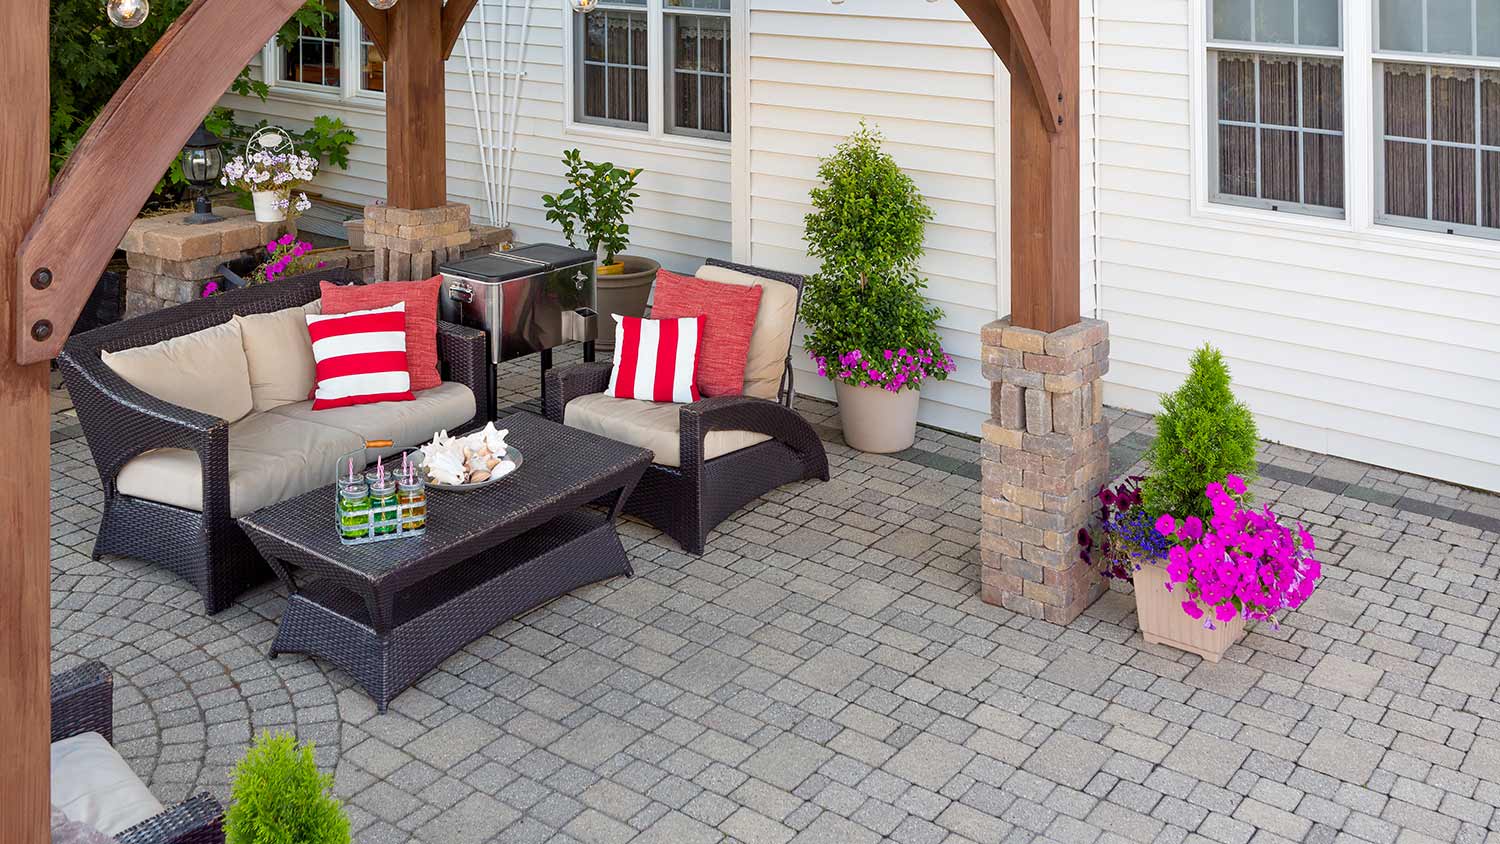
Hard work will pay off in the form of a beautiful, durable outdoor living space

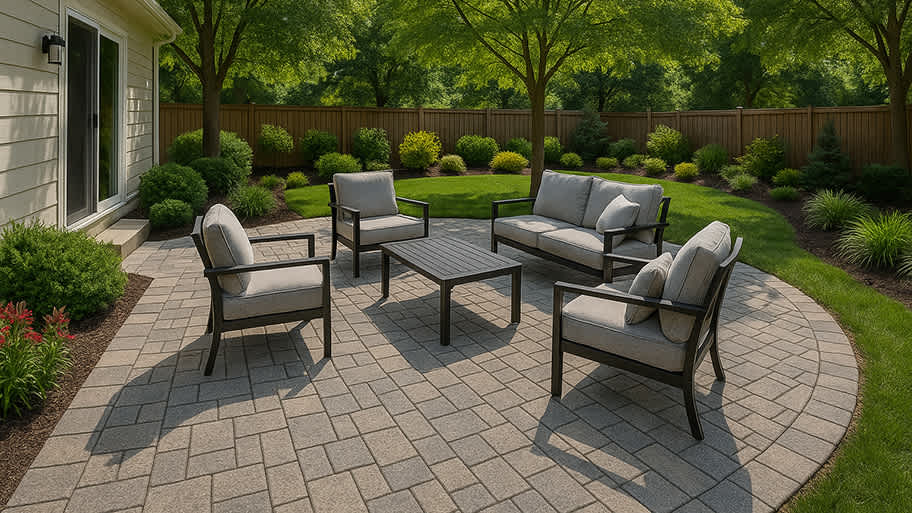
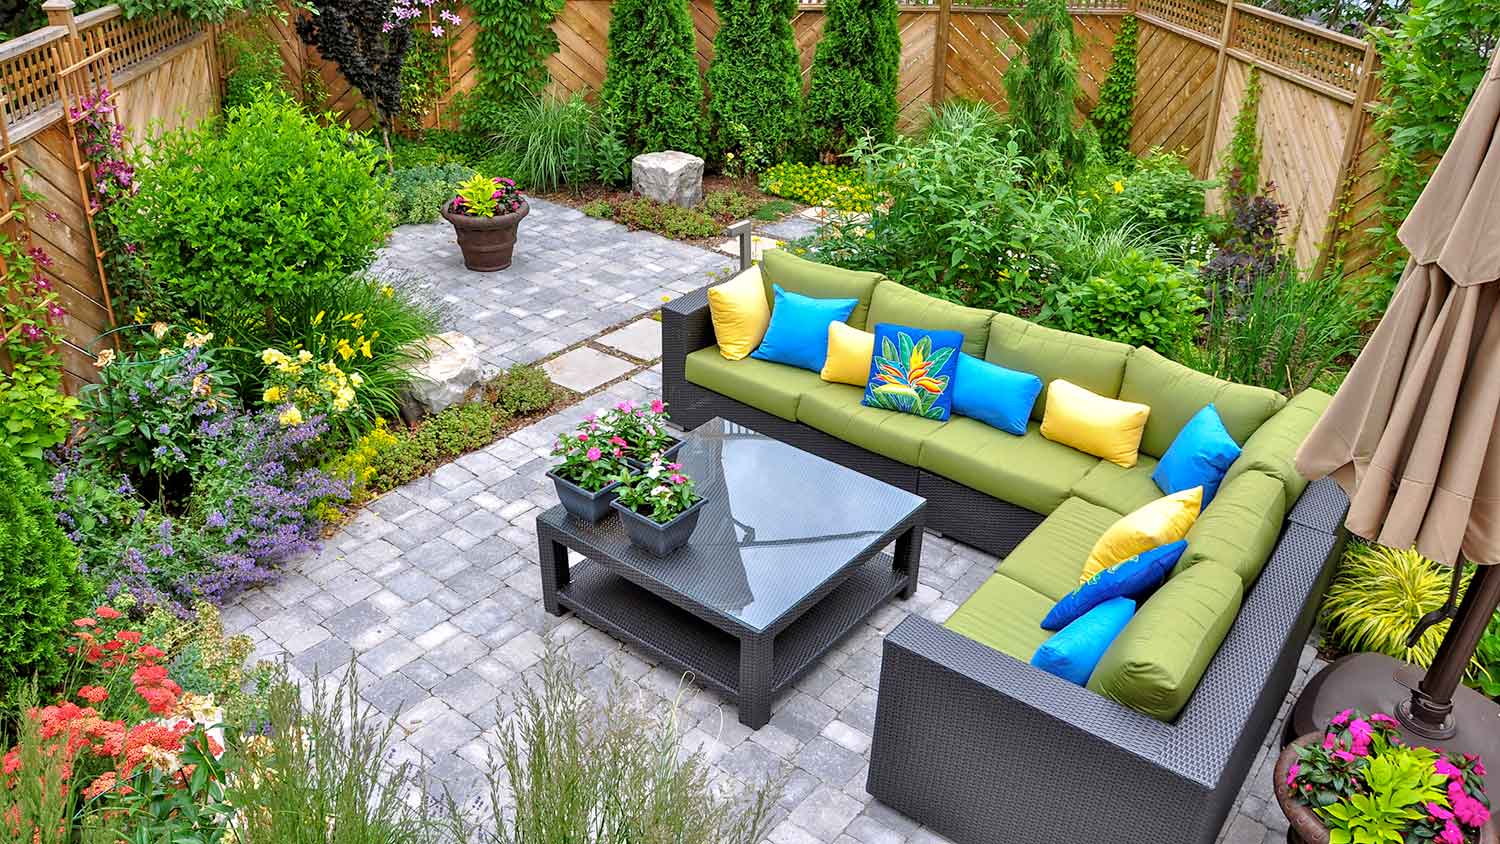
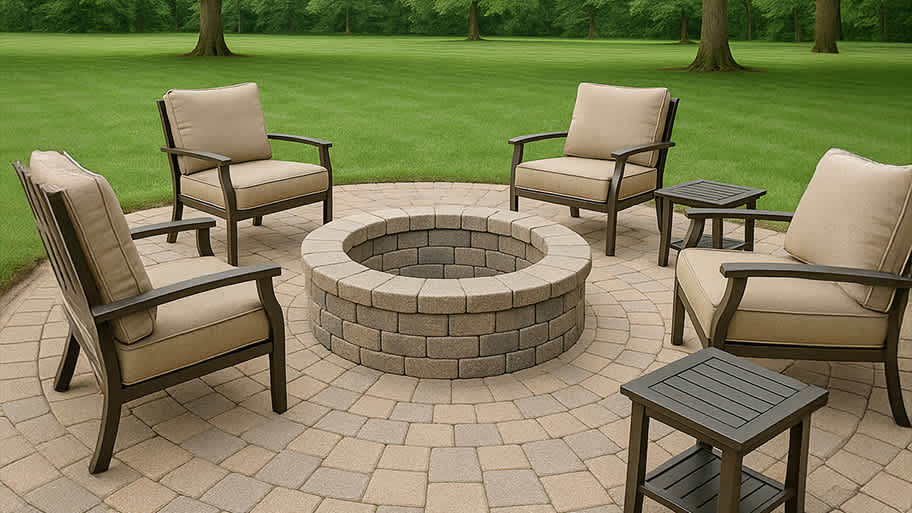
Picture your beautiful new outdoor patio or walkway lined with natural stone (or even concrete)—that gorgeous pattern and gritty texture that'll make your neighbor's concrete patio pale in comparison. (Sorry, neighbor!)
Sure, there are many reasons homeowners opt for pavers over concrete. Pavers are incredibly durable for one, but they also offer greater value in terms of life expectancy and aesthetics. But another reason is that you can tackle the job yourself, if you're willing to put in the work.
Learn how to install interlocking pavers DIY in this eight-step guide.
Mapping out a location for your interlocking pavers is the key to successful installation.
Here are some questions you need to answer before you can get started.
Where will you install your pavers?
Can you dig at least six inches, if not nine or 12, in all these areas? (ex: Think about where your gas line is located.)
What obstacles do you need to clear first?
Does your area require a permit or approval to install pavers?
Will the pavers section be even, or will you need to cut individual stones to fit certain areas?
The last question, in particular, can help you decide if outsourcing isn't a better option. You'll need to buy or rent a masonry saw and cut individual stones if there will be large gaps or cross-sections that need specifically sized stones, which isn't a job for everyone.
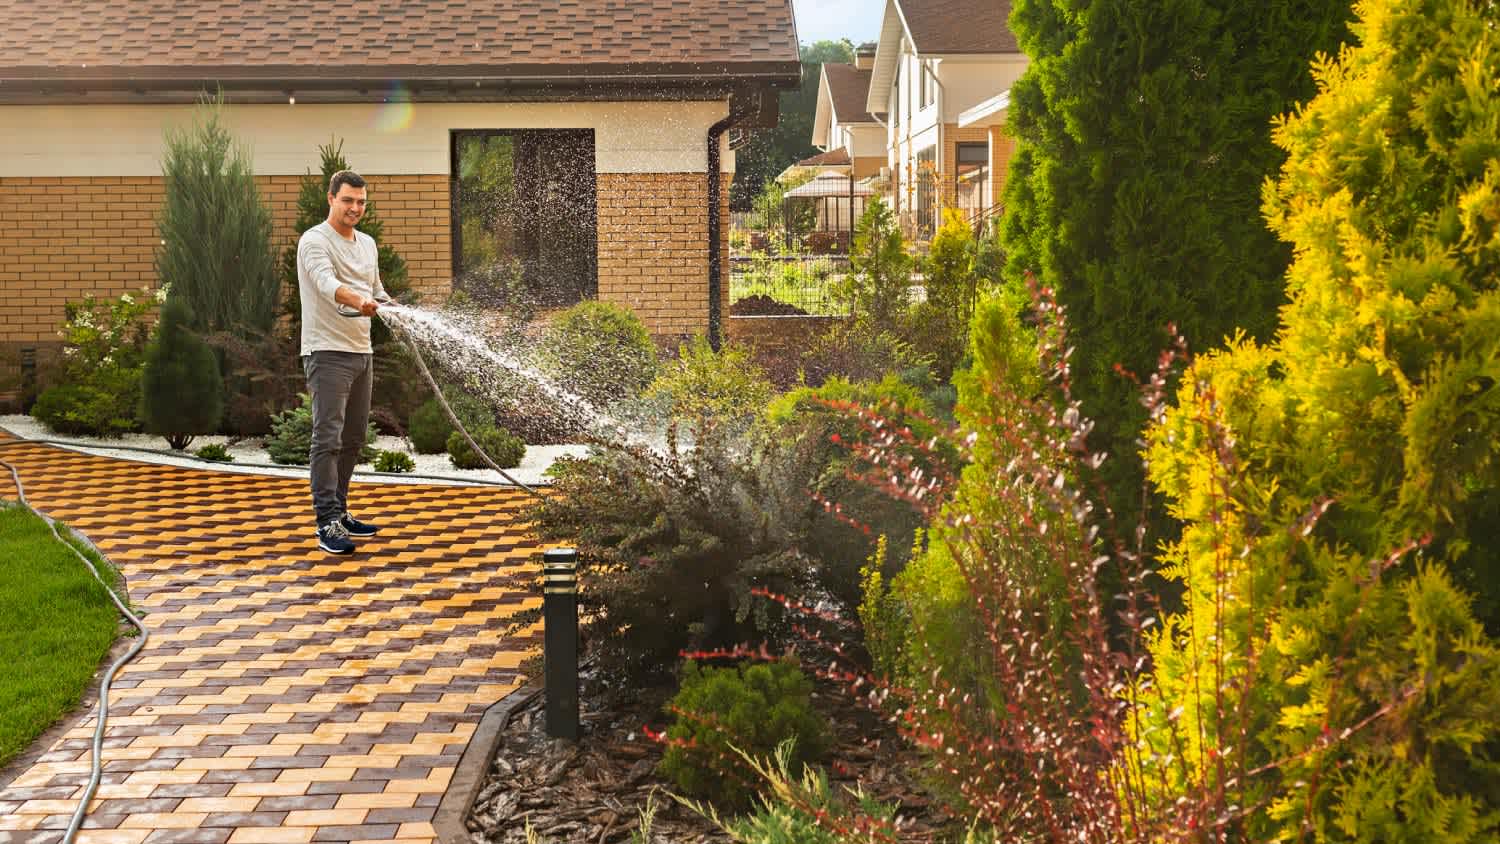
Trees, roots, or other objects need clearing out before starting your project. If it will get in the way of digging your base, it probably needs to go.
Unless you're picking up your pavers yourself, it might also be a good idea to clear an area near the workspace to leave your pavers for ease of installation. This will save lots of manual hauling with a wheelbarrow later.
Dig a clear, clean, and level base using a shovel or powered excavation tool. The bare minimum is six inches, but nine inches works best for most projects. If you’re digging for a driveway, you’ll want a deeper base, closer to 12 inches. And if you have clay soil, dig even deeper to allow proper drainage.
Interlocking pavers are usually three inches in thickness, but you'll need to account for the sand or gravel base, somewhere between three and five inches, below it.

The main benefit of interlocking pavers is their high level of durability. But, they’re only as sturdy and even as the base you create for them. This step, while less labor-intensive, is probably the most important of the entire process. If your base isn't level, your pavers will shift over time, or may not sit flat once complete. Pavers also naturally expand and contract with the weather, so an angled base will expose any flaws in your work quickly.
Use a hand tamper in the space to flatten the dirt. It can be helpful to put a level in the work area to find any gaps. You want your base to be as flat and compacted as possible.
Before you can lay your pavers, you need to add a base layer to hold everything in place. Your base should be made up of two separate layers: a rock layer and a sand layer. Start by laying your rock. Typically, homeowners choose a crushed stone or decomposed granite, but you can also use Class II Road Base or recycled concrete. Compact it with your tamper until it’s level.
Once your rock is added, fill the gaps with about 1 inch of sand. Use a 2x4 to ensure the layer is flat and ready for pavers. While you can skip the rock layer if you’re putting pavers over concrete, you’ll still need sand.
It is highly recommended that you install some type of edge around your project area before adding stones to help contain your pavers and keep them even.
There are two ways you can do this:
Install flexible plastic pavers edging around the perimeter of the work area.
Layer additional concrete or paver stones around the perimeter.
Choose your strategy and install accordingly.
For better reinforcement, some homeowners may opt to lay two pavers stacked on top of each other vertically along the edges. If you do this, though, you may need to dig a deeper hole (12 inches) and then layer in more sand or gravel before starting.

With your edge secured and the base layer leveled, you can now layer your interlocking pavers one by one. Start from one edge of the work area and work your way outward and down.
Lay each paver stone carefully into position. Avoid dragging, sliding, or bumping the paver stones, as this could disrupt the firm, level base you built earlier. Fix any area that gets messed up during installation. Work slowly and make sure each stone touches the last one you've laid closely. Leave no gaps.
For awkward angular meetings, such as when a walkway connects to a patio, use a masonry saw to cut your stones to fit. Make sure to wear hand and eye protection when cutting stones. Hire a local handyperson service if you feel like this part of the task isn't for you.
Pour a layer of polymeric sand to fill gaps to lock everything in place. Use your compactor to ensure the stones are firmly pressed into the sand and everything is as compact as possible. When you're done, sweep away excess sand.
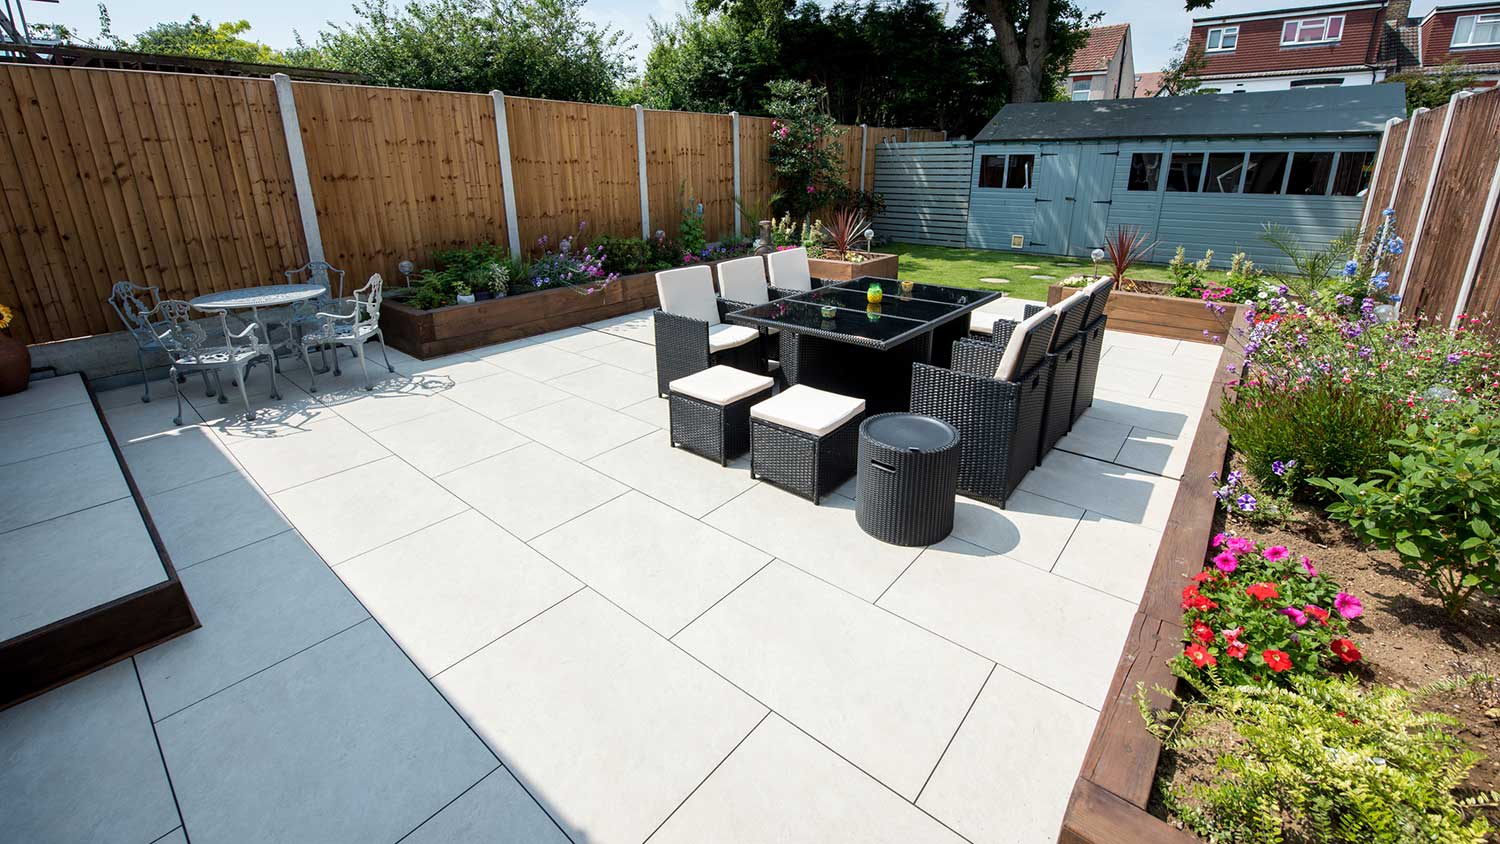
For square or rectangular installations, DIY paver installation is challenging but rewarding work. It'll take you at least a dozen hours for even a small build to do the work right. But you'll also save hundreds, if not thousands, on labor costs.
Interlocking pavers cost about $3,400 on average for materials and professional installation. While this cost may seem high, it’s vital to understand how challenging this project actually is. Cutting stone is difficult (and sometimes even dangerous), and carrying hundreds of stone pavers across your lawn is harder than you think.
Outsourcing your pavers project if cutting stone for a specific build probably makes sense if cutting stone doesn't feel like a good job for you, or if you have any ailments that make heavy lifting or digging difficult, such as chronic back pain. In those instances, hiring a local concrete paver professional means money well spent.
I recently moved to another state and chose United Trust Van Lines after comparing several companies. Their team was punctual, professional, and extremely careful with my belongings. I was especially impressed with how they handled my home office setup and fragile items. Everything arrived on...
This company does it right. Firstly, I want to say that Landan was a joy to work with. He was so kind, transparent, and had everything under control. His entire team showed up ready to work and they were all very respectful of the fact that we were in an office space. A little backstory – we...
Amazing job. Efficient and quick without compromising quality. Basement feels brand new. Would use them again in a heartbeat.
 AffordaPro Restoration
D1 Roofing delivers outstanding service from beginning to end, backed by a strong warranty and expert teams. I highly recommend them for their excellence in meeting and surpassing expectations with unmatched communication. Choosing D1 Roofing was flawless decision
I'm a repeat customer of All Star Paving & Sealing and I appreciate the service that all start paving has done for me in the past. I just recently had them out for an estimate and things couldn't have gone better. The staff that they send out to do the estimates are very knowledgeable. The...
 All Star Paving and Sealing
Supreme Brick & Chimney did an excellent job restoring the brick and mortar joints on my home. Their team was professional, knowledgeable, and completed the work on time. I highly recommend them and will hire them again in the future! Thanks!
 Supreme brick & chimney
Window Depot did an amazing job on my deck. I wasnt sure what I wanted to do, but their composite decking was affordable and will last a long time. I am excited to have family over, and I am no longer embarrassed by my backyard. Jeff and the ground crew were polite, respectful, and caring for...
They are very reliable and available. They the drains all the time
 The Waterworks
Mary cleaning service does an amazing job cleaning my home. They go over and beyond the cleaning services that I have had in the past. They are very punctual and thorough with cleaning my home, I’m extremely happy with the service they provide and I highly recommend them.
We had a 20+ year old landscape lighting system that needed replacement. Midwest Lightscapes worked with us to design a much improved lighting system, lighting the exterior of the house and the back yard. Installation of the 45 light system took one and one-half days, and went very smoothly....
 Midwest Lightscapes
From average costs to expert advice, get all the answers you need to get your job done.
Thinking about installing concrete or brick pavers for a walkway or patio? Learn the cost of interlocking pavers in this informational guide.
Porcelain pavers are a high-end option for your home’s hardscaping that can completely transform your outdoor space. Here’s how much porcelain pavers cost.
Discover travertine pavers costs to learn about installation, materials, and labor prices, plus tips to save on your travertine paver project.
If your yard is looking drab, installing interlocking pavers can be a smart way to increase your home’s curb appeal. Here are some common questions you’ll discuss with a pro.
Interlocking pavers fit together easily, like puzzle pieces, using the power of friction to disperse weight, making them ideal for driveways and walkways.
Interlocking pavers are popular for outdoor living spaces, such as walkways and patios. Learn the different types of pavers, including materials, sizes, and more.