
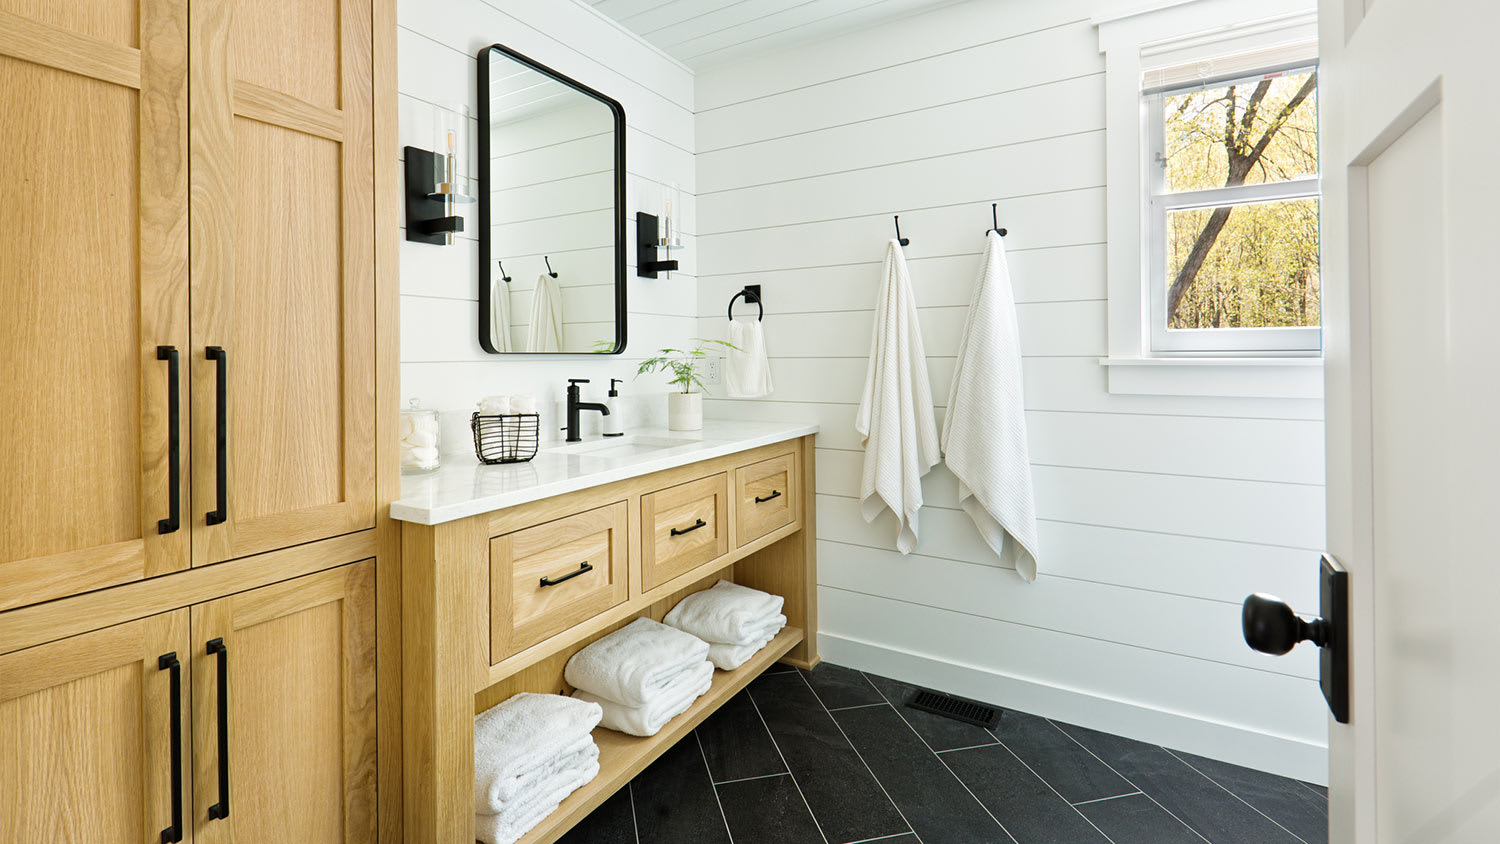
If your bathroom needs sprucing up, a new vanity will make a big difference. Vanity installation costs depend on the size and type of the countertops and fixtures you choose.
Earn your badge as an expert DIYer by installing your bathroom vanity

You’re probably excited to learn how to install a bathroom vanity now that you’ve decided to take the plunge and get a new one. Vanities can set the entire mood of your bathroom, so this change can be a major upgrade. You can complete this project in several hours if you have some plumbing and carpentry experience and the muscles to move the unit (or at least a helper).
Before installing a new vanity, make sure everything will fit in your bathroom. Also, forgetting to disconnect the plumbing before you get started can lead to a huge mess and costly water damage. After prepping the area and repairing any damage that could happen while removing the old vanity, you’ll be ready to install your stylish new vanity.
The easiest way to start your bathroom vanity shopping is by deciding on the theme or aesthetic of your bathroom, whether minimalist, traditional, farmhouse, industrial, and so on. Once you have that figured out, you can look at the different types of bathroom vanities, including various designs and materials, to find the one that fits your vision.
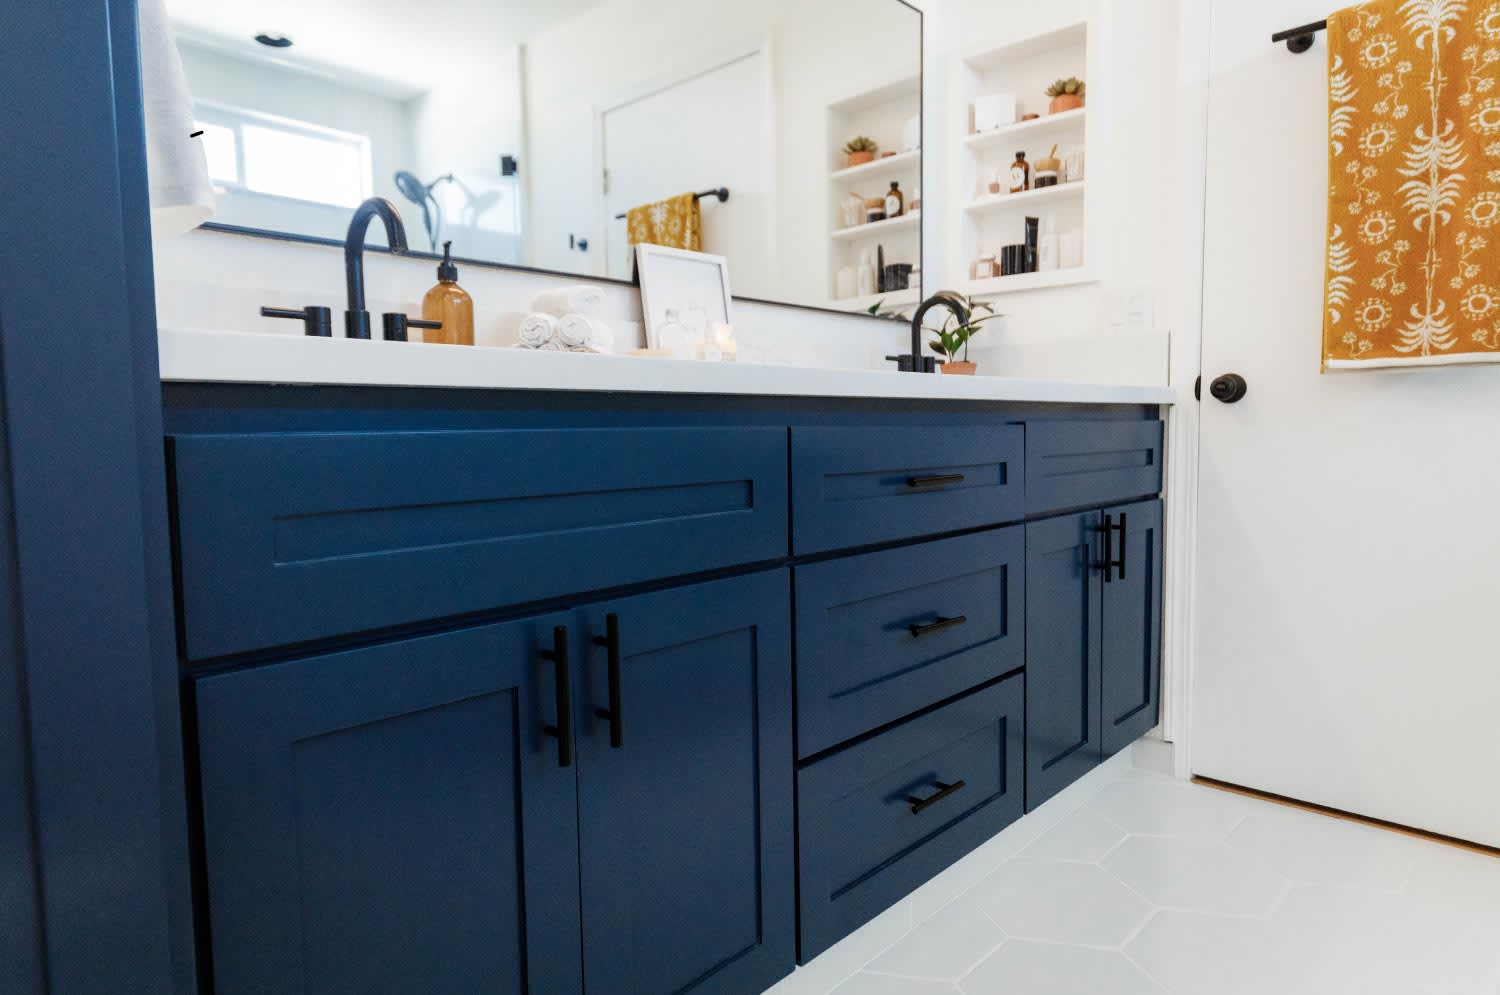
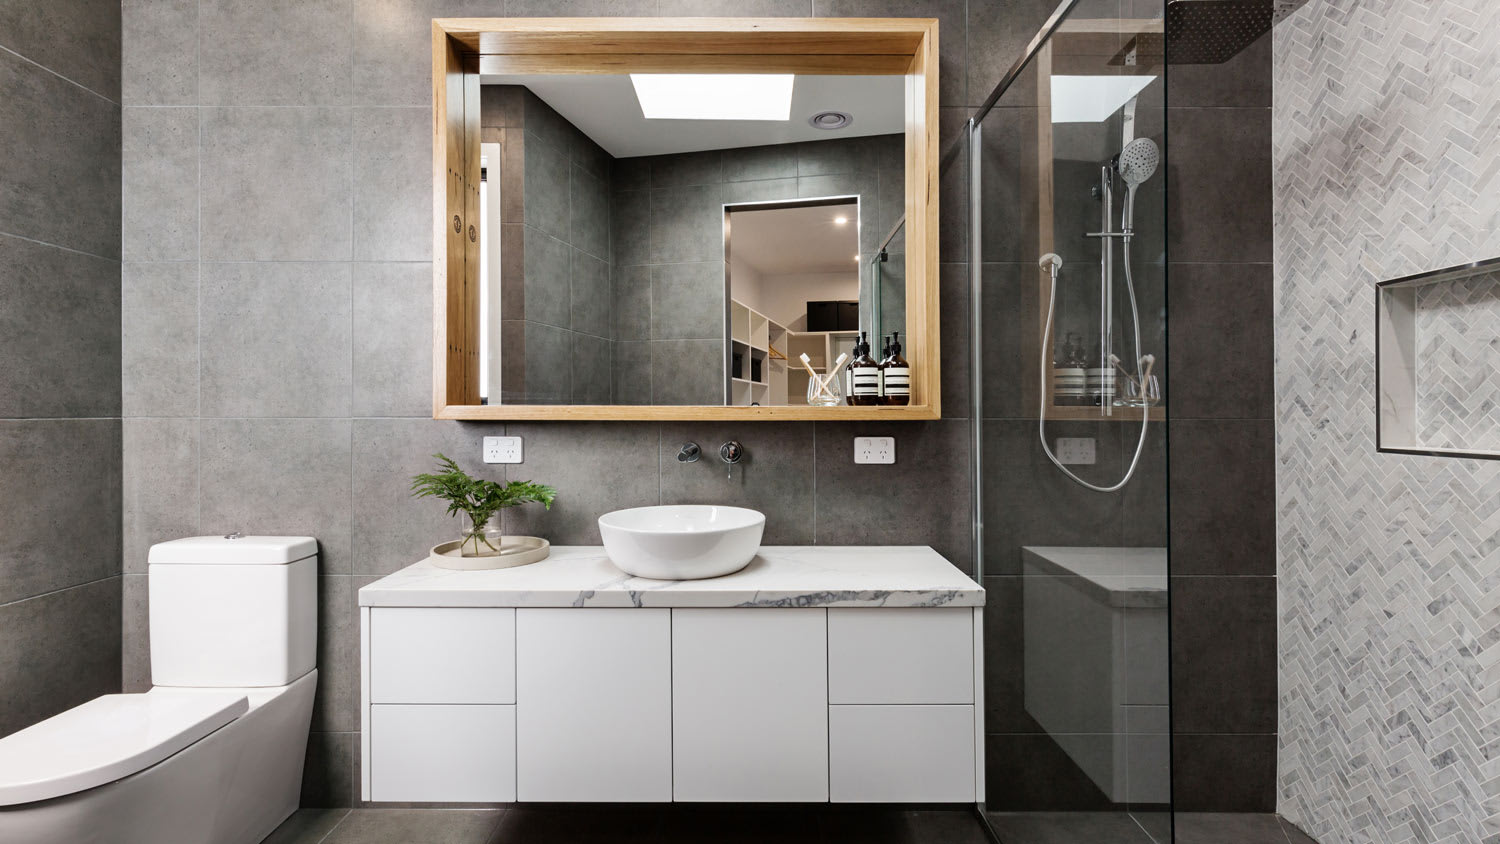
For a minimalist bathroom, choose a simple, monochrome design or a floating vanity. A wood cabinet-style or freestanding vanity can benefit a traditional space. If you have an industrial bathroom, you can go with a concrete vanity or a vanity with stainless steel legs.
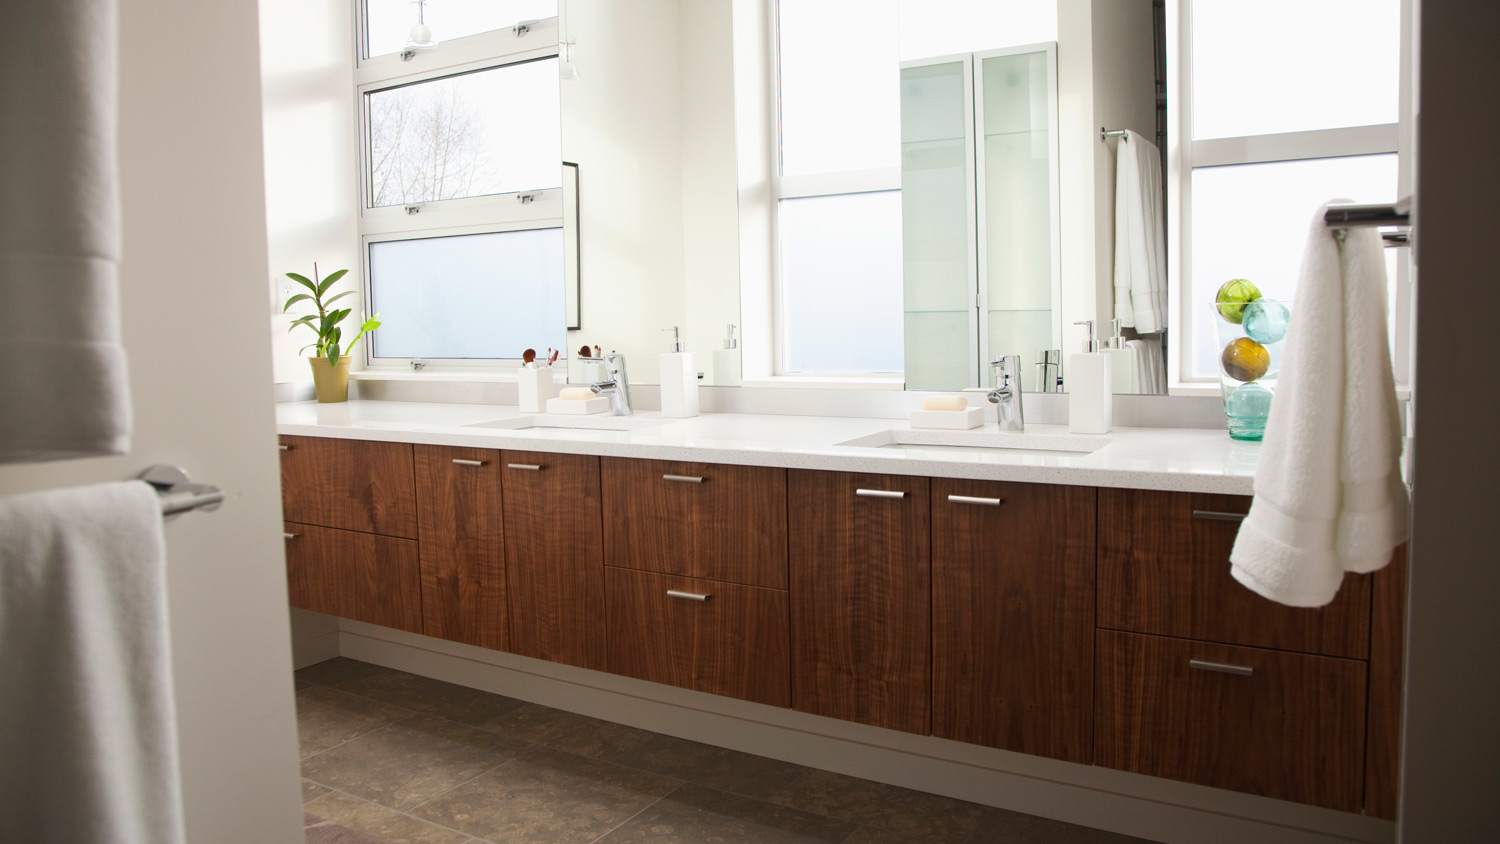
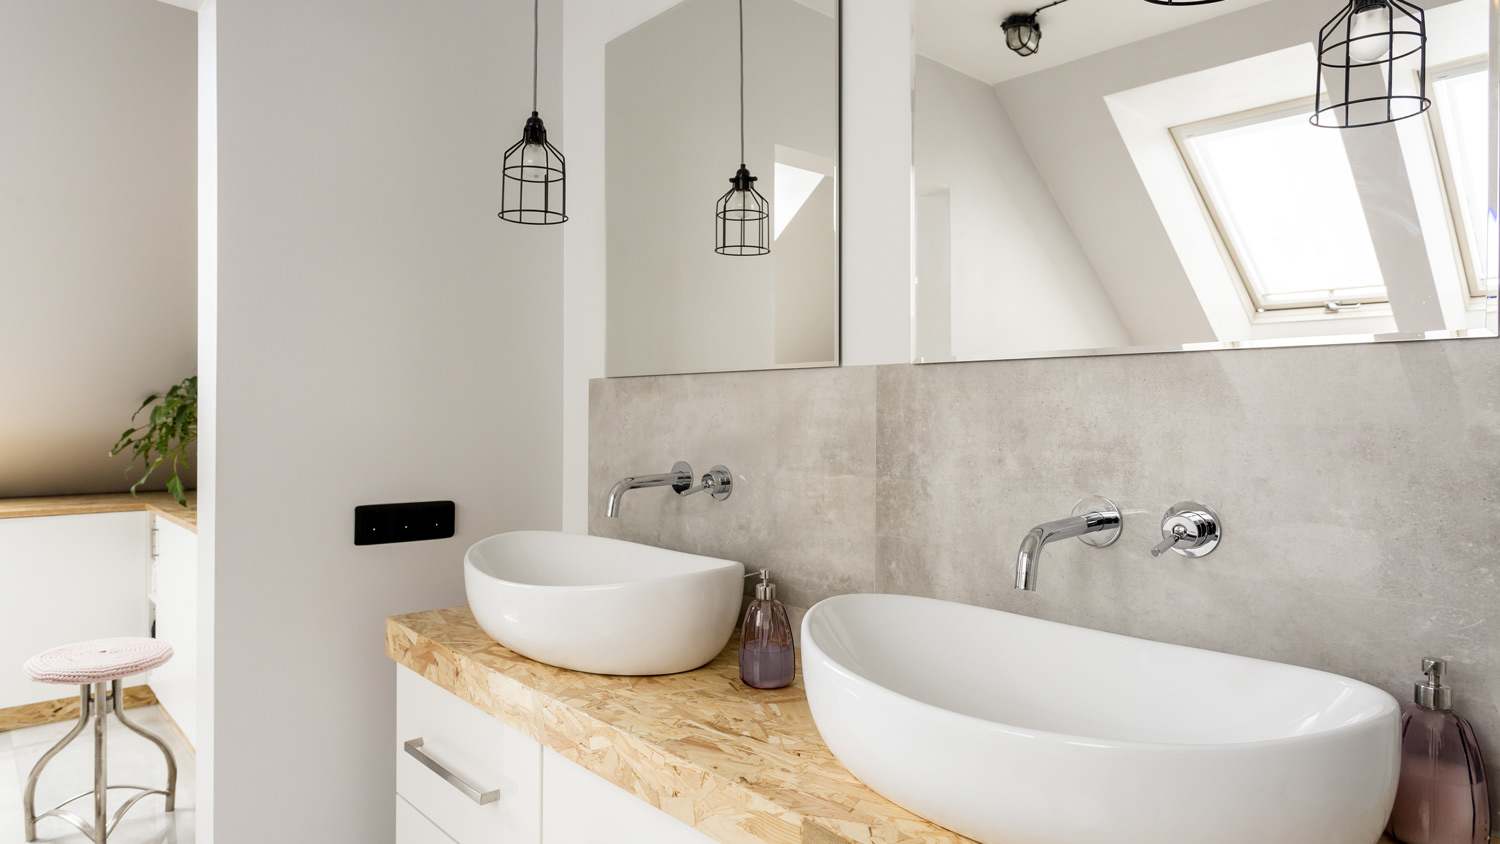
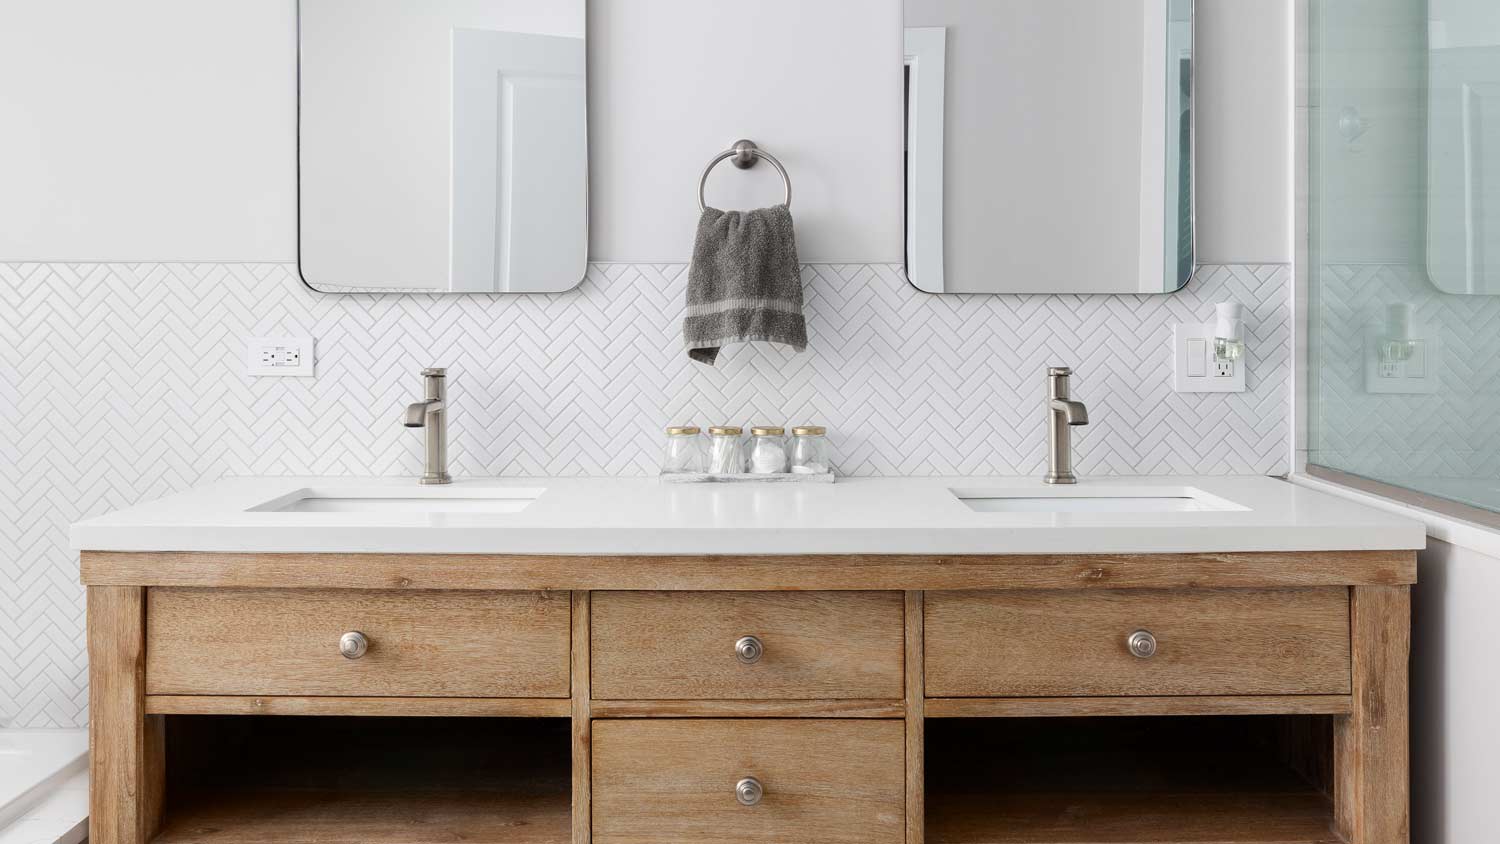
Consider how much square footage you can dedicate to your vanity. A corner or pedestal sink vanity is a better option if you're working with a small area. Go with dual sinks if more than one person regularly uses the space and a built-in vanity for extra storage space. If you’re having difficulty choosing the right vanity, talk to a vanity installer who can make suggestions for your current bathroom.
Measure your bathroom beforehand to ensure the new vanity will fit. Keep common vanity sizes in mind, which are 18 to 72 inches wide.
In addition, consider the type of vanity you’re installing when measuring the bathroom. For instance, if you’re installing a double vanity instead of a single one, you’ll need more space for the plumbing and the width and length of a bigger vanity. Or, if you’re installing a bathroom vanity with a counter, include measuring space for the countertop.
To make it easier for yourself, get a pen and mark the new width and height for the new vanity.
To avoid making a mess when installing your new bathroom vanity, turn off the water supply at the sink or your main shutoff valve. The shutoff valves are in the cabinet beneath the sink.
Make sure to add a small bucket beneath the pipes to catch any water or other debris left in the plumbing after disconnecting the water.
Follow the steps below to turn off your water supply:
Turn the hot and cold valves clockwise until you can’t turn them any farther.
Turn on the hot and cold faucet taps to empty the faucet lines.
Remove the drain trap (also known as the P trap), and clear away any debris.
Note: The drain trap looks like a U- or S-shaped curved pipe that comes down from the drain opening. To remove it, loosen the connecting nut using a hand or an adjustable wrench to remove it.
After turning off the sink or main shutoff valve, you’ll also need to disconnect the water supply lines.
Make sure the valves are shut off and the faucet lines are emptied.
Use a wrench to detach the top of the water supply line from the sink faucet.
Hold the water line upright until you can dump it over into a bucket to release any remaining water.
Use a wrench to loosen the nut at the base of the water supply line from the water supply valve.
Wipe the valve connections dry and add fresh plumber’s tape to prepare for the new water supply line connections after installing the new vanity.
With the plumbing disconnected and any water drained, you’re ready to start removing the old bathroom vanity. But you’ll need to do so with care to avoid ripping out any drywall or causing other damage.
First, run a utility knife along the sealant around the back of the sink or against the backsplash.
Remove any screws or bolts connecting the vanity cabinets to the wall and sink.
Use a putty knife to wedge slightly beneath the vanity top and the cabinets, then tap the end of the putty knife carefully with a hammer.
Follow up by using a pry bar to loosen the vanity top and sink by moving it around the edges.
Once loose, lift the vanity top and sink from the vanity base or cabinets.
During this project, you may damage your walls and flooring when you remove your old vanity, so your bathroom might require some repairs. This might include filling incidental holes with caulk, repainting the walls, or laying new flooring or tile.
It’s finally time to install the new vanity! To do so, follow the steps below:
Position your vanity into place.
Use a pen or pencil to mark the vanity’s outline.
Take your stud finder and pinpoint the studs, marking them with a pen or pencil.
Level the vanity with shims on the floor if necessary.
Mark and then drill holes for the drain and supply pipes.
Following the vanity’s installation manual, secure the vanity to the wall using 3-inch drywall screws. Make sure to drill the screws into the wall studs. For added security, consider adding wall anchors to anchor the vanity into the wall studs.
Use the screws, hardware, and instructions provided with the new faucet to install it to the sink before reconnecting any plumbing.
Once the vanity is in place and the faucet is installed, make sure the vanity top sits securely against the wall. Add lines of silicone caulk around the back edge of the vanity top and along any shims that were necessary to level the vanity. Follow the vanity manufacturer’s instructions to secure the vanity top to the base with fasteners or glue. If you are redoing any backsplash, add that now.
Once you’ve installed the new vanity, you’re one step closer to earning your DIY badge. The final step is to reconnect the faucet lines to the water supply and secure the P trap back in place.
Replace or install the sink drain and connect it to the drain pipes, hand-tightening the drain trap and waste lines.
Screw the supply lines back into the faucet and water valves using a wrench to tighten the connections.
Turn the shutoff valves back counterclockwise.
Place a towel and bucket beneath the plumbing pipes under the sink.
With the plumbing reconnected and the water supply turned on, turn on each faucet handle and check for leaks. Turn on both and check again for leaks.
Remember: If you have any confusion, questions, or mishaps, don’t be afraid to call in a local professional plumber for help. Installing a bathroom vanity can be challenging, and you want to have a properly-installed vanity to ensure there are no incidents.
This is a difficult DIY project, so you should only take the plunge if you feel confident in your skills and knowledge. If you decide to go the DIY route, your wallet will thank you. Bathroom vanity installation costs $1,500 on average, with labor costs ranging between $200 and $1,000 or $45 and $200 hourly.
If you aren’t comfortable embarking on this task, don’t hesitate to call a bathroom vanity installer near you. They can help you choose the right vanity and install it properly so you can enjoy it for years to come.
Paige Bennett contributed to this piece.
Jason has helped me with multiple household projects, with the most recent being new door installation. He has always showed up on time and organized and has done an incredible job! Jason is very professional and he's now my go-to for anything around my house that needs to be fixed or...
Cole has been handling plumbing and general contracting for our four properties over the past three years, and he’s always done a great job. Most recently, he installed a sink and countertop in our retail store where none existed before, and it turned out exactly how we needed. He’s...
 ANB Renovations LLC
1st Choice Renew is simply the best! We hired them for a complete home renovation, and they transformed our space into something truly amazing. The team attention to detail and commitment to quality were evident throughout the project. They were easy to work with, very responsive, and always...
This company went above and beyond with their work, chimney sweeps are usually pretty messy, but the clean up was spot on.!! Josh explained every thing that he was doing, and the things that he was checking to make sure the chimney was safe for me and my family. He was very professional,...
 Supreme brick & chimney
Custom Paint Jobs LLC transformed our outdated kitchen into a modern masterpiece.
Excellent customer service and knowledge. I was recommend to him from my neighbour. My front door and window came in great and were installed beautifully perfectly, I m very satisfied with their excellent work, so decided to order one more big bow window for my living room. I cant wait for...
If I could give 10 stars for Kitchen Tune Up, I would. I cannot say enough good things about my experience with Kitchen Tune Up and the entire team involved in the process of my kitchen project. They went above and beyond as far as service and quality with my cabinets, paint, countertops, and...
It was wonderful working with Yordy and his team. They were very professional and are experts in what they do. They have completed the work on time, with better quality and with in fairly reasonable price. We just started with backsplash work , but liking his work, we went on to provide...
We were having 2”x 2” tile installed . There was a small installation error and the new additional replacement tile was from a different lot and the colors didn’t match. Joe assured us that he would rectify everything , which he did without hesitation. We decided to go with the 18” x 36” tile...
 CarifaTile
They work that 360 did on my kitchen cabinets is nothing short of amazing. I still cannot believe the difference from before and after. Jon and Jeff were both so incredibly professional throughout the whole process and their communications with me were constant and consistent. These guys...
 360 Painting Columbus
From average costs to expert advice, get all the answers you need to get your job done.
If your bathroom needs sprucing up, a new vanity will make a big difference. Vanity installation costs depend on the size and type of the countertops and fixtures you choose.
If your bathroom vanity top is damaged or cracked, removing and installing a new one can be an easy project to tackle. Learn the cost of replacing your vanity top.
Bathroom cabinet costs can easily skyrocket. Take a look at these important cost factors and considerations to help you stay within your budget.
Need to hire someone for bathroom vanity installation? Learn how to find qualified pros, questions to ask, and what to expect from the hiring process.
A handyperson is an ideal pro to remove and install your new bathroom vanity and sink. We have rounded up the best people who can get the job done.
A new vanity can transform the look of your bathroom, but it has to fit. This guide breaks down common vanity sizes and how to measure for the right one.