Looking for a more eco-friendly flooring option? Learn how much Marmoleum® flooring costs and what factors can affect the price of installation.
Attach accents that pull the whole room together


Knowing how to install baseboards yourself can instantly enhance any room's appearance in a day. It's one of the best ways to seamlessly tie your flooring and walls together with a clean, polished edge. Here's everything you need to install baseboards like a pro.

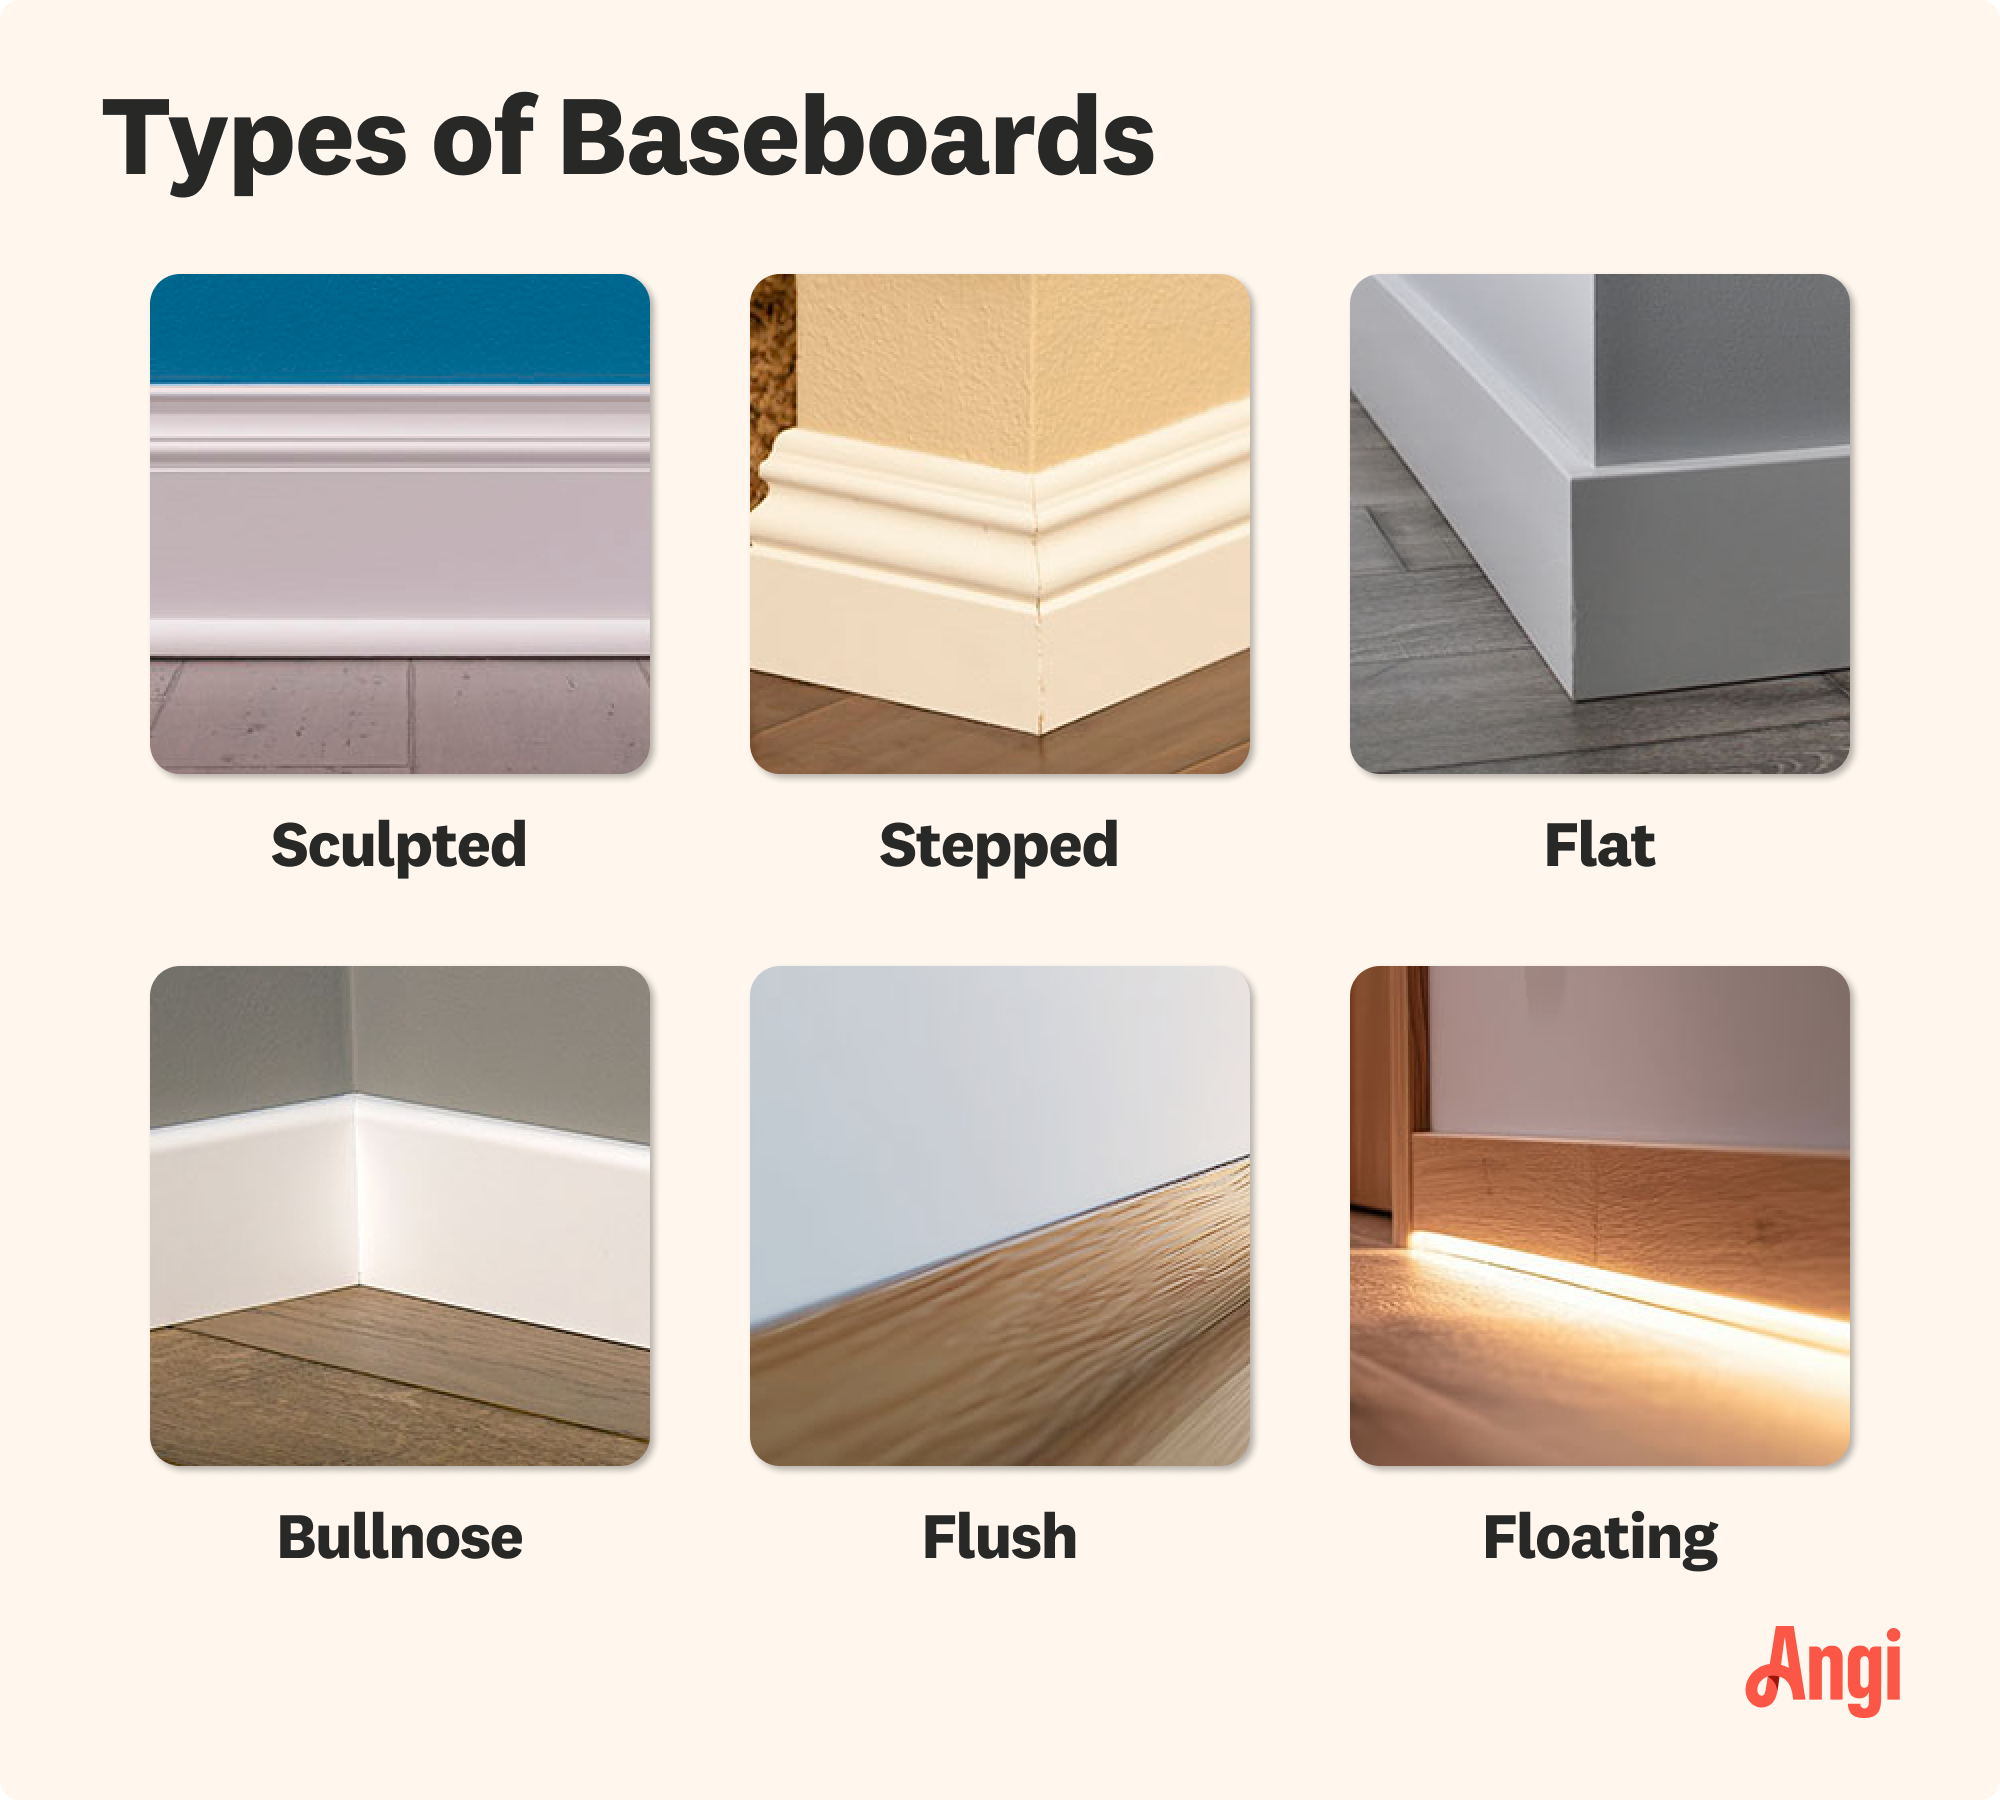
Before selecting a baseboard material, measure the room’s perimeter carefully, allowing for 15% extra material to plan for corners and custom cuts to fit the room. Consider the type of baseboard you want that suits the room conditions. You may choose PVC for a laundry or mud room because it is best for moisture-prone areas.
A big part of your prep is removing the old baseboards, carefully inspecting the walls and floors for irregularities, and repairing cracks or uneven areas so the new baseboards sit flush. Here’s a helpful tip: Prime and paint baseboards before installation and touch them up later.
Installing baseboards is a rewarding project for any DIYer confident in their precision skills.

Mark the baseboard material with a pencil using the wall measurements you collected. For corners, plan for angled cuts using your miter saw by adding an extra mark on the ends at a 45-degree angle.
Grab your miter saw, set the 45-degree angle, and carefully cut the baseboard. Remember your goal is to cut precise edges that seamlessly match the adjoining baseboard piece at each corner.
A good practice for precision is to check each cut against the wall to ensure accuracy before cutting the next section. Taking time for precise measurements and cuts will make a significant difference in achieving a polished, pro-installed look.

Before you whip out that nail gun to attach the baseboards, position each cut piece along the wall to test the fit. You want to be doubly sure all the pieces align as planned. Pay close attention to the cuts, especially at corners where even the teensiest misalignments can create visible gaps. Each piece should fit snugly.
If you notice minor misalignments, trim the edges with your saw for a more precise fit for any overlaps. Small, noticeable gaps can be filled with caulk or wood filler after installation.
Attaching your baseboard with adhesive before nailing adds stability and ensures the baseboard hugs the walls and corners. Consider it a security measure that keeps the baseboard in place.
Apply a thin construction adhesive line along the baseboard's back, then gently press the baseboard into place. It may be helpful to ask a buddy to assist. Ensure you both hold the baseboard in place for several minutes to allow the adhesive to bond.
Once the baseboard is positioned and secured with adhesive, secure it to the wall using a nail gun and 1.5 to 2-inch finish nails. Start by nailing at one end of the baseboard, then move along in 12- to 16-inch increments. For a stronger hold, aim for wall studs whenever possible. This is particularly helpful for heavier baseboards.
You want each nail to be slightly recessed to easily hide the nails with wood putty later for a seamless look.

After nailing the baseboards to the wall, fill the recessed areas around the nails, gaps at the joints, and the top edge of the baseboard.
To fill the spots around the nails, use the appropriate filler for the baseboard material, such as wood filler. Press the filler using your trusty putty knife and smooth until it is flush.
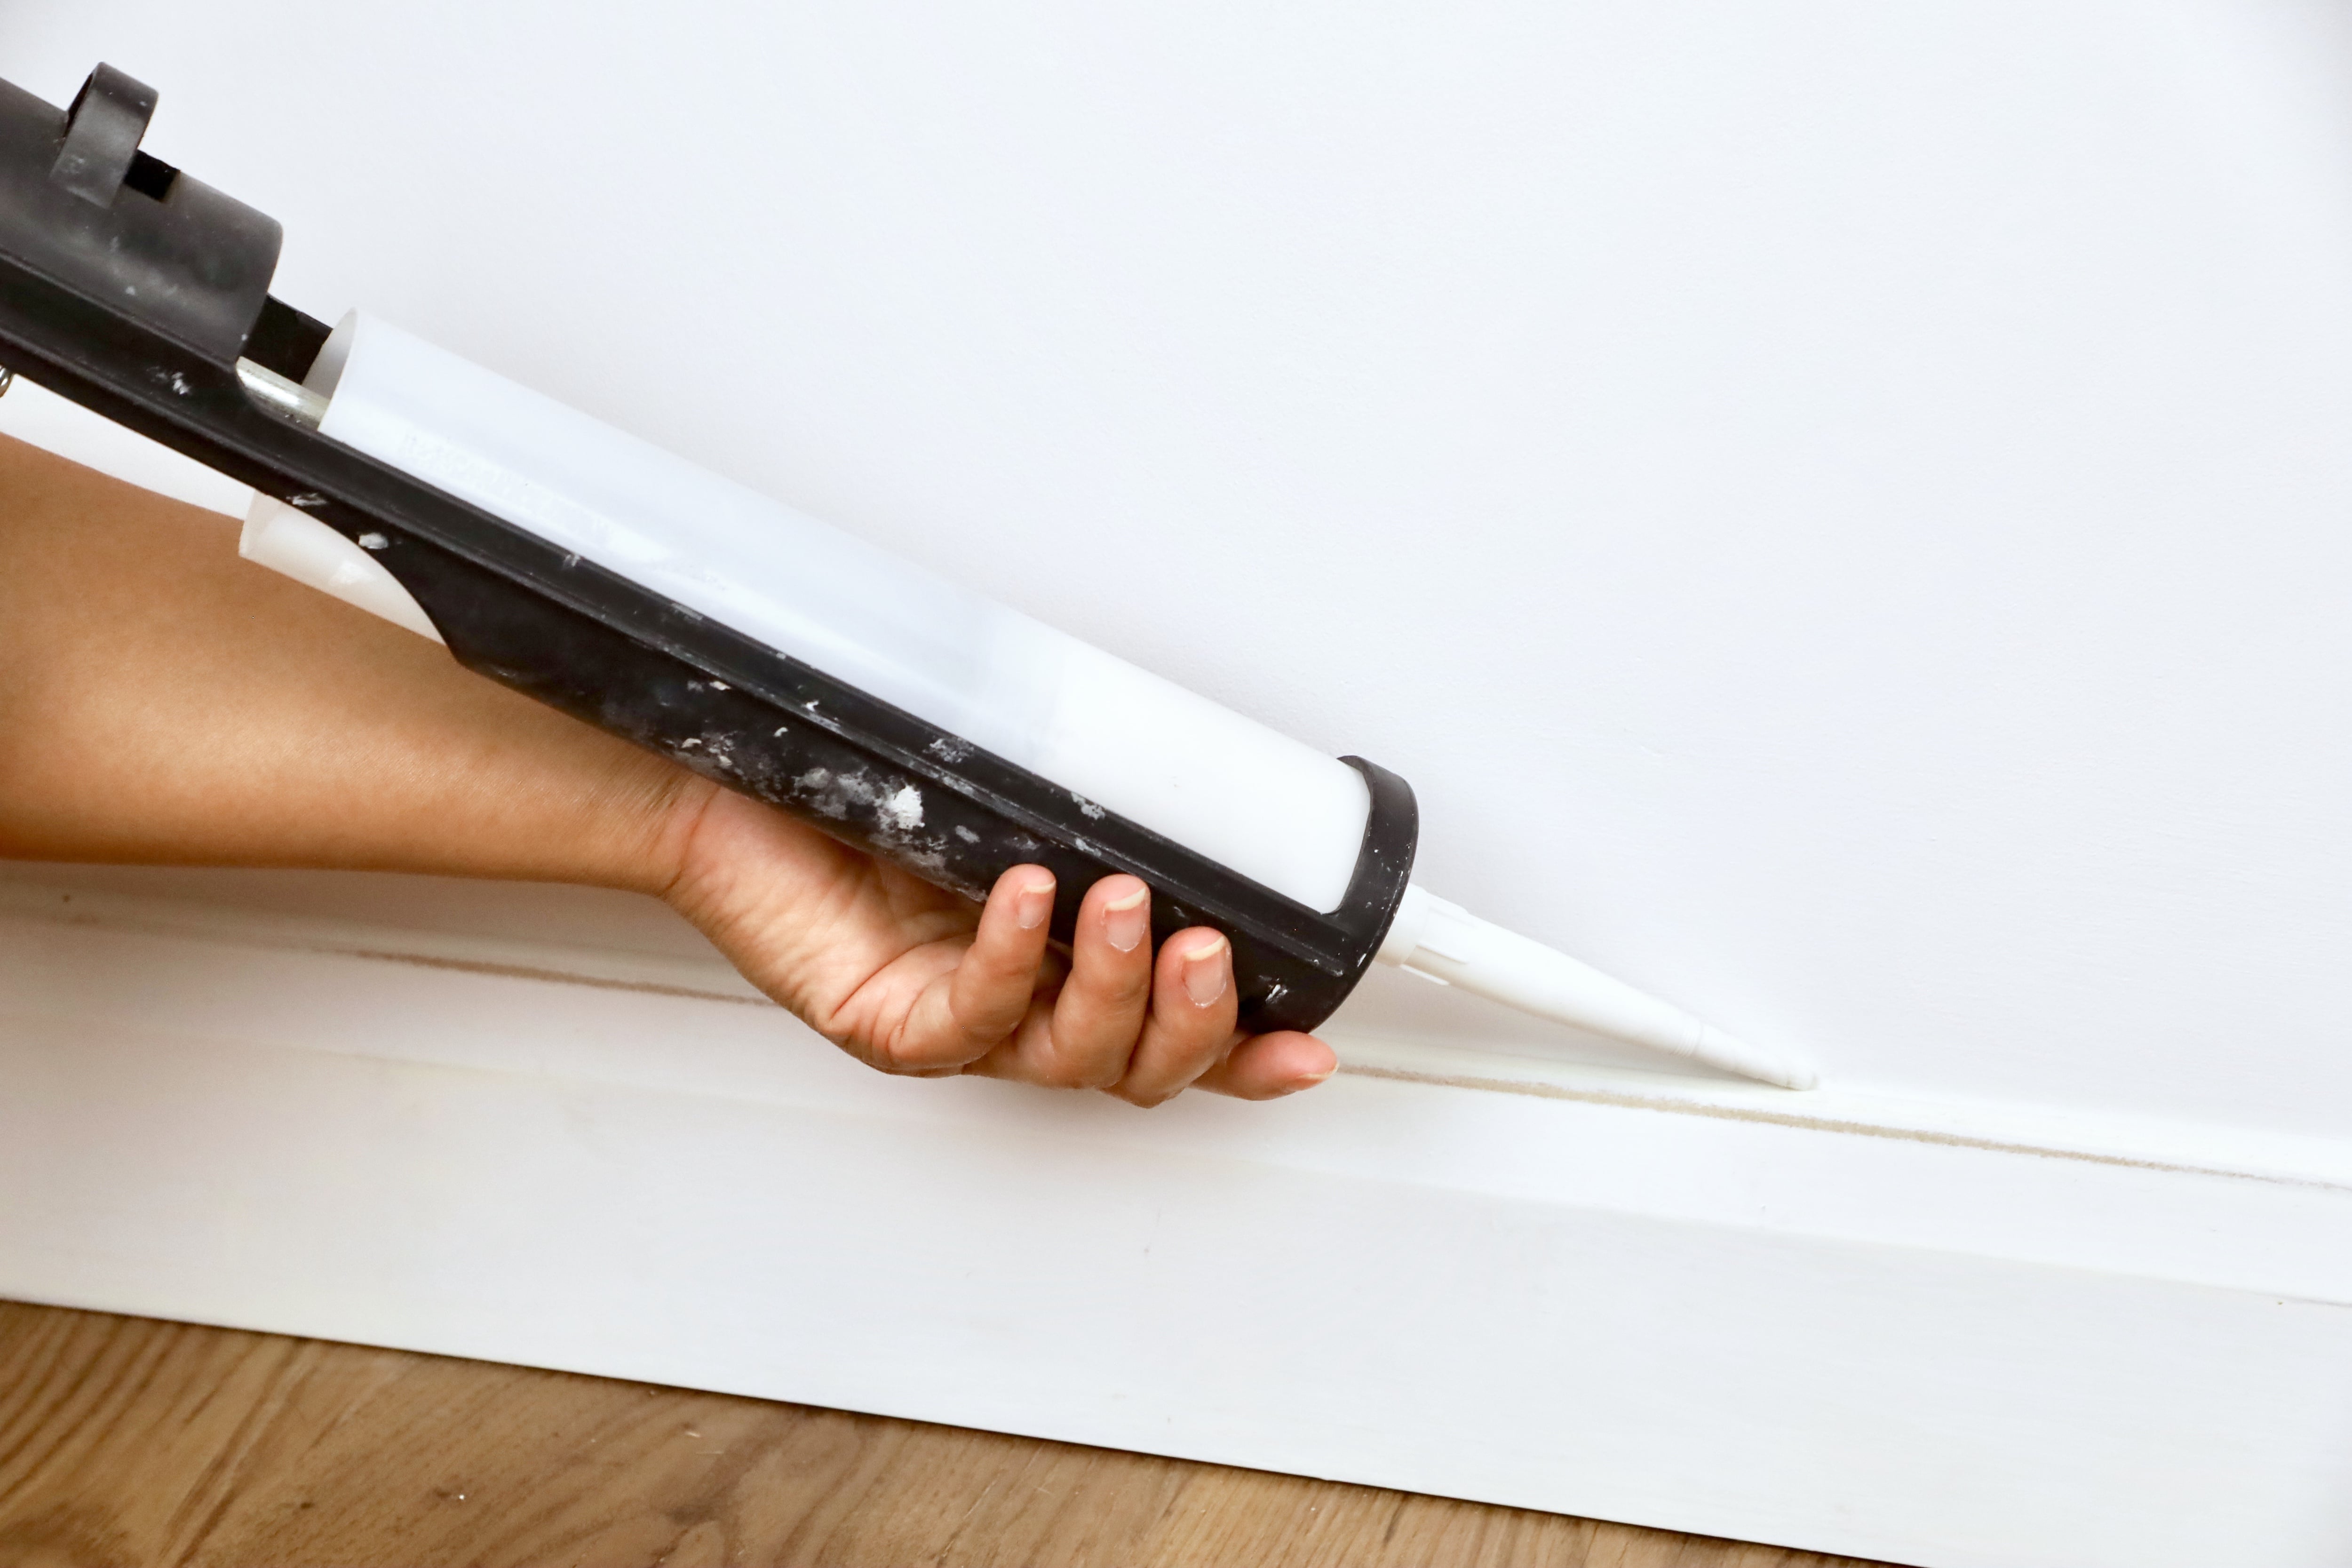
Use caulk to create a seamless finish for joints, gaps, and along the top edge of the baseboard. Just apply a small bead and smooth to create an even line using a caulk finishing tool. It’s important to point out that you can’t sand caulk, so take your time to achieve a smooth application. If you need to paint caulked areas later, ensure you use a paintable caulk. Follow the manufacturer’s instructions for drying times before proceeding to the next step.
Once the filler is fully set, it is time to break out your fine-grit sandpaper—220 grit works well—to create a smooth and even surface. Take your time to avoid over-sanding, which results in an uneven appearance.
Wipe down your baseboard using a clean, slightly damp rag to remove dust and debris. Now you can touch up filled areas with paint.
Installing baseboards is a manageable project for experienced DIYers who understand how to take accurate measurements and are comfortable using a saw. However, hiring a local baseboard installation specialist is your best bet if you’re not known for your precision. The cost to replace your baseboards averages around $1,100, so you don’t want to get it wrong.
Remember, baseboard professionals have the tools and necessary experience for precise measuring and cutting, ensuring seamless joints. They also have the expertise to handle common issues in older homes, like uneven flooring and walls. Lastly, working with an expert saves you the time and effort of gathering materials, plus the extra costs of buying tools and fixing mistakes in your work.
From average costs to expert advice, get all the answers you need to get your job done.

Looking for a more eco-friendly flooring option? Learn how much Marmoleum® flooring costs and what factors can affect the price of installation.

Cork is a good option if you want a beautiful, natural floor. Here are all of the cork flooring costs you can expect as you plan your project.

Subflooring makes your floors sturdy and level. Learn more about the cost to install plywood subflooring and factors that affect the price.

If you’re dealing with warped or creaky floors, it could be a subfloor issue. This guide will show you how to replace a subfloor totally DIY.

Updated flooring can make any room in your home feel brand new. Explore flooring installation costs in Atlanta, GA, from materials to labor costs.

When wondering who to hire to fix squeaky floors, a floor repair professional should give you the best results, starting with diagnosing the problem accurately.