Learn about the primary factors that will affect your main water line replacement cost in Philadelphia, including length, materials, and installation needs.
You won’t need everything but the kitchen sink for this simple project
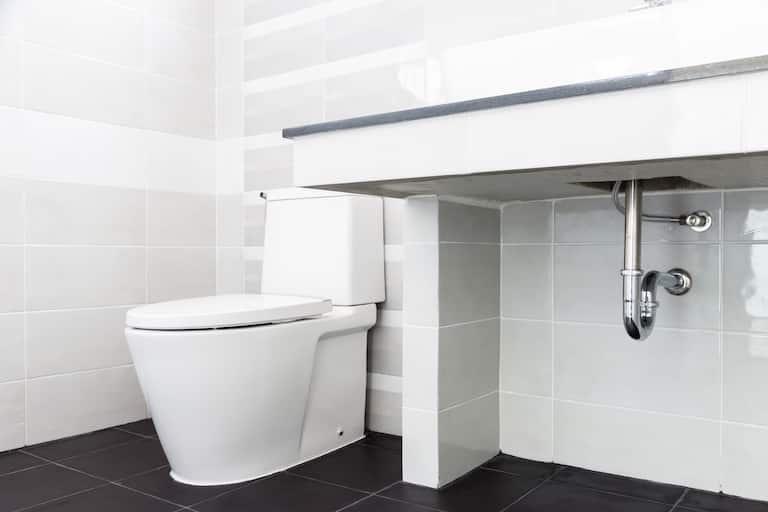

The smell of a faulty sink P-trap is enough to have you dialing your favorite plumber every time you do the dishes. But a leaking sink P-trap doesn’t necessarily need the expert hand of a licensed plumber. This issue, though smelly, is often a simple fix that you can do yourself to avoid paying for plumbing services. We’ve broken down a tutorial to help you tackle this project on your own.
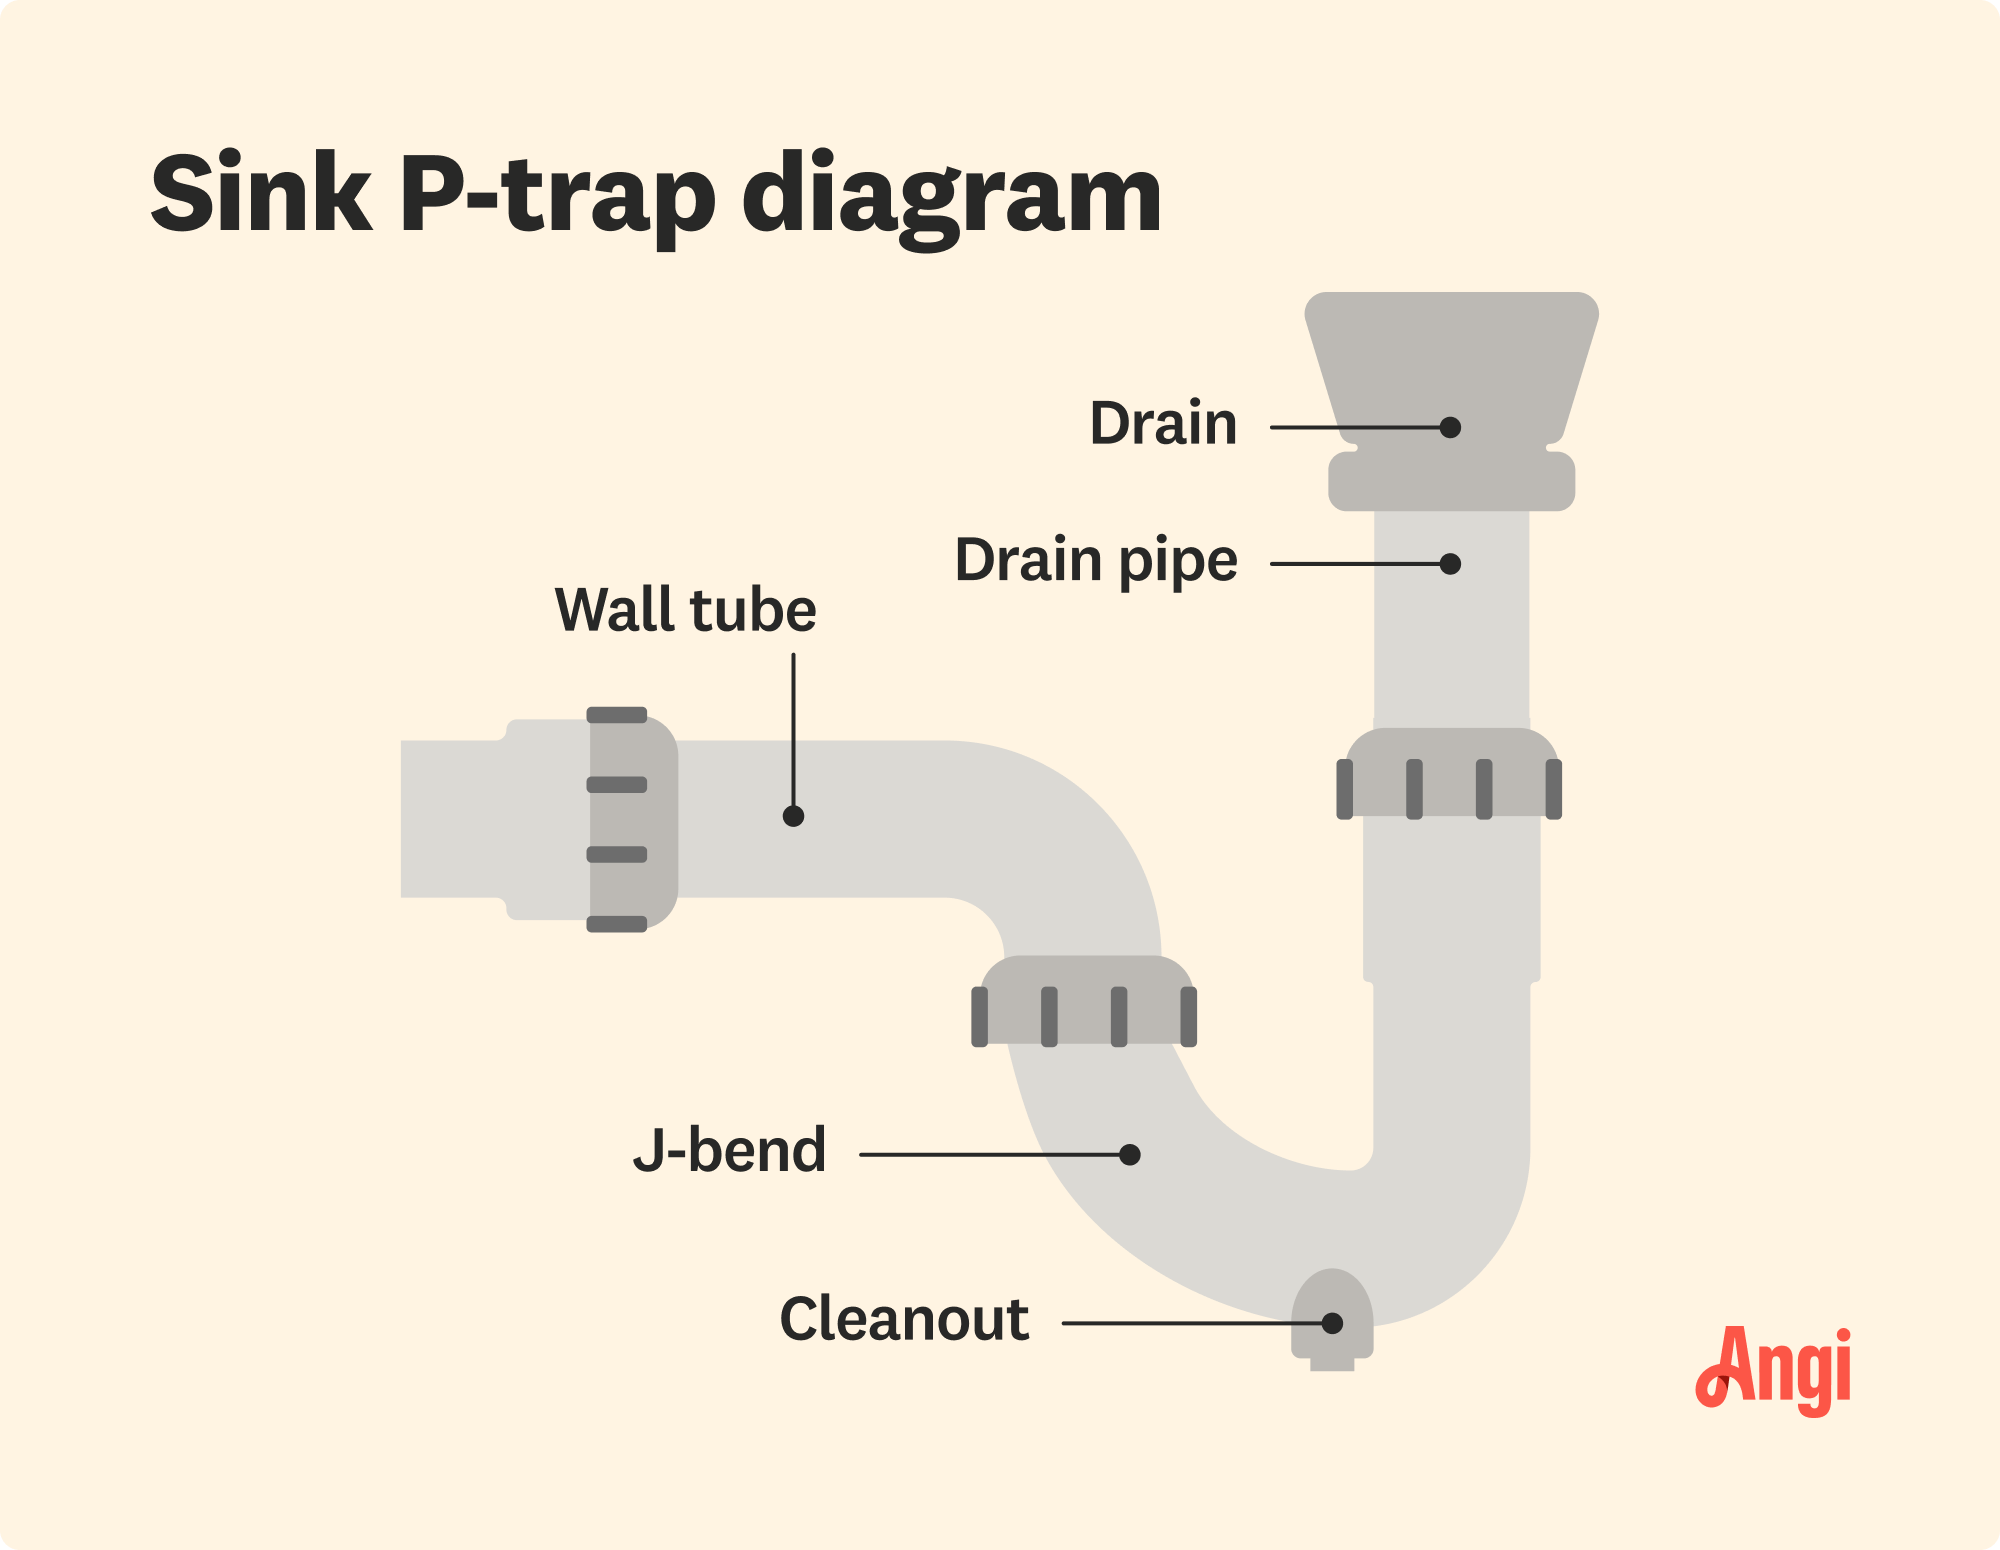
Before you go about replacing a leaking sink P-trap, you'll first want to rule out quick and easy fixes by checking for loose P-trap connections and alignment problems. It's a good idea to tighten the P-trap to see if this fixes the problem. Either use your hand or a pair of vise-grip locking pliers to turn the nut. To avoid skewing the connection’s alignment, you might want to use two pairs of pliers—one for holding the P-trap pipe still, and one for turning the nut.
If that doesn’t work, give your P-trap piping a good glance over for signs that any of the parts are out of alignment. If the pipe sections look crooked, this could be the culprit behind your leaky sink pipe. To fix it, line up any misaligned sections by loosening the nuts with a firm hand or with a pair of pliers, then turn the pipes until they line up. Retighten the nuts after you’ve finished lining the pipes up.
Start by turning off the water supply to prevent someone from accidentally opening the floodgates and turning the underside of your kitchen sink into an indoor water park. You can typically find the shutoff valves under your sink. To shut them off, turn the valves clockwise.
Now it's time to remove the old P-trap. Use your pliers to loosen the two nuts that connect the parts of the P-trap to the sink tail pipe and drain line.
With a bucket and dry towels on hand, remove the old P-trap from your sink. Pour any water that remains inside the P-trap into the bucket, and wipe up any water from under your sink.
Once the old P-trap pipe is removed, your home is exposed to sewer gas. It’s important to keep sewer gas out of your home, so seal the opening by inserting a towel into it.
Now that you've removed the P-trap, inspect it for damage. If your P-trap is in good condition, you may only need to replace an O-ring or nut. On the other hand, if the pipe is old and has seen better days, or there are signs of corrosion, it's best to replace the P-trap.
Ensuring you have the right replacement parts is key to preventing any further leaks. The best way to choose the most compatible parts is to bring your old P-trap with you to your local home improvement store.
With replacement parts on hand, it's time to reassemble the sink P-trap. Remove the rag from the sink drain line, then follow the manufacturer's instructions for installing the new sink P-trap.
Once you've reassembled the sink P-trap, tighten the nuts to secure the pipe in place–being sure to check for alignment as you go. Don’t over tighten the nuts, or you could break them.
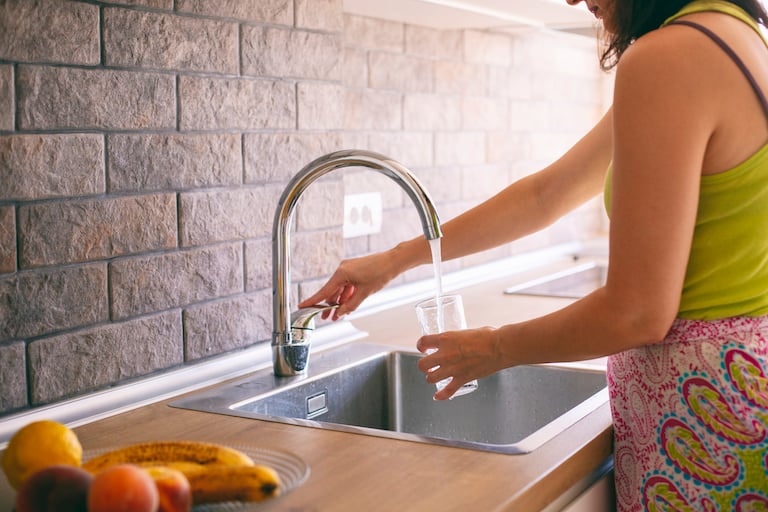
It’s time to see if your hard work has paid off. Turn the water shutoff valves counterclockwise to turn the water back on, and then turn both faucets on high pressure. Check to see if the leak is gone. You can use a towel to test for any continued leaks. The towel should stay dry when you place it at the base of the P-trap pipe.
Here are some ways to make your P-trap replacement a little easier.
Don’t forget to turn off your water supply before starting work
Be sure to use the correct size P-trap
Try to use the same type of P-trap as your original
Have towels on hand to quickly clean up any wet mess and avoid water damage
If you’ve tried to replace your P-trap, and continue to experience leaks or foul odors, it may be time to throw in the towel and contact a local plumber for help. Plumbing repair costs range from $150 to $850 on average, depending on the severity of the leak.
From average costs to expert advice, get all the answers you need to get your job done.

Learn about the primary factors that will affect your main water line replacement cost in Philadelphia, including length, materials, and installation needs.

Learn how much a plumber costs in Philadelphia and how to find a licensed pro for repairs, upgrades, or emergency plumbing service in your neighborhood.
Learn what impacts the cost of main water line repair in Philadelphia, PA, and how to plan for repairs in the city’s historic neighborhoods.

Copper is prone to leaks from corrosion, particularly pinhole leaks. This guide will show you how to fix a copper pipe leak in seven different ways.

So, your toilet is wobbly, huh? Find the root cause and fix a rocking toilet yourself using caulk or plastic shims (or simply repair a loose toilet seat).

Whether your outdoor spigot is leaking, damaged, or has unusual water pressure, learn how to replace a spigot valve in an hour or less.