How to Make a DIY Bookshelf: 7 Ways to Build Storage for Your Favorite Stories
Write the book on how to build a home library


There comes a time in every bibliophile's life when their book collection outnumbers the square footage of their home. This is exactly the moment when creative book storage ideas save the day, especially if you're a DIY enthusiast ready to build something of your own. From building a bookshelf from scratch to repurposing old furniture into a mini library, here are some of the top ways to make a DIY bookshelf that matches your style.
What to Know About Building Your Own Bookshelf

You don't need to be a master carpenter to build a bookshelf yourself, but you do need to keep safety and practicality in mind. Not all materials and pieces of refinished antique furniture are strong enough to be a bookshelf.
Bookshelves should be made of sturdy materials strong enough to hold significant weight. If you've ever moved into a new apartment and lugged a box of books up the steps, you know how heavy things can get. Pine, oak, and birch plywood are ideal for basic bookshelf construction, and it's worth spending a bit more on higher-quality materials to avoid buckling.
Also, if a newly built or repurposed shelf shows signs of weakness—such as shifting side to side—it either needs reinforcement or shouldn't play the role of a bookshelf. We'll explain how to secure a bookshelf to your wall below.
All this being said, the perks of creating a DIY bookshelf are plentiful. You can stain the wood to match the style of your home, place the bookshelf to enhance your room's layout, and brush up your carpentry skills.
How Much Does It Cost to Build a Bookshelf?
The cost to build built-in bookshelves yourself comes to about $150per linear foot. The price of a simple freestanding bookshelf, however, will vary depending on the type of wood you choose and the dimensions of your shelf. You will also save some money if you already have common tools like a circular saw, a nail gun, clamps, and wood glue.

How to Prep for Building a DIY Bookshelf
You can find both pre-measured DIY bookshelf plans online as well as full DIY kits. Make sure that you have all the tools and hardware in place before starting your project. For more complex builds, your toolkit should include:
Circular or table saw
Power drill
Pocket hole jig
Nail gun or brad gun
Wood glue
Tape measure
Wooden mallet
How to Make a DIY Bookshelf
The term DIY bookshelf can really mean anything, from a from-scratch build to designating an old bar cart as your new book cart. Here are common DIY bookshelf plans for all levels.
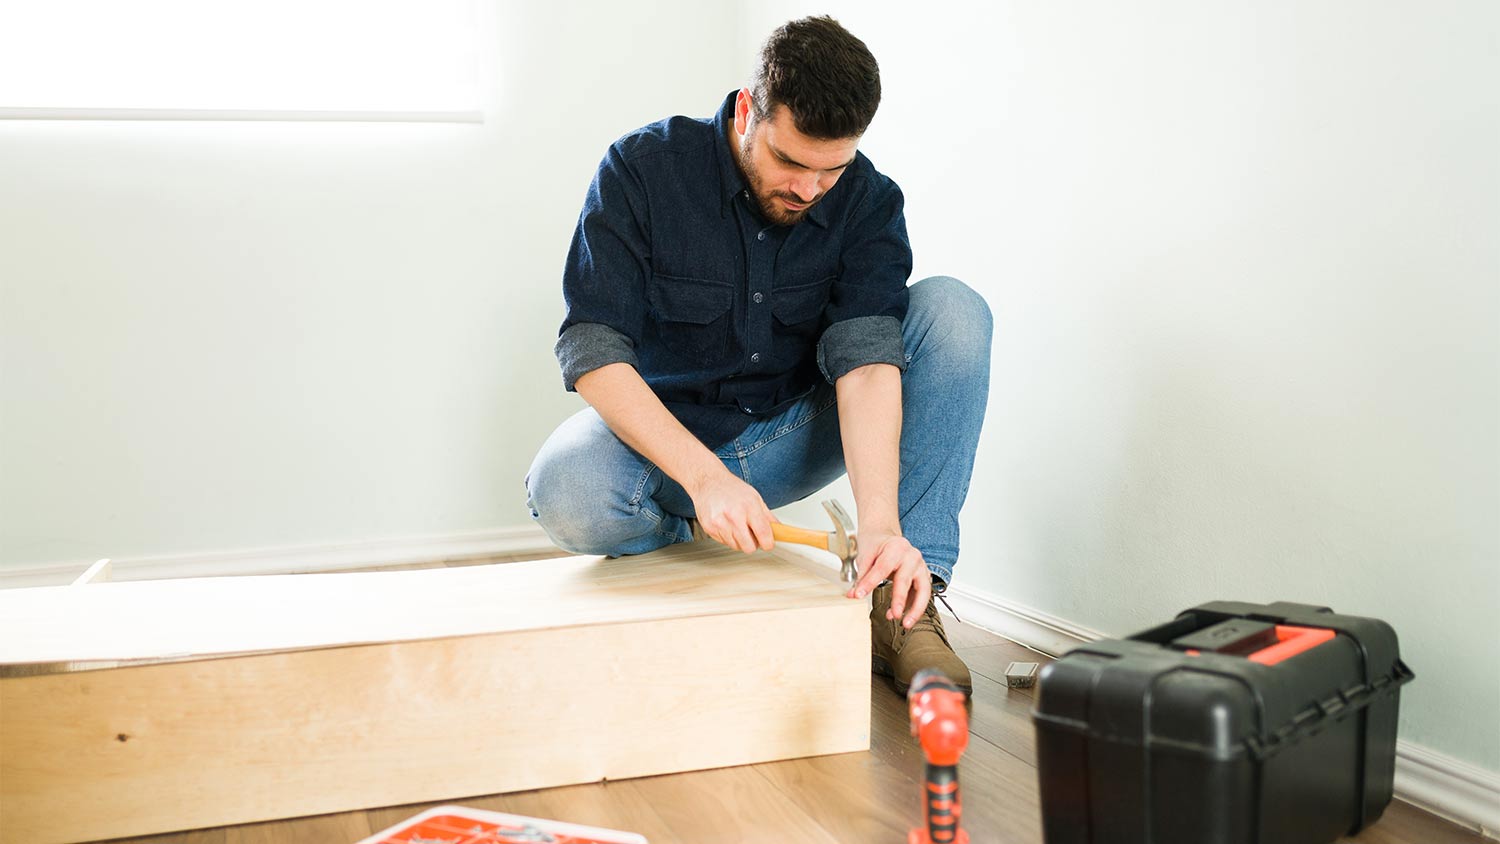
1. Build It From Scratch
Building a bookshelf is an excellent way to dip your toe into the DIY carpentry waters. If you're just starting out, we recommend using a blueprint for a bookshelf instead of concocting the measurements yourself.
We've outlined basic instructions on how to build a bookshelf without specific measurements below. This way, you can get a general sense of the journey from a pile of plywood to the new home for your Harry Potter collection.
If you choose to stain wood for your bookshelf, you can complete this step before cutting the individual pieces to size or after the bookshelf is totally assembled.
Measure and cut the pieces for your bookshelves with a circular or table saw. You should have:
Two side panels measuring the height of the bookshelf.
Shelves of the same size (number will vary).
One top board slightly longer than your shelves.
Four thin framing pieces for the face frame—typically 1-by-2 pieces.
One toe kick board.
One backer board.
Make a note on each newly-cut piece of plywood specifying its bookshelf location.
Lay the side panels next to one another and ensure they line up. Measure and mark where you plan to place your shelves.
Use a pocket-hole jig to drill one pocket hole in each corner of the bookshelves—but not the top board. Set the jig to the thickness of the board and drill a hole into the bottom of each board in each corner.
Lay one side board down on your workspace and attach the top board to one top edge. Secure with a line or wood glue and a brad nail gun.
Repeat this process with your lowest shelf. Add a line of glue to the edge of your lowest shelf and position it so the pocket holes face the bottom of the bookshelf.
Screw appropriately-lengthed screws into each pocket hole to secure it to the side board.
Next, add all the shelves in the same way, moving up the shelf and aligning with the marks you made earlier.
With all the shelves attached, add glue to the open edges as well as the top of your next side board. Fit the second side board into place so it aligns with the shelves and the top board of your bookshelf.
Add another line of brads to secure the top of the side board and then add screws in each pocket hole to secure the shelves to this side.
Screw pocket holes in your toe kick board and wedge beneath your bottom shelf three inches from the front of the bookshelf. Add screws to the pocket holes to secure.
Attach the face framing pieces to the top, sides, and bottom of the face of the bookshelf with a line of wood glue and brad nails.
Line up and attach your pre-cut backer board to the back of the bookshelf.
2. Attach a Floating Shelf
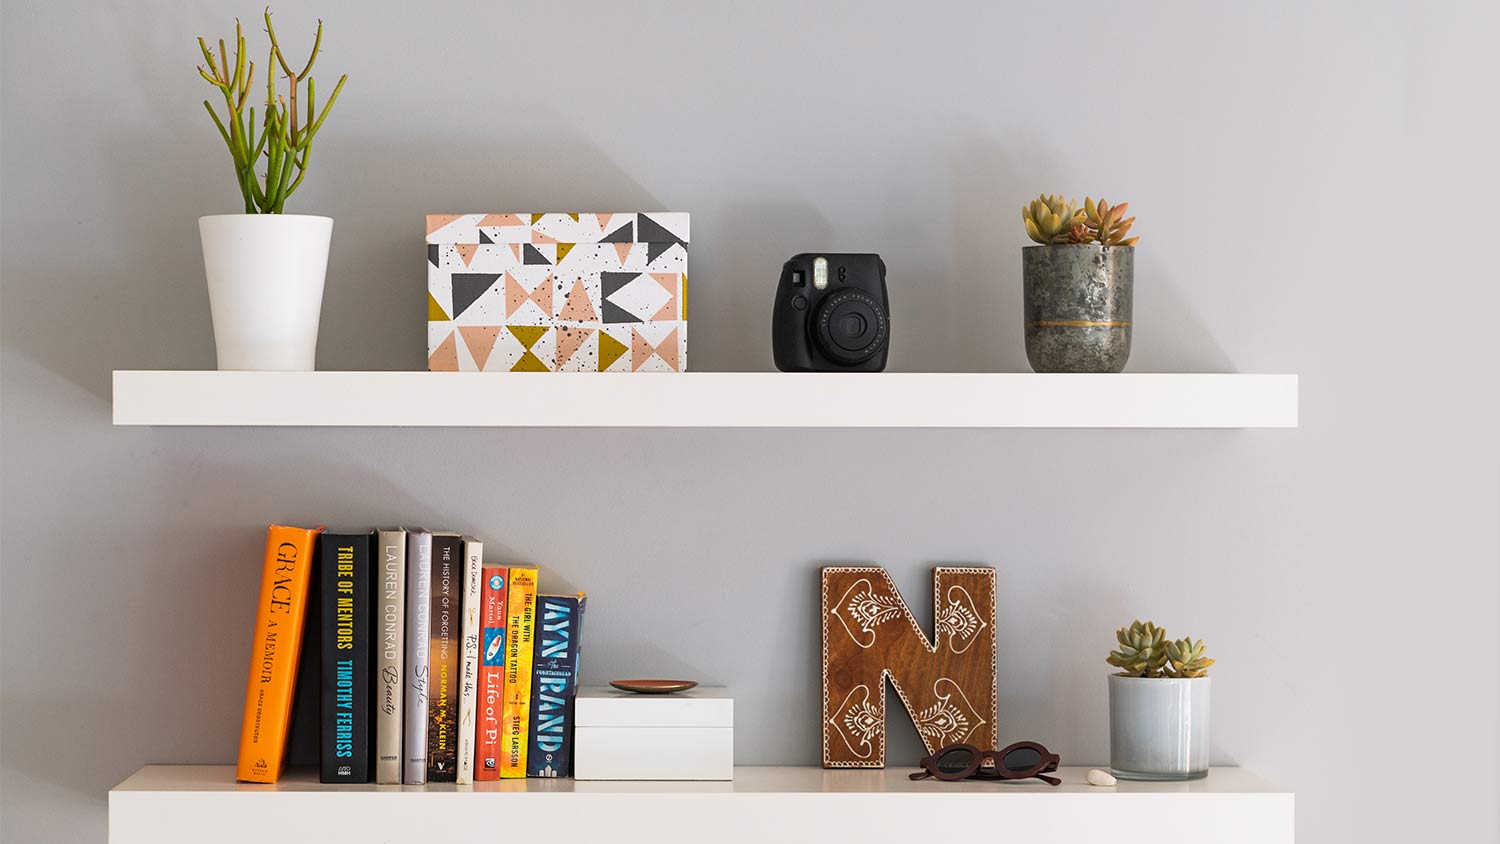
Installing a floating shelf is an excellent DIY project that only requires minimal saw and drilling skills. A floating shelf attaches directly to a wall in your home with either small braces or no braces at all.
Before you go stacking your Tolstoy collection on it, keep in mind that not all floating shelves can hold the same amount of weight. Attaching the shelf to wall studs ensures your shelf can house up to 50 pounds per stud, but drywall and other masonry require specialty screws or braces.
All this being said, here are the basic steps to installing a floating shelf:
Locate the wall studs and measure your wooden board to span the length between them.
Construct the pre-cut pieces to create a long box-like shape for your shelf. The shape will allow you to hang the shelf on the wall more safely.
Measure, cut, and attach the cleat to the wall between the two studs. The cleat is often a piece of 2-by-2 that braces the shelf and holds and manages the weight.
Attach the box-like shelf to the cleat and secure with one screw at the base.
3. Install Floating Pallet Shelves
Take your floating shelf skills a step further by installing DIY bookshelves from old wooden palettes. Transforming a pallet into a shelf is not quite as simple as simply attaching a pallet to the wall. Begin by breaking down the wood of the pallet and choosing four planks for the shelves.
You'll then complete nearly the same steps as you did above with the floating shelf, but with the repurposed, rustic wood as your material. Consider either a cleat or a set of sawtooth hangers to attach it to your wall studs.
4. Install a Rope Bookshelf

DIY rope bookshelves are rustic, modern, and ideal for a room with minimal floor space. Building the shelf also requires less cutting, drilling, and bracing to the wall. On a basic level:
Measure and cut two to three pieces of plywood to equal sizes.
Drill 1-inch holes at the corners of each shelf.
Insert four thick ropes through each of the corner holes, securing the shelf in place with a knot and dowel under each piece of plywood for stability.
Pull the four ropes together at the top into a triangle and secure them to a hook large enough to carry the weight of the shelves.
5. Stack Wooden Crates
You can find old wooden crates at your local gardening, hardware, or craft store, and may be able to even snag some for free.
Stack the wooden crates in both a diagonal and vertical position depending on the final shape you desire. Secure the crates to one another with a line of wood glue and a nail gun along each edge. As you build upwards, always make sure that your crates create an even and sturdy shelf that does not tip to either side. Remember that you can build side to side as well as upwards.
6. Stack Cinder Blocks and Wood
A safe yet easily stackable DIY bookshelf can be made with just plywood and cinder blocks or bricks. While it may sound overly simple, the project gives a room a rustic, minimalist, and industrial look with minimal effort.
Begin by measuring and cutting four equal plywood boards. Place evenly sized cinder blocks on each end of the board and build up, finishing with the final board.
Heads up: since these shelves are not permanently attached to the cinder blocks, keep your shelf low and wide to avoid tipping.
7. Repurpose Old Furniture
There are so many clever ways to repurpose old furniture, from turning a door into a headboard or ladder into a towel rack. But there are countless things in your home that can transform into a bookshelf, and we don't just need to stack a bunch of books between two bookends. For example:
Transform an old hutch or armoire into a bookcase by using the shelves previously reserved for board games for your favorite titles.
Tuck your books behind the glass door of a China cabinet, especially if you collect specialty or antique books.
Remove the drawers on an old dresser and replace the base of each open section with plywood. Create a deep-set bookshelf with plenty of added decor.
Swap out your glasses on your bar cart for your cookbooks and cocktail-recipe coffee table books.
While not exactly furniture, a large antique dollhouse turns into an excellent repurposed bookshelf for the kids' room.
How to Safely Secure a Bookshelf
Anchoring furniture to prevent it from tipping over is a must when you plan to fill it with heavy items like books. You can purchase an anti-tip kit with everything you need based on the type of wall, as well as the size of your bookshelf. Most anti-tip kits will include:
Screws
Wall mounts
Straps
Anchor wire
Basic tools for installation
Use a stud to locate the most secure place to anchor your bookshelf. Attach the wall brace directly behind the top of the bookshelf and the related anchor to the back of the shelf. You may also need drywall screws, wood screws, or masonry screws for other types of walls. If the bookshelf sits several inches from the wall because of your baseboard, connect the two with braided metal wire.
DIY vs. Hiring a Carpenter
According to HomeAdvisor, the cost to hire a local carpenter ranges from $13 to $39 an hour. You can call in a local carpenter for projects like installing built-in bookshelves or constructing a highly-customized bookcase for your home.
If you've purchased a bookshelf that came in 30 different pieces, a 20-page instruction manual, and three Allen keys, you’ll pay between $90 and $150 for the cost of furniture assembly.
In other words, you'll save a bit of money by assembling a bookshelf yourself. However, the type of DIY bookcase you choose really depends on your carpentry skills. If you're not comfortable with power tools, leave the job to a professional to ensure a safe and sturdy bookshelf.
Frequently Asked Questions
Look to the professionals when figuring out the secrets to styling a bookshelf. Place decor in varying heights, mix colors and textures, and always create a balanced overall design by alternating where you place extra decor items. Most importantly, don't overfill the shelf. Leave a bit of open space to deter clutter.
Plywood is the least expensive wood for making a bookcase. It’s an affordable yet strong material for basic furniture assembly, like building a DIY shelf. However, be careful when purchasing pine plywood, as it has a tendency to splinter when cut. Birch and oak plywood will cost a little more, but will ensure a finished look and sturdy base for bookshelves.


- Power Washing
- Greenhouse Companies
- Wood & Pellet Stove Repair
- Vinyl Siding Repair Contractors
- TV Antenna Services
- Ceiling Repair Companies
- Wall Repair Services
- Emergency Handymen
- Countertop Repair
- Vinyl Siding Cleaning
- Furniture Assembly
- Trampoline Assembly
- Carport Repair
- TV Mounting
- Chain Link Fence Repair
- Picture Hangers
- Electrical Handymen
- Handymen Plumbers
- Mailbox Installation
- Treehouse Builders
- Door Refinishing
- Aquarium Services
- Grab Bar Installation
- Caulking Services
- Grill Assembly
- 12 Book Storage Ideas Every Bibliophile Needs To Show Off Their Book Collection
- How to Build Pantry Shelves: A Step-by-Step Guide
- How to Build a House: Your Complete Guide to the Home-Building Process
- How to DIY Home Office Built-in Cabinets and Bookshelves
- 14 Home Renovation Tips for a Stress-Free Project
- 9 Micro Loft Design Tips to Save Space
- How to Build a DIY Outdoor Kitchen From Concept to Construction
- How to Build a Pallet Wall
- Which Home Projects To Put On Your To-Do List First After Moving
- 11 Big Mistakes to Avoid When Building a New Home


