
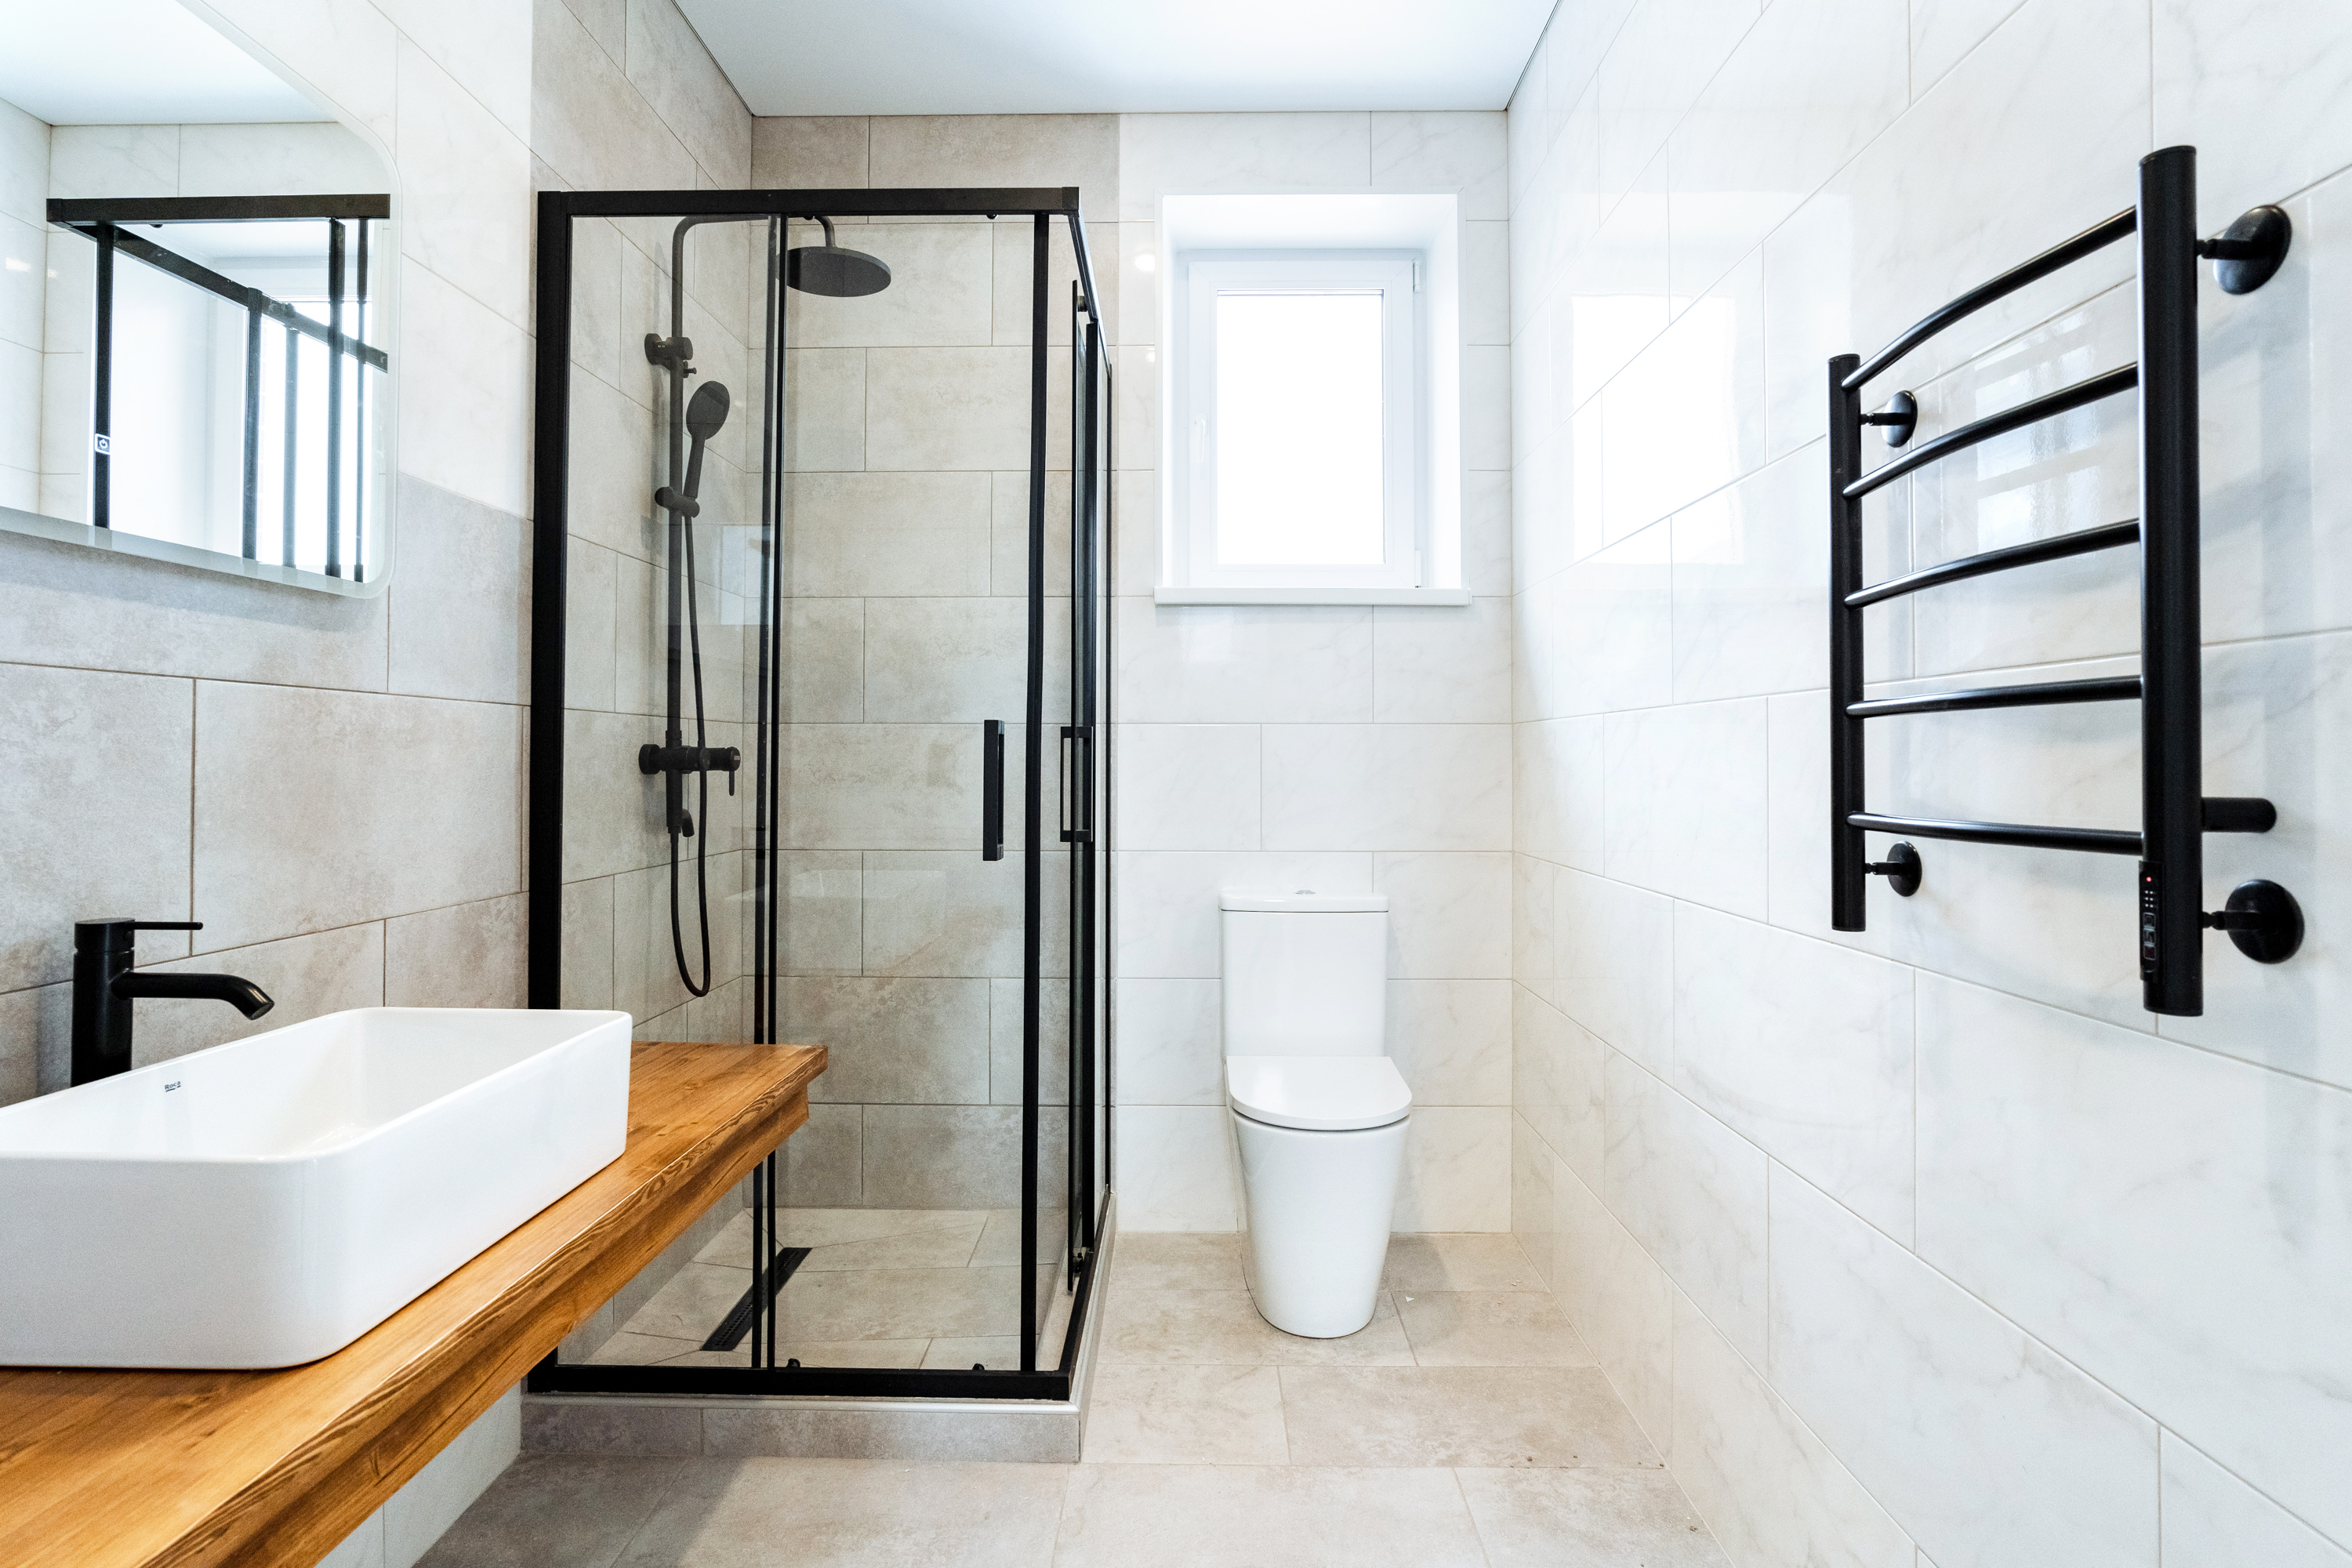
Discover the cost to design a bathroom, including key price factors, to help you plan your remodel with confidence and avoid budget surprises.
If you’ve got the right tools and a bit of patience, you can cut your own crown molding


Crown molding sets a room apart from the ordinary. Whether it’s large, small, bright, or subdued, that little strip of trim between the ceiling and wall significantly impacts a home’s design.
But for a DIYer, it’s arguably the most challenging type of trim work to master. Luckily, you don’t have to have years of carpentry training to make excellent-looking crown molding cuts. Some knowledge and patience are all it takes to conquer the basics. By building a simple jig, you’re well on your way to giving your interior an excellent face-lift.
For crown molding, a jig helps make consistent cuts safely and efficiently. The jig works no matter what crown molding you choose, even if your chosen molding rests at angles other than 45 degrees to the wall.
Cut a 3- to 4-inch sample piece of your crown molding.
Hold the trim against the wall and ceiling, oriented the way you’ll install it.
Mark the sample’s edge on the ceiling.
Measure to the ceiling mark from the wall and note the measurement.
Use wood glue and screws to attach the two 1-by-4-inch pieces of wood to the two 1-by-6-inch pieces perpendicular to each other. This makes two corners.
Transfer the ceiling measurement to each end of the top sides of the 1-by-6-inch wood pieces.
Align the inside edge of the 3/4-by-3/4-inch wood on the markings. Use glue and screws to attach it. The top of the molding will rest here when cutting.
Before you start cutting, get familiar with some terms associated with trim work.
Square cut: Set your miter saw to zero degrees angle and bevel to make a square cut.
Butt joint: A butt joint is simply created by affixing two pieces together at flat ends. For trim work, this could mean a joint between two square-cut trim pieces or a square-cut trim piece butted against a flat wall surface.
Inside corner: An inside corner forms when two trim pieces create an internal angle. The trim pieces of an inside corner appear to tuck into the corner. When you’re working with trim, the left inside corner is on the viewer's left side.
Outside corner: An outside corner is a corner that forms an external angle. The trim pieces appear to make a point extending from the corner. A left outside corner refers to the part of the corner on the viewer’s left.
Mitered cut: A mitered cut can create an inside or outside corner. Make a mitered cut by setting your saw angle to 45-degrees.
Scarf joint: A scarf joint is a joint between two trim pieces that consists of opposing 45-degree-angle cuts meeting end-to-end. Usually used in trim work on long walls when you need two or more trim pieces to cover the wall’s length.
Coped joint: Create a coped joint by joining a square-cut trim piece with a trim piece cut to match the trim’s profile. They’re helpful for inside corners that don’t measure exactly 90-degrees.
Corner block: A corner block in trim work is a decorative piece with flat edges that accepts square-cut trim piece ends to form either an inside or outside corner.They’re handy items to have for crown-molding beginners and veterans alike.

Now that you have a jig and some terminology ammunition, let’s get down to business. You’ll only have to use the jig when you’re making mitered cuts.
Set the saw angle and bevel to zero.
Place the trim piece flat on the miter saw deck and cut.
Place your jig on the saw deck.
Set the saw angle to 45-degrees with the blade swung away from the cut piece you’ll use. For example, a left inside corner cut will use the piece to the right of the blade.
Rest the crown molding in the jig upside down and facing you. In other words, the exposed side will face outward, and the molding edge that will touch the ceiling will rest inside the lip of your jig.
Clamp the trim piece, jig, and the saw’s fence together on the side of the molding that you’re going to install
The side to keep and install is the clamped side.
Place your jig on the saw deck.
Set the saw angle to 45-degrees with the blade swung towards the cut piece you’ll use. For example, a left inside corner cut will use the piece to the left of the blade.
Rest the crown molding in the jig upside down and facing you as if you were cutting an inside corner.
Clamp the trim piece, jig, and the saw’s fence together on the side of the molding that you’re going to install.
The side to keep and install is the clamped side.
Place your jig on the saw deck.
Set the saw angle to 45-degrees with the blade swung towards the cut piece you’ll install first.
Rest the crown molding in the jig upside down and facing you as if you were cutting an inside corner.
Clamp the trim piece, jig, and the saw’s fence together on the side of the molding that will be installed
Swing the saw blade to 45-degrees in the other direction and repeat the steps for the second piece.
Make a square cut on the first trim piece.
Place another piece in the jig for the second cut and make a 45-degree cut that angles towards the molding’s exposed side.
Trace the edge of the profile on the molding with a pencil for clarity.
Using a coping saw, carefully cut the piece following your pencil line with the saw tilted away from the molding’s exposed face.
Refine the cut with sandpaper until it fits snugly against the first piece.
A quick note: Making a coped joint requires some skill that you can only get by practicing. Don’t worry if your first several tries are less than perfect.
If you’d like to install crown molding on a vaulted ceiling, there are a few things to consider.
When making corners, set the saw’s bevel to one-half of the measured angle where the ceiling starts to rise.
Transition pieces work best to make the change from one angle to another.
You can use a table saw to trim the back of the crown molding to eliminate the gap left by the ceiling slope.
Cutting and installing your crown molding is time-consuming but will save the labor cost of professional installation. With some knowledge and a little patience, DIYers can succeed with some practice.
Crown molding installation costs between $300 and $800 per room for materials and labor. Carpenters spend several years perfecting the art of advanced-level crown molding cutting and installation. If you’d rather avoid the possible frustrations that go along with it or simply don’t have the time, a professional crown molding installer near you can get it done in a timely manner.
From average costs to expert advice, get all the answers you need to get your job done.
Discover the cost to design a bathroom, including key price factors, to help you plan your remodel with confidence and avoid budget surprises.
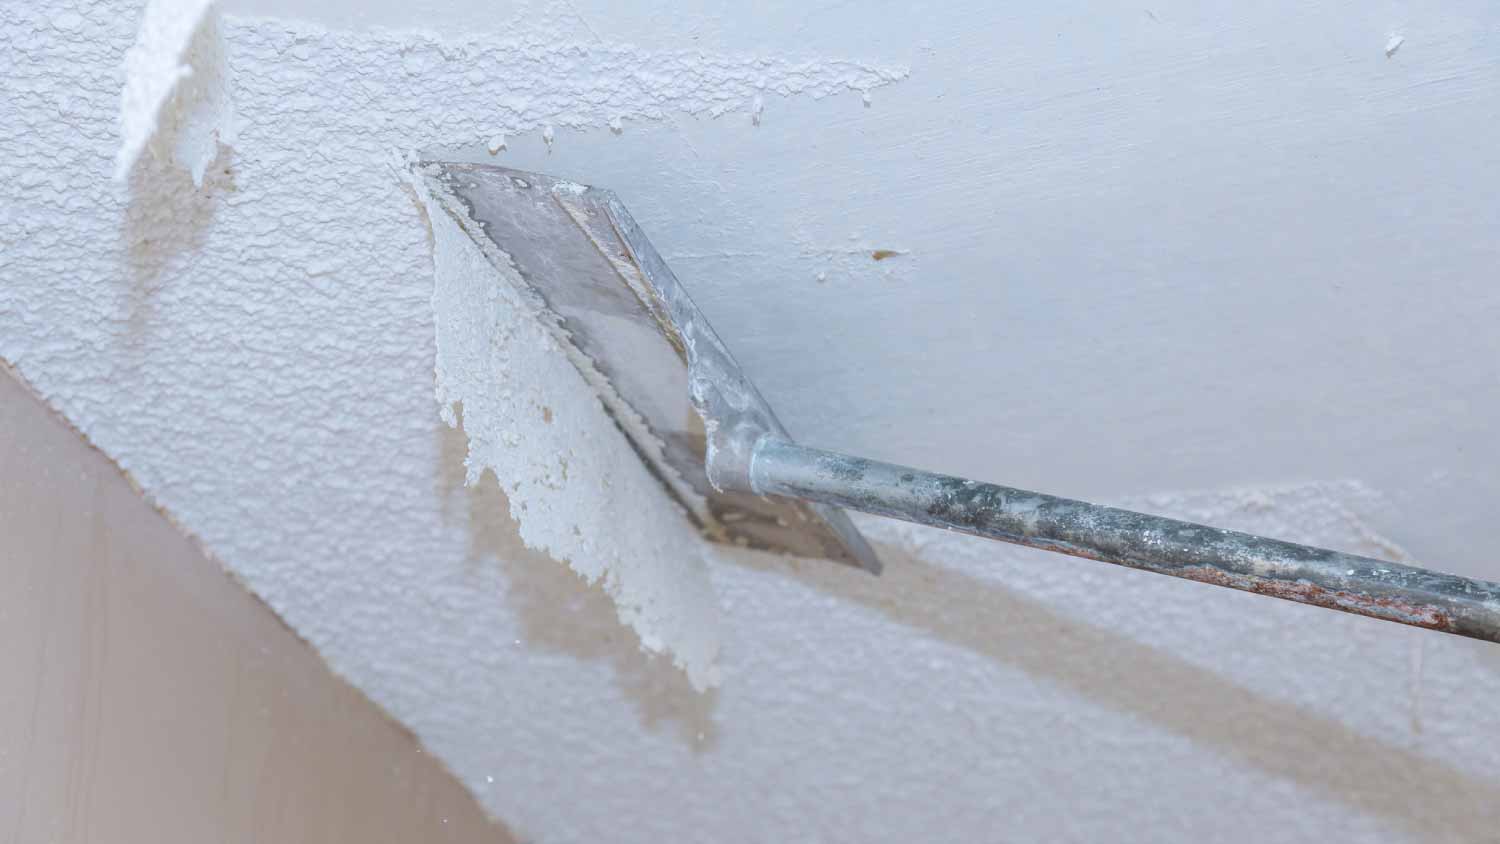
Wondering how much it costs to remove an acoustic ceiling? Get cost estimates, key factors, and expert tips to help you plan your ceiling update.

Discover the average cost of tin ceiling installation, including labor, materials, and key factors that impact your budget. Learn how to save and plan your project today.
Discover the average cost of stretch ceiling installation, key price factors, and ways to save. Get transparent pricing to plan your stretch ceiling project.

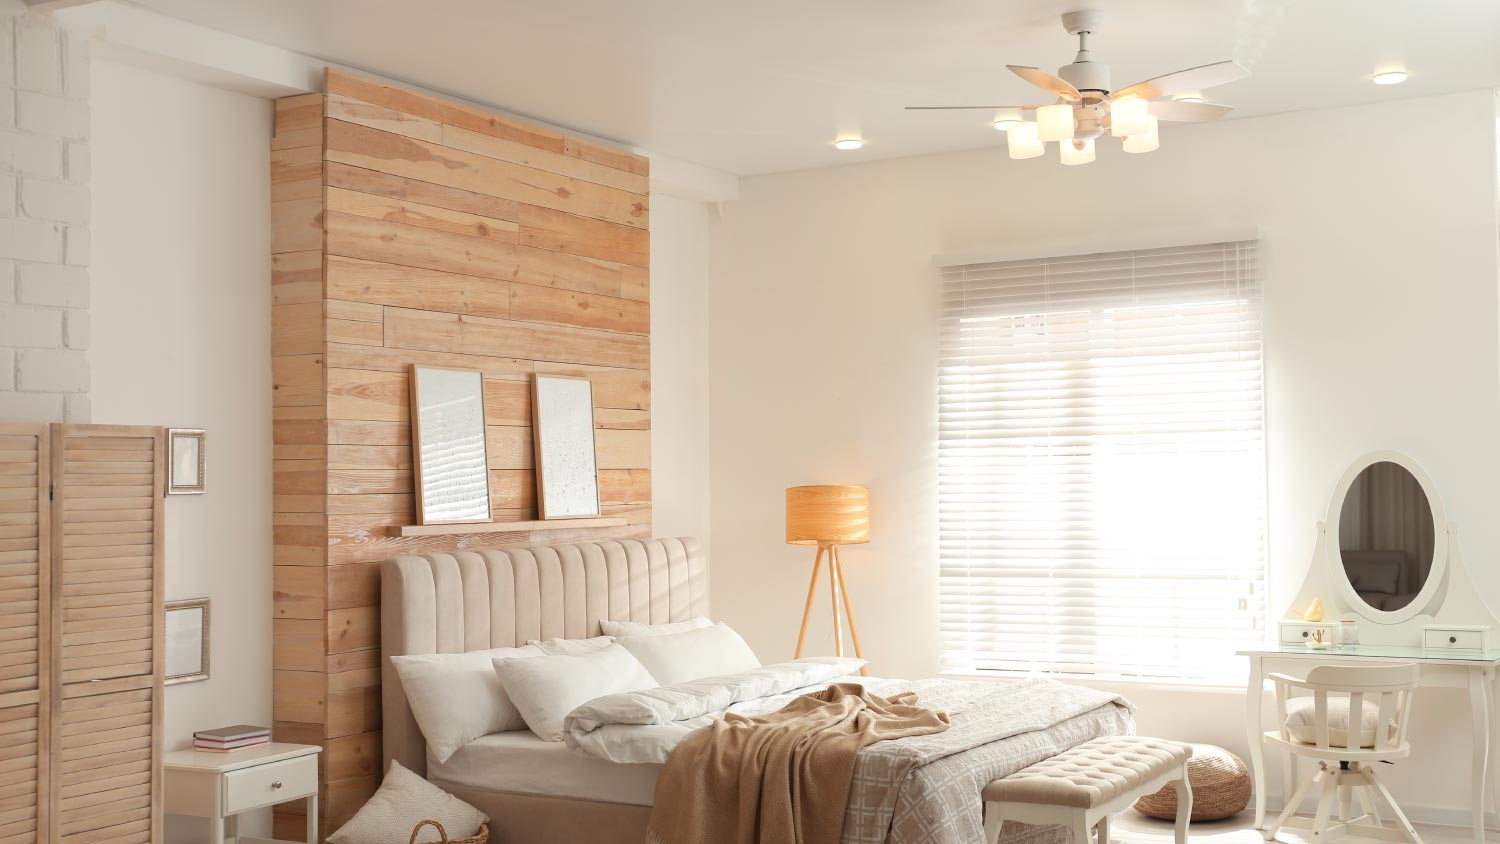
Architectural details like wood molding help frame a space and add visual interest. From baseboards and door casing to wainscoting and board-and-batten paneling, read on for a rundown of all the types of trimming for your home.

There are a lot of crown molding materials to choose from, and you’ll need to know the benefits of each to know how to pick the best one for your needs.