A Step-by-Step Guide to Getting a Crackle Effect on Your Latest Paint Project
Transform your home decor from drab to fab in no time


- Orbital sander
- Dropcloth or newsprint paper
- 80-grit to 100-grit sandpaper
- Clean rag
- Vacuum
- Water-based latex or acrylic paint
- Water-based polyurethane sealant
- Primer
- Latex or acrylic paint in any sheen (basecoat)
- Flat latex or acrylic paint (topcoat)
If you love the look of distressed wood and handcrafted vintage details, then crackle effect painting is the perfect faux finishing project to add rich texture and character to your home.
Let thrift store finds like picture frames and furniture, or your grandmother’s dresser tucked away in the garage be your canvas. Painting a crackle effect is an easy refresh that compliments every aesthetic and surface. Even better, you can do it in one day’s time.
Note: When shopping for painting materials, choose contrasting paint colors for the best crackle effect.
What Is Crackle Effect Painting?
Crackle effect painting is a faux finishing painting technique that gives lackluster surfaces an antique, distressed finish (think: natural patina). The finish is created using water-based paint and crackling medium or glue, then sealed with a polyurethane sealant to protect and preserve the finish. For best results, always sand and prime first.
Crackle painting works on many different surfaces and materials, such as ceramic and canvas. But it’ll look most realistic on weathered wooden pieces. Consider crackle painting an old rocking chair, a decorative crate, or a piece of wall art.
6 Steps to Mastering Crackle Paint
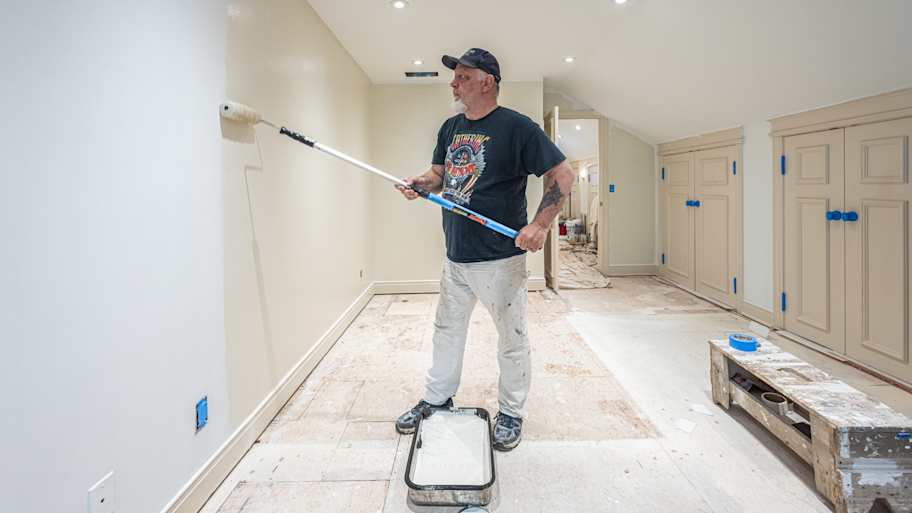
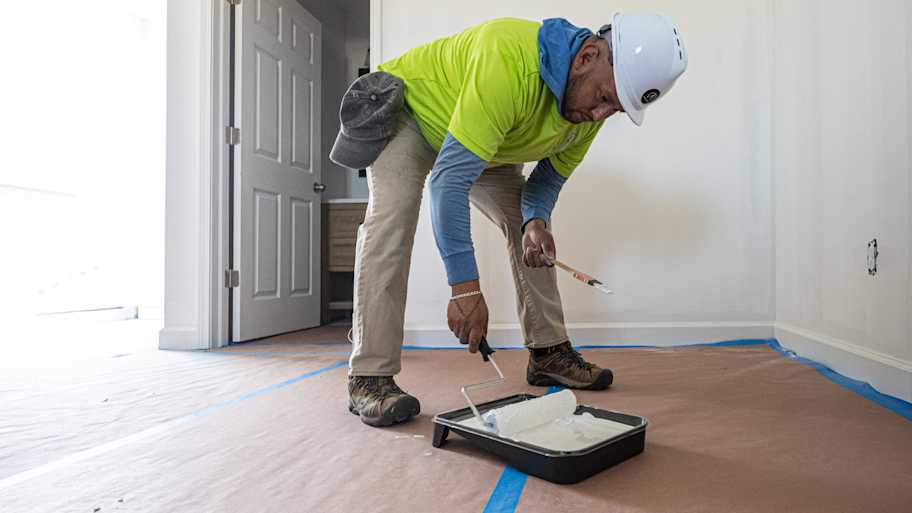
Prepare the Surface
 Photo: Irina / Adobe Stock
As with any painting project, put down a drop cloth to protect your home from dust and paint. Then prep your surface so that it’s smooth and even.
For unfinished furniture, sand your piece lightly with fine sandpaper until the surface feels smooth to the touch.
For painted and stained surfaces, remove the finish with an orbital sander using 80-grit to 100-grit sandpaper.
For walls, fill nail holes and sand. Wipe away all sanding dust with a clean, damp cloth and vacuum the area. Tape off any section you don’t want to crackle with painter’s tape.
Prime Your Project
Priming before painting makes your project last longer. Ensure the surface is dry and apply a thin, even coat of primer with a paintbrush ally or primer spray. Let the primer dry according to the instructions on the label—two to three hours.
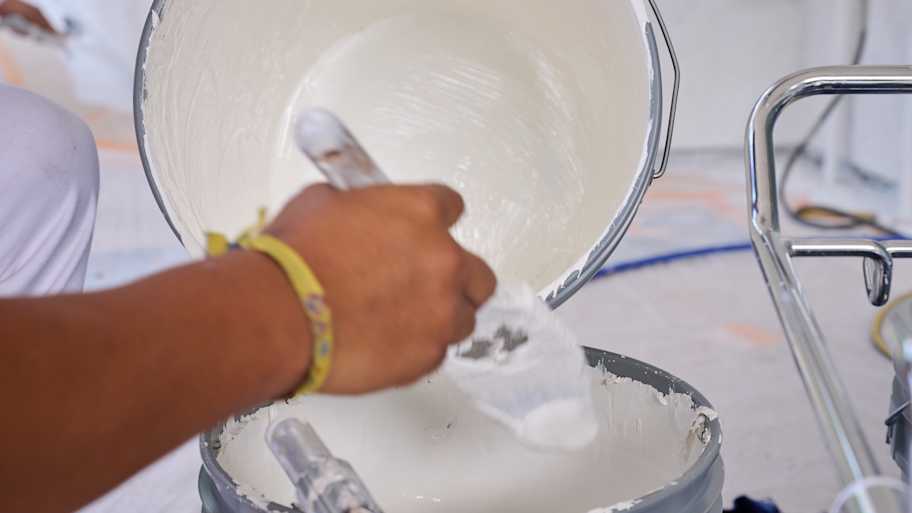
Apply the Base Coat Color
 Photo: Christian Horz / Adobe Stock
Mix your latex or acrylic paint well with a paint stick and apply using a brush or roller (for a large surface) in the direction of the wood grain. A semi-gloss or satin finish is best. This coat will be different than the paint you use for your top coat later. Your top coat should have a flat or matte finish, which appears more saturated than semi-gloss or satin.
Additionally, choose contrasting colors for your project, such as white and green, cream and red, or eggplant and aquamarine. Let the paint dry for 24 hours.
Add a Crackling Medium
This is where things get fun. Work in small sections using a paintbrush or roller when applying your crackling medium. Apply a thin coat to create finer cracks and a thicker coat to make cracks stand out. Mix it up, crackle painting is rarely perfect or symmetrical.
Remove the painter’s tape and let the crackle medium dry according to the manufacturer’s instructions. As it dries, you’ll see the cracks appear right before your eyes!
Getting a Crackle Effect Using Elmer’s Glue
Crackling mediums can get a little costly, so consider using Elmer’s Glue as a budget-friendly alternative. Apply the glue liberally with a foam brush for wider cracks and a thin coat for finer cracks. Then, immediately apply a coat of flat latex paint over the glue with a paintbrush or roller while it’s still tacky and wet. Dry with a hairdryer.
For larger surfaces, work in smaller sections so the glue doesn’t have time to cure before you work your magic.
Cover With a Topcoat Color
Apply your topcoat evenly in a contrasting color from your basecoat. Use a clean paintbrush (for pronounced cracks) or a roller for subtle cracks. After applying your topcoat, avoid touching the surface or you could alter the cracks before they set. Remove your painter’s tape and let the topcoat dry overnight.
Finish With a Polyurethane Sealant
To preserve and protect your art, apply polyurethane sealant. Use a matte sealant for a non-glossy finish and, once again, let it dry. In a few hours’ time, you’ll have a newly created antique look with a textured finish.
DIY vs. Hiring a Pro
Crackle effect painting makes a fun DIY project but you can also hire a pro to get the job done if you have plans to refresh a larger surface like a wall or entryway. The materials to do it yourself will cost between $60 to $75. To hire a specialist faux painter, you’ll pay between $5 to $10 per square foot or a project minimum for smaller furniture and home decor projects.


Get our Angi-powered app


