Curious about air duct cleaning costs? Get insights into pricing factors, benefits, and how to tell when it’s time for a good cleaning.
Clean your air ducts and enjoy fresher indoor air


Your home’s ductwork is essential to keeping your home at a comfortable temperature in all seasons. But over time, dust and dirt buildup in the ducts can lower your home’s air quality and force your HVAC unit to work harder. This guide will explain how to clean air ducts to keep your home dust-free and prolong the life of your heating and cooling system.
Before you start work, completely turn off your HVAC system. Depending on your system, you can do this from the thermostat or by switching off the circuit breaker that powers the HVAC system.

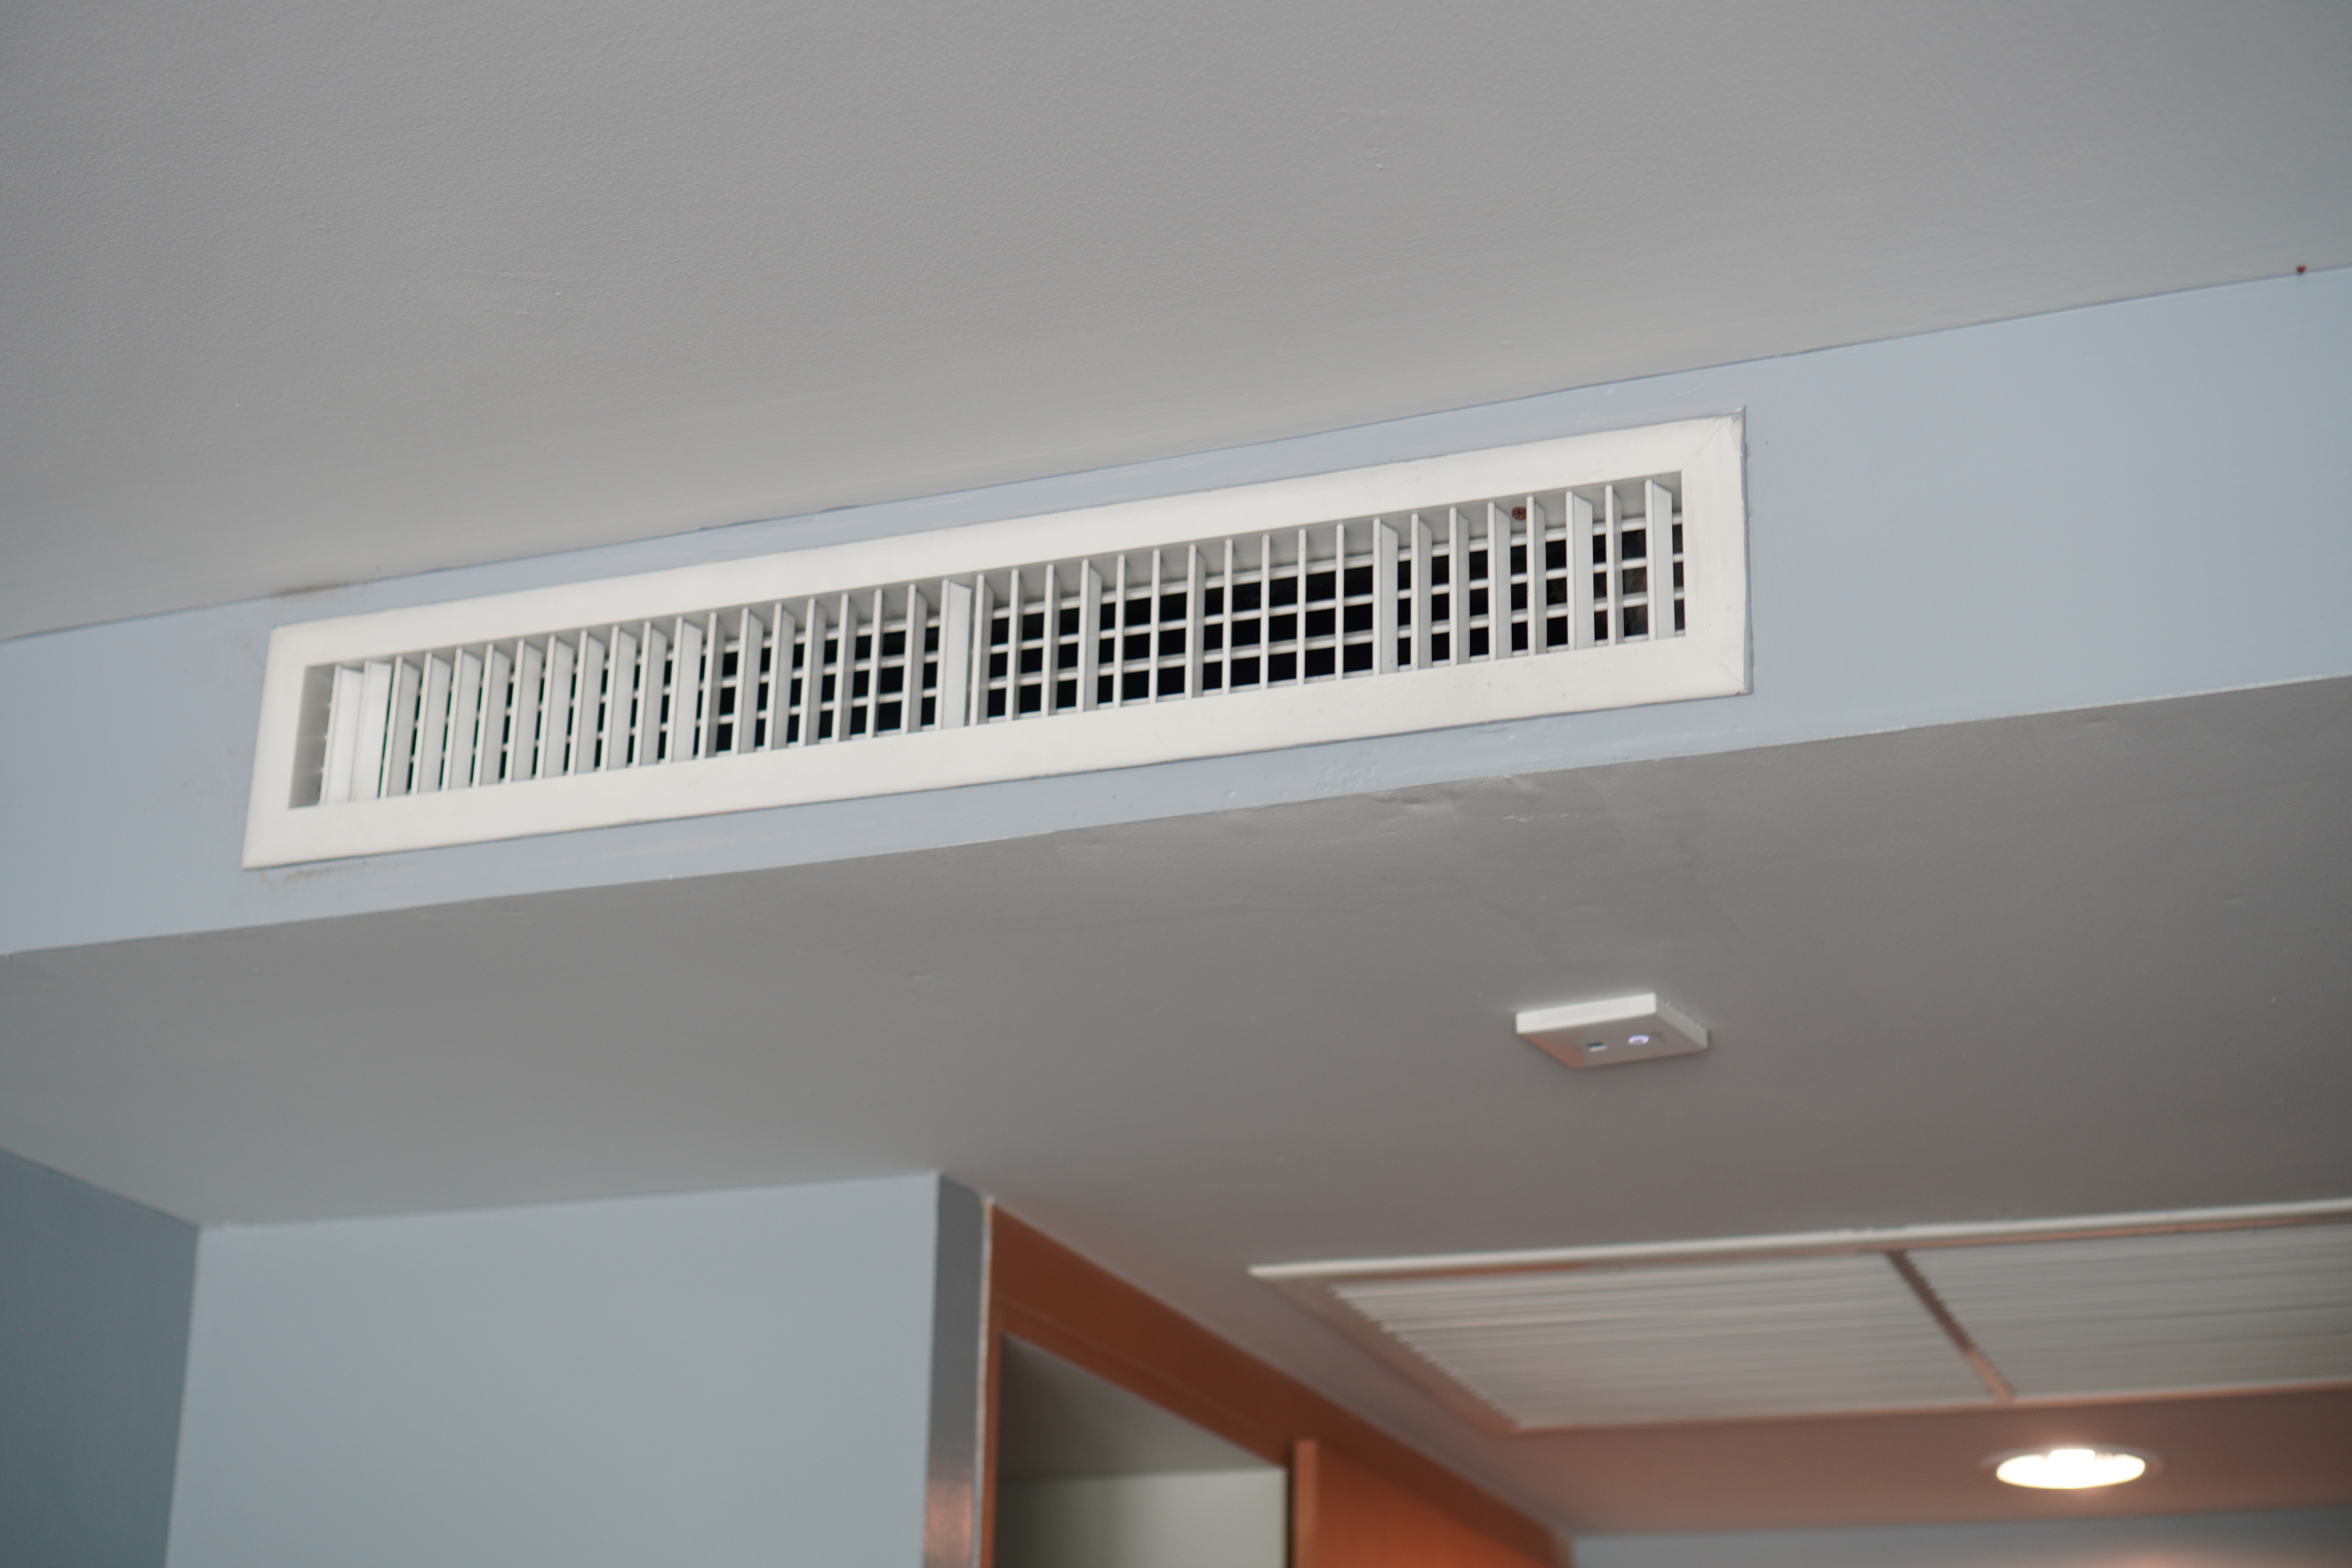
Use a screwdriver to remove the supply and return vent covers. The supply vents blow hot or cool air into a room, while the return vents remove the air from the room and send it back to the HVAC unit to be reheated or cooled.
Next, cover the supply vents with paper towels to prevent dust from blowing into the room while cleaning the ducts. Once you've finished cleaning a vent, replace the paper towel.
As you make your way around the vents in each room, uncover the one you’re cleaning while leaving the rest covered.

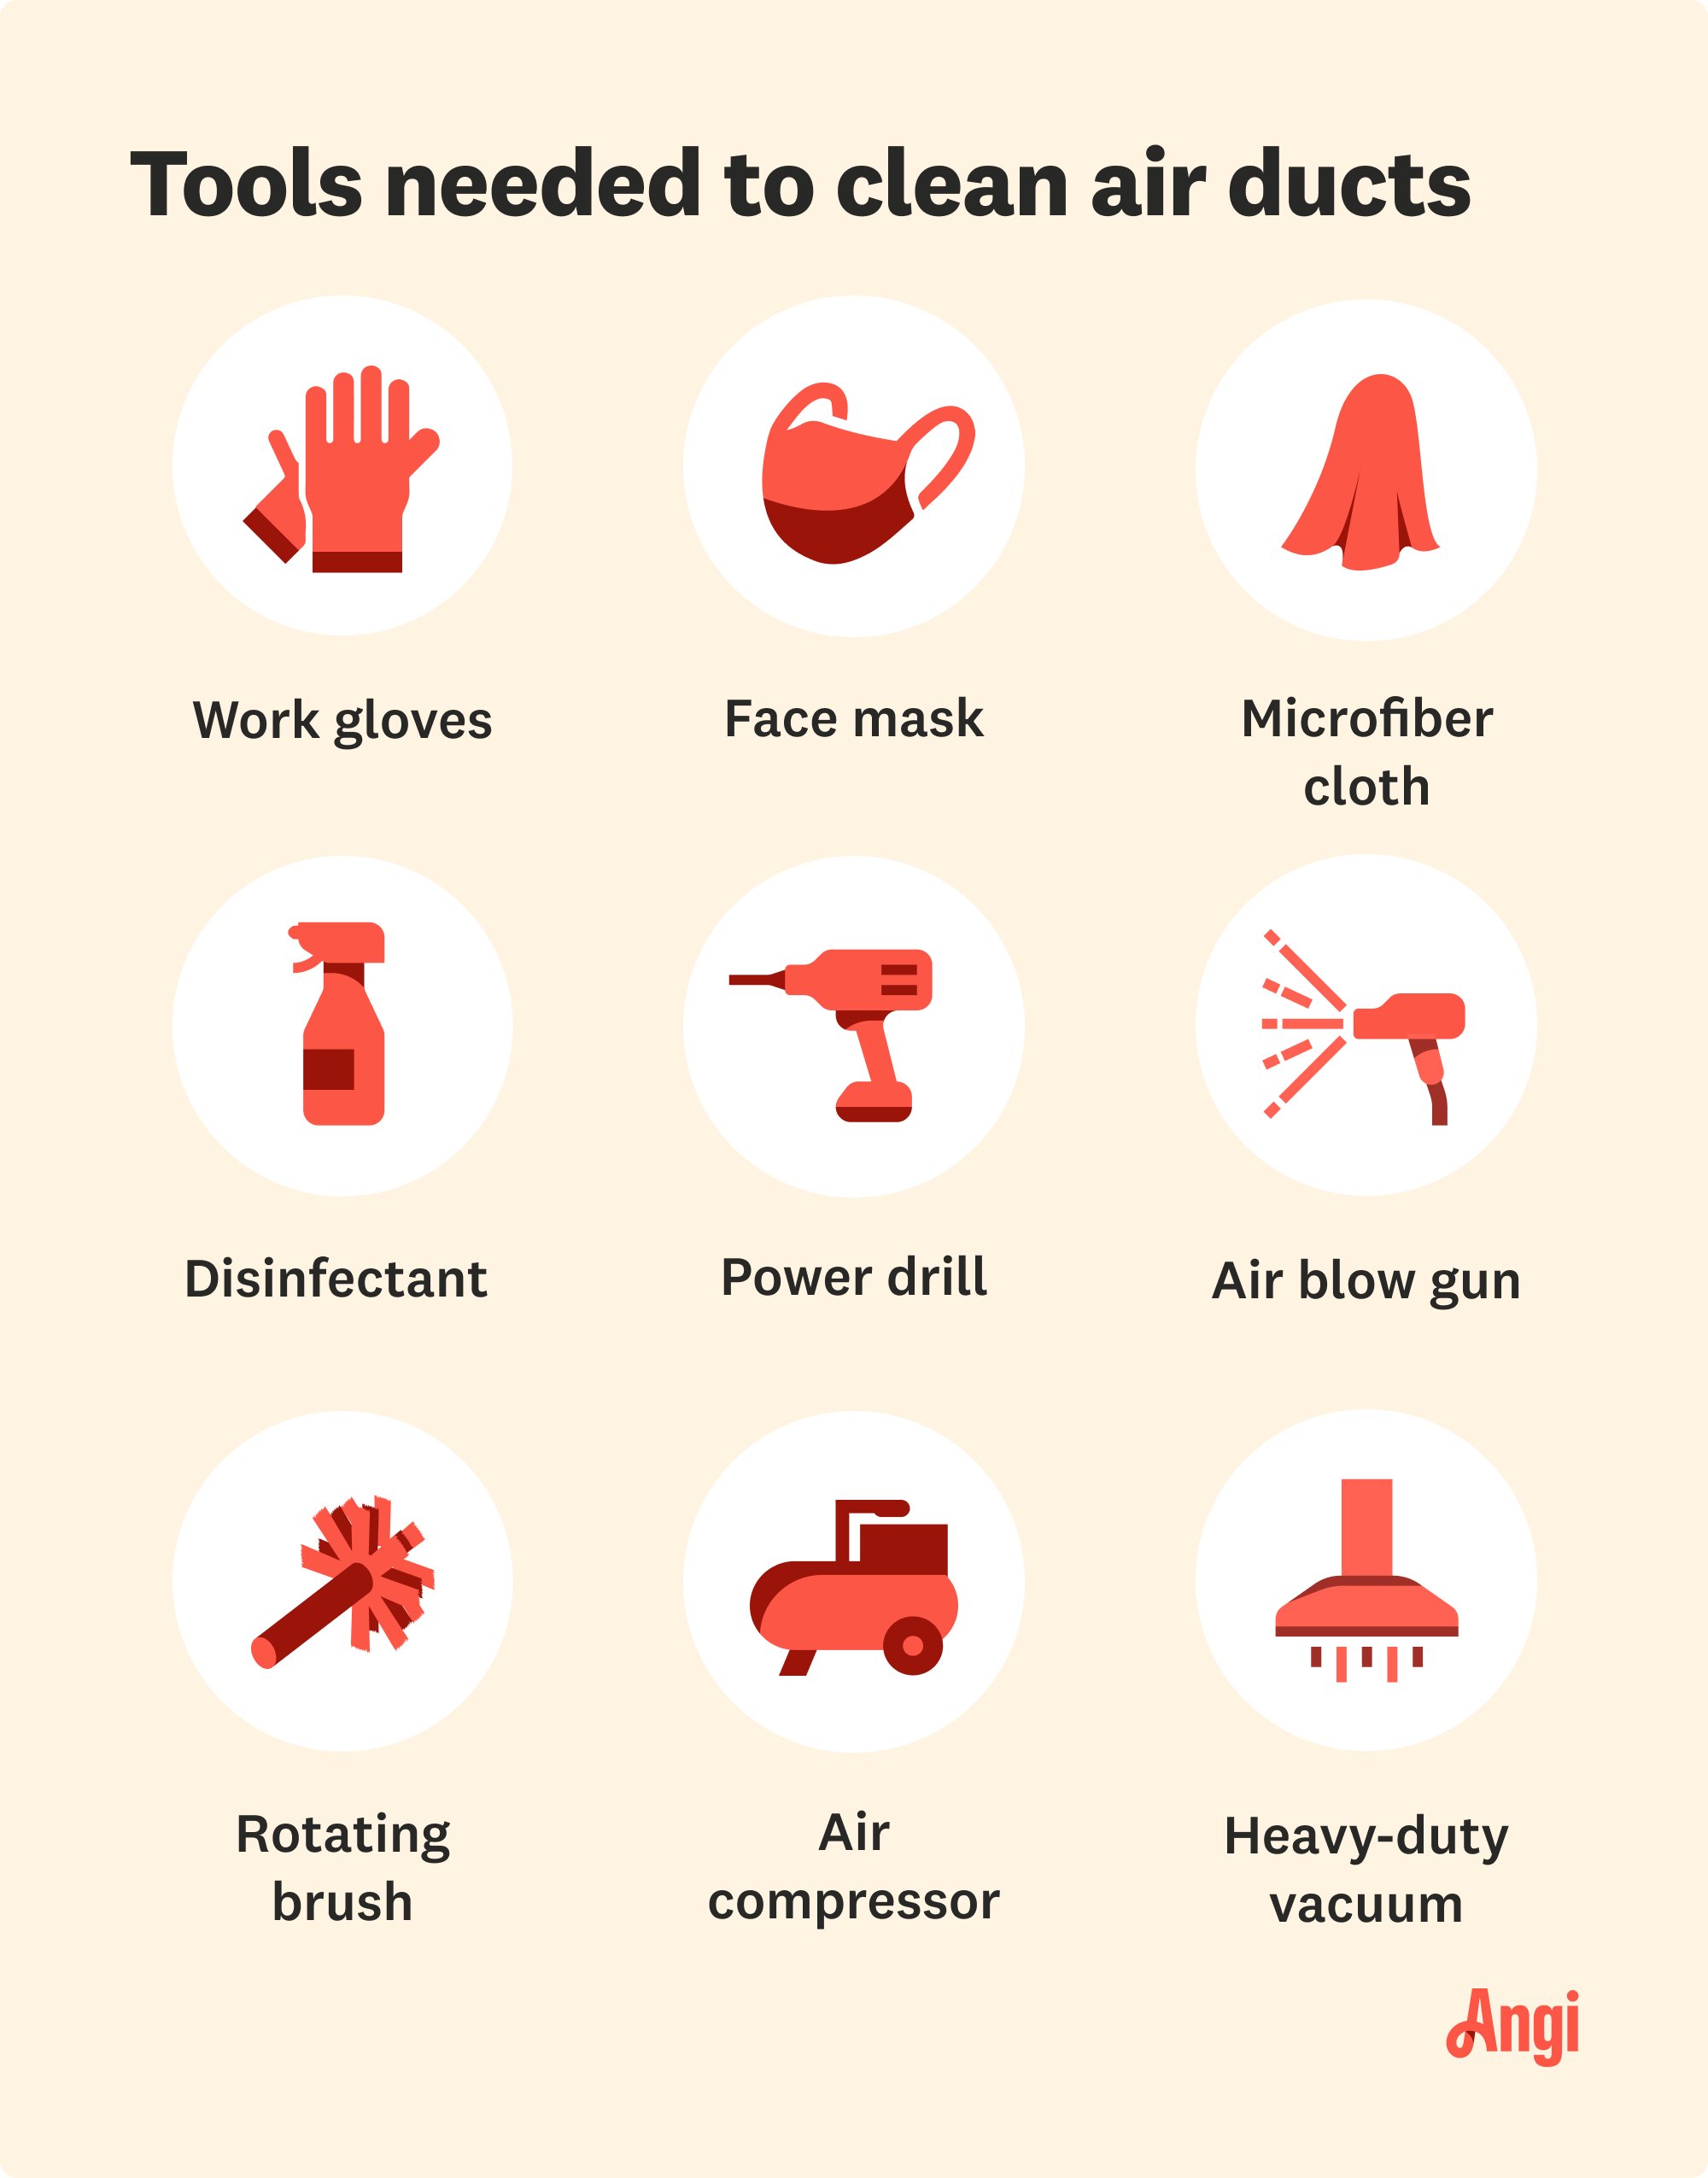
Once the supply vents are covered, grab the dryer vent brush and attach it to the cordless drill. Insert the brush into the vent and turn on the drill to clean inside the vent and loosen any stuck dirt or debris. Go slow and use caution to avoid damaging your ducts.
Put on your protective gear, including safety eyewear and an N-95 mask. Attach the vacuum extension hose to your shop vac and insert the hose into the vent opening as far as it will go. Turn on the vacuum and draw the hose toward you to remove the loosened debris inside the ducts.

Grab your microfiber cloth and dampen it. Use the damp cloth to wipe the inside of the air ducts as far as you can reach. Rinse the cloth each time you remove it from the vent, and repeat until the ducts are completely clean.
Wipe down the supply registers and return vents with your damp microfiber cloth. Use warm, soapy water to clean any stuck-on dirt and debris. Dry the registers and vents thoroughly before replacing them.

Once you’ve cleaned the ducts, replace your air filter. A clean air filter will help keep your ducts clean for longer. Ideally, you should replace your furnace filter every three months, though thinner ones must be replaced more frequently. Some types of filters, like media and HEPA filters, may last longer before needing to be replaced.
The final step is to turn your HVAC system back on via the thermostat or the circuit breaker panel. Check that everything works as it should, and call a pro if you have any concerns.
There’s no one-size-fits-all answer to how often to clean air ducts. Instead, there are several signs to watch for that suggest air duct cleaning is necessary:
Increased allergy symptoms in the home’s residents
Musty-smelling air in the home
Excessive dust in the air
Recent dusty home renovations
New HVAC system installation
Additionally, air duct cleaning is necessary if there’s extensive pest damage in the system or evidence of mold growth. It’s also a good idea to perform this service when you first move into a home to ensure the ducts are clear of debris from previous residents. If the air ducts are too dirty, your HVAC unit may need to work harder to deliver hot or cold air to your home, which can shorten its lifespan.
Duct cleaning can keep your HVAC system in good working shape. However, DIY cleaning can be labor-intensive, and the results are usually not as thorough as those of professional cleaning. The greater issue is that improper and careless cleaning can cause significant and expensive damage to your ductwork.
A professional air duct cleaning service near you has specialized tools and equipment to clean ductwork safely throughout the house, while DIY cleaning may be limited to the ductwork close to the supply and return vents.
Professional air duct cleaning costs $270 to $510, with an average of $390, so it’s an affordable service that can save you time and ensure your ductwork is left clean throughout. Don’t forget to tip air duct cleaners for a job well done!
From average costs to expert advice, get all the answers you need to get your job done.

Curious about air duct cleaning costs? Get insights into pricing factors, benefits, and how to tell when it’s time for a good cleaning.

Whole-house air purifier costs depend on a variety of factors, including your home’s size and layout. The type of purifier you choose matters, too.

Can dirty air ducts make you sick? Find out how dirty HVAC ductwork impacts indoor air quality and can even affect your health.

Cleaning air ducts and vents requires knowing their location and the type of system. Keep reading to learn about air duct cleaning questions to ask a pro.

Air duct sanitizing removes bacteria, viruses, and pathogens from ductwork to help reduce the risk of getting sick from your home’s air.

Are you wondering what to expect when your ductwork is cleaned? We explain the air duct cleaning process that professional HVAC technicians follow.