If you’re updating a deck or staircase with a modern railing, you may be wondering how much cable railing costs. We dive into the cost factors you need to know.
Get the lemonade and rocking chairs ready


There’s nothing like sitting outside your home with a cup of coffee and a good book, basking in the fresh air surrounding you. Decks, stoops, and patios are great for most relaxing activities. Building your own porch is a challenging project, but if you take your time and plan properly, you’ll create a masterpiece that could be the talk of the neighborhood. Read on for a step-by-step guide on how to build a front porch yourself.
Like most construction projects, you’ll need to obtain the correct permits before building your front porch. Some areas might not consider there to be a difference between porches and decks, but it’s good to tell your local permitting department which one you’re building. Make sure to have an outline of your project so they can give you information about the foundational depth of your new porch.
You’ll also have to call the Dig Safe number, 811, and contact your local utility company before you start digging. They’ll provide details to help you avoid hitting major gas, water, or electric lines.

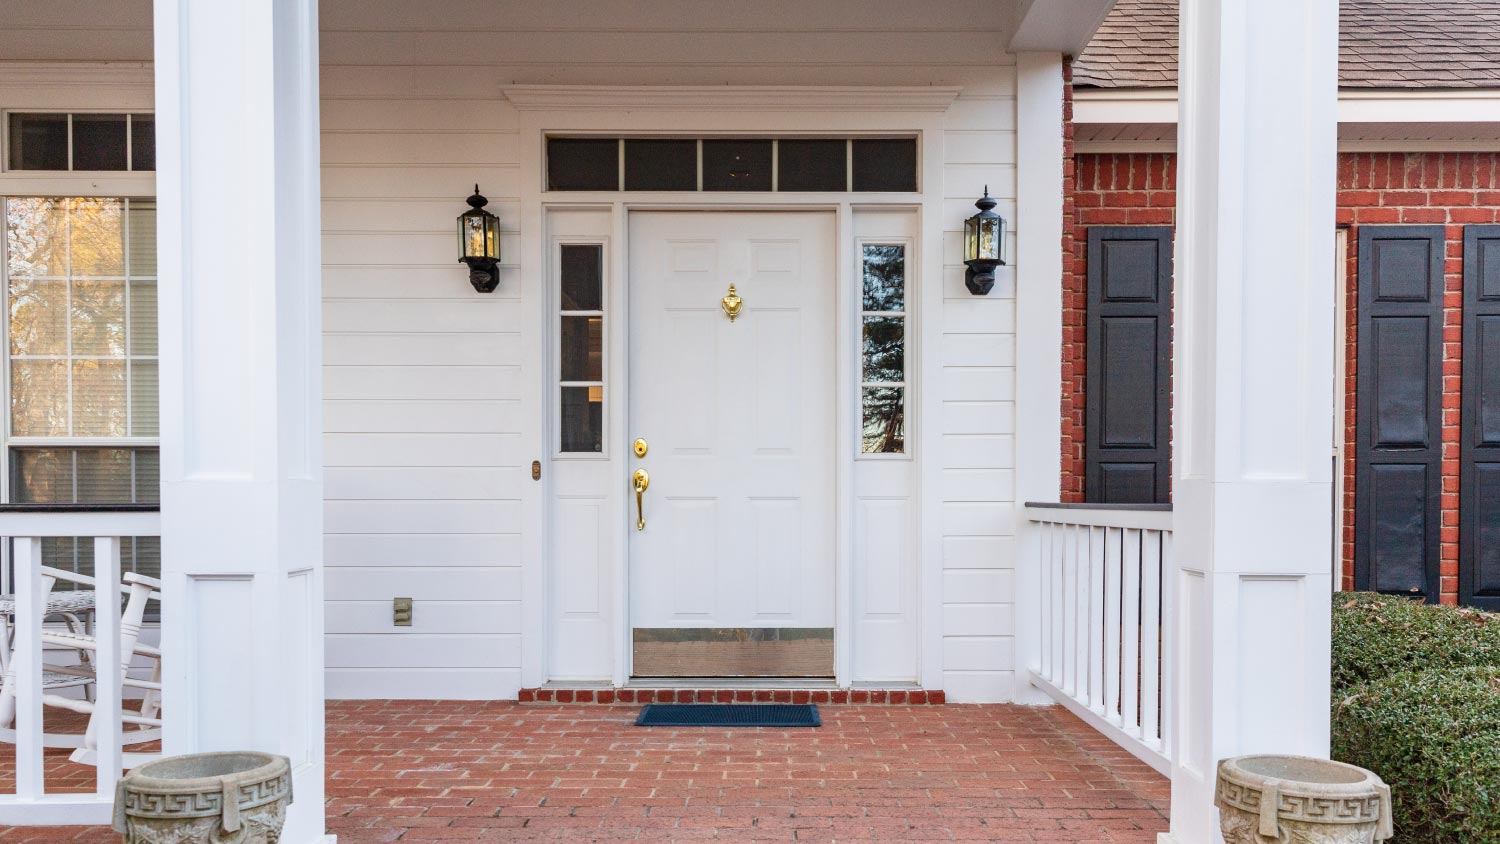
Take the time to consider the porch’s style. It would be best to have something that matches your home’s architecture. If you have a farmhouse-style house, a front porch will enhance that rustic look.
Don’t forget, you can add additional features to your front porch. For example, building a screened porch can protect you from outdoor elements and give you that old-style cottage feel. The cost to build a screened porch starts at $2,000 with a DIY screened-in porch kit, which includes everything you’ll need.


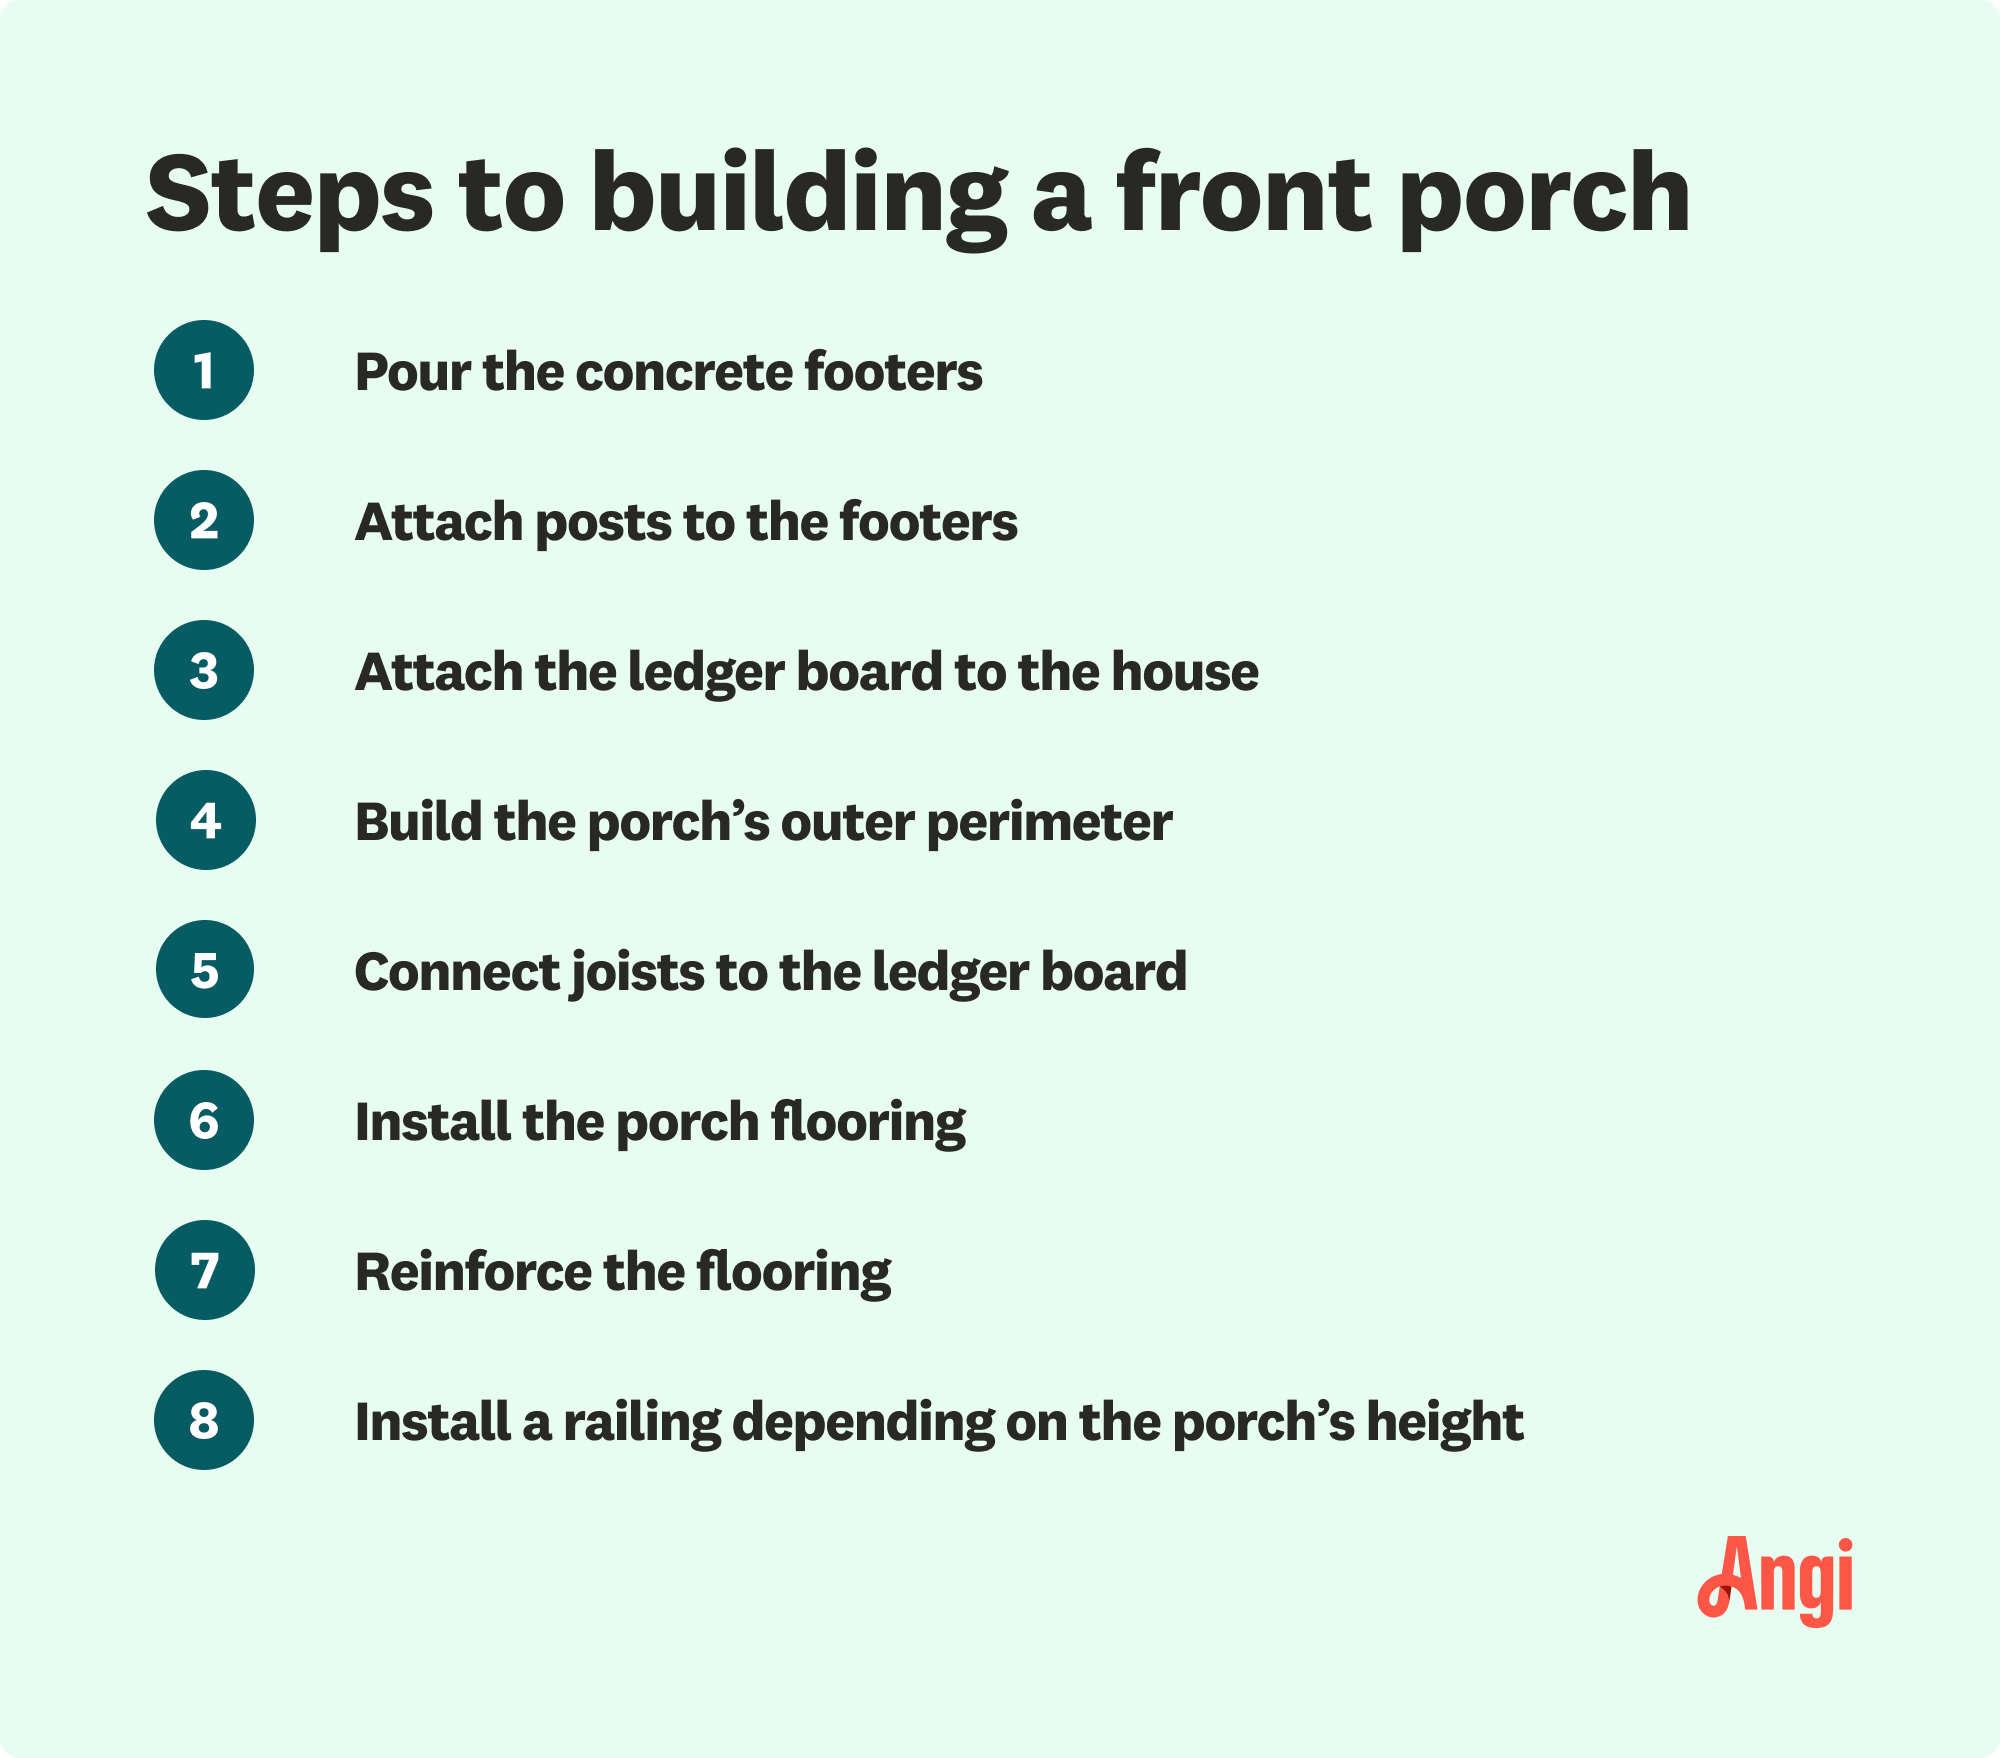
Use the information provided by the permit department to dig three holes at the specified depth. Each hole should be at least six feet away from the house. The two end holes need to be 12 feet apart, and the third hole should be stationed in the middle, leaving a 6-foot difference on each side.
Lay the bags of gravel between each hole, creating a base that’s no more than six inches deep. Afterward, place the form tubes in each hole, mix the concrete, and pour it into the form tubes. Fix the metal column bases to the top of each tube.
Next, use your carpentry pencil to mark your desired porch height on the 6-by-6 board. These are helpful for attaching the column bases to the porch joists later on in the project.
Put on your protective eyewear, get your saw ready, and subtract 9 1/4 inches from each section to represent the actual height of the 2-by-10 joist bases. You’ll also need to cut away another 1 1/2 inches for the porch flooring.
Something else to consider is the drop from the main door to the porch flooring. Depending on the porch's height, it’s usually about 1 1/2 to 3 inches. Then add the three post sections to the footer base.
The ledger board’s importance can’t be understated because it runs the width of your porch and connects it to your house. Before attaching it at the desired height, use the level to ensure it’s even. Use a utility knife to remove some siding to help alignment.
Drill small holes and attach the ledger board with the 1/2-inch lags screws using a ratchet wrench. Afterward, attach two double joist hangers at the end of the ledger board.
To build the porch’s outer perimeter, attach two 12-foot 2-inch-by-10-inch boards to the metal column bases to create the rim joist. Then take the remaining two double joist hangers—remember the other two are attached to the ledger board—and attach each to the end of the rim joist.
Use your saw to cut two pieces of the 2-by-10 boards in half. Then you’ll have four 6-foot boards left. Run them from the double joist hangers on the ledger board to the hangers on the rim joist.
Attaching the joists requires knowledge of “on-center” spacing, a term used in most building plans. In layman's terms, it's the required spacing from one framing material to the next. And since you're working with materials of various lengths and widths, it creates an accurate layout throughout, simplifying installation.
So take your single joist hangers and attach each every 16 inches on-center to the ledger board and the 2-inch-by-10-inch board that’s parallel. Cut six 2-by-10 boards at six feet each using your saw and place them into the single joist hangers. Then secure them by drilling fasteners.
For the flooring, run the 12-foot-long pressure-treated boards the entire porch width. As you lay your boards down, leave about one-eighth of an inch in between each. Then secure the boards by face-nailing them to the joists with a hammer.
Since you haven’t installed the railing yet, now is the best time to reinforce the boards. For pressure-treated 2-by-6 boards, an exterior acrylic-latex paint with a solid color should do the trick.
Other types of wood such as ipe, redwood, or cedar should be finished with a penetrative oil or deck sealant to provide a natural look.
Railings are only necessary if your porch is a certain height—usually above 30 inches— and needs to follow specific building codes. They consist of a banister, balustrade, and baluster.
The banister is a handrail you hold as you walk down the stairs; balusters are the vertical pieces between the railing and flooring that provide additional support; balustrades are the combination of the railing and supporting posts.
The balusters need to be fastened to the structure underneath the floorboards and not only the boards themselves. Drill a post-hole into the concrete before securing the post for concrete foundations. Then measure the distance between the balustrades and connect them with brackets.
Installing a front porch yourself is a DIY that you can complete with basic construction skills. It might take you a little longer, but gathering the materials and tools will cost between $1,000 and $3,000, saving you money on professional labor. That price is in contrast to the average price to have a pro build a porch, which runs about $10,500.
If you want to build a larger, more elaborate porch, or you simply don’t want to take on the job yourself, you can hire a porch builder in your area.
From average costs to expert advice, get all the answers you need to get your job done.

If you’re updating a deck or staircase with a modern railing, you may be wondering how much cable railing costs. We dive into the cost factors you need to know.

Building a composite deck can increase your home’s appeal and value. Composite decking costs depend on the size of your deck, the materials, labor, and more.

Trex decking can offer your home a beautiful, durable outdoor oasis. Learn all about the costs of Trex decking based on space, size, and style.

Nothing ruins outdoor ambiance like a greenish deck. Discover why your deck turns green and find some straightforward solutions to fix and prevent the issue.

Why are my deck boards rotting? Several things could be to blame, including mold, termites, and moisture. Learn common causes and prevention methods.

Discover steel deck framing costs, including material, labor, and installation factors. Learn how to budget and choose the best option for your home project.