

Looking to replace or upgrade your water heater? Use this water heater replacement cost guide to see what the work will cost and what factors affect your total.
Prevent water heater floods and leaks with this handy guide

Your water heater's age matters because sediment buildup from minerals settles at the bottom of the tank, forcing the burner to work harder and hotter.
Expect to pay up to $1,200 to replace a water heater, so addressing sediment buildup and pressure issues early helps you avoid higher costs.
You should drain and flush your water heater tank every year to remove sediment and inspect the anode rod every two years to prevent rust.
Hiring a local water heater repair professional provides reliable support with anode rod replacement and T&P valve testing, keeping your system running safely.
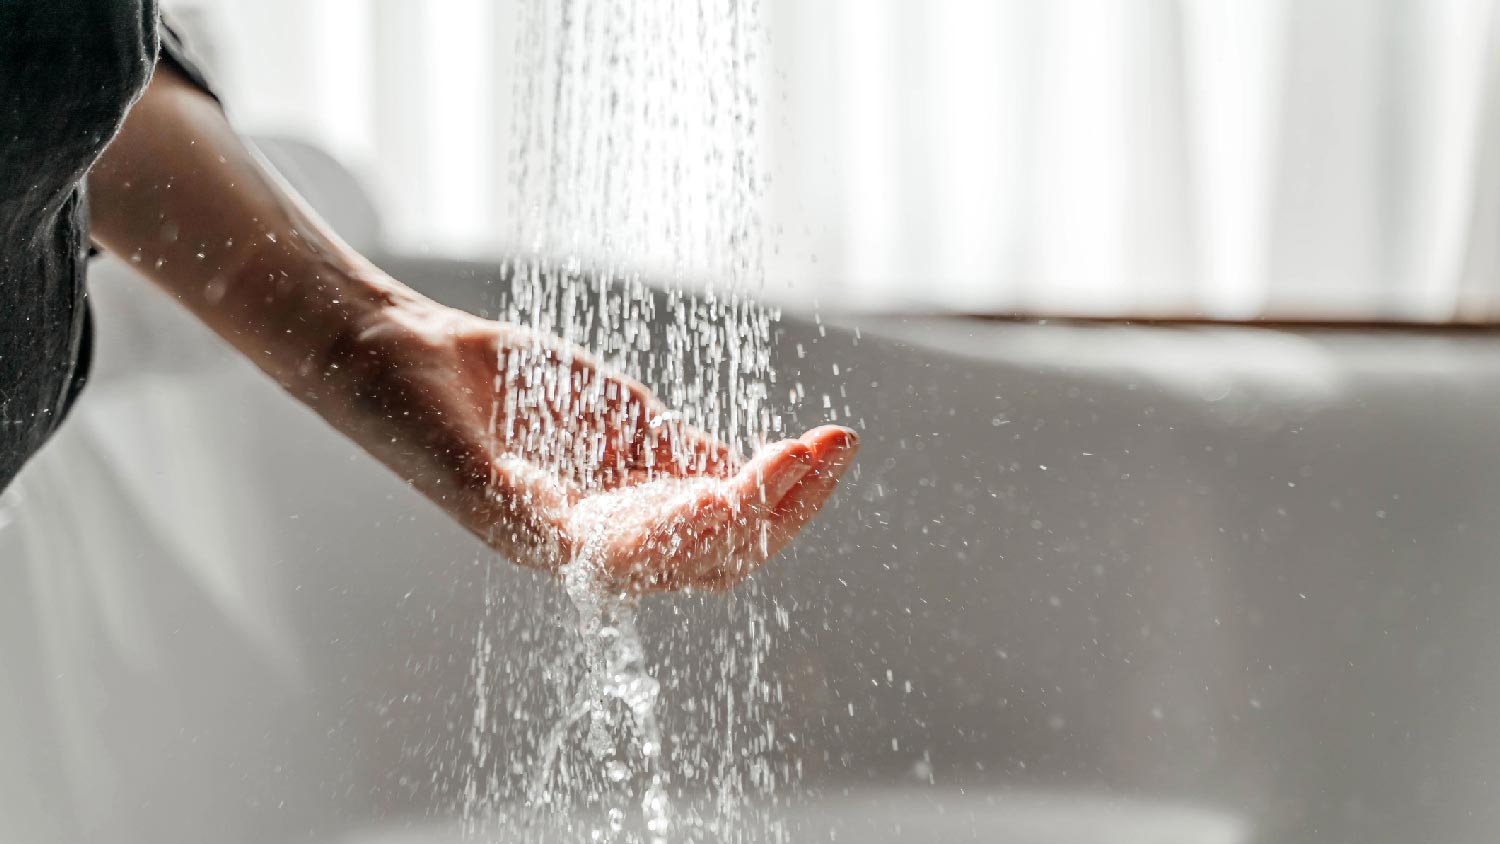
Here’s a horrifying scenario. You’re relaxing at home when, out of nowhere, your ceiling caves in, and water rushes everywhere. Is this the result of a terrible storm? Nope. This is the work of a burst water heater tank.
Water heater floods and leaks are some of the top sources of residential water damage, costing thousands of dollars to repair fully. In addition to draining the water, replacing furniture, and treating walls and floors, you may also have to replace the water heater itself. Replacing a water heater costs up to $1,200. In other words, water heater floods are headaches that no homeowner should endure.
Fortunately, there are some simple maintenance tasks that should prevent this drenched disaster. Here are seven things you can do to prevent a water heater from leaking, flooding, or bursting.
Make it your business to drain and flush the water heater tank every year. Over time, sediment caused by minerals in the water settles at the bottom of your tank. This sediment creates a layer on the bottom of the tank, insulating the liquid from the burner, forcing it to run longer and hotter. Eventually, all of this extra heat deteriorates the tank and causes structural instability. After that, it’s only a matter of time before leaks and floods occur.
Check for sediment buildup by listening to the water heater as it works. Do you hear a popping or knocking noise? That’s due to water attempting to escape the sediment layer, indicating that you should perform a drain-and-flush immediately.
Fortunately, this is a DIY-friendly task. Turn off your hot water by finding the correct valve and associated circuit breaker, allow the water in the tank to cool down, and turn on a hot water faucet in a nearby bathroom to prevent the formation of pressure.
Next, attach a garden hose to the drain valve with the other end in a bucket, sink, or outside. Open the drain valve completely by turning it counterclockwise. When the water stops flowing, turn on the water supply valve located at the top of the tank or at the water meter. Once this water runs clear of sediment, shut off the water supply valve and close the drain valve.
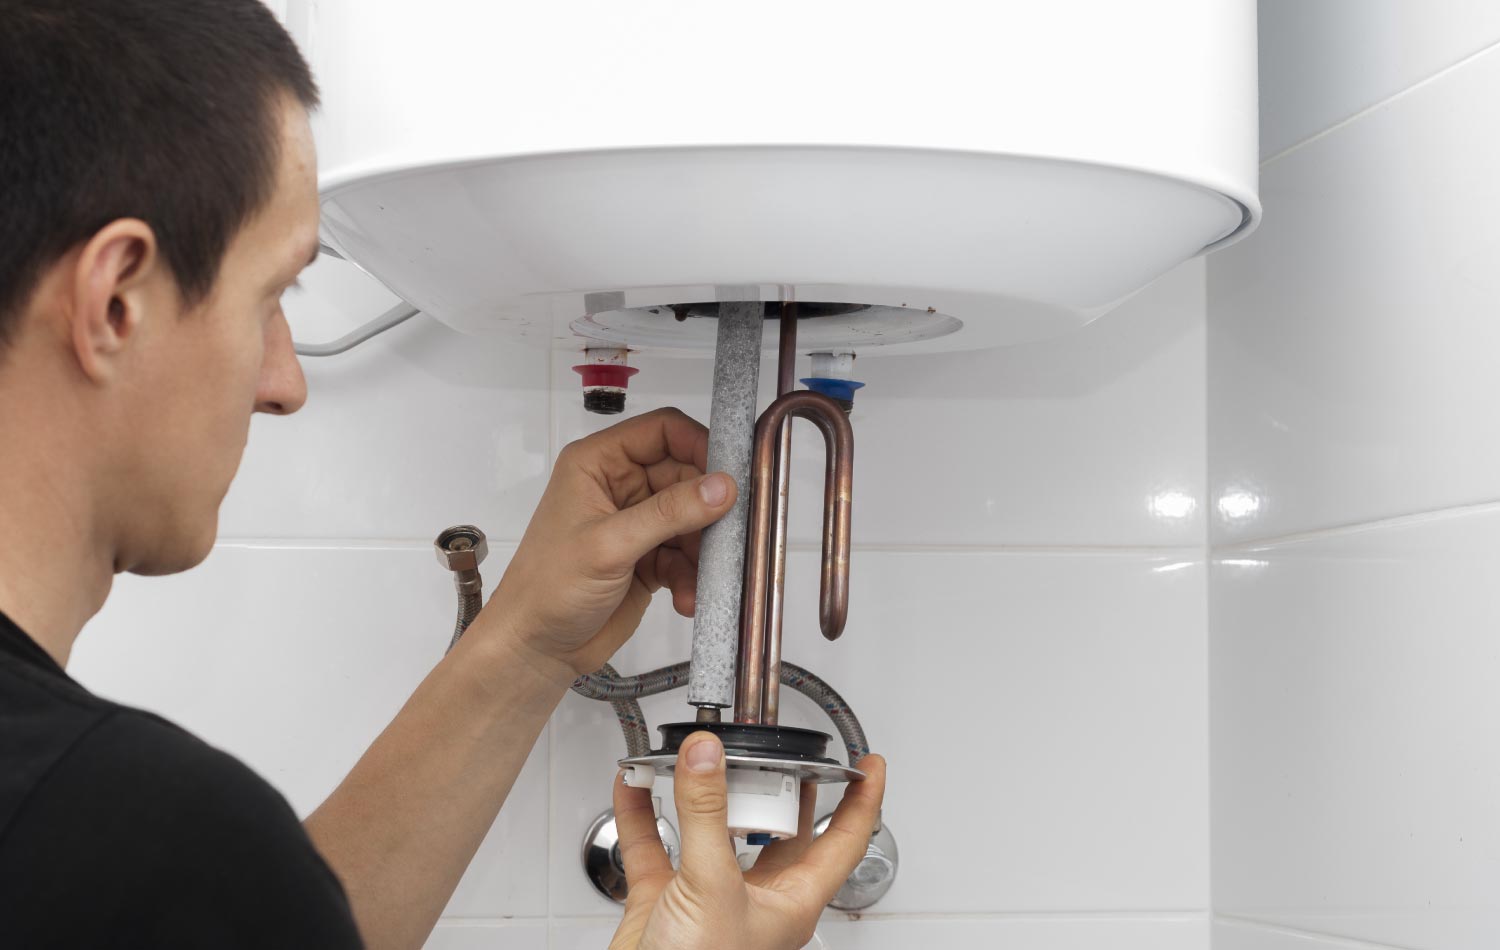
Water heaters are metal and, well, metal rusts. A rusted hot water tank is one step removed from leaks and floods. Luckily, water heaters include a fail-safe for rust called the anode rod. This three- to five-foot metal rod rusts in place of the tank, so if your anode rod has nearly deteriorated, your water heater will follow shortly. Consider the anode rod the canary to your water heater’s coal mine.
Inspect the anode rod for rust and deterioration every two years until the heater’s warranty expires, and then every year. If the rod looks severely rusted, replace it. Anode rods need replacement every three to five years.
The temperature and pressure relief valve work to minimize pressure buildup in your water heater tank. This valve turns on automatically whenever it senses dangerous levels of pressure, releasing said pressure as necessary. However, these valves can fail over time. Check the status of your T&P valve twice a year by performing a simple test. You’ll find the valve on the top or side of the tank. Turn on the switch for five seconds to ensure it can release water. Use caution; this water is scalding hot. If the water releases normally, your T&P valve is in tip-top shape.
Another way to minimize pressure buildup in your water heater tank is to adjust the thermostat. High temperatures (140 to 145 degrees F) increase pressure in the tank, leading to leaks and bursts. Set the thermostat to 120 to 135 degrees F to reduce this pressure. Experiment with temperature settings to find your perfect balance of “hot enough” while preserving the integrity of the water tank. As a bonus, lowering the temperature of your water heater should save you a few bucks on your monthly energy bill.
Sometimes you can do everything right, and your water heater still leaks or floods. Get proactive by protecting the flooring, so any leaks or floods stay near the water heater. Pick up a can of water sealant and paint the flooring underneath your water heater. You can also purchase a drain pan, otherwise known as a drip pan, and place it at the foot of the tank. Just make sure your pan has an actual drain on the bottom, and you’ll be good to go.

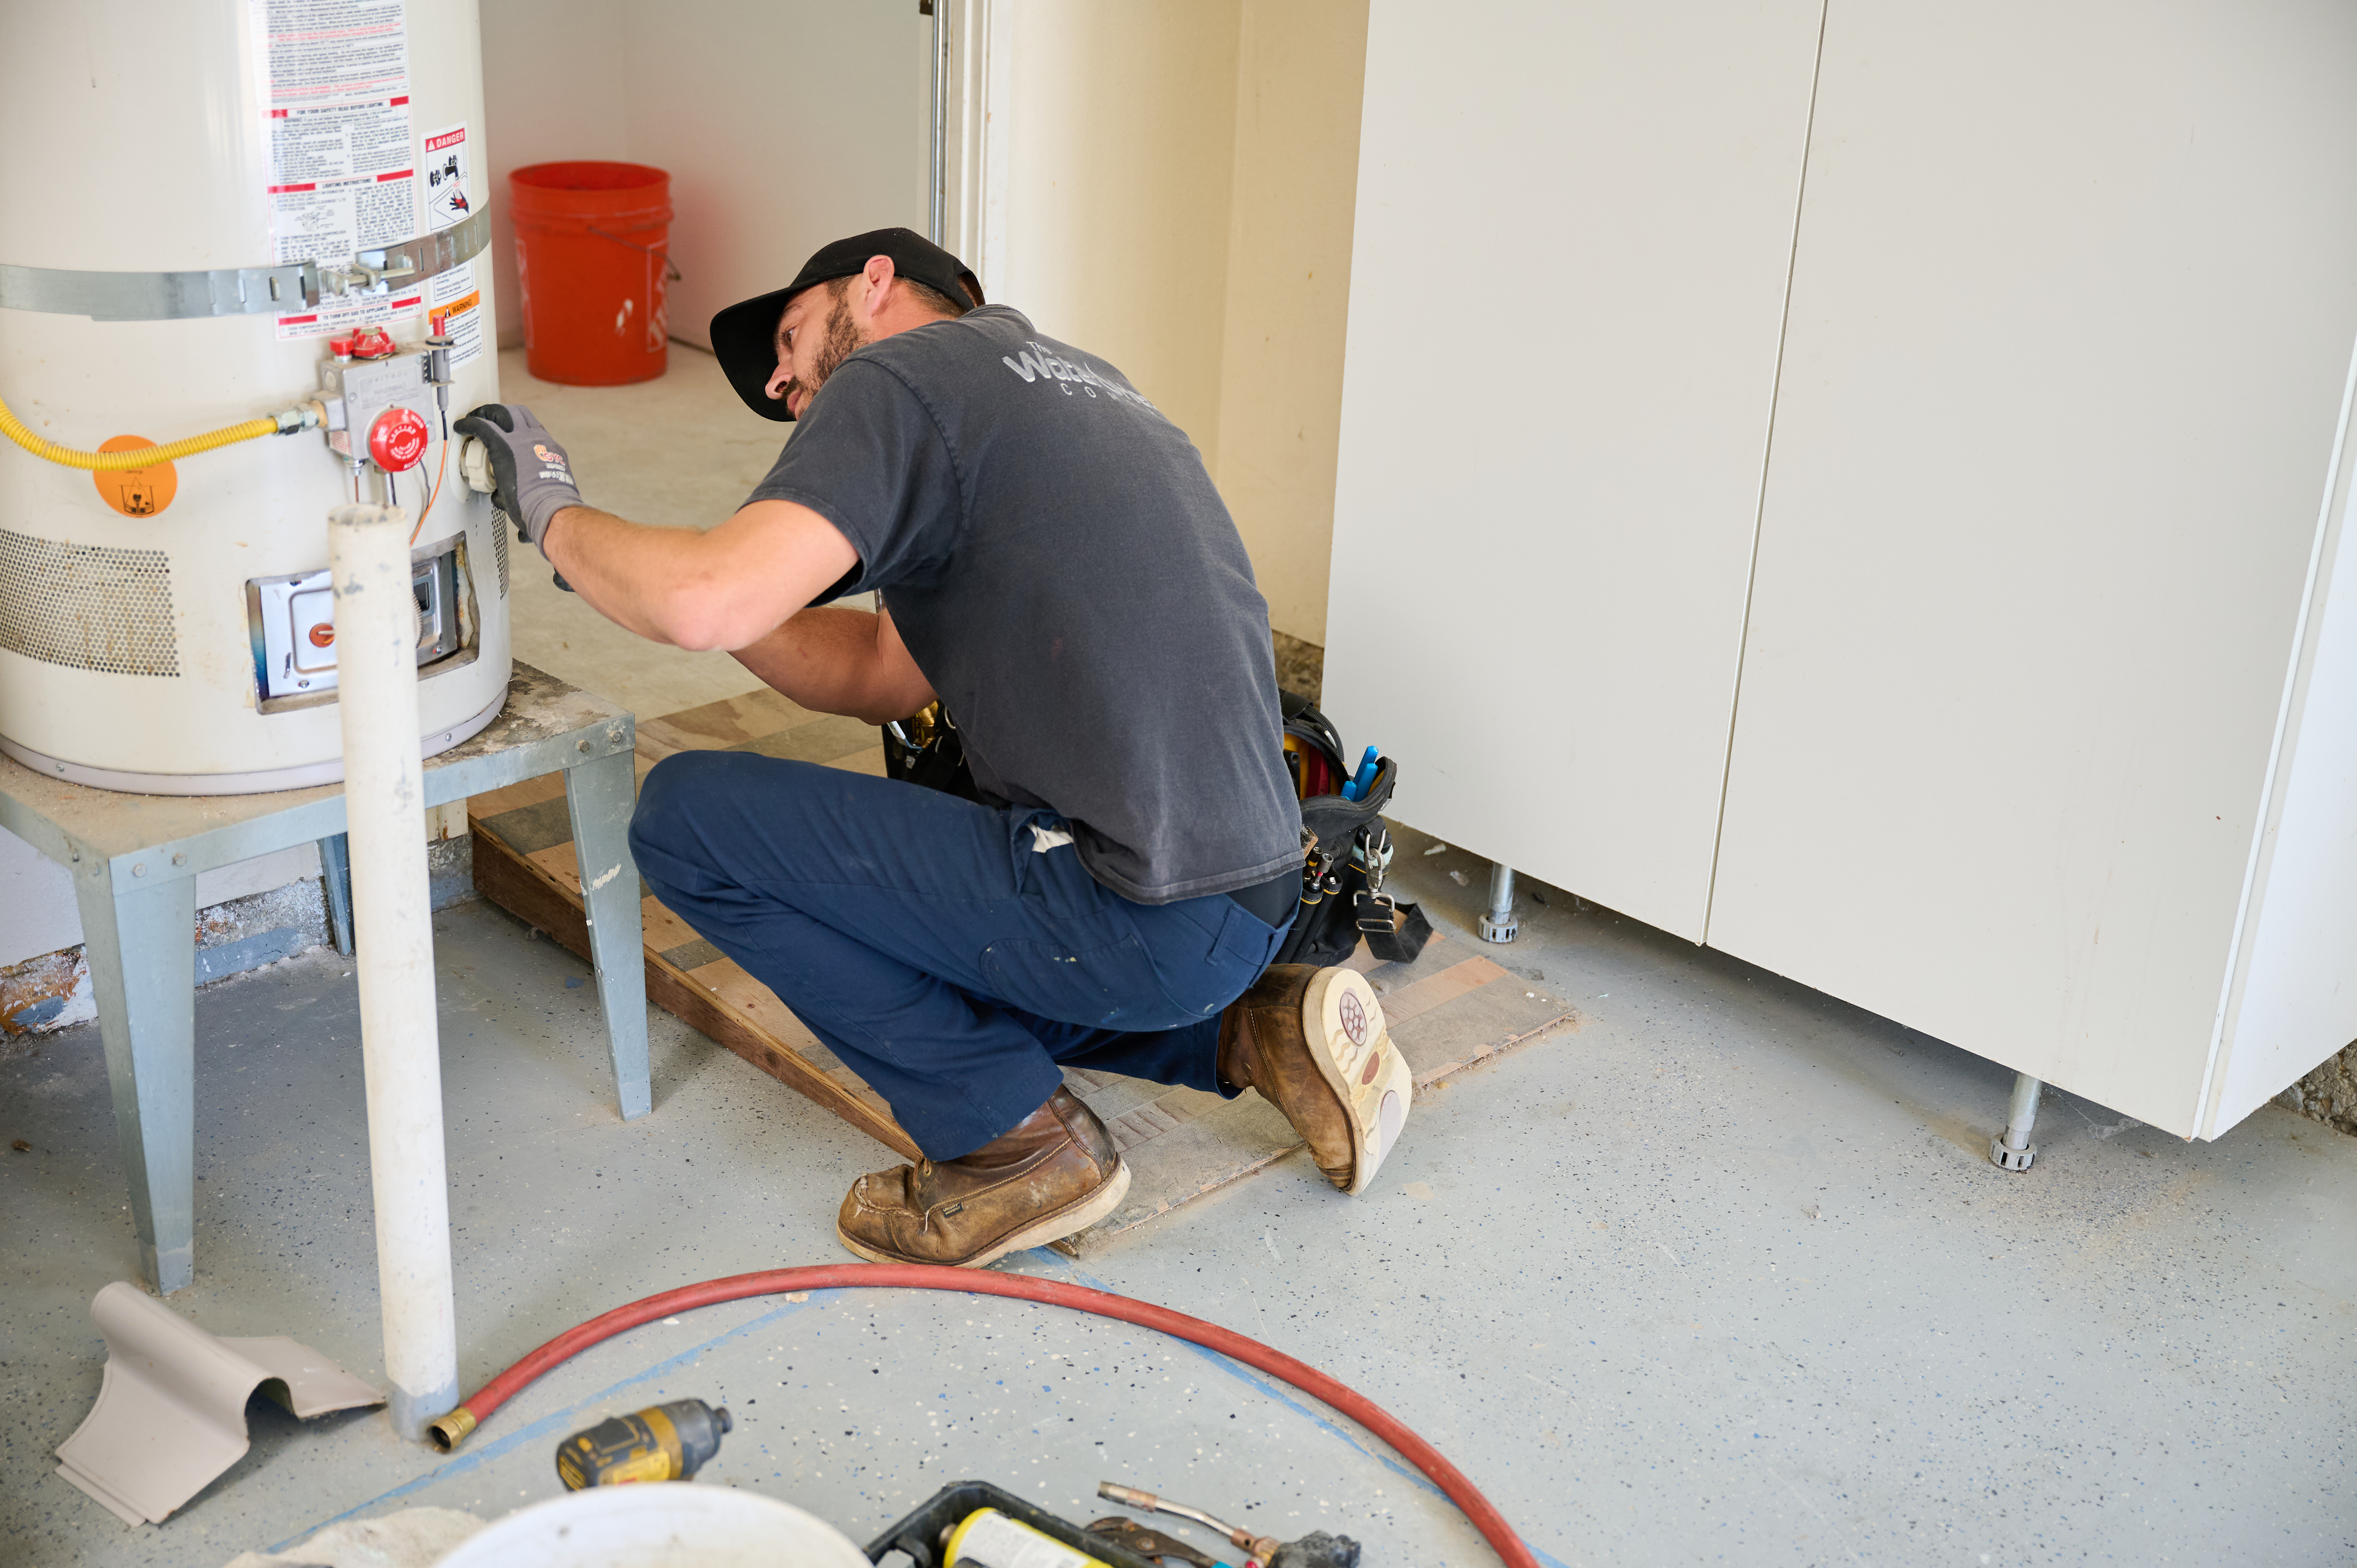
Many things can go wrong with a water heater, from tripped breakers to rusted water mains and beyond. Hire a professional plumber to conduct a thorough inspection every year to ensure everything runs smoothly. This pro will perform some of the aforementioned maintenance tasks, so you don’t have to.
Water heaters are hearty appliances that should run for at least ten years. However, after that first decade, your heater may start to show signs that it is about to fail. Cloudy or foul-smelling water, temperature fluctuations, and insufficient hot water are all signs that your heater is giving up the ghost. Consider replacing your water heater after ten to twelve years, though a plumber will tell you if the heater still has some fight left in it.
As usual with ECO, tech Jordan was outstanding, very professional, very knowledgeable, and very thorough with repairs made to tankless water heaters. Very highly recommend ECO!!!
 Eco Plumbers, Electricians, and HVAC Technicians
Did a great job replacing the ice maker and water regulator on my refrigerator. He was quick and thorough, very friendly and professional. If I needed a heart transplant I'd want him to do it!!!
We had a gutter blockage that was causing water to sheet down the side of the house and ultimately it started to come in at a window (need mortar people next). Called around 7:30am, and he responded by 8am. He was able to come out the same morning and do a look over and clean out. He also...
Scott checked our large crawl space for mold and water infiltration and recommended a viable solution. The crew was efficient and they cleaned up well after the job. The job was expensive but I am confident that I won't have to deal with the problem again. Highly recommend.
They were the most through inspecting the water system in my house. Even going the extra mile to get the water professionally tested for contamination.
Very well. Have already used them again to fix hot water heater
 Service Olympians
The Paul Davis team was very professional and went the extra mile to take care of my water damage. The work was very high quality and done in a timely manner. I would highly recommend their services.
 Paul Davis Restoration
Honesty is hard to find in business today. GBR met me today at a 3 story building regarding my being told that I needed to tuckpoint the brick because of water leaks. The owners took the time to evaluate the situation and advised me that I did not need their service at all. They pointed me...
 GBR Masonry Inc
They unclogged the drain and sent me a bill for more than 4 times what I paid before. I called the Water Works to ask why the bill was so high and that they should have gotten my authorization before assuming they could make expensive decisions like that on my behalf and for their benefit....
 The Waterworks
We had two outdoor fixtures swapped for motion sensing fixtures and a GFCI outlet added to the outside of the garage for the bird bath heater. <br /> He arrived at the agreed upon time and I was surprised and impressed at how quickly everything was completed. <br /> I would definitely...
 Powers Electric LLC
From average costs to expert advice, get all the answers you need to get your job done.
Looking to replace or upgrade your water heater? Use this water heater replacement cost guide to see what the work will cost and what factors affect your total.
Tankless water heater costs depend on the size of your water heater, location, fuel type, and more. Keep reading to calculate your expenses.

Find out the average tankless water heater repair cost, what impacts pricing, and how to save. Get expert tips to plan your repair budget with confidence.
Hybrid water heaters will have you weighing high initial costs versus long-term savings. Is it the right option for you? Explore the pros and cons of hybrid water heaters.

Are you having a lot of water heater problems? Our guide highlights the most common issues and how to solve them.

Find out why water heater placement is such a big deal in order to prevent damage. Use our expert guide to figure out whether your water heater is putting your home at risk and if it's time to upgrade the heater and move it to a better location.