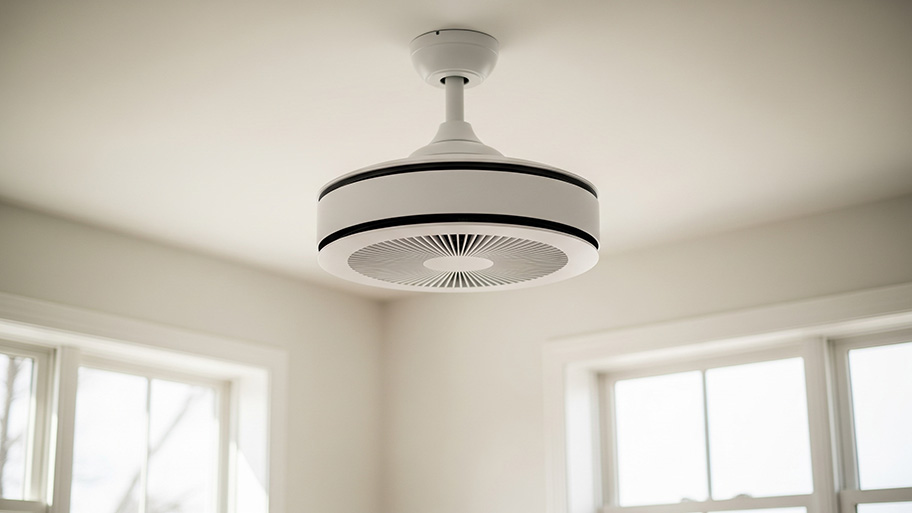
If your ceiling fan stops working due to a bad motor or broken pull chain, here’s what you can expect to pay to get it fixed.
Bask in the breeze of a newly repaired ceiling fan


Summers can be sweltering, and ceiling fans are a budget-friendly way to beat the heat without ballooning your home’s energy bill. Unfortunately, these relatively simple ceiling fixtures are susceptible to all kinds of issues, leading homeowners to seek out a competent repair technician. You may wonder how to find the best ceiling repair pro for your needs. Our hiring guide will give you all the information you need to make the best decision for your ceiling fan solution.
Before you begin searching for a ceiling fan repair pro or local ceiling fan installer, hone in on your specific fan problem and search for qualified pros in that field. In other words, is it likely a fan-repair issue or an issue pertaining to your home’s electricity?
Luckily, you have your choice of hiring ceiling fan repair pros to local electricians to even local electrical handypeople to help take care of your needs. Perform a thorough web search or ask family and friends for their recommendations. Come up with a list of potential candidates and prepare for the next steps.
Before hiring a ceiling fan pro, consider these factors to ensure the repair process goes spinningly.
Before reaching out to pros for repair estimates, gather information about the fan itself. If you have the original packaging, find it and write down the make and model. If you have the instruction manual, set it aside for the contractor. If you threw away the manual years ago, look for it online, as many manufacturers post instruction manuals in PDF form. Also, write down how long you’ve owned and used the fan, along with any repair and maintenance issues it encountered throughout its life span.
It helps to communicate what’s wrong with your ceiling fan to your potential hire. To that end, perform a simple check and write down any obvious issues. Is the fan not spinning when turned on? Is the affiliated lighting fixture shorted out? Is the remote not working, or are there obvious cracks or dings on the appliance’s exterior?
Don’t experiment with fixes unless you have experience with electrical work and fan repair. Once finished, jot the issues down and discuss them later with potential ceiling fan repair pros.
Create a list of relevant questions to ask your resident fan expert. Ask these questions as you gather estimates, when they stop by to check out the issue, or when scheduling initial repairs.
Do you perform the work yourself or outsource to a subcontractor?
If the problem ends up being electricity-related instead of fan-related, can you still do the work? If not, can you recommend a competent electrician?
Can you finish the work without tearing my ceiling? If not, will you clean up and patch it up afterward?
How long does this type of job take to complete?
Do you often exceed your cost estimates?
Is the work guaranteed? If so, for how long? Are there any fees associated with return visits?
Now it’s time to reach out to pros on your list of potential candidates. Give them a call and be specific when describing your fan issues, asking if they’ve handled similar repairs in their previous experience. Inquire about their insurance, licensure, and any job-related certifications. Insurance is particularly important here, as fans connect to ceilings and your electrical system, leading to potentially costly mistakes.
Make a list of everything you liked about their responses to your questions. Don’t automatically go with the lowest estimate, as experience, enthusiasm, and availability also matter when hiring a pro.

Repairing a ceiling fan costs $150 on average, so make sure your money is well spent. Follow these tips and maximize the chances of a positive experience with your pro.
Before hiring your favorite candidate, get all the details of your job in the form of a contract. Make sure every pertinent detail is listed in that contract should you run into any problems after the repair visit. Also, spend time talking with your pro to arrange an acceptable payment plan if the job seems complicated and time-consuming.
In the case of a one-and-done fan repair costing under $200, make sure you’ll pay after the work is complete. Once you have the contract, store it in a safe place.
Take a series of “before” photos for your records, particularly if your damage is cosmetic in nature. You should also take photos of the ceiling surrounding the fan in case there’s some accidental damage caused by the repair process. There’s plenty of information to keep handy, such as your contractor’s name and number, promises regarding the price and completion date, and your contractor’s professional opinion on the cause of the issue.
Most contractors perform good work for a fair price, but it’s always a good idea to look for potential red flags. Be wary of upsells, such as a pro recommending a full fan replacement for a seemingly minor issue.
Here are some more red flags to look out for:
Cash payments: They reduce the paper trail, which is an issue if your repair expectations aren’t met. If a contractor demands a cash payment—even offering a discount—move on to the next company.
No receipt: Make sure the contract stipulates that the pro issues a written receipt upon completing the work. You’ll need this receipt for your records in case something goes wrong.
Upfront payment: Don’t pay your contractor upfront. Wait until the work finishes and you receive a satisfactory result.
Multiple name changes: During the research phase, keep an eye out for multiple company name changes related to a single contractor. Inadequate contractors change their company name to create a “fresh slate.”
What should you do as you eagerly await your contractor’s visit and an end to your fan-related woes? Follow these simple guidelines to reduce the chances of any hiccups.
Your pro likely needs to reach the fan via a ladder, so clear some space on the floor directly underneath the fan and clean up any clutter to allow for easy access. The quicker your pro can access the fan, the faster the job takes.
If some components fell off of the fan, don’t toss them in the trash. Save them for the pro to inspect as part of the repair process. This includes any housing components, joist screws, and even the fan remote control. You never know which errant part can shine a light on the ultimate cause of your issue.
Modern life is hectic, but if possible, make yourself available for the contractor’s visit. That way, you’ll have a bird’s-eye view of the repair process and can test out the fan as soon as the pro finishes the work.
The job is done, so now what? Here are some steps worth taking after your fan starts spinning again.
Ensure the repairs meet your standards. If the fan was having trouble working for long periods of time, leave it running for several hours. If the fan blades had a crack or a ding, give the newly replaced or repaired components a good look.
Once you’re satisfied with the results, finalize your payment according to the terms of the contract. Consider leaving a positive review online if you received above-average service since that’ll help the contractor attract new customers.
From average costs to expert advice, get all the answers you need to get your job done.

If your ceiling fan stops working due to a bad motor or broken pull chain, here’s what you can expect to pay to get it fixed.

Discover the cost to install a ceiling fan, including labor, materials, and tips to save. Learn what impacts your price and how to budget for your project.

Are traditional ceiling fans slowly becoming a thing of the past? The famously quiet and efficient bladeless fans are now appearing right above our heads.

Most ceiling fans should be reasonably quiet most of the time. Learn why your ceiling fan is making noise and how you can fix these common problems

Looking to cool down a room or get some more air flowing throughout the house? Learn how to install a ceiling fan without existing wiring.

Learn how to wire a ceiling fan with a light directly from a power source or wall switch and add a convenient remote control. Follow this step-by-step guide.